

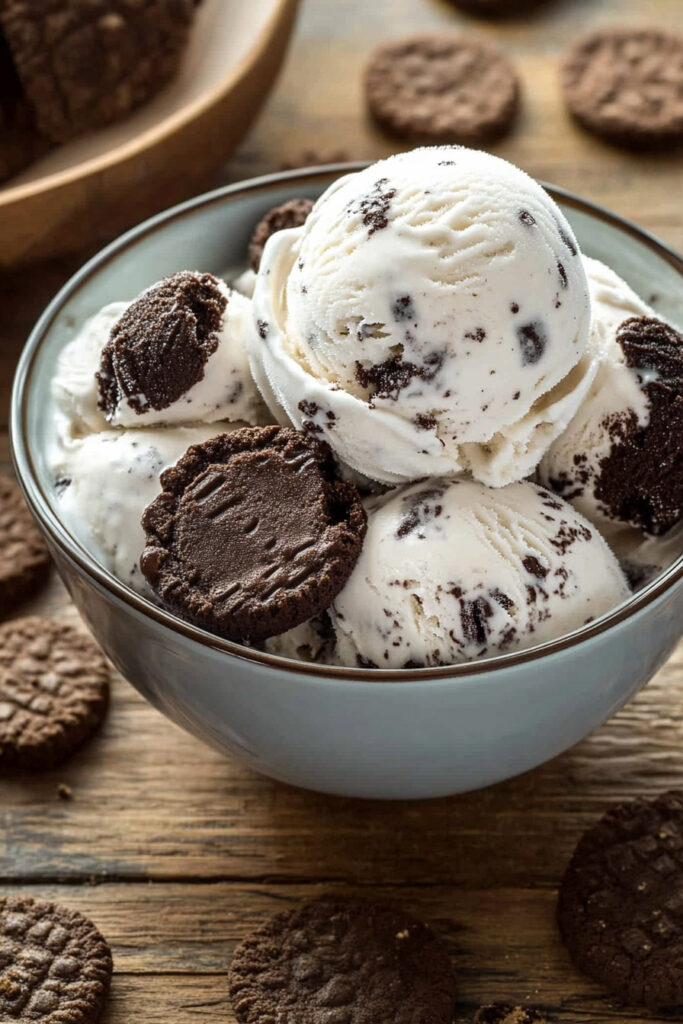
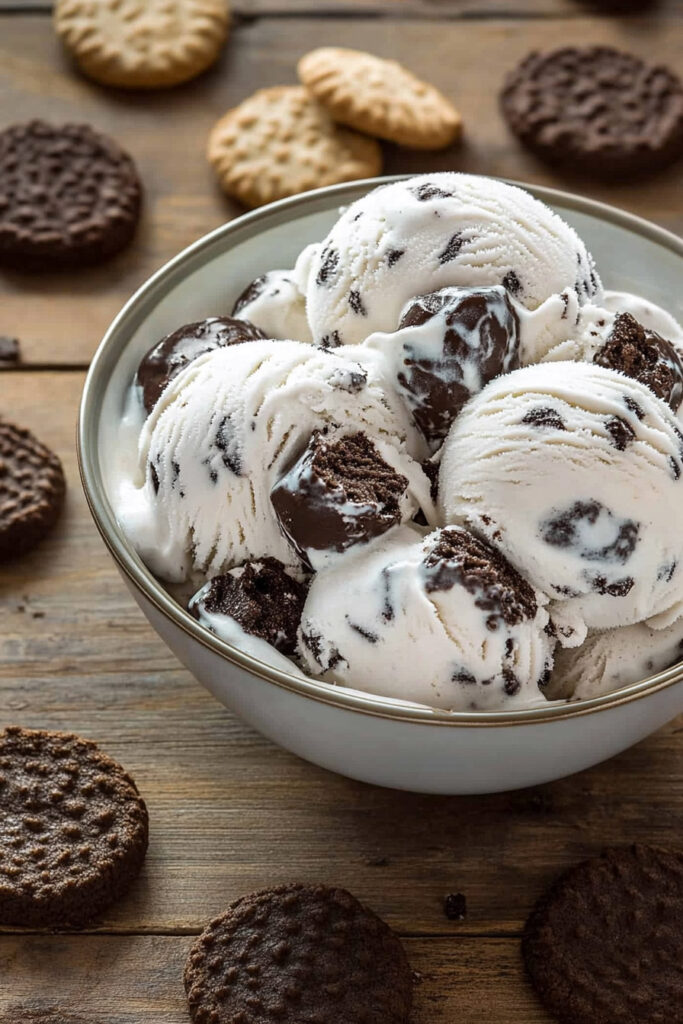
Let’s be real—cookies and cream ice cream is the flavor that brings back childhood memories. There’s just something magical about that creamy vanilla base mixed with crunchy chocolate cookie chunks. It’s been a fan favorite ever since the 1970s when someone had the genius idea of combining ice cream with cookies.
Today, I’m sharing my take on this classic treat. Using my trusty Cuisinart ice cream maker, I’ve created a recipe that’s simple, satisfying, and packed with flavor. Whether you’re whipping this up for a backyard BBQ or a cozy night in, it’s guaranteed to make everyone smile.
Quick Recipe Summary
Here’s the lowdown on making your own cookies and cream ice cream at home:
Total Time:
- Prep: 10 minutes
- Chill: 1 hour
- Churn: 20–30 minutes
- Freeze: 2–3 hours
Servings: Makes about 1 quart (enough for 4–6 people).
Difficulty: Beginner-friendly! No fancy skills required.
What You’ll Need:
Equipment:
- Cuisinart ice cream maker (or any electric model).
- Mixing bowls, whisk, measuring cups, and a freezer-safe container.
Substitute Tip: No ice cream maker? No problem. Just pop the mixture in a shallow dish, stir every 30 minutes, and voilà!
Pro Tip: You can prep the base a day in advance and churn later for easy planning.
Ingredients
What Goes In:
- 1 cup whole milk, chilled
- 2/3 cup granulated sugar
- 2 cups heavy cream, chilled
- 2 teaspoons pure vanilla extract (the good stuff!)
- 1 1/4 cups coarsely crushed chocolate sandwich cookies (think Oreos).
Substitution Ideas:
- Dairy-free? Swap milk for almond or oat milk and heavy cream for coconut cream.
- Gluten-free? Use gluten-free sandwich cookies.
- Natural sweetener? Try coconut sugar or honey.
How to Make It
Let’s break this down step by step:
Step 1: Make the Base
Whisk together the milk and sugar until the sugar dissolves. This should only take 2–3 minutes. Then, stir in the heavy cream and vanilla. Done!
Pro Tip: Chill your mixing bowl before you start. It helps keep the ingredients cold.
Step 2: Chill Time
Cover the mixture and let it chill in the fridge for at least an hour. This step is key to getting a smooth, creamy texture during churning.
Don’t skip this: If the base isn’t cold enough, your ice cream might turn out too soft.
Step 3: Churn Away
Set up your ice cream maker. Pour in the chilled base while the machine is running. Let it churn for about 20–30 minutes until it thickens. You’re aiming for a soft-serve consistency.
Step 4: Add the Cookies
When the ice cream is almost done (around the last 5–10 minutes), slowly mix in the crushed cookies. This keeps the cookie chunks from sinking to the bottom.
Bonus Tip: Save a few bigger cookie pieces to sprinkle on top before freezing.
Step 5: Freeze
Transfer the churned ice cream into a freezer-safe container. Cover it tightly and freeze for 2–3 hours until firm. When it’s ready, it should be scoopable but not rock-hard.
Fun Variations
Want to mix things up? Here are some ideas:
- Vegan Version: Use almond milk, coconut cream, and vegan chocolate cookies.
- Add Some Flair: Swirl in caramel or add chocolate chunks.
- Seasonal Twists: Try peppermint extract in winter or fresh berries in summer.
Serving & Storing
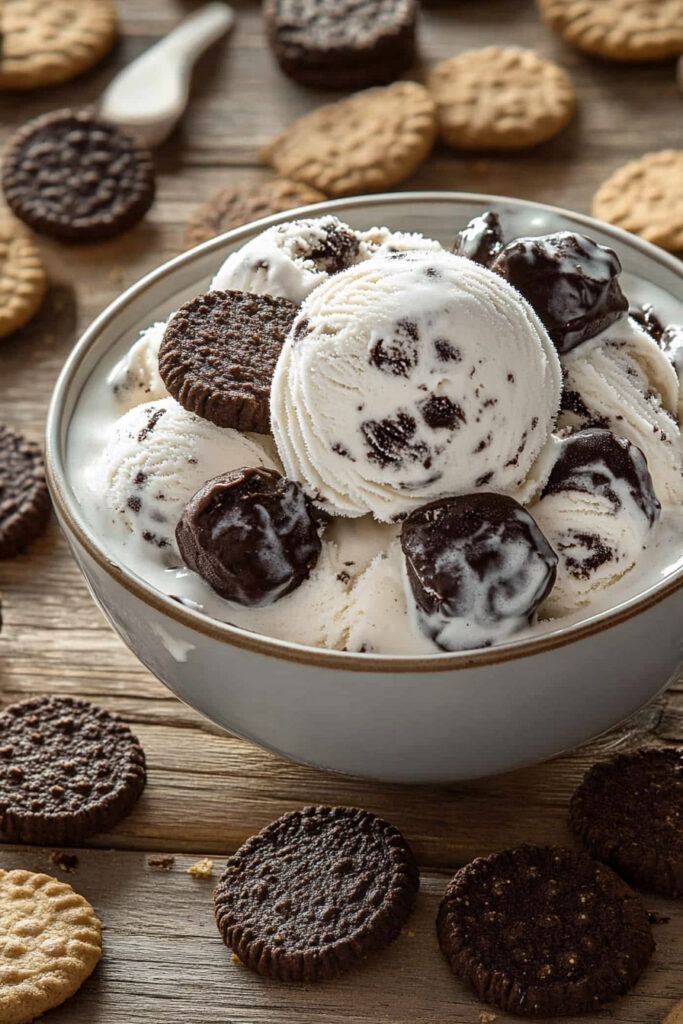
How to Serve:
- Scoop it into waffle cones or bowls.
- Add toppings like whipped cream or extra cookie crumbles.
- Feeling fancy? Make an ice cream sandwich!
How to Store:
Keep it in an airtight container in the freezer for up to two weeks. To avoid freezer burn, press plastic wrap directly onto the surface of the ice cream.
Pro Tip for Scooping:
Let the ice cream sit at room temperature for 5–10 minutes before scooping. It’ll be much easier to handle.
There you have it! This cookies and cream ice cream recipe is a perfect mix of creamy and crunchy goodness. Whether you’re making it for family, friends, or just yourself (no judgment!), it’s sure to become a go-to dessert in your home.
PrintCuisinart Cookies and Cream Ice Cream

Cookies and cream ice cream is the ultimate nostalgic dessert, blending velvety vanilla ice cream with crunchy chocolate sandwich cookies. This homemade version is easy to make with a Cuisinart ice cream maker and delivers a rich, indulgent treat perfect for any occasion!
- Prep Time: 10 minutes
- Cook Time: 20 minutes (churning)
- Total Time: 3 hours 30 minutes (includes freezing time)
- Yield: About 1 quart (4–6 servings) 1x
- Category: Dessert
- Cuisine: American
Ingredients
- 1 cup whole milk, chilled
- 2/3 cup granulated sugar
- 2 cups heavy cream, chilled
- 2 teaspoons pure vanilla extract
- 1 1/4 cups coarsely crushed chocolate sandwich cookies (e.g., Oreos)
Instructions
- Prepare the Base: In a mixing bowl, whisk together the milk and sugar until the sugar dissolves completely. Stir in the heavy cream and vanilla extract. Cover and refrigerate for at least 1 hour to chill.
- Churn the Ice Cream: Set up your Cuisinart ice cream maker according to its instructions. Pour the chilled mixture into the machine while it’s running. Let it churn for about 20 minutes until thickened to a soft-serve consistency.
- Add the Cookies: During the last 5–10 minutes of churning, gradually add the crushed cookies. Mix until evenly distributed throughout the ice cream.
- Freeze Until Firm: Transfer the churned ice cream into a freezer-safe container with a lid. Smooth out the top, cover tightly, and freeze for at least 2–3 hours until firm enough to scoop.
Notes
Serving Suggestions:
- Serve in bowls or waffle cones with extra cookie crumbles on top for added texture.
- Pair with warm brownies or drizzle with chocolate syrup for an indulgent dessert.
Tips & Tricks:
- Chill all ingredients and equipment (including your mixing bowl) for quicker churning and better texture.
- To avoid overmixing, gently fold in cookies during churning rather than dumping them all at once.
Storage & Reheating:
- Store in an airtight container in the freezer for up to 2 weeks. Press plastic wrap directly onto the surface to prevent freezer burn.
- Let sit at room temperature for 5–10 minutes before scooping to soften slightly.