

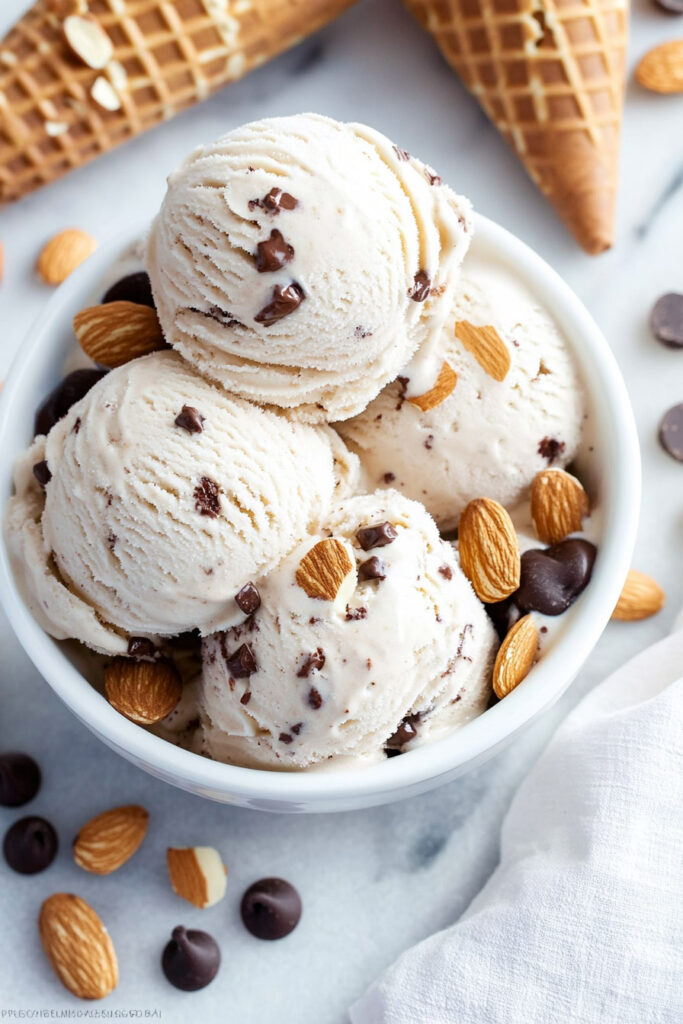
Think of your favorite Almond Joy candy bar. Now imagine turning that creamy, chocolatey, nutty delight into a refreshing, healthy ice cream you can actually feel good about eating. That’s exactly what this recipe is all about! It’s dairy-free, refined sugar-free, and paleo-friendly, but most importantly—so, so delicious.
Whether you’re a pro in the kitchen or just dipping your toes into homemade desserts, this one’s easy, fun, and perfect for satisfying those sweet cravings while sticking to your health goals. Ready to give it a try? Let’s do this—step by step!
Quick Recipe Breakdown
Prep & Freeze Time
- Active prep: Just 10 minutes
- Freezing: 3-6 hours (but trust me, it’s worth the wait!)
Servings
This recipe makes about 9 servings (around 3-4 cups). Want more? Just double or triple the recipe, but make sure your blender can handle the load!
How Hard Is It?
Super easy. No fancy skills or complicated techniques needed. If you can blend, you can make this ice cream.
What You’ll Need
- A blender or food processor (this is key for that creamy texture).
- A container for freezing—airtight is ideal.
- A rubber spatula to scrape the sides (you’ll thank me later).
Pro Tip: No blender? No problem. You can mash the bananas by hand for a chunkier (but less creamy) result.

Ingredients
Here’s what you’ll need to whip up this dreamy treat:
- 3 medium bananas, sliced and frozen. These add natural sweetness and a creamy base. Make sure they’re ripe before freezing—they should be nice and spotty.
- 1/2 cup coconut cream. This brings richness and a subtle tropical vibe. Don’t have coconut cream? Just use the thick part from a can of full-fat coconut milk.
- 1–2 tablespoons pure maple syrup. Adjust sweetness to your liking. Want sugar-free? Try liquid stevia.
- 1 teaspoon vanilla or almond extract. Vanilla gives that classic flavor, while almond amps up the nutty notes. Take your pick!
- 1/3 cup unsweetened shredded coconut. Toast it first if you want a little extra flavor.
- 1/3 cup unsalted almonds, chopped or sliced. Keep them raw or toast them if you’re feeling fancy.
- 1/4 cup vegan chocolate chips (or chopped paleo chocolate). You can melt it for a swirl or mix it as-is. Your call!
How to Make It
1. Freeze Your Bananas
Slice your bananas and freeze them for at least 4 hours (or overnight). This is what gives the ice cream its creamy texture.
2. Blend It Up
Throw the frozen bananas into your blender or food processor. Blend until they look like crumbs—it’ll feel dry at first, but keep going! Then, add the coconut cream, maple syrup (start with 1 tablespoon), and vanilla or almond extract. Blend again until smooth.
Pro Tip: It should look like soft-serve ice cream at this point—thick, creamy, and irresistible.
3. Add the Good Stuff
Stir in the shredded coconut, chopped almonds, and chocolate chips. Use the pulse button to mix—you want to keep some texture.
Want chocolate flakes? Melt the chocolate chips and drizzle them into the blender while it’s running. Fancy, right?
4. Freeze (If You Can Wait!)
Transfer everything into an airtight container and freeze for 3-6 hours. Can’t wait? You can eat it as soft-serve right away!
Serving Tip: Let the ice cream sit out for 5-10 minutes before scooping—it’ll be easier to serve.
Make It Your Own
Here’s how to customize this ice cream to fit your style:
Dietary Swaps
- Sugar-free? Skip the maple syrup and use stevia or monk fruit.
- Nut-free? Swap almonds for sunflower seeds or skip them altogether.
Add Some Spice
Sprinkle in a little cinnamon or nutmeg. It adds warmth and makes the coconut-banana combo pop!
Level It Up
Hosting a dinner party? Drizzle some homemade vegan caramel on top, or sprinkle with toasted coconut for extra crunch.
Seasonal Flavors
In the summer, toss in fresh berries like strawberries or raspberries for a fruity twist.
Serving & Storing
How to Serve
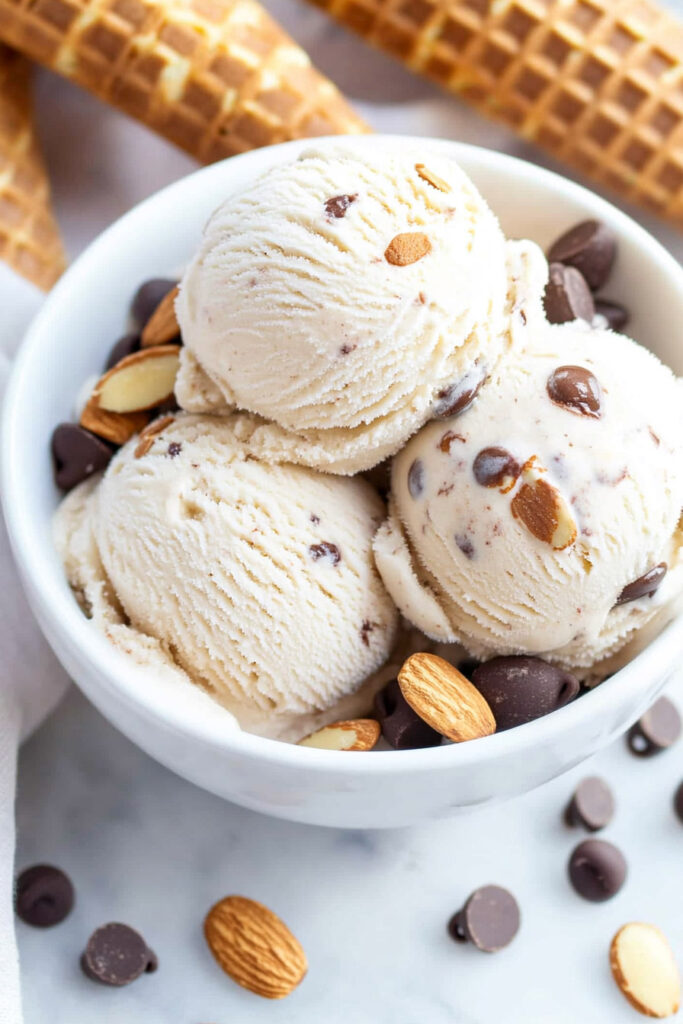
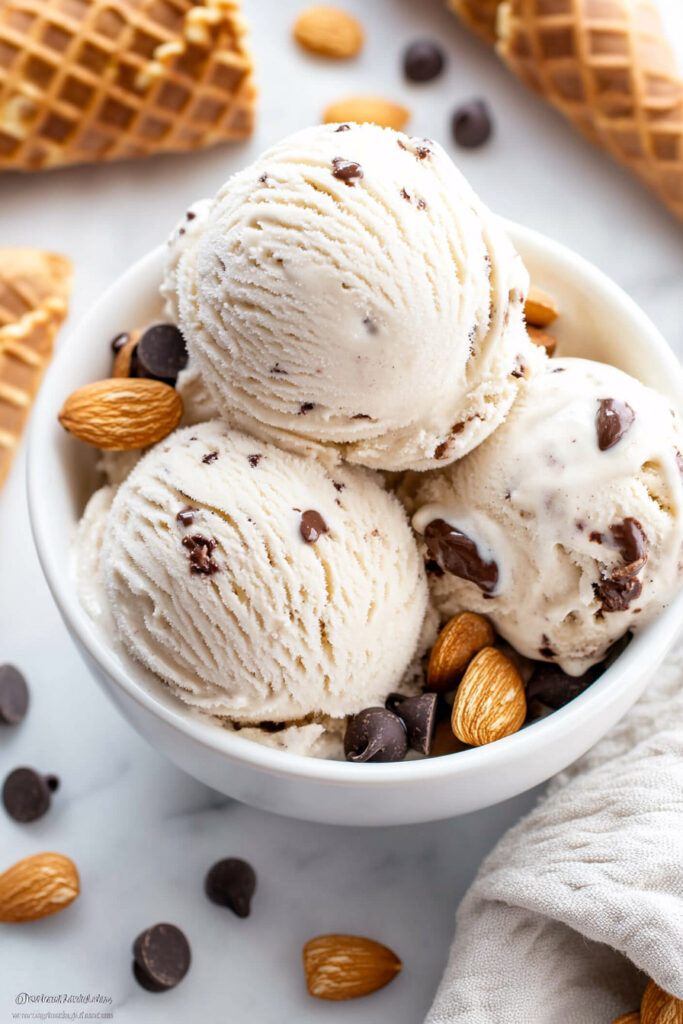
Scoop into bowls, waffle cones, or even hollowed-out coconuts for a tropical vibe. Garnish with extra almonds, coconut, or a drizzle of melted chocolate.
Leftovers?
If there’s any (doubtful), store it in an airtight container in the freezer for up to a week. Just let it sit out for a few minutes before scooping—it softens up beautifully.
The Bottom Line
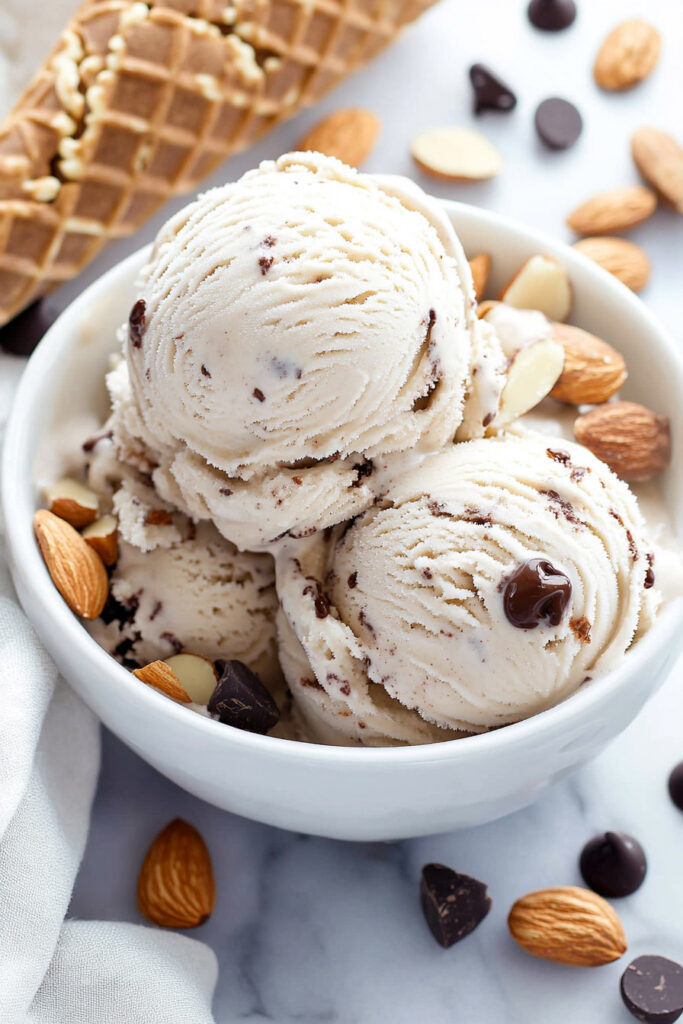
This Almond Joy-inspired ice cream isn’t just a dessert—it’s happiness in a bowl. It’s creamy, nutty, chocolatey, and totally guilt-free. Whether you’re treating yourself on a hot afternoon or sharing with friends, this recipe is guaranteed to be a hit.
Let’s be real—you’re going to want seconds. Enjoy!