

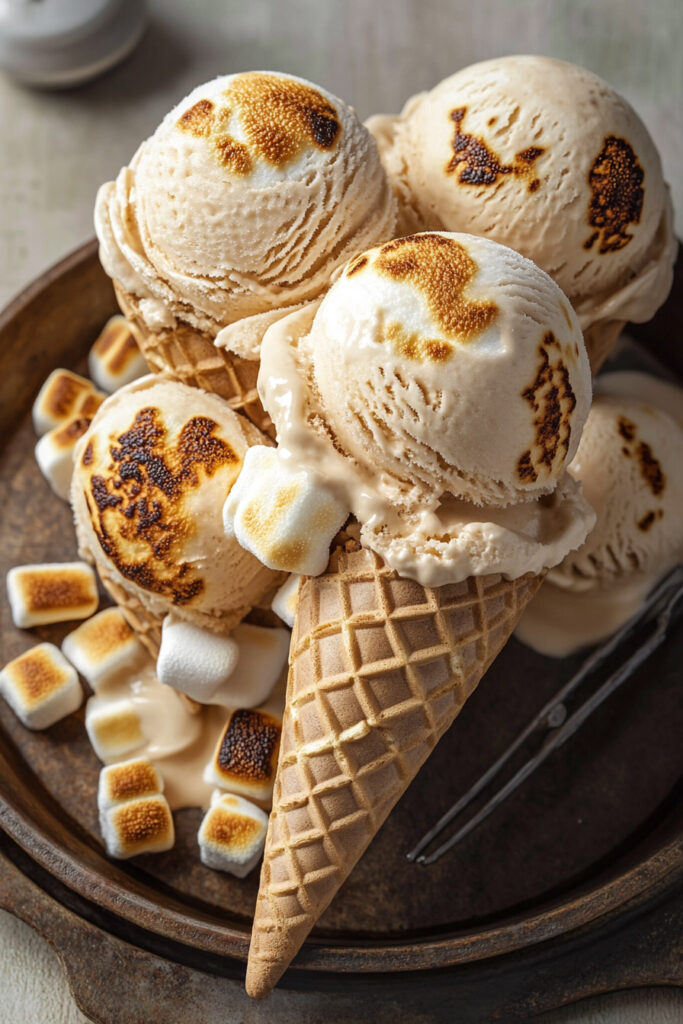
Imagine this: creamy, homemade ice cream packed with the smoky sweetness of toasted marshmallows. It’s the kind of treat that takes you right back to those summer nights gathered around a campfire. This Toasted Marshmallow Ice Cream delivers that nostalgic flavor, but with a sophisticated twist. The secret? Blending perfectly toasted marshmallows into a rich custard base. What you get is a dessert that’s smooth, sweet, and just the right amount of smoky.
I came up with this recipe because I love s’mores and everything about campfire vibes. Toasted marshmallows have a way of bringing back memories—holding marshmallows over an open flame, watching them turn golden, and biting into their gooey goodness. This ice cream lets you enjoy that same comforting flavor, no fire required. Make it for a summer hangout or treat yourself on a lazy afternoon. Either way, it’s like bringing the outdoors to your kitchen.

Prep and Cook Time
This recipe isn’t overly complicated, but it does take some time. You’ll need about 30 minutes of hands-on prep, plus 4 hours chilling and 6 hours freezing. Most of the time is spent waiting, so it’s one of those recipes you can tackle while multitasking.
Servings
The recipe yields about 6 servings, which is great for a small gathering—and even better for leftovers. Want more? Double the recipe, but be sure your ice cream maker can handle it.
Difficulty
I’d call this recipe moderately easy. If you’ve never made a custard base before, don’t worry—it’s not tricky, but you’ll need to watch your heat and avoid scrambling the eggs. I’ll give you tips to make it foolproof!
What You’ll Need
Tools
Here’s the gear to pull this off:
- Heavy saucepan – Keeps the custard from burning.
- Mixing bowl – For whisking the eggs and sugar.
- Ice cream machine – Optional, but ideal for creamy results.
- Sieve – Ensures your custard is silky smooth.
- Grill/broiler or torch – For toasting the marshmallows.
No ice cream maker? Don’t sweat! I’ll show you a no-churn option later.
Ingredients
Here’s the lineup:
- 2 cups whole milk
- 1 ¼ cups heavy cream
- 5 egg yolks
- ½ cup sugar
- 1 vanilla bean pod (or 1 tsp vanilla extract)
- 2 cups mini marshmallows (divided: half for blending, half for mixing in).
Ingredient Substitutions:
- No vanilla bean? Vanilla extract will do.
- Dairy-free? Swap in almond milk and coconut cream.
- No mini marshmallows? Use regular ones—just cut them into smaller pieces before toasting.
Step-by-Step Instructions
Let’s keep this simple. Think of me as your kitchen buddy walking you through it.
1. Warm the Milk and Cream
Pour the milk, cream, and vanilla seeds (plus the pod) into a heavy saucepan. Heat gently over medium heat until it’s steaming, but not boiling. Stir occasionally to avoid scorching.
Pro Tip: If bubbles creep up, turn down the heat—slow and steady wins here.
2. Whisk the Yolks and Sugar
In a bowl, whisk together egg yolks and sugar until the mixture turns pale and thick. You’ll know it’s ready when it falls off the whisk in ribbons.
Visual Cue: Light yellow, smooth, and glossy.
3. Temper the Eggs
Here’s where we avoid scrambled eggs. Slowly whisk about a cup of the warm milk mixture into the yolks. Then, pour the tempered yolks back into the saucepan with the rest of the milk. Stir non-stop!
4. Cook the Custard
Cook the mixture over low heat, stirring constantly until it thickens. You’ll know it’s done when it coats the back of a spoon. Don’t let it boil!
Test It: Run your finger through the custard on the spoon. If it leaves a clean line, it’s ready.
5. Sieve and Toast Marshmallows
Remove the vanilla pod and pour the custard through a sieve to make it extra smooth. While it cools, toast half of the mini marshmallows using a broiler or torch until they’re golden and gooey. Stir the toasted marshmallows into the custard until they melt completely.
6. Chill, Churn, and Freeze
Cover the custard with plastic wrap, pressing it directly onto the surface to prevent a skin from forming. Chill in the fridge for at least 2 hours (overnight is even better). Then churn the custard in your ice cream maker until it’s thick and creamy. Fold in the remaining toasted marshmallows for texture, transfer to a container, and freeze for 6 hours.
No-Churn Option
No ice cream machine? No problem. Whip up 1 cup of heavy cream to stiff peaks and gently fold it into the chilled custard. Layer toasted marshmallows throughout, then freeze until firm.
Fun Variations
- S’mores Style: Add crushed graham crackers or drizzle melted chocolate over the top.
- Vegan Version: Use almond milk, coconut cream, and vegan marshmallows.
- Extra Smoky: Mix smoked sea salt or a dash of liquid smoke into the custard.
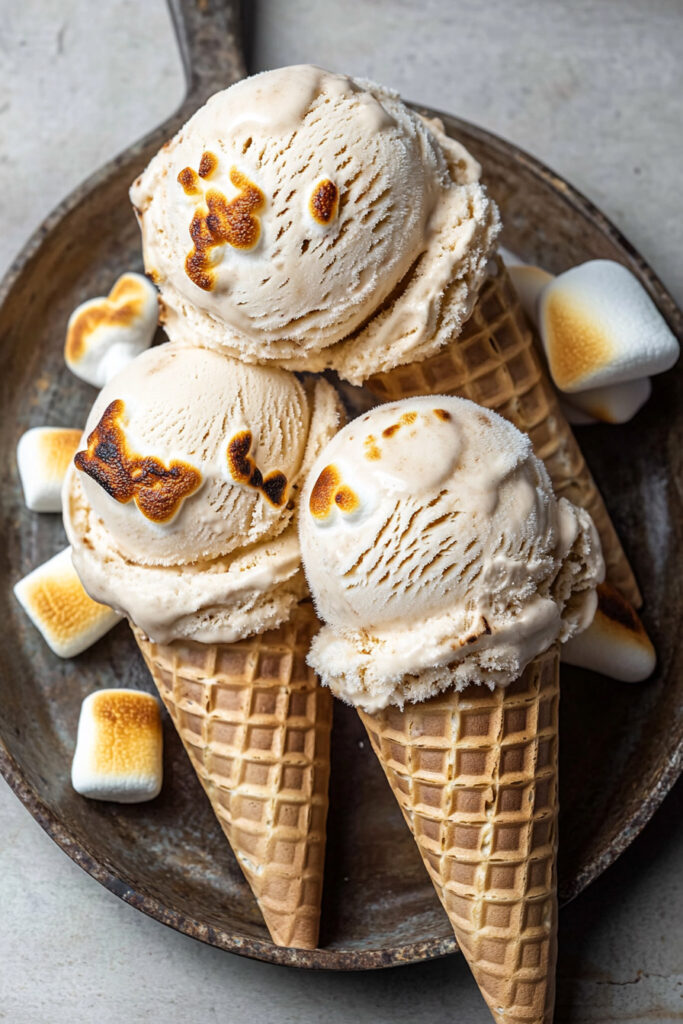
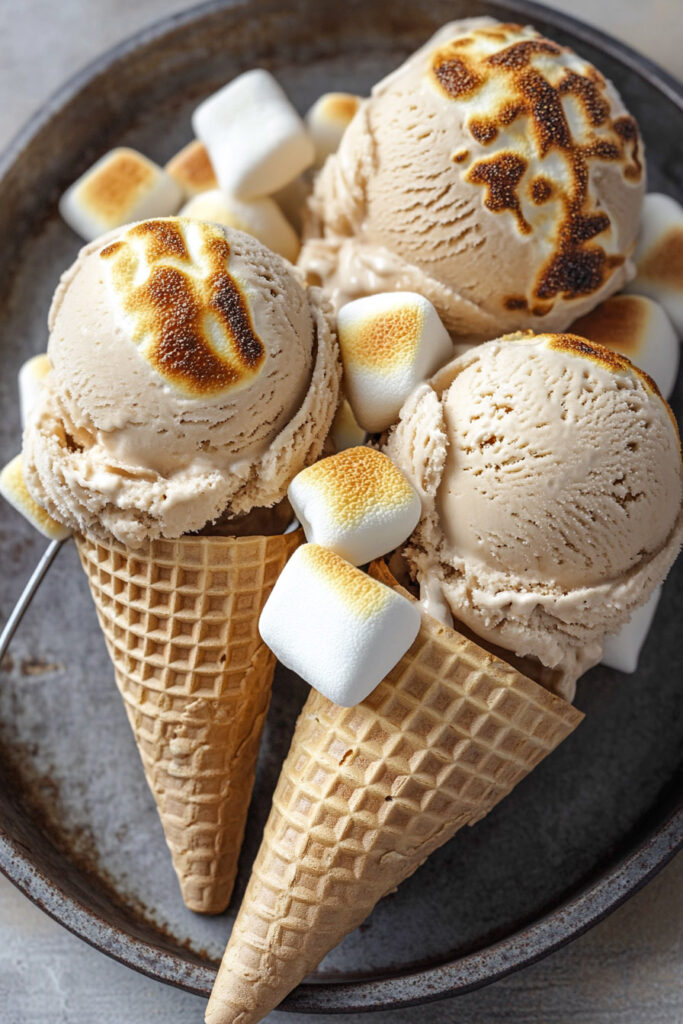
Serving Tips

Scoop into bowls or cones. Want to go fancy? Garnish with extra toasted marshmallows or a drizzle of chocolate sauce. Feeling indulgent? Pair it with warm brownies or use it for ice cream sandwiches.
For leftovers (if there are any), store in an airtight container in the freezer for up to 2 weeks. Just let it sit at room temperature for 5–10 minutes before scooping.
This Toasted Marshmallow Ice Cream is the ultimate comfort dessert—it’s rich, creamy, and packed with cozy campfire vibes. Whether you whip it up for friends or keep it all for yourself (we won’t judge), it’s bound to be a hit. Happy scooping!