

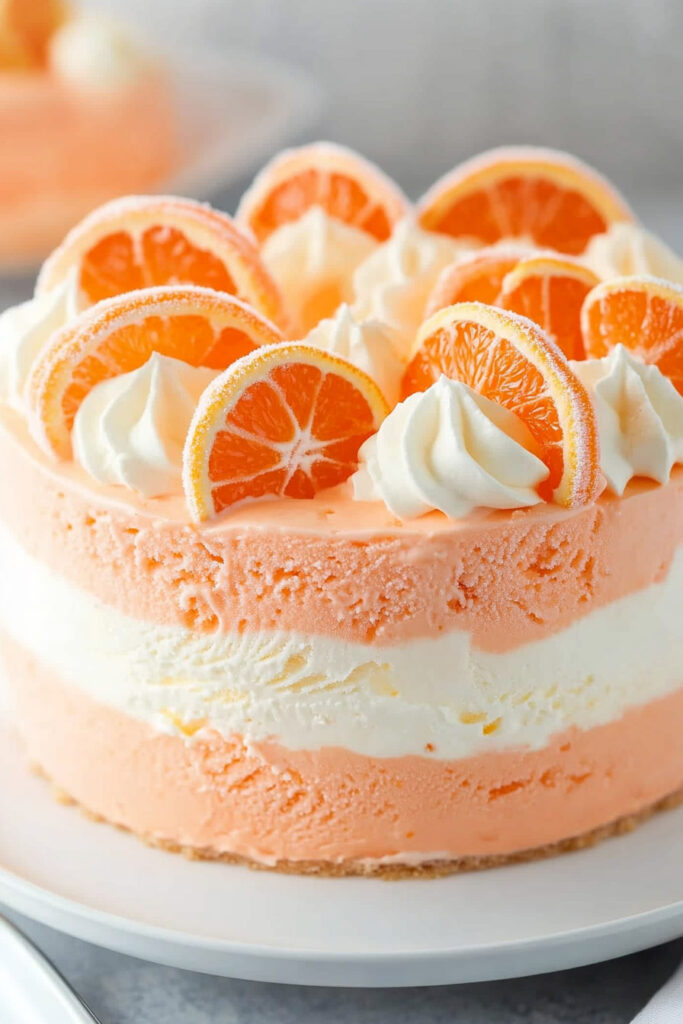
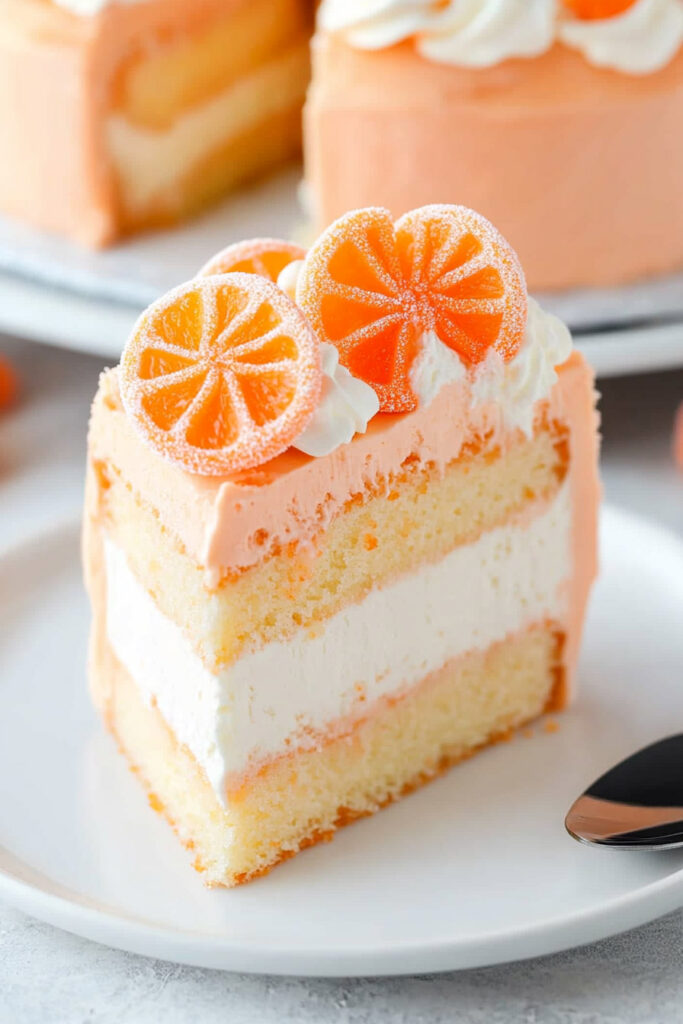
Remember those dreamy orange Creamsicles you loved as a kid? Well, this Orange Creamsicle Ice Cream Cake takes that nostalgic flavor and turns it into an irresistible dessert. Creamy vanilla, tangy orange, and layers of ice cream and cake? Yes, please! It’s the perfect treat for summer hangouts, birthday celebrations, or just because. Bonus? It’s fun to make and even better to eat.
Let’s roll up our sleeves and get started!
What to Know Before You Start
- Time Commitment: You’ll need 45 minutes of hands-on work, but plan ahead—this baby needs 6–8 hours in the freezer.
- Servings: Feeds 10–12, but you can easily make it bigger or smaller.
- Skill Level: Not too hard! If you’re patient, you’ve got this.
- Tools You’ll Need:
- 8-inch springform pan (or a regular pan with plastic wrap)
- Mixing bowls
- Electric mixer
- Parchment paper
Pro tip: This cake is made ahead of time—a win for party planners. Start it the day before for best results.
Ingredients You’ll Need
Cake Layer
- ¾ cup + 2 tbsp all-purpose flour
- ½ cup sugar
- 1¼ tsp baking powder
- 6 tbsp salted butter (room temp)
- 2 egg whites
- 1½ tsp vanilla extract
- ¼ cup sour cream
- ¼ cup milk
- 3 tbsp hot water
- 3 tbsp orange Jell-O powder
Ice Cream Layers
- 12 oz cream cheese (softened)
- ¾ cup sugar
- ¼ cup milk
- 12 oz Cool Whip (or your favorite whipped topping)
- Remaining orange Jell-O powder (after using 3 tbsp for the cake)
- 2 tbsp hot water
- 2 tsp vanilla extract
For Frosting & Topping
- 8 oz Cool Whip
- Orange candy slices (optional)
- Orange gel icing color, if you’re feeling fancy
Note: You’ll need one 3 oz pack of Jell-O powder for this recipe.
How to Make It
Step 1: Make the Cake
First, preheat your oven to 350°F and prepare your pan by lining the bottom with parchment paper and greasing the sides. This step makes removing the cake later much easier. In a mixing bowl, whisk together the flour, sugar, and baking powder to evenly combine the dry ingredients. Then, add the butter, egg whites, vanilla extract, sour cream, and milk. Mix everything together until the batter is smooth, but be careful not to overmix—it’s the secret to a light and fluffy cake.
Once the batter is ready, pour it into the prepared pan, spreading it out into an even layer. Bake for 18–20 minutes, or until a toothpick poked into the center comes out with just a few crumbs attached. Let the cake cool in the pan for a few minutes before transferring it to a cooling rack. When the cake has fully cooled, use a straw or the handle of a wooden spoon to poke holes all over the surface. Combine the hot water with 3 tablespoons of the orange Jell-O powder and spoon the mixture over the cake, letting it soak into the holes to infuse a bright, citrusy flavor.
Step 2: Prep the Ice Cream Layers
To make the ice cream layers, start by beating the softened cream cheese and sugar in a bowl until the mixture is smooth and creamy. Add the milk and continue mixing until fully blended. Gently fold in the Cool Whip to create a light, airy texture—this will give the ice cream layers their signature fluffiness. Next, divide this mixture evenly between two bowls. For the first bowl, mix in the remaining Jell-O powder (dissolved in hot water) to create a vibrant orange-flavored ice cream layer. In the second bowl, simply stir in the vanilla extract for a creamy, classic flavor.
Step 3: Assemble the Cake
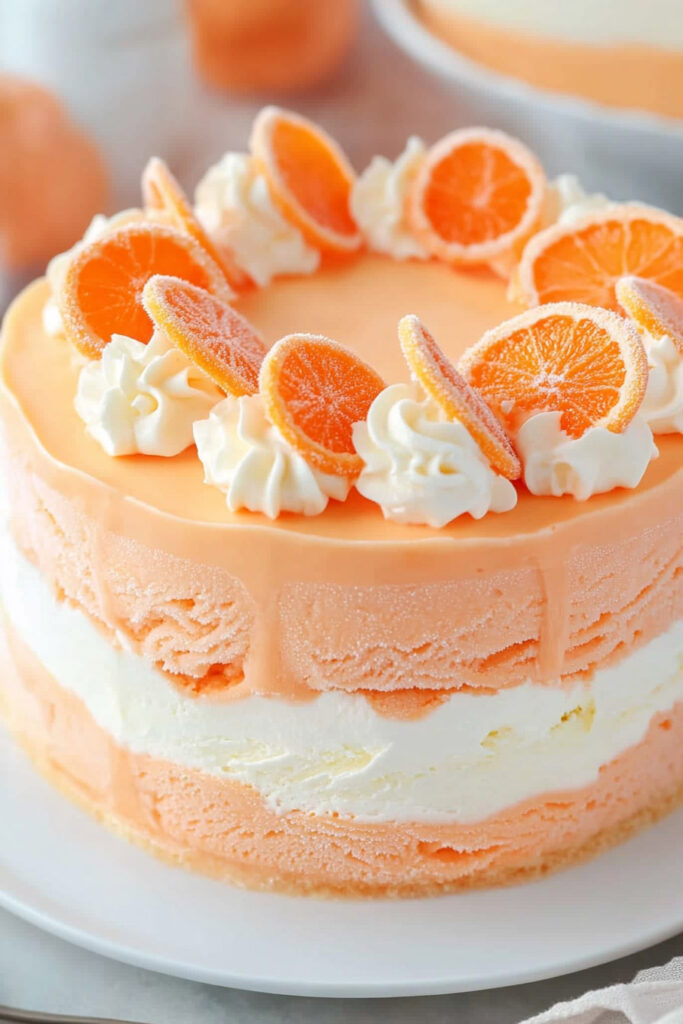
Line your springform pan with parchment paper, making sure it extends a little above the edges for easy removal later. To assemble, place the prepared cake layer at the bottom of the pan. Spread the vanilla ice cream mixture over the cake, smoothing it with an offset spatula or the back of a spoon. On top of that, add the orange ice cream mixture, creating two distinct layers. Cover the pan tightly with plastic wrap or aluminum foil, and freeze the cake for at least six hours or overnight. This part takes time, but the wait is SO worth it!
Step 4: Frost & Decorate
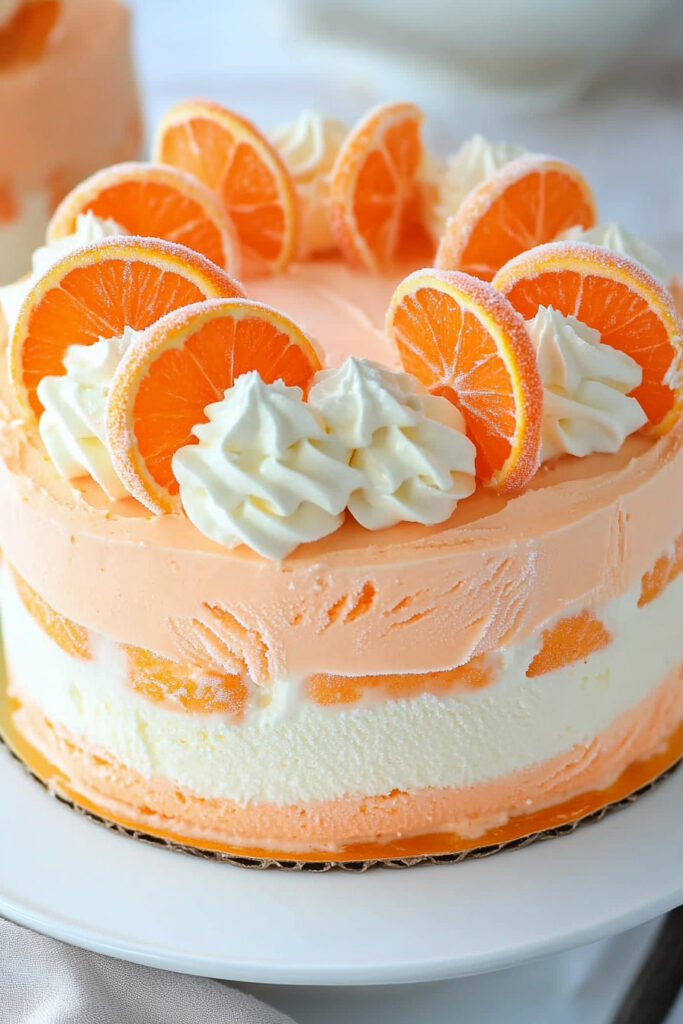
Once the cake is completely frozen, remove it from the springform pan and peel off the parchment paper. Frost the entire cake with Cool Whip, spreading it evenly for a smooth finish. If you want to make it extra festive, you can tint the frosting orange using gel icing color. For the final touches, pipe decorative swirls around the edges and top it off with orange candy slices for an extra pop of color and flavor.
Variations (Because Why Not?)
- Make It Allergy-Friendly: Use gluten-free flour or dairy-free cream cheese and whipped topping for folks with food allergies.
- Switch It Up: Try using lemon or raspberry Jell-O for a fun twist on the flavor.
- Get Fancy: Add orange zest to the cake batter or ice cream layers for a citrusy kick.
How to Serve and Store
- Serving: Slice straight from the freezer for clean cuts. Let it sit for 5 minutes if it’s too hard.
- Storage: Keep leftovers (if there are any!) in an airtight container in the freezer for up to a week.
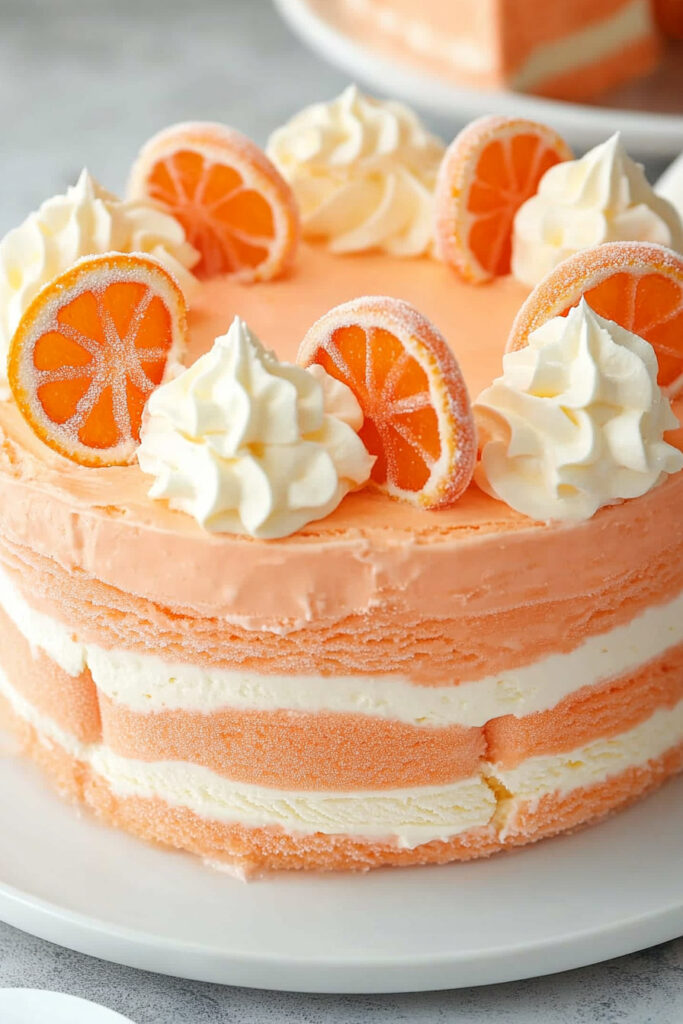
This Orange Creamsicle Ice Cream Cake isn’t just a dessert—it’s a slice of summer and a stroll down memory lane. Perfect for hot days, celebrations, or anytime you need a little extra sweetness in your life. Enjoy!