

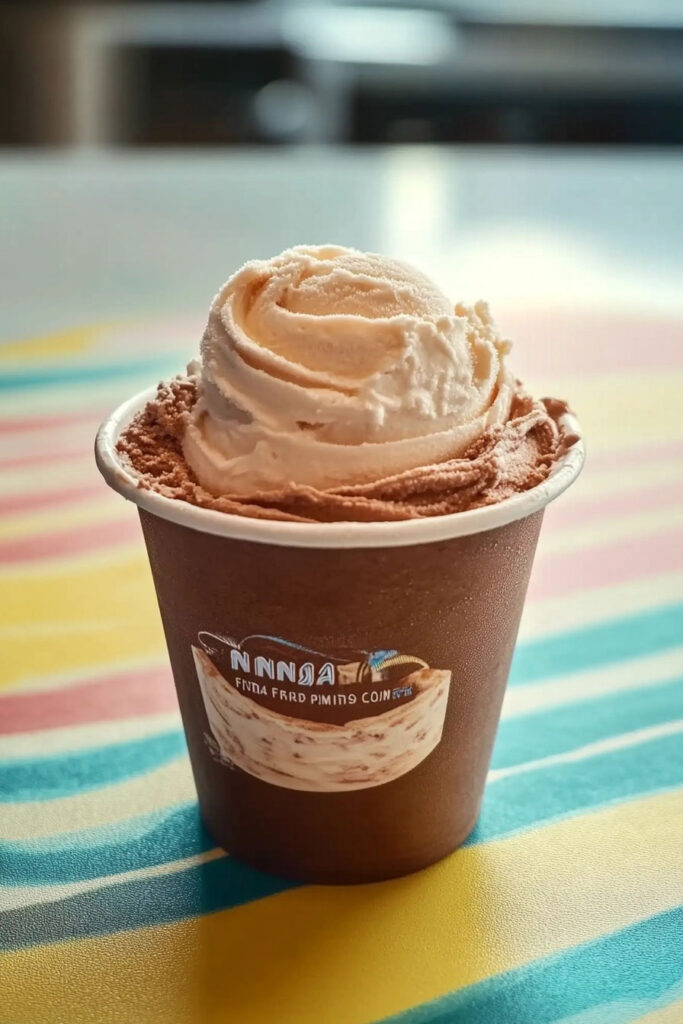
Love ice cream but trying to keep it healthy? You’re in for a treat! This Ninja Creami Fairlife Protein Ice Cream is chocolatey, creamy, and packed with protein—minus the guilt. It’s the perfect dessert when you want something delicious but don’t want to derail your fitness goals. And the best part? It’s super easy to make.
Whether you’re a gym-goer needing extra protein or just someone who loves a good DIY dessert, this recipe is bound to be your new favorite!
Quick Recipe Highlights
Prep Time: 5 minutes
Freezing Time: About 24 hours
Servings: 1 pint (perfect for 1-2 people)
Skill Level: Beginner-friendly (seriously, all you do is mix and press some buttons!).
What You’ll Need
Ingredients
Here’s your 3-ingredient lineup:
- 1 1/3 bottles of Chocolate Fairlife Protein Shake (or use just 1 bottle for a smaller portion)
- 1 tablespoon chocolate sugar-free pudding mix (optional, for extra creaminess)
- 1 tablespoon unsweetened cocoa powder
Substitutes:
- Don’t have Fairlife? Try any creamy protein shake you like.
- No pudding mix? Skip it or use vanilla pudding mix for a twist.
- Prefer a mild flavor? Skip the cocoa powder entirely or swap it for Dutch-process cocoa if you want it really rich.
Tools
- Ninja Creami machine (this is key for the creamy texture)
- Ninja Creami pint container
- Whisk or frother to mix your ingredients
No Ninja Creami? That’s okay! You can use a high-powered blender or ice cream maker. The texture will be different, but hey, it’s still ice cream!
How to Make It
Step 1: Mix It All Together
In a bowl, whisk or froth together the protein shake, cocoa powder, and pudding mix. No lumps allowed! It should look like chocolate milk but slightly thicker. (Pro tip: Taste it before freezing. Not sweet enough? Add a little sweetener now—freezing dulls the sweetness.)
Step 2: Freeze
Pour the mix into your Ninja Creami pint container. Make sure not to overfill. Freeze it for at least 24 hours on a flat surface.
Step 3: Spin It
Time for the fun part! Take the frozen pint and pop it into your Ninja Creami. Use the “Lite Ice Cream” button and let the machine work its magic.
Step 4: Perfect the Texture
Got a crumbly texture after the first spin? No sweat. Add a splash of milk (any kind works) and hit the “Re-spin” button. Repeat if necessary until you have that smooth, creamy goodness.
Tips, Tricks, and Customizations
Here’s how you can make this recipe your own:
Change up the flavors:
- Love mint? Add a splash of peppermint extract.
- Feeling spicy? A sprinkle of cinnamon or chili powder does the trick.
Go fancy:
- Add mix-ins like crushed Oreos, peanut butter swirls, or chopped nuts. Just fold them in after spinning using the “Mix-In” button.
Make it seasonal:
- Swap the chocolate pudding for pumpkin spice pudding in fall.
- Add fresh fruit puree for a summer vibe.
Dietary tweaks:
Keto? Use sugar-free, low-carb ingredients to keep it friendly.
Vegan? Use a plant-based protein shake like Ripple or Orgain.

How to Serve It
Serving Ideas:
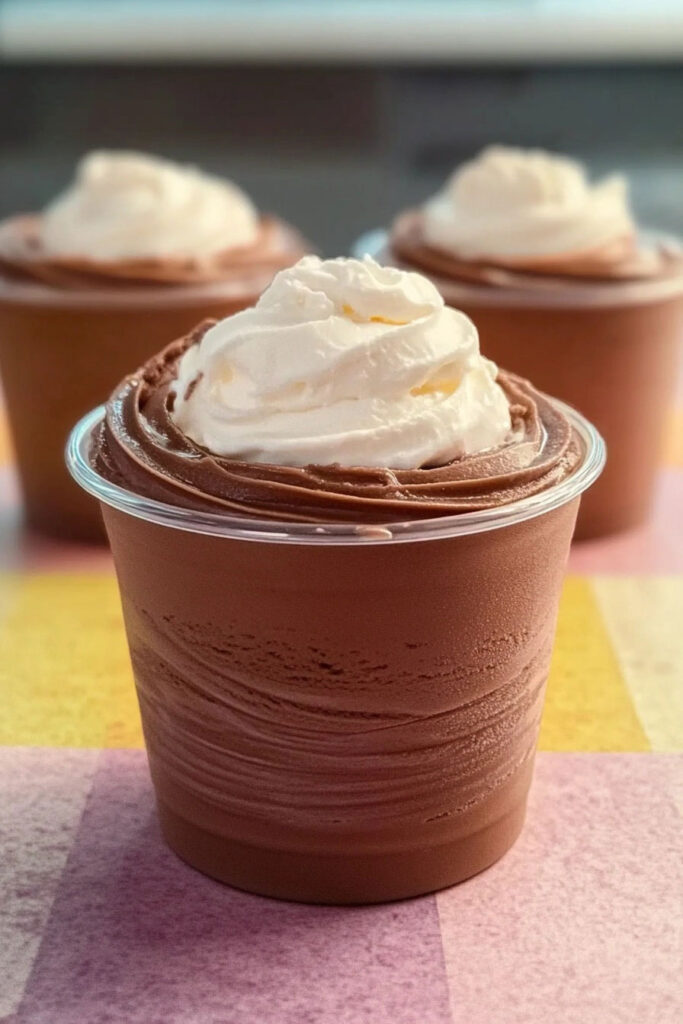
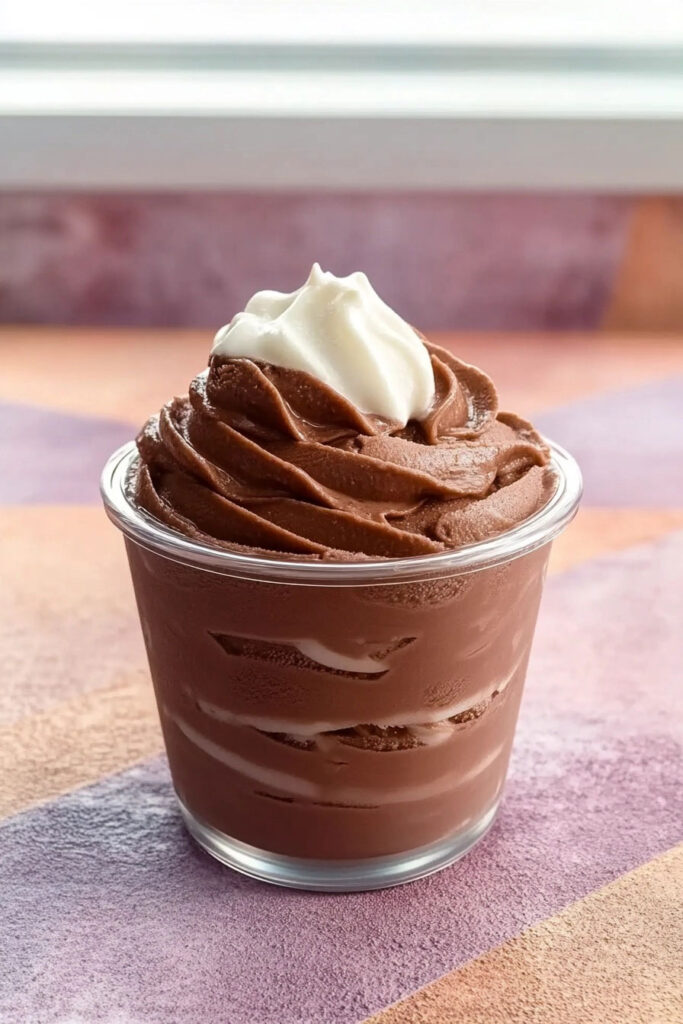
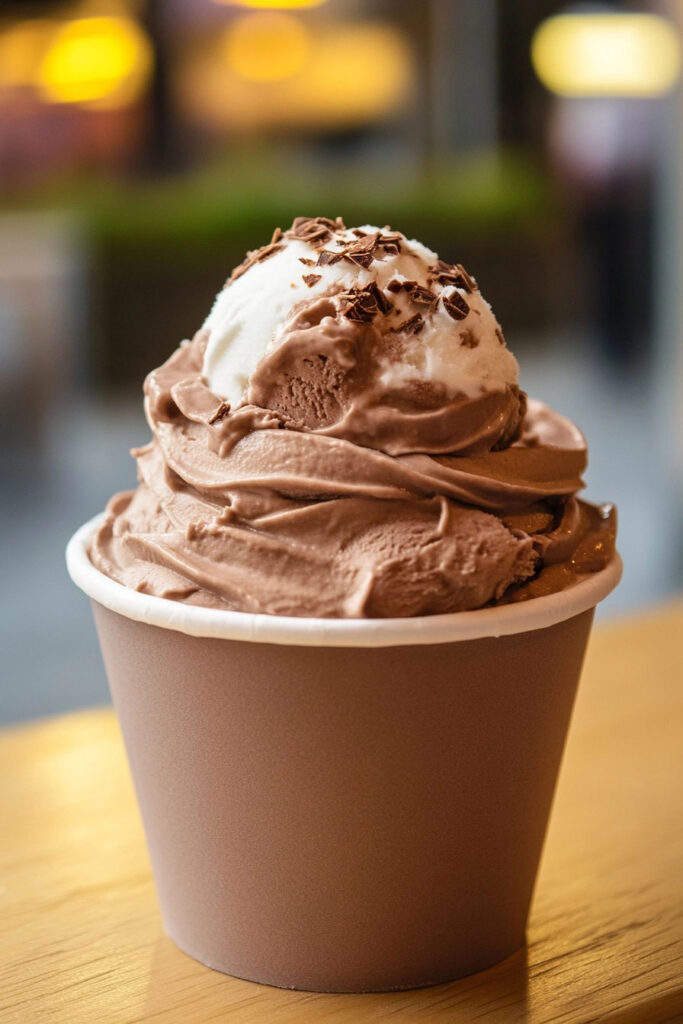
Scoop it into a bowl or cone. Want to be extra? Top it with whipped cream, chocolate shavings, or fresh fruit.
Storage Tips:
Leftovers? Store them in the freezer in an airtight container for up to 4 days. Before eating, let it sit at room temp for a few minutes or re-spin it with a splash of milk to bring back the creaminess.
Batch Prep:
Planning ahead? Make a few pints at once. They can stay in your freezer for up to two weeks. Just remember: always re-spin before serving.
There you have it! A creamy, chocolate protein ice cream that’s satisfying, healthy, and super simple to whip up. Whether it’s a post-workout snack or a weekend indulgence, this recipe is going to hit the spot every time. Enjoy!
PrintNinja Creami Fairlife Protein Ice Cream

This creamy, chocolatey protein ice cream is a game-changer for dessert lovers looking for a healthier option. Made with Fairlife protein shakes, it’s packed with protein, low in sugar, and incredibly easy to make using the Ninja Creami. Whether you’re craving a post-workout treat or a guilt-free indulgence, this recipe is perfect for you!
- Prep Time: 5 minutes
- Cook Time: 5 minutes
- Total Time: 24 hours 10 minutes (includes freezing time)
- Yield: 1 pint 1x
- Category: Dessert
- Cuisine: American
Ingredients
- 1 1/3 bottles of Chocolate Fairlife Protein Shake (use 1 bottle for a smaller portion)
- 1 tablespoon chocolate sugar-free pudding mix (optional for added creaminess)
- 1 tablespoon unsweetened cocoa powder
Substitutions & Notes
- Use any ready-to-drink protein shake if Fairlife isn’t available, but Fairlife provides the best creamy texture.
- You can skip the pudding mix, but it enhances the smoothness of the ice cream.
- Dutch-process cocoa powder can be used for a richer chocolate flavor.
Instructions
In a mixing bowl, whisk together 1 1/3 bottles of Chocolate Fairlife Protein Shake, 1 tablespoon unsweetened cocoa powder, and 1 tablespoon chocolate sugar-free pudding mix until smooth. The mixture should resemble thick chocolate milk.
Pro Tip: Use a handheld frother for an even blend and taste-test the mixture before freezing to adjust sweetness if needed.
Pour the mixture into your Ninja Creami pint container, ensuring it doesn’t exceed the max fill line. Seal with the lid and place on a flat surface in your freezer. Freeze for at least 24 hours until completely solid.
Common Mistake: Freezing on an uneven surface may cause inconsistent churning later.
Once frozen, remove the pint from the freezer and place it in the Ninja Creami’s outer bowl. Secure the lid and lock it into place on the machine. Press the “Lite Ice Cream” button to process into ice cream.
Visual Cue: After spinning, the ice cream may appear crumbly—that’s normal!
If crumbly, add 1 tablespoon of milk (any type works) directly into the pint and select the “Re-spin” function. Repeat as needed until you achieve a smooth, creamy texture.
Pro Tip: Adding milk during re-spinning enhances creaminess without altering flavor significantly.
Notes
Serving Suggestions
Serve immediately in bowls or cones. Top with whipped cream, fresh berries, or shaved chocolate for an extra special treat!
Tips & Tricks
- For variety, add mix-ins like crushed cookies or nuts after spinning using the “Mix-In” function on your Ninja Creami.
- Taste-test your base mixture before freezing to ensure sweetness is just right since freezing dulls flavors slightly.
Storage & Reheating Instructions
Store leftover ice cream in an airtight container in your freezer for up to four days. Before serving again, let it sit at room temperature for 5–10 minutes or re-spin in your Ninja Creami with a splash of milk to restore its creamy texture.