

Let’s Talk About This Dessert…
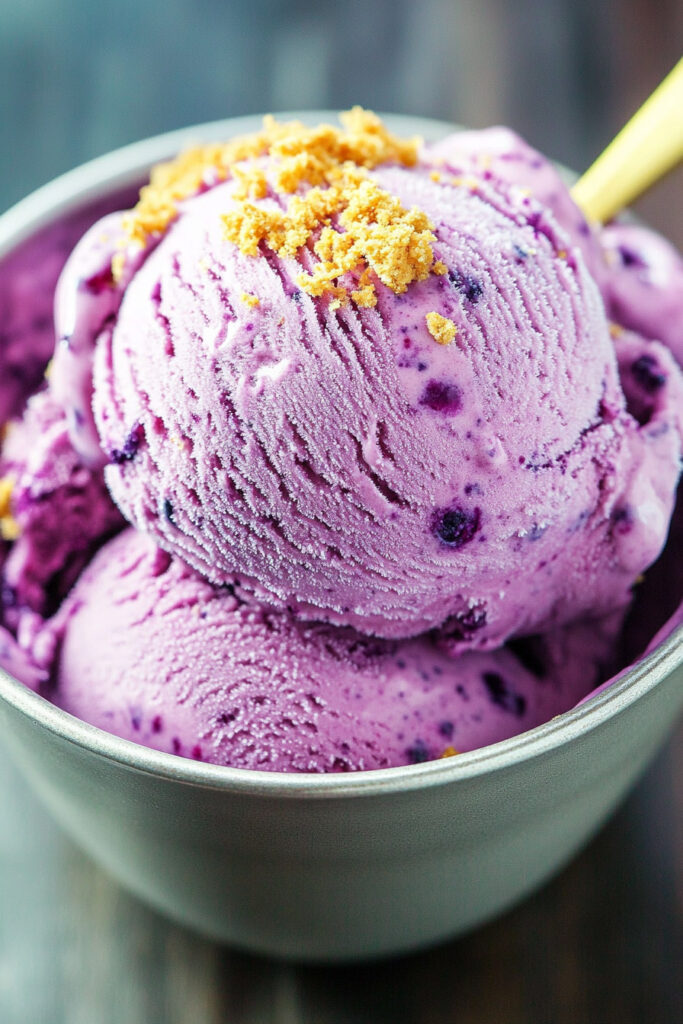
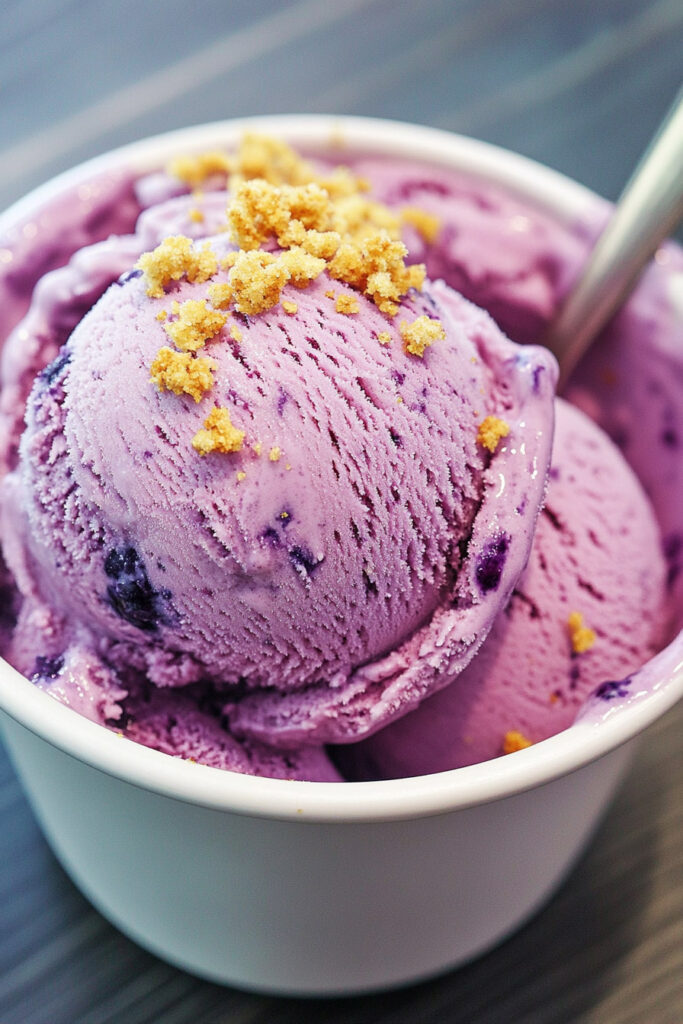
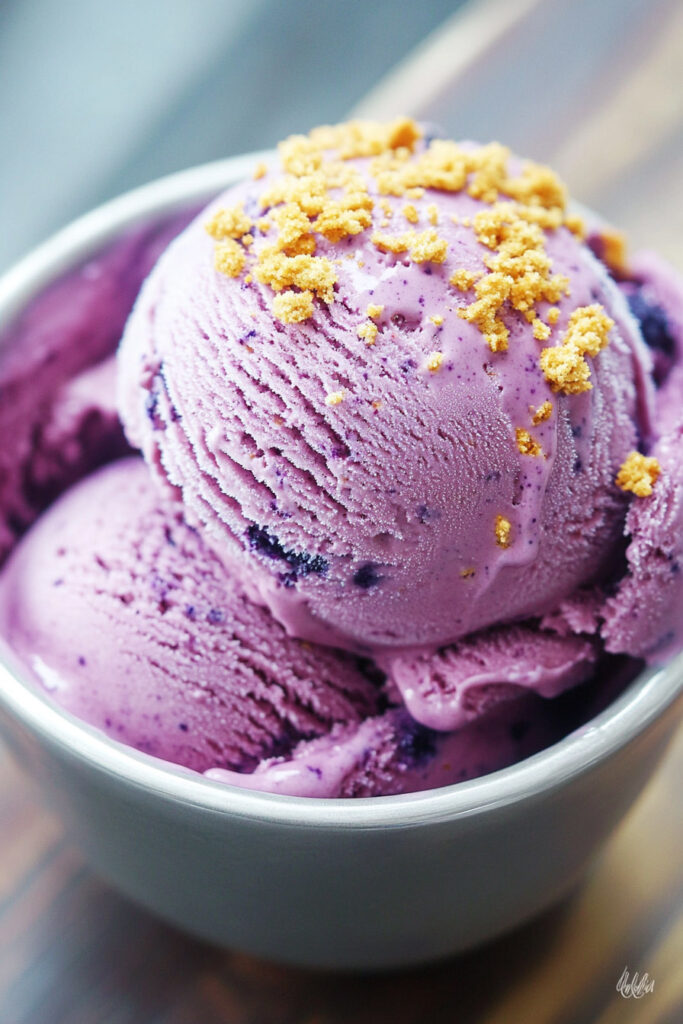
Blueberries and cheesecake—what a match made in dessert heaven! Now, imagine that combo turned into a rich, creamy ice cream that’s both keto-friendly and ridiculously easy to make. Sound good? This recipe is your answer. It’s perfect for anyone on a low-carb journey but still needing a little sweetness in their lives. With fresh blueberries for that natural tang and cheesecake vibes in every bite, this dessert feels indulgent without the guilt. Trust me, whether you’re a keto pro or just starting out, this one’s a winner.

Recipe Highlights
Quick Facts
- Total Time:
- Prep: 5 minutes
- Freezing: 24 hours
- Processing: 5–10 minutes
- Servings: 2–3 per pint. Want more? Double or triple the recipe.
- Difficulty: Super simple. Even if your cooking skills are… well, nonexistent.
- Equipment:
- Blender or food processor
- Ninja Creami (or any ice cream maker)
- Measuring tools
Why This Recipe Works
- Prepping ahead means it’s always ready when the craving hits.
- Freezer-friendly! It keeps for up to two weeks.
- No tricky techniques—just blend, freeze, and spin.
Here’s What You’ll Need
Ingredients
- ½ cup heavy whipping cream: For a rich, creamy base.
- ¾ cup unsweetened almond milk: Lightens things up, keto style.
- ½ cup frozen blueberries: Bursts of summery sweetness. (Fresh blueberries? Just freeze them first.)
- 2 tablespoons cream cheese: Cheesecake flavor = unlocked.
- 2 tablespoons sweetener (Swerve, allulose, etc.): Sweeten it up, but remember, frozen tastes less sweet, so adjust accordingly!
- 1 scoop vanilla protein powder: Adds flavor, texture, and even some protein points.
Ingredient Swaps
- Need it nut-free? Sub almond milk for coconut milk.
- No Swerve? Allulose or monk fruit work too. You’re in control here.
- Not into protein powder? Try sugar-free cheesecake pudding mix—for a slightly higher carb count.
Step-by-Step Instructions
Step 1: Blend It Up
Throw all your ingredients—cream, almond milk, blueberries, softened cream cheese, sweetener, and protein powder—into a blender. Blend on high until smooth.
Quick Tip: Taste it before freezing! It should be a bit sweeter than you like—freezing will tone down the sweetness.
Step 2: Freeze the Mixture
Pour everything into the Ninja Creami pint container. Don’t go over the max fill line! Pop on the lid, stick it in the freezer, and forget about it for at least 24 hours.
Step 3: Spin It to Win It
Take the frozen pint out of the freezer and load it into your Ninja Creami. Select the “Lite Ice Cream” setting. One spin might do it, but if the texture feels crumbly, spin again. Still not creamy? Add a little almond milk and spin one more time.
Step 4: Dive In
Scoop it into bowls, grab a spoon, and enjoy! Leftovers? Just smooth the top of the ice cream in the pint container before sealing it. This helps avoid freezer burn.
Customize It
Make It Yours:
- Dairy-Free? Use coconut cream and dairy-free cream cheese.
- Vegan? Switch to plant-based protein powder and alternatives.
Want Extra Flavor?
- Add a splash of vanilla extract or a pinch of lemon zest.
- Swirl in some sugar-free blueberry jam after spinning for that ripple effect.
Seasonal Swaps:
- Try it with strawberries, raspberries, or blackberries instead of blueberries.
- Feeling autumnal? Sprinkle in cinnamon or nutmeg.
Tips & Tricks
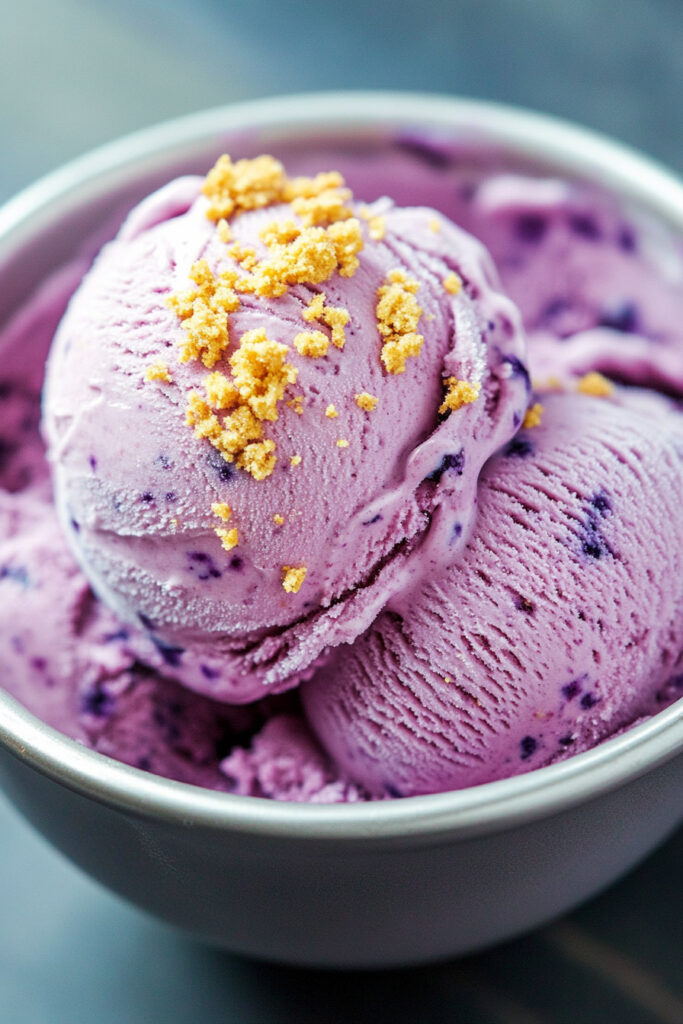
- Serving Ideas: Serve in bowls, waffle cones, or even fancy glasses for a treat-yourself moment. Add some fresh berries or crushed keto cookies on top for texture.
- Storage: Keep it in the pint container in your freezer for up to two weeks. Smooth out the top before sealing to keep it fresh.
- Too Hard to Scoop? Let it sit for 10 minutes or re-spin it in the Ninja Creami for that creamy magic.
This blueberry cheesecake ice cream isn’t just a treat—it’s a game-changer for your keto dessert game. Simple to make, endlessly customizable, and totally delicious. What are you waiting for? Give it a spin—literally.