

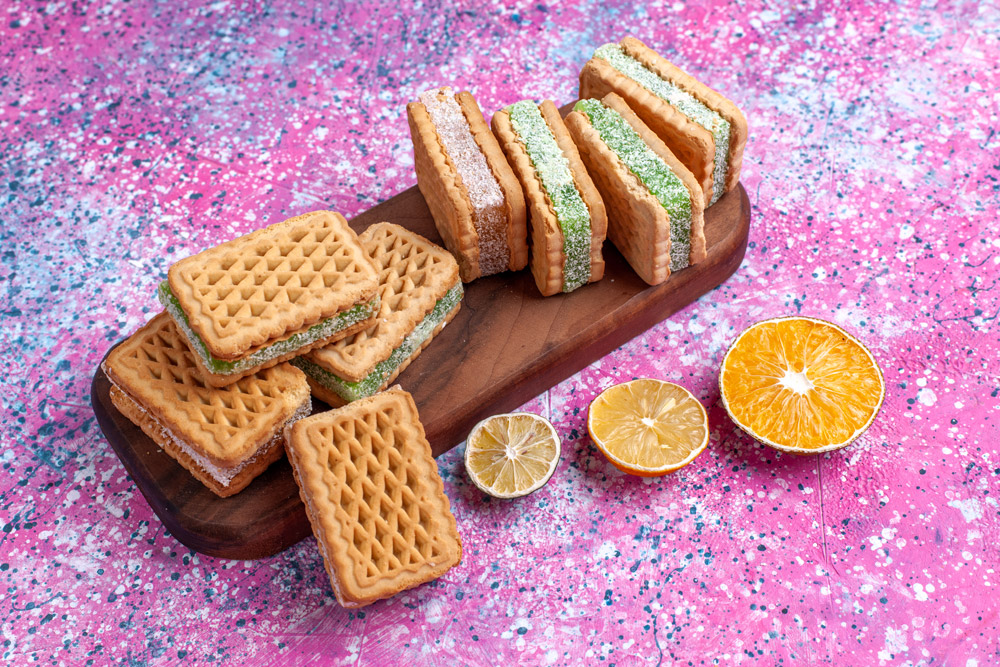
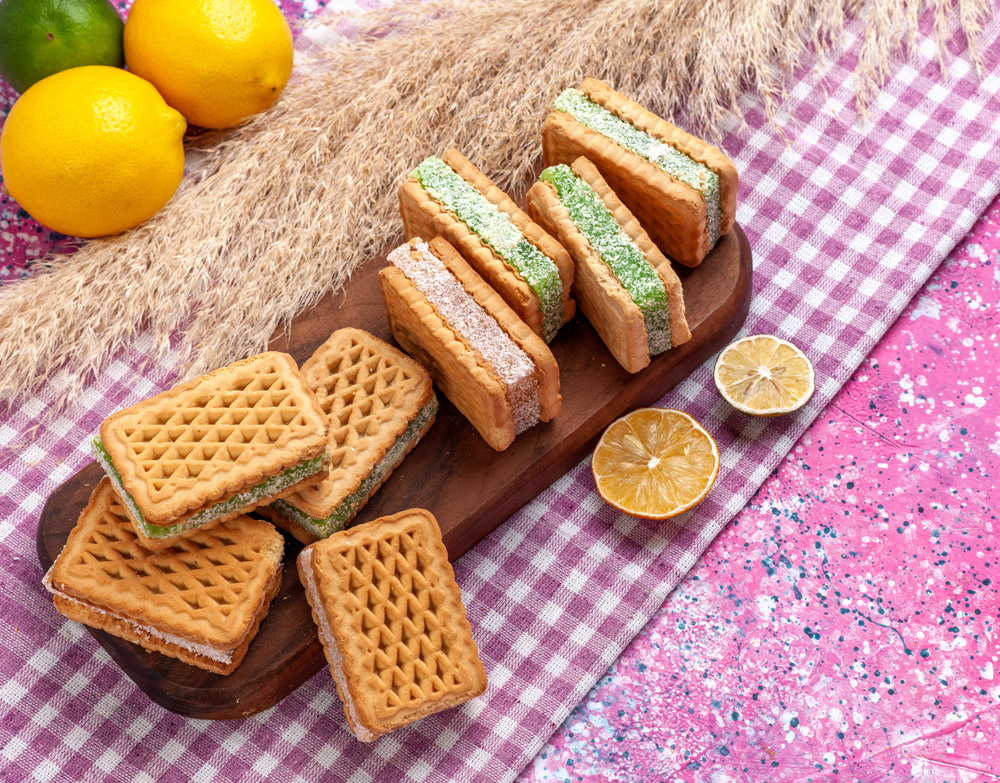
Ever had a dessert so simple yet so pretty it could steal the spotlight at any gathering? These Rainbow Bliss Ice Cream Sandwiches are exactly that.
Crisp waffle-style cookies? Check. Creamy, colorful layers of ice cream? Double check. A touch of fun with coconut, sprinkles, or pistachios? Absolutely. These sweet little sandwiches aren’t just a dessert—they’re a conversation starter. Perfect for a hot afternoon treat or a chilled addition to your kid’s birthday party spread.
Making them? Easier than you’d think. I’ll walk you through everything step by step, just like we’re hanging out in the kitchen together.

Why You’ll Love This Recipe:
Here’s the deal:
- Simple Ingredients: You probably already have everything you need.
- No-Bake: Forget about turning on the oven.
- Totally Customizable: Swap in your favorite ice creams or toppings.
- Kid-Friendly: A fun project for little helpers.
The best part? You can make these ahead of time. Just pull them out of the freezer when it’s time to serve.
Quick Recipe Overview
- Prep Time: 15 minutes
- Freeze Time: 2 hours
- Servings: 8 sandwiches
- Difficulty: Super easy
What You’ll Need:
- A baking tray
- Parchment paper
- Spoon or butter knife
- A little patience while they freeze
Ingredients Breakdown
Here’s what you’ll need:
- 16 waffle cookies: These are the stars of the show. Store-bought is perfect.
3 kinds of ice cream:
- 1 cup of vanilla.
- 1 cup of mint (or swap for pistachio if you prefer).
- 1 cup of strawberry for that sweet pink hue.
Decorations:
- ½ cup desiccated coconut.
- ½ cup chopped pistachios.
- ½ cup colorful sprinkles.
Pro Tip: Let your ice cream soften for about 5–10 minutes before you start. It should spread easily but not melt into a puddle.
Ingredient Swaps:
- Gluten-free? Use GF cookies.
- Vegan? Go for dairy-free ice cream and cookies.
- Don’t like mint? Choose another flavor that makes your heart happy.
How to Make Them—Step by Step
Step 1: Get Your Cookies Ready
Line a baking tray with parchment paper. Lay 8 of your cookies flat-side up.
Step 2: Spread Your Ice Cream Layers
- Start with vanilla. Spread about 2 tablespoons evenly on each cookie.
- Next, add a thinner layer of mint. Just enough for that subtle green stripe.
- Finally, finish with strawberry for a pop of pink. Smooth it out gently.
Pro Tip? Don’t overthink the layers. They don’t have to be perfect, just delicious.
Step 3: Sandwich Time
Take another cookie and place it on top, flat side down. Press gently—just enough to hold everything together without squishing the ice cream out.
Step 4: Add Some Fun
Roll the sides of each sandwich in your chosen topping. Coconut, sprinkles, pistachios—you can’t go wrong.
Step 5: Freeze and Wait
Pop your tray in the freezer for at least 2 hours. Let the sandwiches set so they’re firm enough to handle without turning into a melty mess.

Variations You’ll Love
- Keep It Simple: Stick with one ice cream flavor if you’re in a hurry.
- Go Seasonal: Try pumpkin or spiced ice cream in the fall.
- Upgrade for Adults: Add a drizzle of chocolate before freezing for an elegant twist.
Serving and Storing
Serving Tips:
- Arrange these on a wooden board for a rustic vibe.
- Sprinkle some extra pistachios or coconut around the edges for a polished look.
- Let them sit at room temp for 1–2 minutes before eating if they’re rock-solid.

Storing Details:
- Keep them in an airtight container in the freezer. They’re good for a week!
- Stack them with parchment in between to avoid sticking.
Final Thoughts
These Rainbow Bliss Ice Cream Sandwiches are the kind of dessert that screams fun. They’re simple, vibrant, and endlessly customizable. Whether you’re whipping these up for a party or a rainy-day pick-me-up, they’re bound to spread smiles.
So, grab your waffle cookies and favorite ice creams, and let’s get creative! Trust me, you’ll want to make extra—these disappear fast.