
")
Who doesn’t love a scoop of vanilla ice cream? It’s simple, classic, and fits any mood or occasion. And the best part? You can still enjoy it even if you’re following a Paleo, AIP, Vegan, or Keto diet. This recipe is perfect for anyone who wants that creamy, dreamy indulgence without the guilt.
Why make your own? It’s healthier, easier than it seems, and completely customizable. With just a few clean ingredients, you’ll whip up an ice cream that tastes just as good—if not better—than anything store-bought. Let’s get started!
Quick Look at the Recipe
- Prep Time: 10 minutes
- Total Time: 35 minutes (plus freezing time)
- Servings: About 5
- Skill Level: Easy
- Equipment: Blender, optional ice cream maker, and a freezer-safe container.
Pro Tip: Don’t have an ice cream maker? No problem! I’ll walk you through a no-churn option.
What You’ll Need
Ingredients:
- Coconut Milk: 2 cans (13.5 oz each) of full-fat coconut milk. Want it extra creamy? Use coconut cream!
- Sweetener: ⅔ cup maple syrup (or liquid allulose for Keto).
- Vanilla Extract: 2 tablespoons (it’s optional, but it makes the texture creamier).
- Sea Salt: A pinch (optional, but it boosts the flavor).
Substitutions:
- No maple syrup? Try honey (Paleo-friendly) or monk fruit sweetener (Keto).
- AIP-follower? Use alcohol-free vanilla flavoring instead of extract.
- Need an alternative to canned coconut milk? Try homemade coconut milk or a mix of coconut and almond milk.
How to Make It
Step 1: Prep Your Gear
If you’re using an ice cream maker, stick the bowl in your freezer at least a day ahead—it needs to be ice-cold for proper churning.
Step 2: Blend the Base
Throw all your ingredients into a blender: coconut milk, your sweetener, vanilla, and that pinch of salt (if you’re using it). Blend it on medium speed for about 30 seconds, or until everything’s smooth.
Key Tip: If your coconut milk is clumpy, don’t panic! Just keep blending until it’s silky and lump-free.
Step 3: Churn (or No-Churn)
- With an Ice Cream Maker: Pour the mixture into the pre-frozen bowl and churn following the machine’s instructions. In about 20-25 minutes, you’ll have soft-serve perfection.
- Without an Ice Cream Maker: Pour the mix into a freezer-safe container. Stir it every hour for the first 3 hours (this keeps it creamy and prevents ice crystals).
Step 4: Freeze
Want that perfect scoopable texture? Transfer the ice cream to a container, smooth the top, and freeze it for 2-4 more hours. Before serving, let it sit at room temp for about 10 minutes—it’ll scoop like a dream!
Get Creative with Variations
- AIP Option: Use vanilla powder or alcohol-free flavoring.
- Keto-Friendly: Replace maple syrup with liquid allulose or powdered monk fruit sweetener.
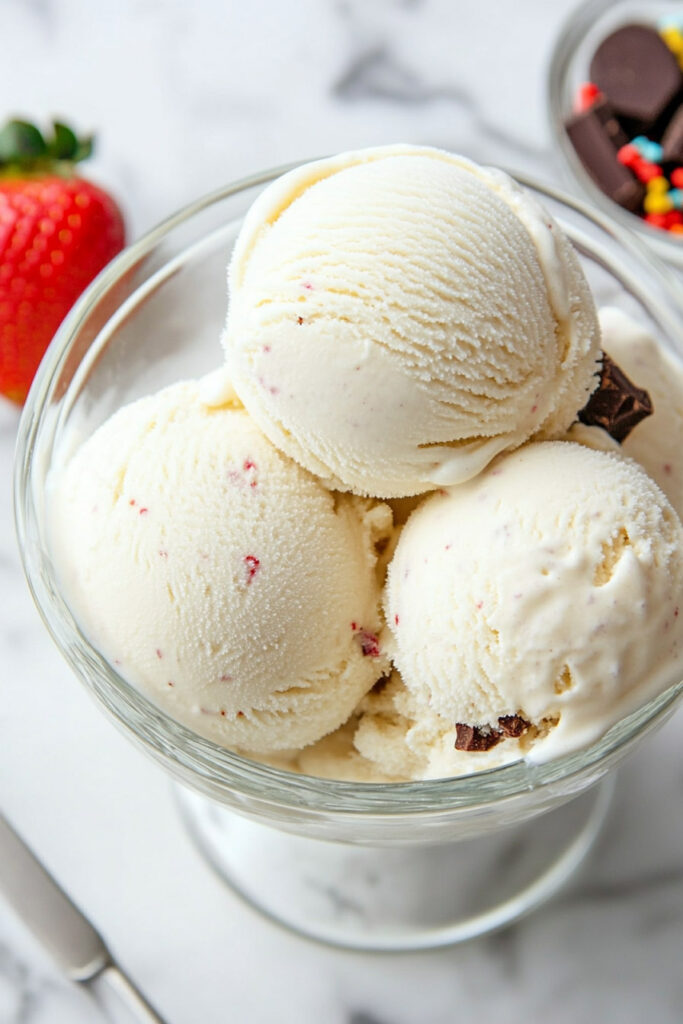
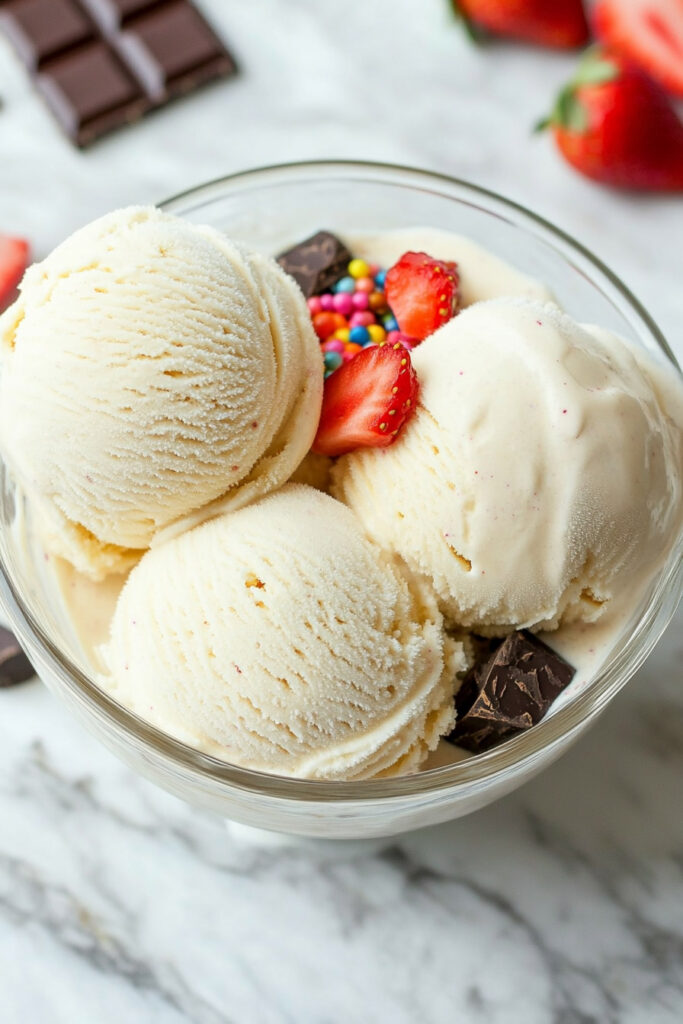
- Chocolate Swirl: Drizzle melted dark chocolate during churning.
- Mint Chocolate Chip: Add peppermint extract and chocolate chips.
- Berry Swirl: Mix in some strawberry or blueberry puree before freezing.
Seasonal Twist: In summer, serve with fresh fruit. In fall, add a sprinkle of cinnamon or pumpkin spice to the mix.
Tips for Serving & Storing
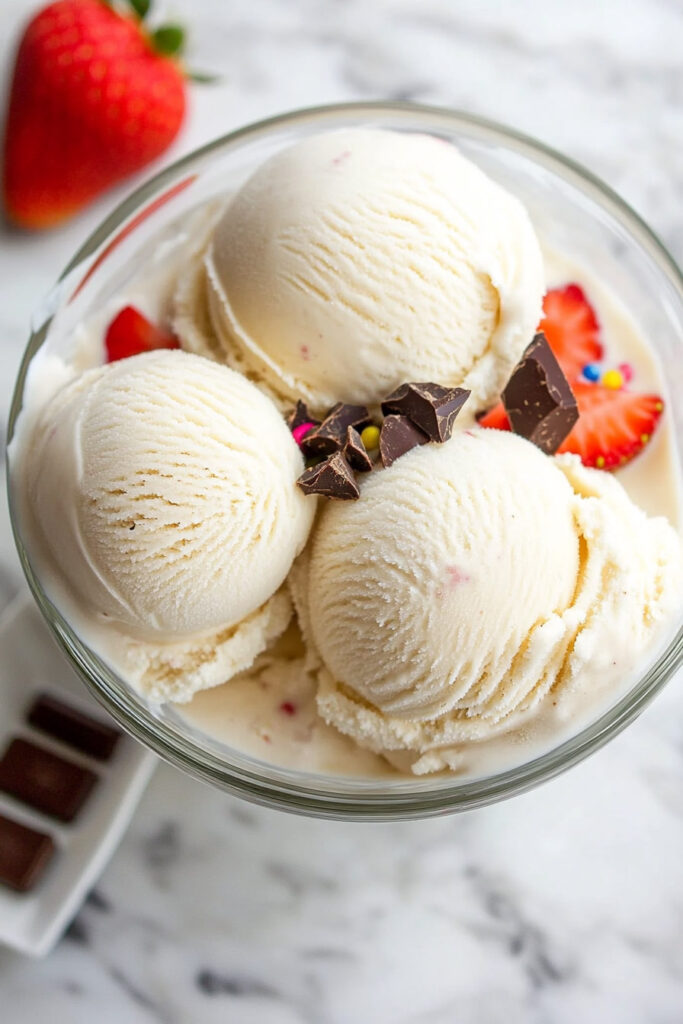
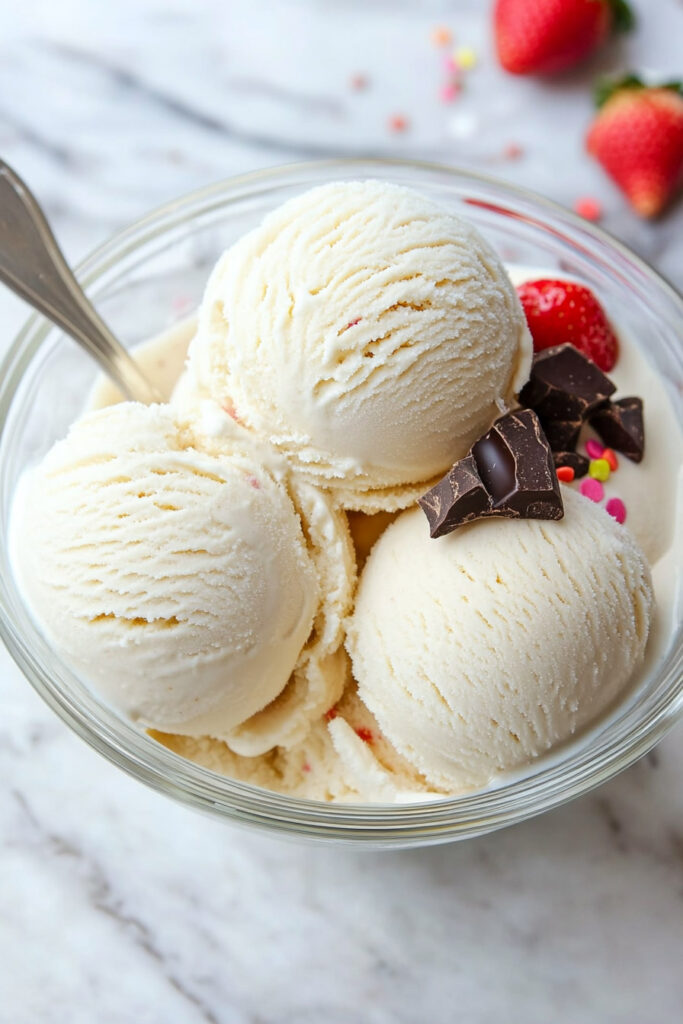
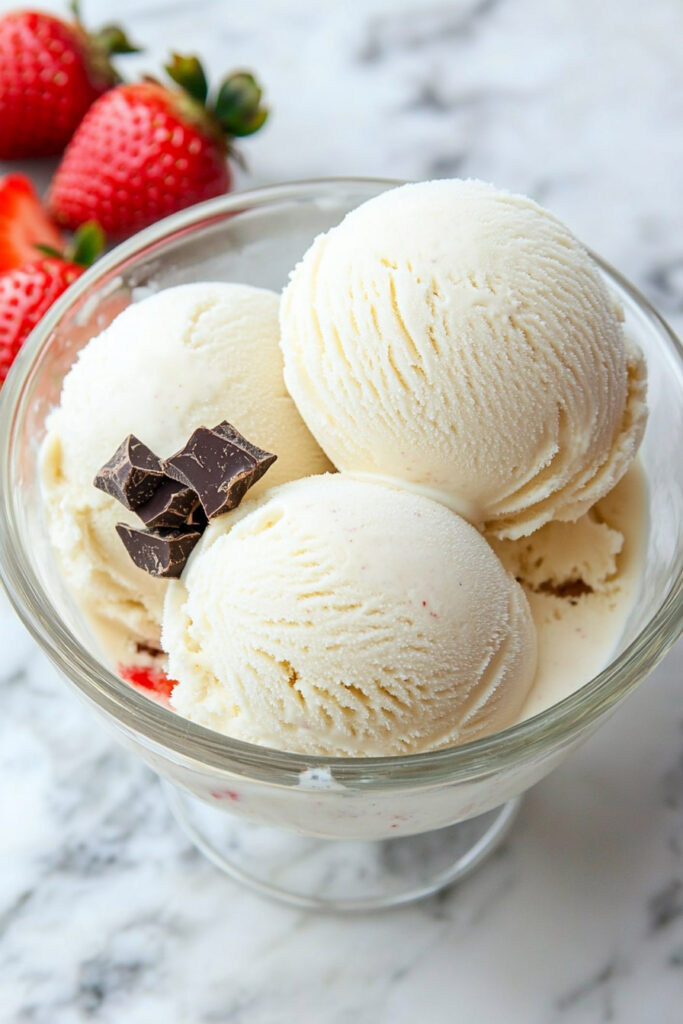
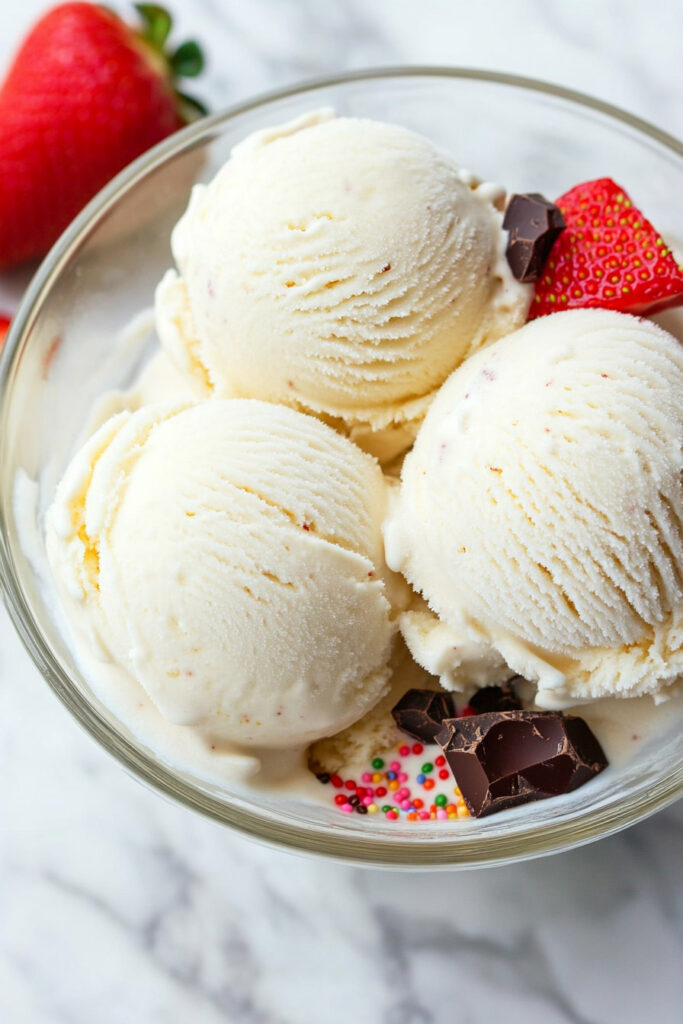
- Serving Ideas: Scoop it into cones or bowls. Top it with fresh berries, crushed nuts, or a drizzle of dark chocolate for extra flair. It’s also amazing with warm desserts like cobblers or pies!
- Storage: Keep it in an airtight container in the freezer for up to 2 weeks. (Pro tip: Homemade ice cream is best enjoyed sooner rather than later.)
This Paleo Vanilla Ice Cream is proof that healthy eating doesn’t mean sacrificing flavor. So grab a spoon and dig in—you deserve it! Have fun experimenting with flavors, and let me know how it turns out. Happy scooping!