

Vanilla ice cream. It’s simple, timeless, and oh-so-delicious. But did you know it wasn’t always the everyday treat we know today? Back in the day, vanilla was a luxury. Rare, expensive, and only for the elite. Before the mid-19th century, it was sourced exclusively from Mexico and had to be hand-pollinated—a slow, painstaking process.
And then came Edmond Albius. In 1841, this 12-year-old slave on Réunion Island figured out how to hand-pollinate vanilla flowers quickly. His discovery changed everything, making vanilla accessible to the world.
Fast forward to today: vanilla ice cream is a universal favorite. And with this sugar-free version, you get all the creamy goodness without the guilt. Whether you’re cutting back on sugar or just want a healthier dessert, this recipe will hit the spot!
The Basics
Quick Overview
- Prep Time: 10 minutes
- Freeze Time: 24 hours minimum
- Churn Time: 3–5 minutes
How Many Servings?
This makes one pint, which serves 2–4 people. Hungry for more? Just double (or triple) the recipe and use extra Ninja Creami pint containers.
Skill Level
Super easy. If you can whisk, you can make this. Promise.
What You’ll Need
Equipment
- Ninja Creami Ice Cream Maker
- Mixing bowl or large measuring cup
- Whisk (or immersion blender)
- Measuring spoons and cups
Don’t have a Ninja Creami? No problem. Use a metal loaf pan instead. Simply freeze the mixture and stir it every 30 minutes until it’s creamy.
Make-Ahead Tip
Prep a few pints ahead of time. They’ll keep in the freezer for up to two weeks, so you’re never more than a few minutes away from dessert.
Ingredients
Main Ingredients
- 1 ½ cups milk of your choice (whole milk, almond milk, or coconut milk all work)
- 3 tablespoons instant sugar-free vanilla pudding mix
- ½ cup heavy cream (or canned coconut cream)
- 1 teaspoon vanilla extract
Optional Substitutions
- Using non-dairy milk? Almond, oat, or soy milk are great options.
- Need a vegan version? Swap heavy cream for coconut cream.
- Don’t like pudding mix? Skip it or use a keto-friendly brand. Just know it helps with that creamy texture.
Pro Tip: High-quality vanilla extract or vanilla bean paste makes a big difference. Don’t skimp here.
How to Make It
Step 1: Mix It All Together
Whisk the milk and vanilla pudding mix in a bowl or measuring cup. Stir until the mix fully dissolves. It’ll thicken slightly—totally normal!
Want a smoother mixture? Use an immersion blender to nix any lumps.
Step 2: Add the Cream and Vanilla
Next, pour in the heavy cream (or coconut cream) and vanilla extract. Whisk again until everything’s smooth and creamy. The final texture should look like thin pancake batter.
Step 3: Freeze It
Pour the mixture into your Ninja Creami pint container. Don’t overfill—leave a little space below the max fill line. Pop on the lid and freeze flat for at least 24 hours.
Quick Reminder: Overfilling can cause the mixture to expand too much and overflow. Nobody wants that mess.
Step 4: Churn Away
Take the pint out of the freezer and attach it to your Ninja Creami. Select the “Lite Ice Cream” setting and hit start.
If the ice cream looks crumbly after churning, no worries. Just use the “Re-spin” function or add a splash of milk to smooth it out.
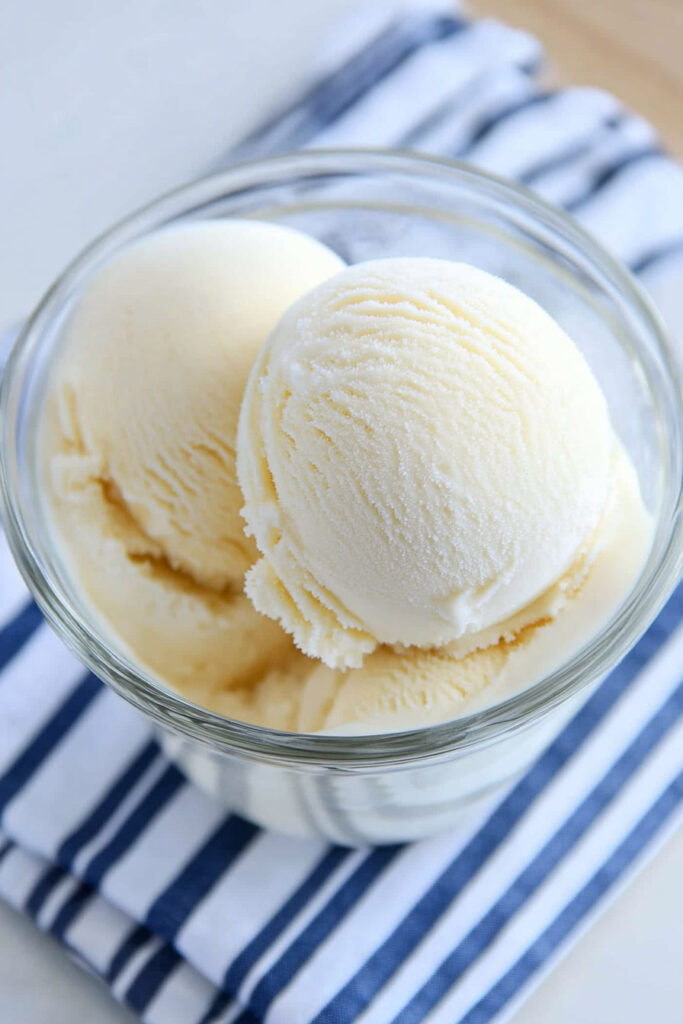
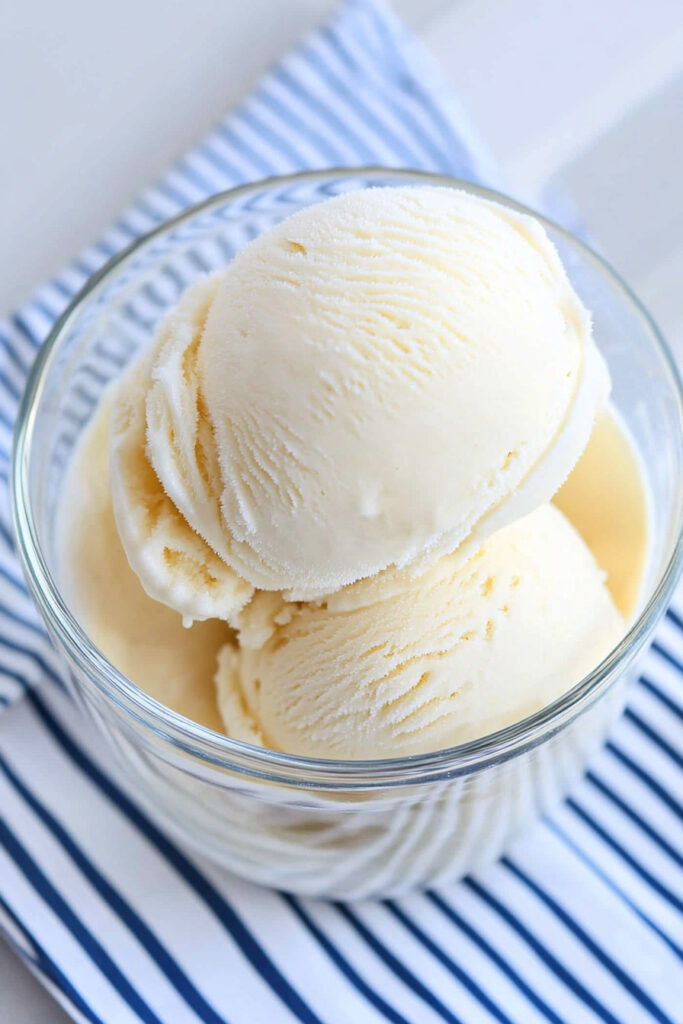
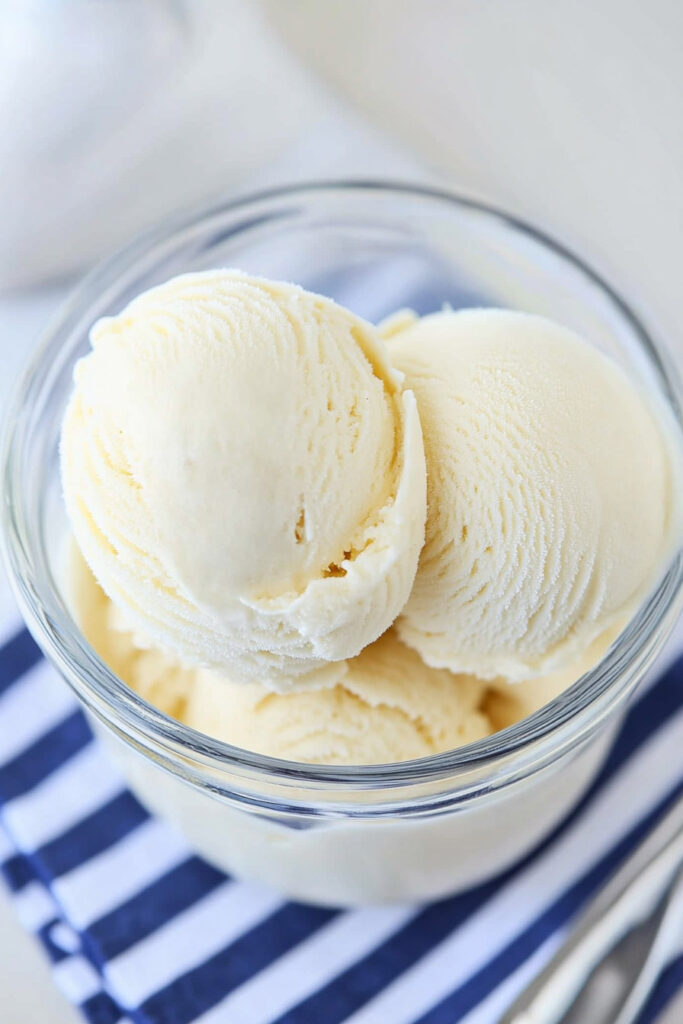
Step 5: Serve It Up
Scoop your creamy creation into bowls, cones, or straight onto a spoon. Want extra pizzazz? Add some sugar-free chocolate chips, nuts, or fresh berries.
Tips, Variations, and More

Make It Your Own
- Keto-Friendly Version: Use full-fat dairy and a low-carb pudding mix.
- Vegan Option: Go with almond milk and coconut cream.
- Add a pinch of cinnamon or a splash of rum extract for fun flavor twists.
- Feeling adventurous? Use the “Mix-In” setting after churning to swirl in some crushed cookies or nuts.
Seasonal Ideas
- Summer? Top with fresh peaches or strawberries.
- Winter? Warm it up with a drizzle of sugar-free caramel.
Serving Suggestions

How to Serve
- For an elegant touch, use chilled bowls and garnish with a sprig of mint.
- Making it for kids? Add sprinkles or a drizzle of sugar-free syrup.
What to Pair It With
Serve alongside warm, sugar-free brownies or a refreshing fruit salad. Trust me—it’s a winning combo.
Storing Leftovers
Keep any extras in the same pint container with the lid tightly sealed. It’ll last up to two weeks in the freezer. Pro Tip: Let it sit out for 10–15 minutes before serving so it softens up. If needed, re-spin it in the Ninja Creami to restore that creamy perfection.
This sugar-free vanilla ice cream is proof that healthier desserts can still be indulgent. Creamy, rich, and perfectly sweet—it’s the treat your taste buds (and your diet) will thank you for. Try it out and see if it doesn’t become your new go-to dessert!