

You take a bite. The creamy tang of cheesecake hits first. Then, the sweetness of fresh strawberries kicks in. Oh, and did I mention it’s guilt-free and packed with protein? Yep, you heard that right. This Ninja Creami Strawberry Cheesecake Protein Ice Cream isn’t just dessert—it’s your new favorite treat.
Here’s the cool part: this recipe combines all the indulgence of classic ice cream with a healthy twist. Inspired by the viral cottage cheese ice cream trend, it’s easy to make, completely customizable, and perfect for anyone trying to stay on track with their fitness goals—or just enjoy a seriously good dessert.
What Makes This Recipe So Great?
- Prep Time: 10 minutes (plus freezing overnight!)
- Yields: One pint (two servings)—but feel free to double it!
- Skill Level: Super easy. Beginners and seasoned chefs alike can handle this.
- Tools You’ll Need:
- Ninja Creami machine
- Blender or milk frother
- A freezer-safe pint container (comes with the Ninja Creami)
Need dessert in a pinch? Freeze the base ahead of time, and you’ll have it ready to process whenever you want.
The Ingredients You’ll Need
Ice Cream Base:
- 1 cup whole milk (or use Fairlife for extra protein!)
- 2 tbsp sugar-free cheesecake instant pudding mix
- 2 tbsp vanilla or strawberry cheesecake protein powder
- 2 tbsp no-sugar-added strawberry jam
- 2 tbsp light cream cheese (softened—microwave it for a few seconds)
- Optional: A tiny pinch of salt for flavor
Mix-ins:
- ½ cup diced fresh strawberries
- ½ cup crushed graham crackers
Swaps & Tweaks
- Don’t do dairy? Use almond or coconut milk, vegan cream cheese, and plant-based protein powder.
- Out of cheesecake pudding mix? Vanilla works too.
- No fresh strawberries? Thawed frozen ones are just as good.
Step-by-Step Directions
Step 1: Mix the Base
Grab a bowl or your Ninja Creami pint container. Pour in the milk, pudding mix, protein powder, jam, and softened cream cheese. Blend it all up until smooth. No blender? A milk frother works like a charm.
Pro Tip: The base should look like a milkshake—smooth and pale pink.
Step 2: Freeze the Base
Pour the mixture into your Creami pint container, keeping it below the max-fill line. Pop it in the freezer for 24 hours.
Insider Tip: Freeze it without the lid to avoid weird lumps on top.
Step 3: Process in the Creami
Time to bring that frozen block to life! Put the pint in your Ninja Creami and hit the “Lite Ice Cream” button. After the first spin, the texture might look crumbly—don’t panic! That’s normal.
Step 4: Add the Good Stuff
Make a little well in the middle of the processed ice cream. Toss in your diced strawberries and crushed graham crackers. Need it creamier? Add a splash of milk. Then, run the “Mix-In” setting.
Step 5: Serve It Up
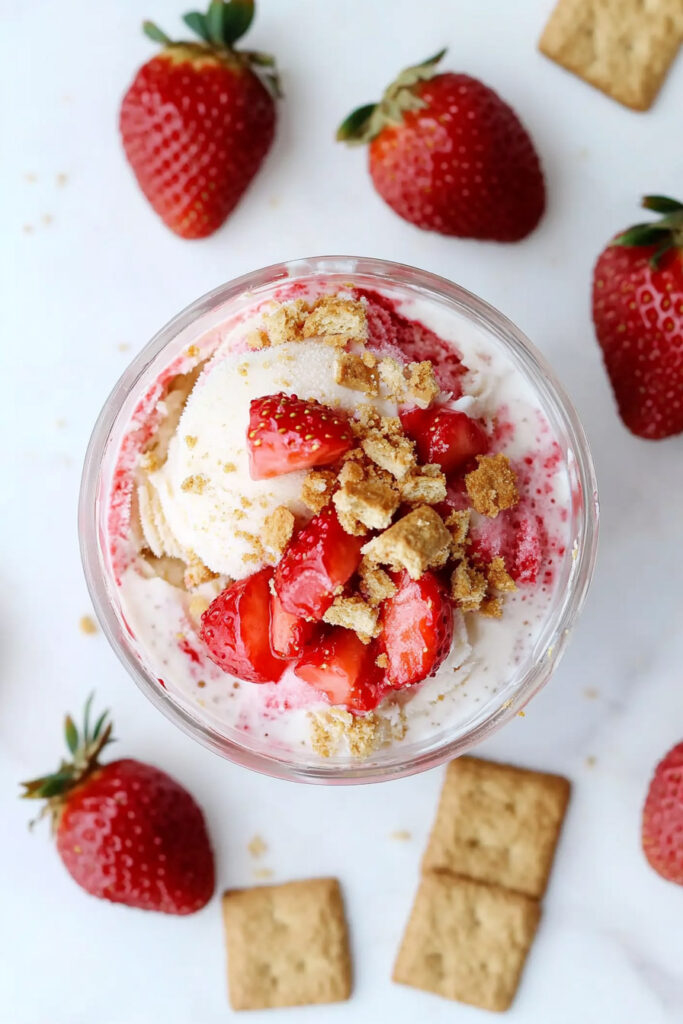
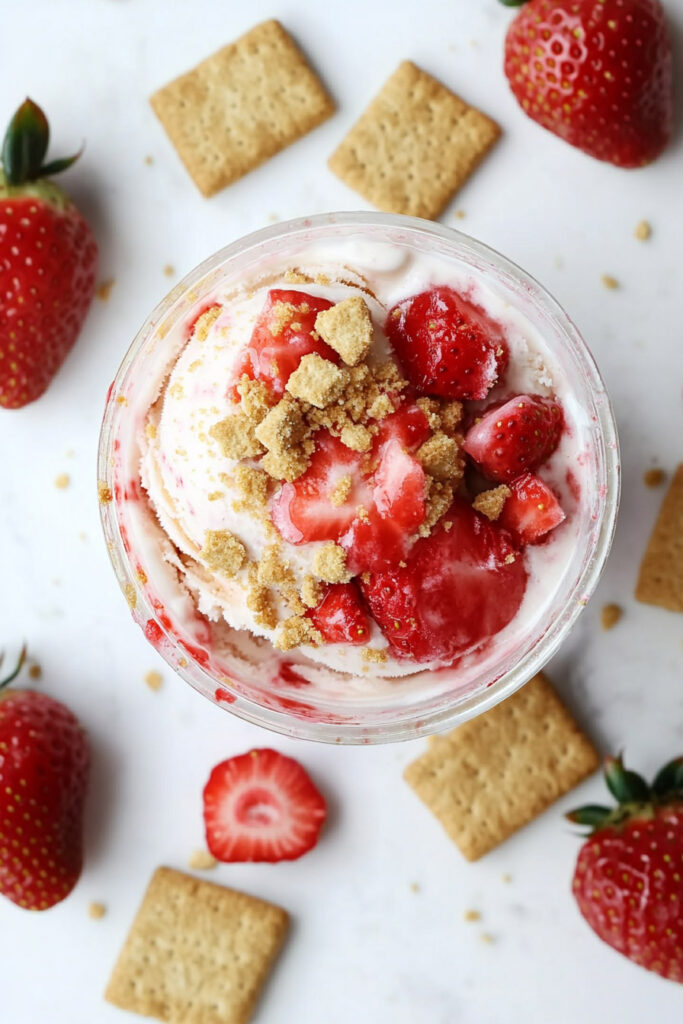
Scoop it into bowls. Sprinkle some extra strawberries or graham cracker crumbs on top if you’re feeling fancy. And here’s the thing—it melts fast, so dig in right away!
Fun Ways to Customize
Want to switch things up?
- Toss in lemon zest to make it extra tangy.
- Try blueberries or raspberries for a whole new flavor vibe.
- Skip the graham crackers for a simpler, low-carb version.
Serving & Storing Tips
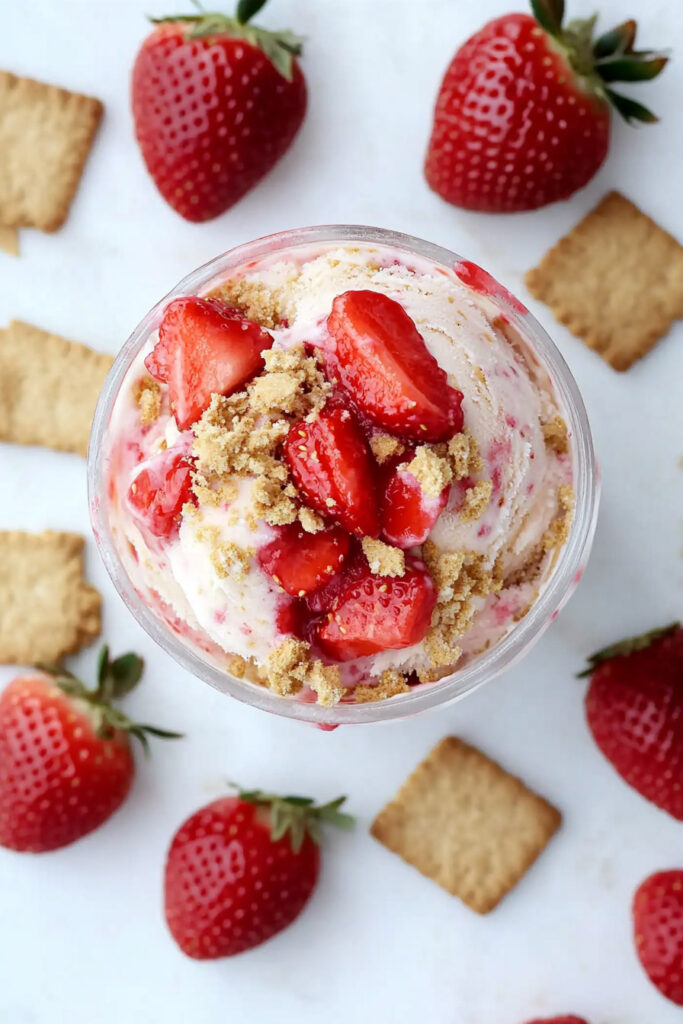
- How to Serve: Chill your bowls beforehand for that ice cream parlor feel. Top with whipped cream or sugar-free strawberry syrup for a little flair.
- Leftover Game: Store extras in the pint container, but know this—it hardens in the freezer. A quick re-spin in the machine brings it back to that creamy goodness.
Why You’ll Love It
This ice cream isn’t just delicious—it’s practical too. Whether it’s your post-workout reward, a meal-prep dessert, or a cure for those late-night cravings, it checks all the boxes. Creamy, flavorful, high in protein, and easy to make. What’s not to love?
So, are you ready to give it a try? Your Ninja Creami is calling. Go ahead—create your masterpiece and savor every bite!
PrintNinja Creami Strawberry Cheesecake Protein Ice Cream Recipe
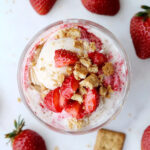
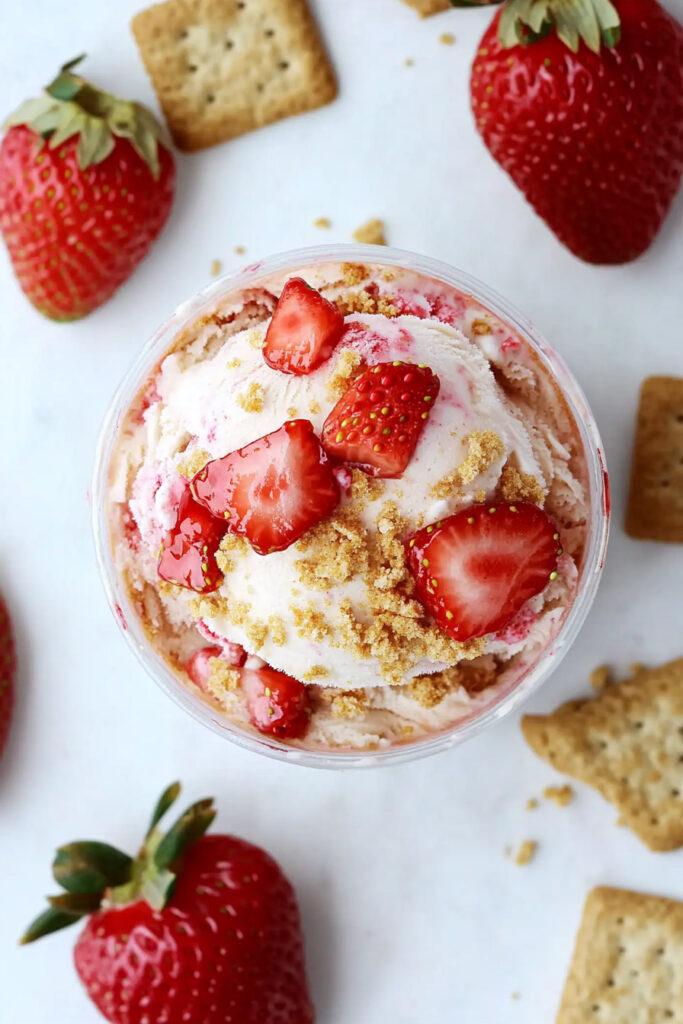
This creamy, protein-packed Strawberry Cheesecake Ice Cream combines the tangy richness of cheesecake with the sweet freshness of strawberries. Made with wholesome ingredients and processed in the Ninja Creami, it’s a guilt-free dessert perfect for any time of the year!
- Prep Time: 10 minutes
- Cook Time: None
- Total Time: 24 hours 10 minutes (freezing)
- Yield: 1 pint (2 servings) 1x
- Category: Dessert
- Cuisine: American
Ingredients
- 1 cup whole milk
- 2 tbsp sugar-free cheesecake instant pudding mix
- 2 tbsp protein powder (vanilla or strawberry cheesecake flavor)
- 2 tbsp no-sugar-added strawberry jam
- 2 tbsp light cream cheese, softened (microwave for 10 seconds)
- 1 tbsp whole milk (additional for mixing)
- ½ cup diced fresh strawberries (plus extra for topping)
- ½ cup crushed graham crackers (plus extra for topping)
Instructions
- Prepare the Base: In a mixing bowl or Ninja Creami pint container, combine whole milk, pudding mix, protein powder, strawberry jam, and softened cream cheese. Blend thoroughly with a milk frother or blender until smooth and lump-free.
- Freeze: Pour the mixture into the Ninja Creami pint container, ensuring it doesn’t exceed the max fill line. Freeze flat for at least 24 hours.
- Process in Ninja Creami: Insert the frozen pint into your Ninja Creami machine and process using the “Lite Ice Cream” function. If the texture appears crumbly, don’t worry—it will smooth out in the next step.
- Add Mix-ins: Create a small well in the center of the ice cream and add diced strawberries and crushed graham crackers. Add an additional tablespoon of milk if needed for creaminess. Process again using the “Mix-In” function.
- Serve: Scoop into bowls and garnish with extra strawberries and graham cracker crumbs if desired. Enjoy immediately for the best texture!
Notes
Serving Suggestions
Serve topped with whipped cream, a drizzle of sugar-free strawberry syrup, or extra crushed graham crackers for a decadent touch.
Tips & Tricks
- Use fresh, ripe strawberries for maximum flavor. If using frozen berries, thaw slightly before adding as mix-ins.
- For a smoother texture, let the frozen pint sit at room temperature for about 5–10 minutes before processing.
Storage & Reheating
Store leftovers in the Ninja Creami pint container with a lid in your freezer for up to one week. If it hardens, re-spin in the Ninja Creami or let it soften at room temperature for about 10 minutes before eating.