
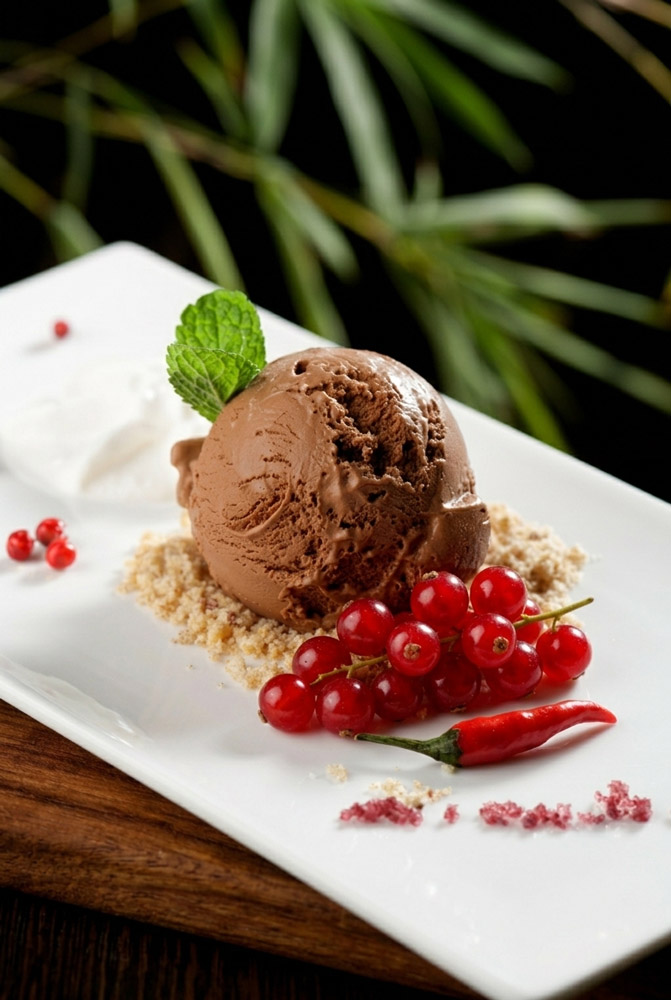
There is something totally magical about mixing dark chocolate with a kick of chili pepper. If you have ever tried Mexican hot chocolate, you know exactly what I mean. Dark chocolate has deep, fruity, and slightly bitter flavors that just wake up when you add a little heat.
With this recipe, we are taking that classic combo and freezing it. The contrast is amazing. First, you get the rich, cold taste of deep chocolate. Then, a warm, sophisticated heat hits the back of your throat. It tastes like a fancy dessert from a high-end restaurant, but it is super easy to make at home.
Prep and Kitchen Strategy
Before we turn on the stove, let us look at the roadmap. This is a churn-style ice cream, which means we make a quick liquid base on the stove, cool it down, and then run it through an ice cream maker.
- Prep time: 5 minutes
- Cook time: 10 minutes
- Active time: 15 minutes
- Chilling time: 2 to 4 hours minimum
- Yield: 6 good servings (about 1 to 1.5 quarts)
I would rate this recipe as pretty easy. You do not have to mess with egg yolks, so there is zero risk of making chocolate scrambled eggs. The only real skill you need is a little attention while whisking on the stove.
Making this for a crowd? You can easily double the ingredients. Just make sure your ice cream bowl is big enough. If it is not, just keep the extra base in the fridge and churn it in two separate rounds.
This recipe is also a dream for planning ahead. You can make the liquid base up to 48 hours before you plan to churn it. Once the ice cream is fully frozen, it stays fresh and tasty in the freezer for up to two weeks.
The Gear You Need
To get the smoothest result, grab a medium saucepan with a thick bottom. A heavy pot spreads the heat evenly so the cocoa powder does not burn. You will also need a wire whisk, a spatula, and an ice cream machine.
Don’t have an ice cream machine? No sweat. You can make this “no-churn” style. Just pour the cold liquid base into a metal loaf pan and stick it in the freezer. Every 30 minutes for the first three hours, give it a heavy stir with a whisk or hand blender to break up the ice crystals.
The Ingredient Breakdown
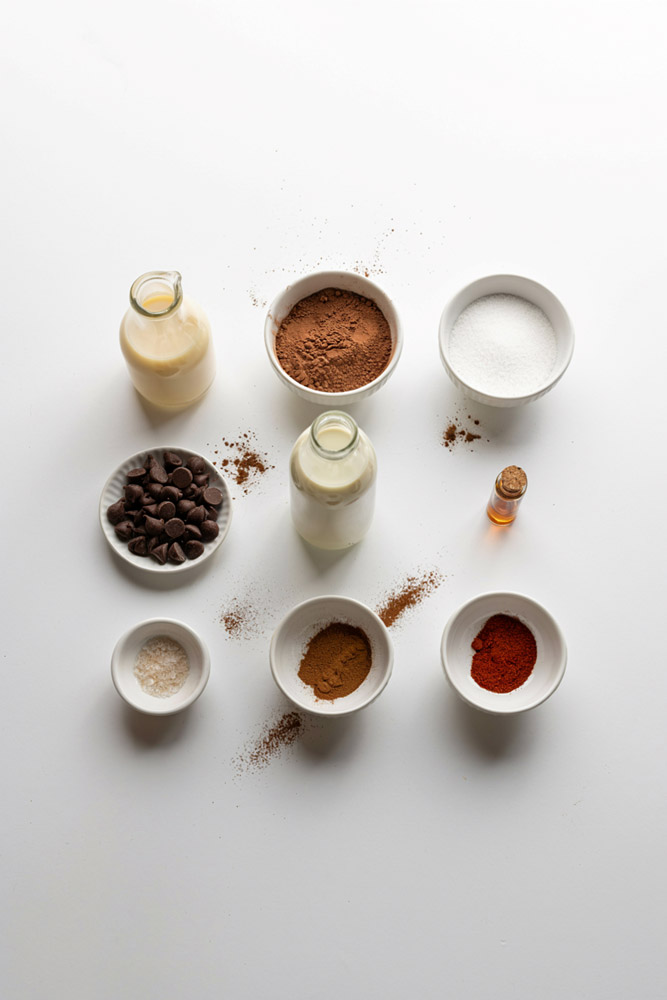
The secret to amazing ice cream is using good ingredients. Since the list is short, better items make a huge difference.
| Ingredient | For 6 Servings | To Double It |
| Heavy Whipping Cream | 1½ cups | 3 cups |
| Dutch-Process Cocoa Powder | ⅓ cup | ⅔ cup |
| Granulated White Sugar | ⅔ cup | 1⅓ cups |
| Dark Chocolate Chips (60%+) | ½ cup | 1 cup |
| Whole Milk | 1½ cups | 3 cups |
| Vanilla Extract | 1 teaspoon | 2 teaspoons |
| Kosher Salt | ⅛ teaspoon | ¼ teaspoon |
| Ground Cinnamon | 1¼ teaspoons | 2½ teaspoons |
| Chili Powder (Pure or Cayenne) | 2 to 3 teaspoons | 4 to 6 teaspoons |
The Cream and Milk
We use a half-and-half mix of heavy cream and whole milk. The cream gives it that velvety, scoopable texture. The milk keeps it light so the chocolate flavor can shine. Stick with regular whole milk here. Light or skim milks have too much water, which turns into crunchy ice crystals.
The Chocolate
Your cocoa powder matters a lot. I highly recommend Dutch-process cocoa. It is treated to remove natural acids, making it taste smoother and much more like rich fudge. To pile on the flavor, we also add dark chocolate chips. Look for chips that are at least 60% cacao.
Spices and Sweetness
Regular white sugar cuts the bitter chocolate and the spice. We add cinnamon for a warm, cozy smell, just like Mexican hot chocolate. For the heat, make sure you use pure ground chili like cayenne or ancho. Check the label! You do not want a savory chili blend that contains garlic or onion powder. A small pinch of salt finishes it off to make the chocolate flavor pop.
There is almost no prep work needed. Your milk and cream can come right out of the fridge. If you are using a chocolate bar instead of chips, just chop it up small so it melts fast.
Step-by-Step Cooking
Let us get cooking. Follow these steps to get a smooth, spicy base that is ready for the freezer.
Step 1: Build the Chocolate Base
Put your saucepan on the stove. Add the heavy cream, cocoa powder, and sugar. Grab your whisk and turn the heat to medium-high. At first, the cocoa powder will float on top and look dry. Just keep whisking. As the liquid warms up, it will blend right in.
Keep a close eye on the pot. You want it to reach a full boil. The sugar will melt, and the cream will suddenly foam up fast. Be ready. The moment that foam rises, lift the pan right off the heat so it doesn’t boil over and mess up your stove.
Step 2: Melt the Chocolate
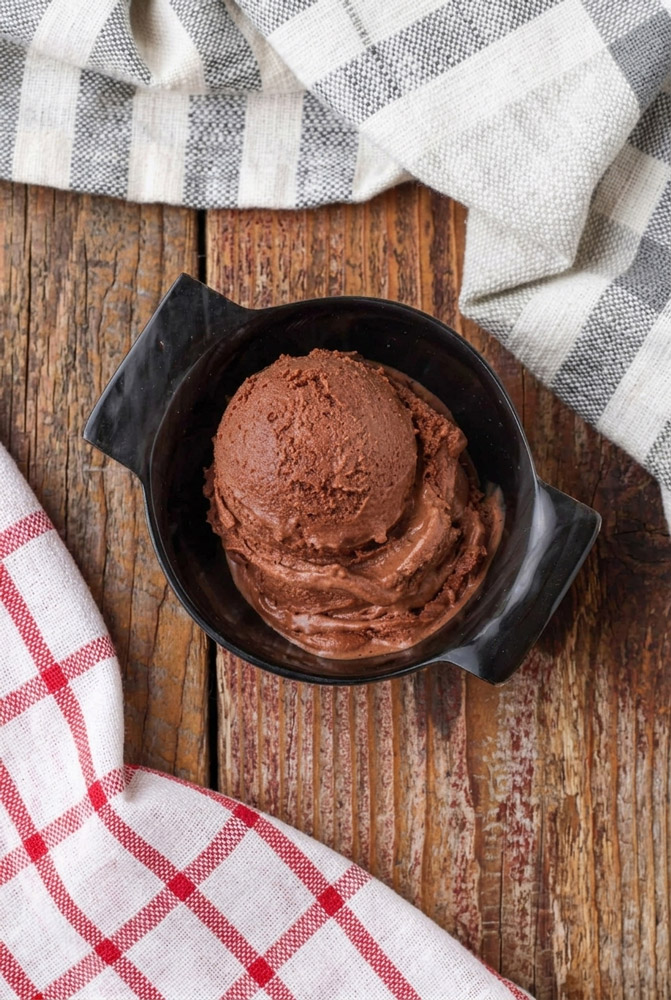
As soon as the pan is off the heat, drop in your chocolate chips. Do not put the pan back on the stove! The heat from the boiled cream is plenty to melt the chips safely. Whisk hard. The grainy liquid will quickly turn into a thick, glossy chocolate sauce. It will smell like premium hot fudge.
Step 3: Stir in the Spices
Now, stir in the cold ingredients: the whole milk, vanilla, salt, cinnamon, and chili powder. Adding the cold milk now is a great shortcut because it instantly cools down the hot sauce.
Give it a sniff. You should smell the sharp spice cutting through the sweet chocolate. Take a tiny taste. The good news? If the heat feels a bit strong right now, that is perfect. Freezing numbs your taste buds a little bit, so it will taste perfectly balanced later.
Step 4: The Deep Chill
Pour the liquid into a clean bowl. Press a piece of plastic wrap right onto the top of the liquid so it does not grow a skin. Put it in the fridge for 2 to 4 hours. Leaving it overnight is even better. This step is super important. If you pour warm liquid into an ice cream machine, it will freeze slowly and taste gritty. We want it ice-cold.
Step 5: Churning
Give the cold base one quick whisk. Pour it into your ice cream machine. Turn it on and let it run according to the manual. This usually takes about 15 to 25 minutes.
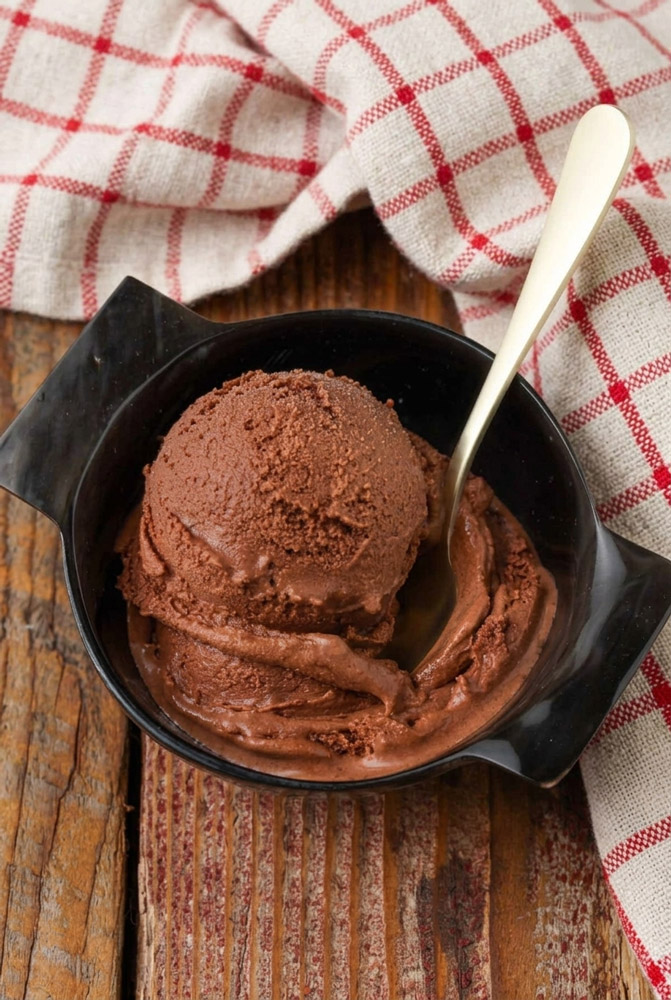
Watch for the texture change. You want it to look like thick, rich soft-serve ice cream. It should hold its shape on a spoon but still be spreadable. Scoop it out into an airtight container, smooth the top, and freeze it for another 2 to 3 hours to let it firm up.
Fun Twists and Tweaks
The best part about making ice cream at home is that you can change it up however you like.
- Make it dairy-free: Swap the heavy cream for full-fat canned coconut cream. Swap the whole milk for a thick oat milk. Use vegan dark chocolate chips. Coconut cream makes it super rich and tastes amazing with chili.
- Turn down the heat: Use 1 to 1½ teaspoons of ancho chili powder. It gives you a smoky pepper flavor with almost no burn.
- Turn up the heat: Stick to 2 teaspoons of cayenne for a clean, late kick. If you love a challenge, use 3 teaspoons of cayenne, or add a tiny pinch of ghost pepper powder to the hot cream.
- Make it a party: For a fun comfort food twist, stir in crushed graham crackers and mini marshmallows at the end of churning for a “Spicy Rocky Road.” Want it elegant? Blend a tablespoon of spicy olive oil into the base before chilling. It adds a savory depth and a beautiful shine.
Serving and Storage
Because homemade ice cream does not have chemical stabilizers, you need to store it right to avoid freezer burn.
Always use a good airtight container. Here is a pro tip: press a piece of wax paper or plastic wrap right onto the surface of the ice cream before putting the lid on. This keeps the air out and stops ice crystals from growing. Store it in the deepest part of the freezer, not in the door where the temperature changes.
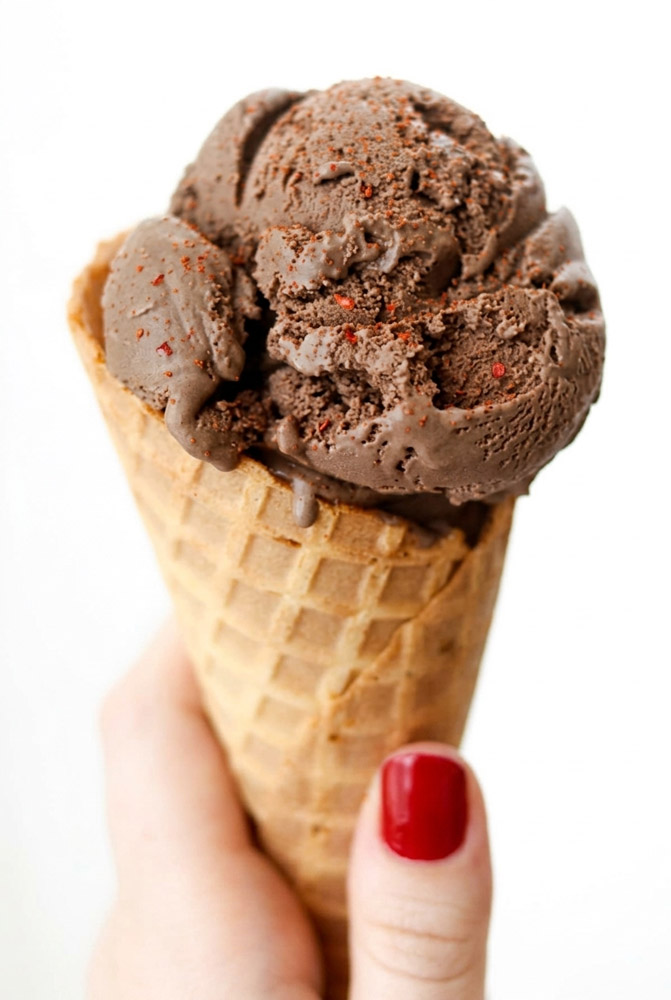
When it is time to eat, scoop it into chilled bowls so it does not melt instantly. You can top it with a dust of cocoa powder, flaky sea salt, or dark chocolate shavings. It tastes incredible next to warm cinnamon churros or a slice of pound cake. The hot-and-cold contrast is pure heaven.
This ice cream freezes pretty solid. For the best texture, leave the container on the kitchen counter for 5 to 10 minutes before you dig in. It softens the fats just enough to get those perfect, effortless scoops. Enjoy!
PrintChili Chocolate Ice Cream
This isn’t your average chocolate scoop. It starts with a rich, velvety chocolate flavor that immediately cools your palate, followed by a warm, lingering kick of chili and cinnamon that blooms at the back of your throat. It tastes incredibly gourmet, yet skips the fuss of traditional egg-custard bases.
- Prep Time: 5 mins
- Cook Time: 10 mins
- Total Time: 15 mins (active)
- Yield: 6 servings 1x
- Category: Dessert
- Cuisine: Fusion / Mexican-Inspired
Ingredients
- 1½ cups Heavy whipping cream
- ⅓ cup Dutch-process cocoa powder
- ⅔ cup Granulated white sugar
- ½ cup Dark chocolate chips (60%+ cacao)
- 1½ cups Whole milk
- 1 teaspoon Vanilla extract
- ⅛ teaspoon Kosher salt
- 1¼ teaspoons Ground cinnamon
- 2 to 3 teaspoons Pure chili powder (pure cayenne or ancho)
Instructions
1. Cook the Base
Whisk the heavy cream, cocoa powder, and white sugar in a medium, heavy-bottomed saucepan over medium-high heat. Keep stirring until the mixture reaches a full rolling boil and rapidly foams toward the top. Lift the pan off the heat instantly to prevent an overflow.
2. Melt the Chocolate
Drop the dark chocolate chips directly into the hot cream off the heat. Whisk vigorously until the chips melt completely, transforming the liquid into a thick, smooth, and glossy fudge sauce.
3. Infuse the Aromatics
Stir in the remaining cold ingredients: whole milk, vanilla extract, kosher salt, ground cinnamon, and chili powder. Whisk well to combine. The cold milk helps drop the temperature of the base quickly.
4. The Deep Chill
Pour the liquid base into a clean bowl. Press plastic wrap directly onto the surface to prevent a skin from forming. Refrigerate for 2 to 4 hours (or overnight) until thoroughly ice-cold.
5. Churn to Perfection
Give the cold base one quick whisk, then pour it into your ice cream machine. Churn according to your manufacturer’s instructions (usually 15 to 25 minutes) until it reaches a thick, soft-serve consistency. Transfer to an airtight container and freeze for 2 to 3 hours to firm up before serving.
Notes
Tips & Tricks
- Watch the Spice Blend: Make sure your chili powder is single-ingredient (like pure cayenne or ancho). Avoid savory taco seasoning blends that contain garlic or onion!
- No Ice Cream Maker? Pour the chilled liquid base into a shallow metal loaf pan. Freeze it, and vigorously stir or blend it with a hand mixer every 30 minutes for the first 3 hours to break up ice crystals.
- Taste Before Freezing: The freezing process slightly numbs your taste buds. If the base tastes a tiny bit bolder on the spice right off the stove, it will be perfectly balanced once frozen.
Serving Suggestions
- Garnish: Dress up your scoops with a light dust of cocoa powder, flaky sea salt, or dark chocolate shavings.
- The Perfect Match: Serve alongside warm, crispy cinnamon churros or a buttery slice of pound cake. The hot-and-cold contrast is unbeatable.
Storage Wisdom
- Prevent Freezer Burn: Press a piece of wax paper or plastic wrap directly onto the surface of the ice cream inside its airtight container before snapping the lid shut.
- Where to Store: Keep it in the back or deepest part of the freezer—never in the door, where temperature changes cause ice crystals.
- Before Scooping: Because this recipe contains no chemical softeners, let the container sit on your kitchen counter for 5 to 10 minutes to soften naturally before scooping.