
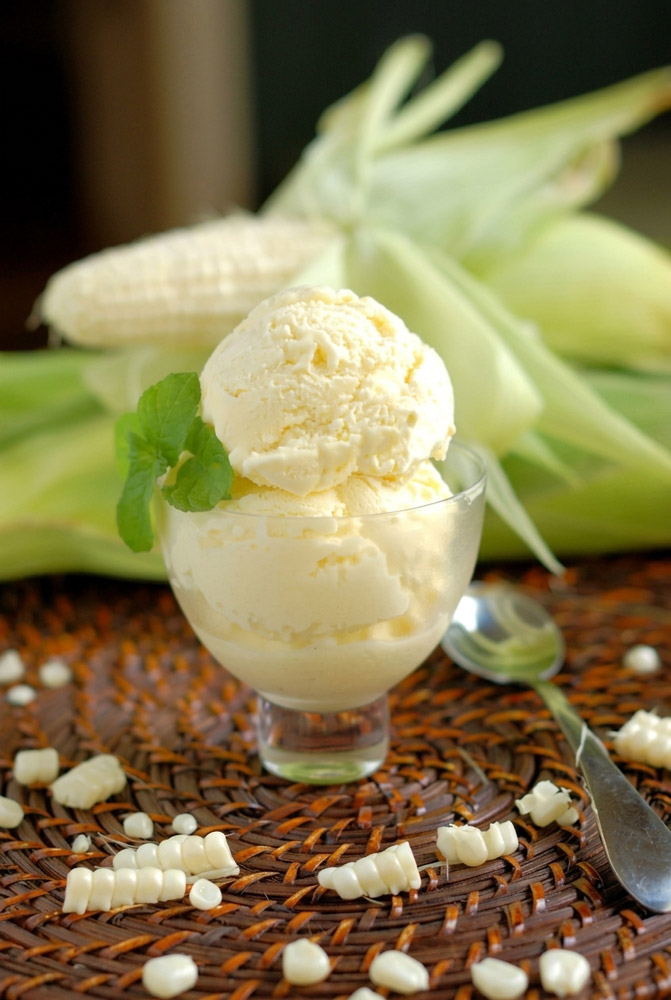
Sweet corn ice cream might sound a bit weird at first. We are so used to eating corn with butter at dinner that putting it in a dessert feels like a trick. But here is the thing: sweet corn is packed with natural sugar. That makes it perfect for a rich, creamy ice cream. It is super popular in Latin America and East Asia, and it basically tastes like late summer in a scoop.
I recently asked ChatGPT to write me a recipe for this, but it sounded way too complicated. So, I simplified it. This recipe gets every ounce of sweetness out of the corn without using fake flavors. We actually use the bare cobs twice to flavor the milk. The result? An ultra-creamy treat that balances buttery warmth with summer brightness.
The Game Plan
Before you start, check the clock. You need about 30 minutes to prep the corn and 10 minutes at the stove. The hard part? Waiting. The mix needs to chill in the fridge for at least 3 to 4 hours, though overnight is best. Then, it needs another 4 to 6 hours in the freezer after churning. All in, it takes about 8 hours. This makes one big quart, which easily feeds 4 to 6 people.
You can easily double this recipe if your ice cream maker is big enough. It is pretty easy to make, but you do have to watch the stove so you don’t accidentally scramble the eggs.
Here is what you need to grab:
- A sharp knife
- A blender
- A small pot
- A mesh strainer
- A whisk
- An ice cream maker
Don’t have an ice cream machine? No problem. Just whip a half-cup of heavy cream until it is thick. Fold it into your cooled base with a can of sweetened condensed milk, and freeze it in a metal loaf pan.
You can also make the base up to three days early and leave it in the fridge until you are ready to churn.
What You Need
- Fresh Sweet Corn: 2 large ears
- Whole Milk: 1 cup
- Heavy Cream: 2 cups
- Sugar: 3/4 cup
- Egg Yolks: 5 large ones
- Vanilla Extract: 1 teaspoon
- Salt: 1/8 teaspoon
Great ice cream needs great ingredients. Look for corn with bright green husks and sticky brown silks. Press the kernels—they should feel plump. Fresh summer corn is best because it is super sweet. If it is winter, you can use 2 cups of thawed frozen corn instead. Just note you will lose some flavor since you won’t have the cobs.
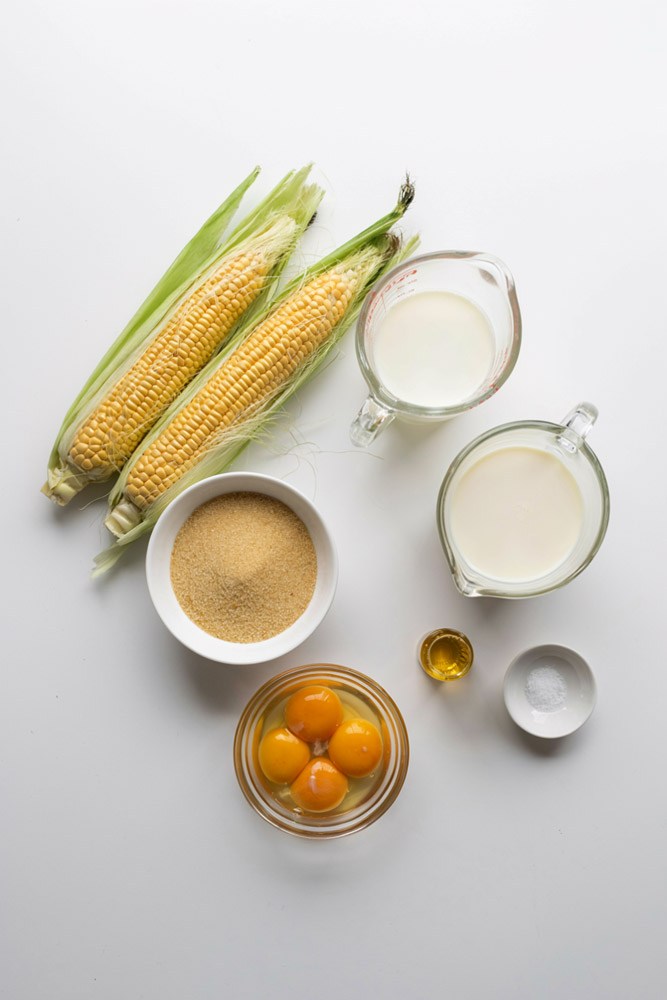
Do not use skim milk or light cream. You need the fat to keep the ice cream smooth instead of icy. The 5 egg yolks make the texture velvety. Make sure they are at room temperature before you start. The salt is also key. It does not make it salty, it just brings out the corn’s sweetness.
Need a dairy-free version? Swap the milk and cream for canned coconut cream, and use a little cornstarch instead of eggs.
Step-by-Step Guide
Phase 1: Get the Corn Ready
First, cut the kernels off the cob. To keep them from flying everywhere, lay the ear flat on your board, cut one side to make it flat, and rotate it. Easy. Put the kernels in a blender and run it until you have a smooth yellow puree. Then, chop the bare cobs in half.
In your pot, mix the milk, cream, corn puree, cobs, and half of your sugar. Put it on medium-high heat. Watch it closely! You want it hot and steaming with tiny bubbles at the edge, but do not let it boil over. Turn off the heat, put a lid on it, and let it sit for 30 minutes. This lets the milk soak up all that corn flavor.
Phase 2: Cook the Custard
Take the cobs out with tongs and put them on a plate. Turn the heat back on to warm up the liquid. In a separate bowl, whisk the 5 egg yolks, the rest of the sugar, and the salt until the mix is pale yellow.
Now, we temper the eggs so they don’t cook into an omelet. Slowly drizzle a small ladle of the hot milk into the eggs while whisking fast. Do it again with another ladle. Once the egg mix feels warm, pour it all back into the pot with the rest of the hot milk.
Turn the heat to medium-low. Stir constantly with a spoon, scraping the bottom so it does not burn. You will know it is done when it thickens and coats the back of your spoon. If you run your finger through it, the line should stay clean.
Phase 3: Strain, Chill, and Churn
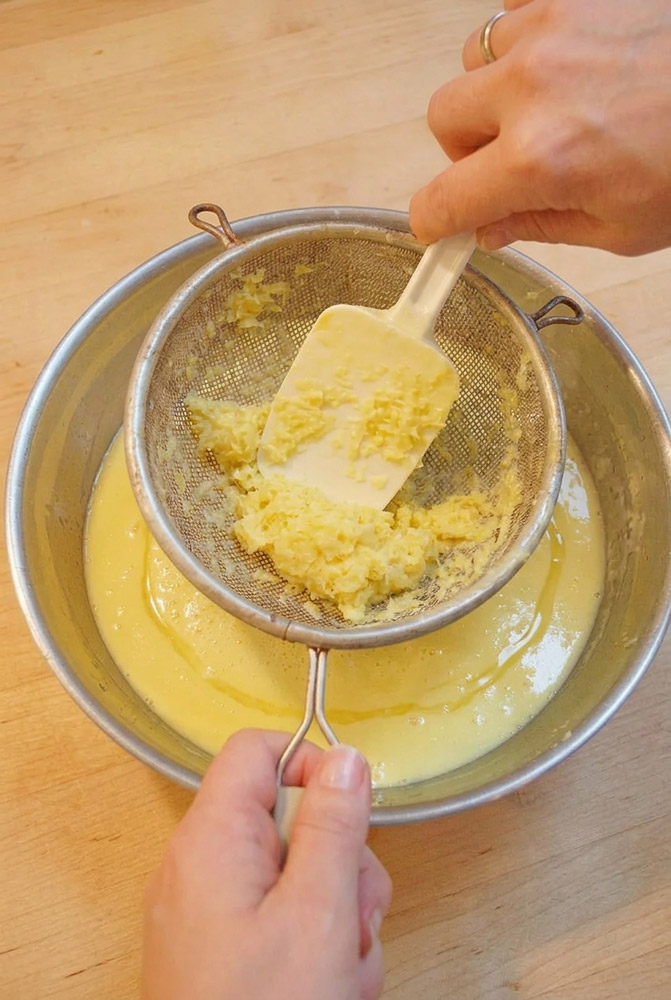
Take the pot off the heat. Pour the mix through a strainer into a clean bowl. Press the corn pulp with your spoon to get every last drop of liquid out, then throw the pulp away. Stir in the vanilla.
Now for the secret step: put those bare cobs back into the warm custard. They will keep flavoring the mix while it cools.
Let the bowl cool on the counter, then stick it in the fridge for at least 3 hours. It must be cold before churning. When you are ready, throw the cobs away. Pour the mix into your ice cream machine and let it run for about 20 minutes until it looks like soft-serve. Scoop it into a container, press plastic wrap right onto the top of the ice cream to stop ice crystals, and freeze until firm.
Fun Twists
You can easily change this up. Want some crunch? Throw in a handful of crushed graham crackers during the last two minutes of churning. Making it for a dinner party? Steep some fresh basil or thyme with the corn.
For a cozy fall vibe, add a pinch of cinnamon and brown sugar. If you like sweet and salty foods, crumble some crispy bacon on top when you serve it.
Serving and Storage
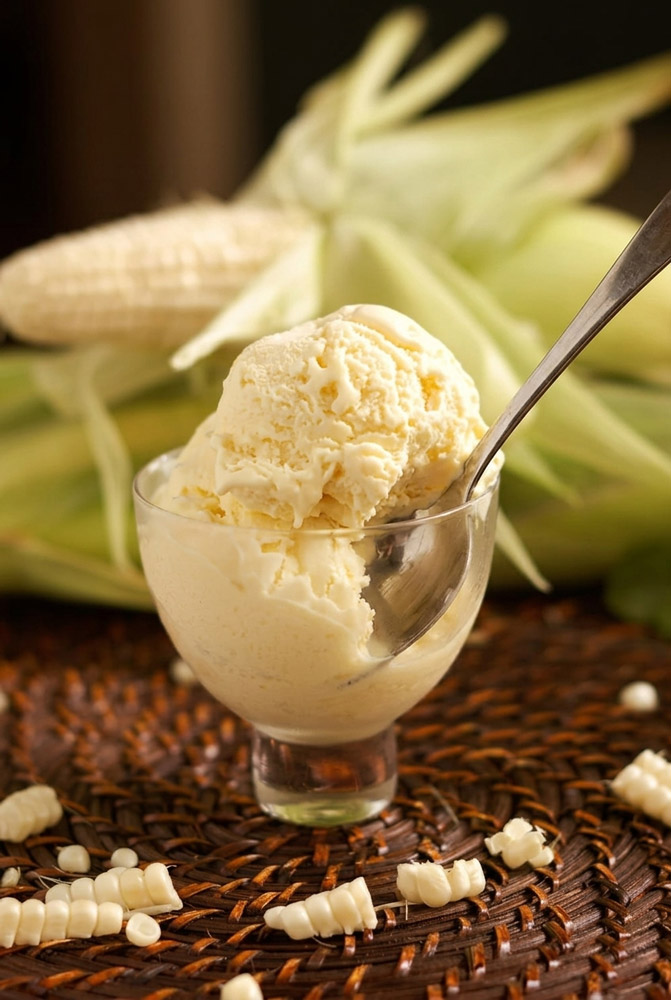
To serve, put a scoop in a bowl with fresh berries. The tart fruit cuts right through the rich ice cream. It is also amazing next to warm peach cobbler, or right on top of warm cornbread.
Keep the ice cream in the back of the freezer where the temperature stays steady. Don’t put it in the freezer door. Keep that plastic wrap pressed against the top to prevent freezer burn.
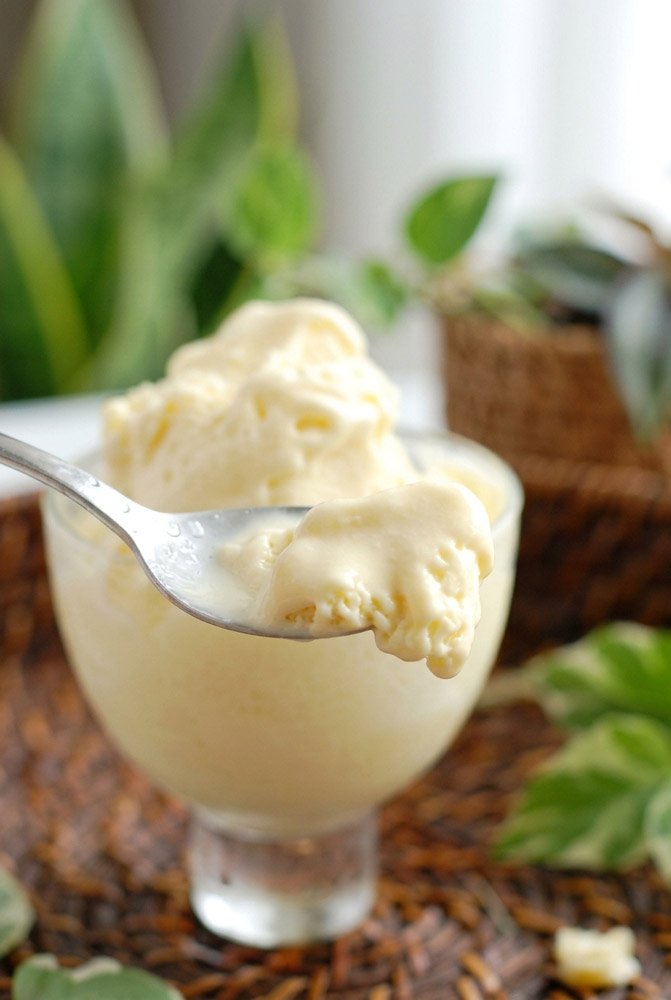
Since this is homemade, it doesn’t have chemicals to keep it soft. Let it sit on the counter for 5 to 10 minutes before scooping. Eat it within two weeks for the best flavor!
What topping would you try first on this corn ice cream?
PrintSweet Corn Ice Cream

This homemade sweet corn ice cream tastes like summer captured in a scoop. Sweet corn is naturally loaded with sugar, making it the perfect base for a rich, velvety custard. It balances a comforting, buttery warmth with a bright, refreshing finish. By infusing the milk with both the blended kernels and the bare cobs, you get a deep, authentic corn flavor without a single drop of artificial additives.
- Prep Time: 30 minutes
- Cook Time: 10 minutes
- Total Time: 8 hours (includes chilling and freezing)
- Yield: 4 to 6 servings (yields roughly 1 quart)
- Category: Dessert
- Cuisine: American / Fusion
Ingredients
- Fresh Sweet Corn: 2 large ears (plump kernels, bright green husks)
- Whole Milk: 1 cup
- Heavy Cream: 2 cups
- Granulated Sugar: 3/4 cup
- Large Egg Yolks: 5 yolks (at room temperature)
- Vanilla Extract: 1 teaspoon
- Table Salt: 1/8 teaspoon
Instructions
1. Prep and Purée the Corn
Lay your corn ears flat on a cutting board, slice off one strip of kernels to create a flat edge, and rotate it. Slice the rest of the kernels off cleanly. Toss them into a blender and blend until completely smooth. Cut the bare cobs in half with a heavy knife and set aside.
2. Infuse the Dairy
In a small saucepan, combine the whole milk, heavy cream, the fresh corn purée, the halved cobs, and half of the sugar. Heat over medium-high until hot and steaming with small bubbles at the edges. Do not let it boil. Turn off the heat, cover with a tight lid, and let it steep for 30 minutes.
3. Build the Egg Base
Remove the cobs with tongs and set them on a clean plate. Bring the dairy mix back up to a steam on the stove. In a separate bowl, vigorously whisk the 5 egg yolks, the remaining sugar, and the salt until pale yellow and thick.
4. Temper and Cook the Custard
Slowly drizzle a small ladle of the hot dairy into the egg bowl while whisking constantly with your other hand. Repeat with a second ladle. Once the eggs are warm, pour the whole egg mix back into the saucepan. Cook over medium-low heat, stirring constantly, until the custard thickens enough to cleanly coat the back of a spoon.
5. Strain and Double-Steep
Take the pot off the heat. Pour the hot custard through a fine-mesh strainer into a clean bowl, pressing the solids to extract all the liquid. Discard the pulp. Stir in the vanilla extract, then submerge the cobs back into the warm custard to condition it.
6. Chill and Churn
Let the bowl cool to room temperature, then cover it and refrigerate for 3 to 4 hours (overnight is best) until completely cold. Remove the cobs, scraping any cream back into the bowl. Churn in your ice cream machine for 20 to 25 minutes. Pack it into a container, press plastic wrap directly onto the surface, and freeze for 4 to 6 hours until firm.
Notes
Tips & Tricks
- The No-Churn Hack: If you don’t have a machine, whip an extra half-cup of heavy cream to stiff peaks. Fold it into the cooled custard base along with a 14-ounce can of sweetened condensed milk, then freeze in a metal loaf pan.
- Winter Swap: Out of season? Replace the fresh ears with 2 cups of thawed frozen sweet corn. You will just miss out on the extra depth from the cob steep.
- Anti-Scramble Rule: When tempering the eggs, keep that whisk moving fast. If you add the hot dairy too quickly without stirring, you will end up with sweet scrambled eggs.
Serving Suggestions
- Fresh Fruit: Pair a scoop with fresh, tart summer berries like blackberries or raspberries to cut through the rich custard.
- Warm Comfort: Serve it directly over a warm slice of peach cobbler or a piece of honey-drizzled cornbread.
- Sweet & Savory: Top with crushed graham crackers for crunch, or a sprinkle of crispy, crumbled candied bacon.
Storage Instructions
- Where to Store: Keep the container in the deepest part of the freezer. Avoid the freezer door, as constant temperature drops cause ice crystals.
- Preventing Burn: Always press plastic wrap firmly against the top of the leftover ice cream before closing the lid to keep freezer burn away.
- The Perfect Scoop: Because this recipe doesn’t use chemical stabilizers, it freezes quite firm. Let it sit on the counter for 5 to 10 minutes to soften up naturally before scooping. Eat within two weeks!