

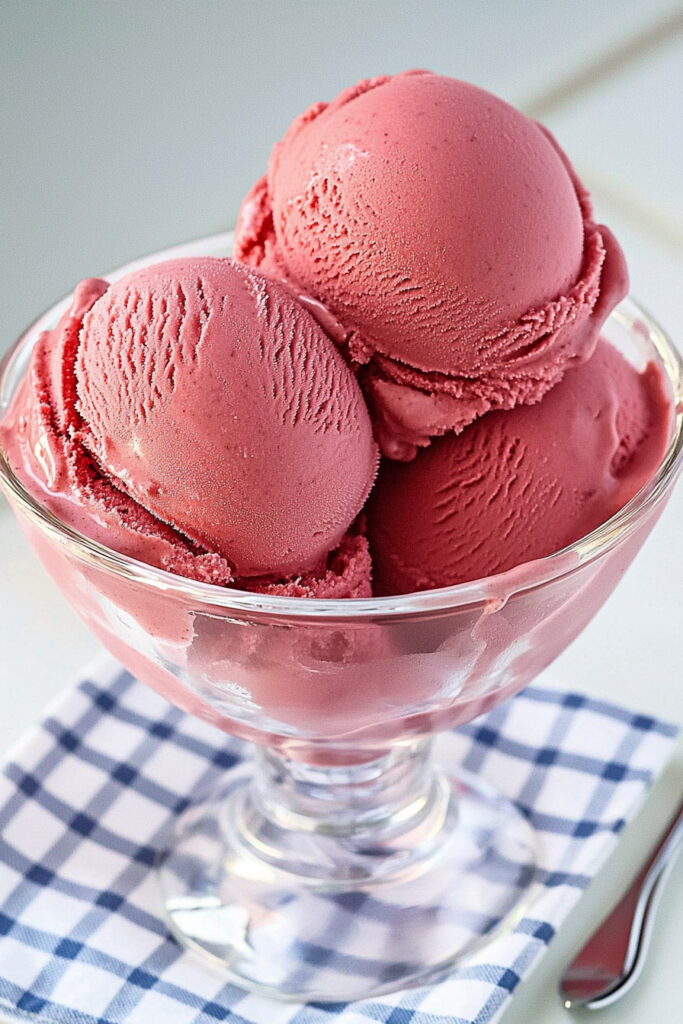
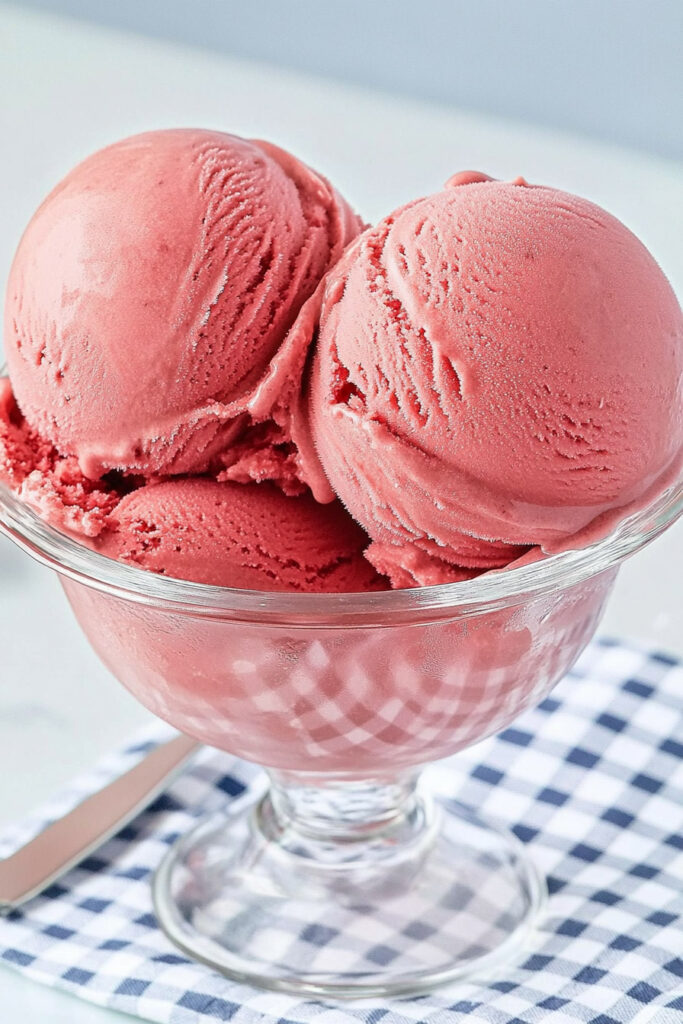
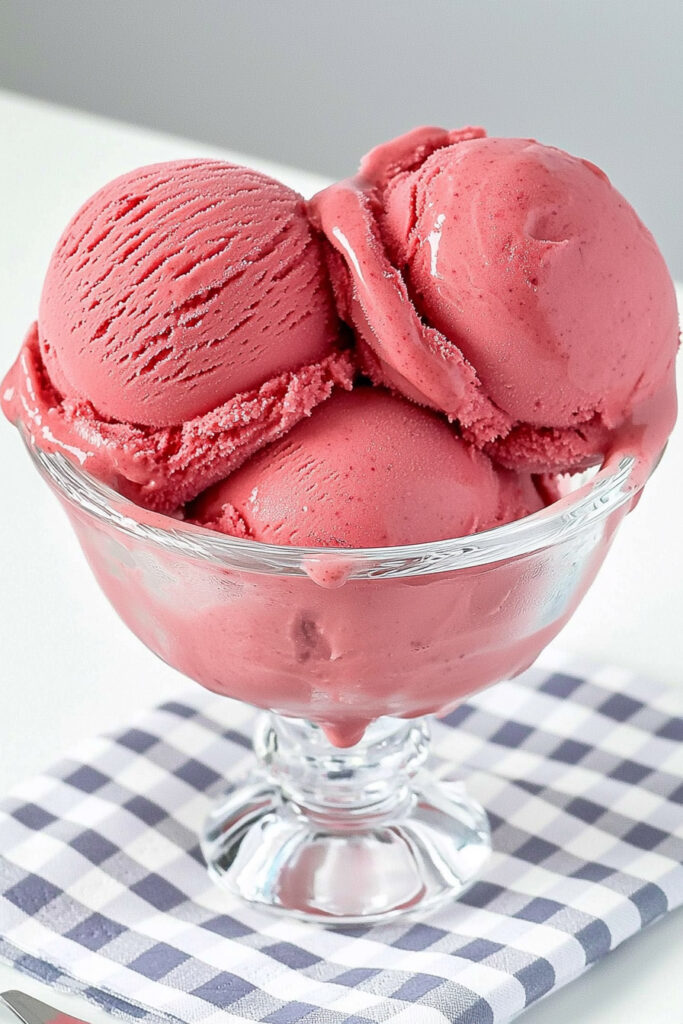
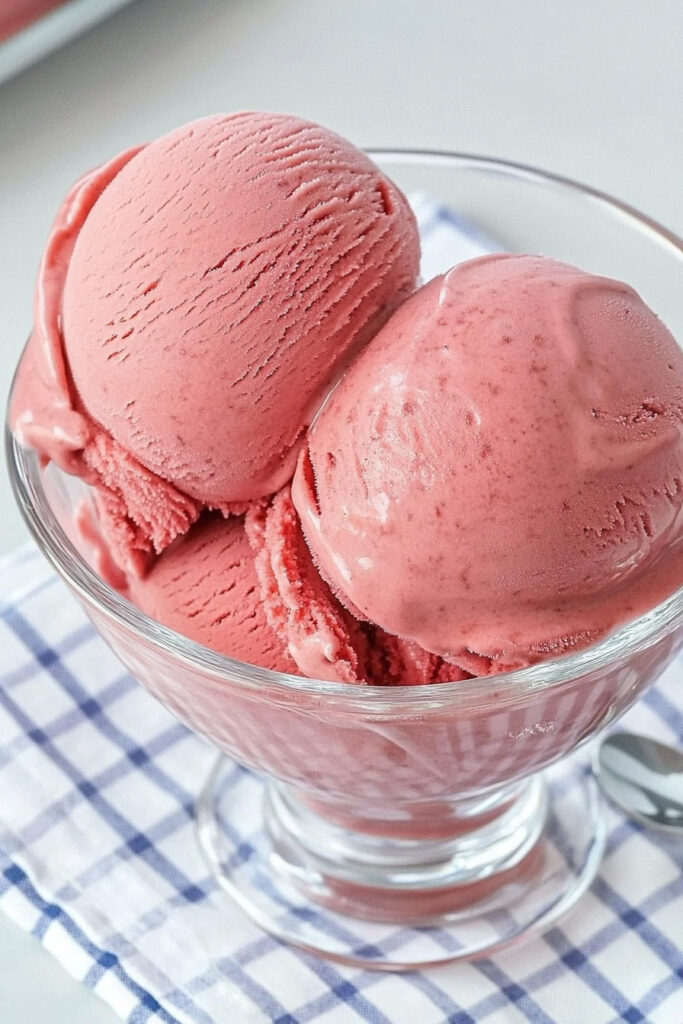
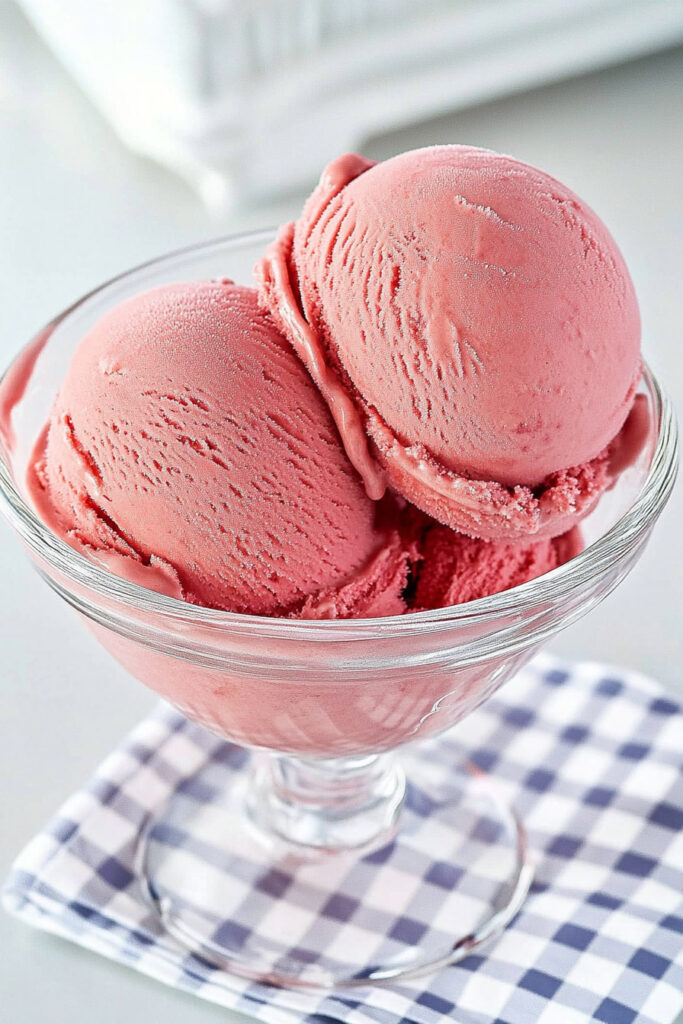
Love ice cream? Love red velvet cake? Then you’re in for a treat because today we’re combining the best of both worlds to make Ninja Creami Red Velvet Cake Batter Ice Cream. Sounds amazing, right? It’s rich, creamy, and has all the classic flavors of red velvet cake, complete with a tangy cream cheese finish. Oh, and that beautiful red color? It’s a total show-stopper.
What’s the inspiration? Red velvet cake has been around since the Victorian era, and this recipe takes that timeless dessert to a whole new, ice-cold level. Perfect for Valentine’s Day, Christmas, or just a cozy night in. Let’s dive in!
The Basics
Prep Time
- Hands-on time: 15 minutes
- Freezing: At least 24 hours
- Processing: 2–3 minutes
Servings
This recipe makes one pint—perfect for a small group (or just yourself!). Want more? Double or triple the ingredients, but process each batch separately.
Skill Level
Beginner-friendly. No fancy techniques here, just simple steps and delicious results.
What You’ll Need
- Ninja Creami machine
- Pint container (comes with the machine)
- Microwave-safe bowl
- Spatula, whisk, baking sheet
Don’t have a Ninja Creami? No worries. You can use another ice cream maker, though the texture might not be quite the same.
Ingredients
Here’s what you’ll need to whip up this creamy delight:
- 1/2 cup red velvet cake mix (toast it for safety—don’t skip this step!)
- 1/4 cup cream cheese, softened
- 1/2 cup whole milk
- 1/2 cup heavy cream
- 1/4 cup sugar
- Optional: A few drops of red food coloring for that vibrant red velvet look
- Optional: 1/4 cup mix-ins like white chocolate chips
Substitutions
- Gluten-free? Use gluten-free cake mix.
- Cutting back on sugar? Try a sugar alternative like erythritol.
- Dairy-free? Swap in oat milk, coconut cream, and vegan cream cheese.
Let’s Make It
Start by toasting the red velvet cake mix to enhance its flavor and ensure it’s safe to use. Preheat your oven to 350°F, then spread the cake mix evenly on a parchment-lined baking sheet. Let it toast for about five minutes—it not only eliminates any concerns about raw flour but also deepens those rich cocoa notes. Once toasted, set it aside to cool completely before moving forward.
While the cake mix cools, soften the cream cheese in the microwave for about 15–20 seconds, just enough to make it easy to mix. Combine the cooled cake mix and cream cheese in a bowl, stirring until they form a thick, smooth paste. Slowly add the milk, beginning with two tablespoons at a time, and mix thoroughly after each addition. Gradually, the mixture will transform into a smooth, pourable base. As it loosens up, switch to a whisk to eliminate any lumps. Once the base is silky and consistent, whisk in the heavy cream, sugar, and food coloring (if you’re using it) until the mixture is perfectly blended and has a vibrant, even color.
Pour the prepared mixture into your Ninja Creami pint container, being careful not to fill beyond the max line. Seal the container with its lid and place it in your freezer on a flat surface. Let it freeze for at least 24 hours to solidify completely before processing.
When the mixture is fully frozen, remove the pint container from the freezer, take off the lid, and secure it into the Ninja Creami machine. Select the “Ice Cream” function and let the machine work its magic for about two minutes. Check the consistency once it’s done. If it appears crumbly, don’t worry—just use the “Re-spin” function or add a splash of milk to make it extra creamy. The goal is to achieve a smooth, velvety texture.
If you’re feeling adventurous, this is the perfect time to add some fun mix-ins. Create a small well in the center of the ice cream, reaching down to the bottom of the container. Add your mix-ins, like white chocolate chips or cream cheese baking chips, and use the “Mix-in” function to fold them into the ice cream. This step is entirely optional but can elevate the flavors and textures to suit your personal taste.
Customize It
Dietary Swaps
- Gluten-free: Easy—just use gluten-free cake mix.
- Vegan: Substitute with dairy-free alternatives.
Flavor Tweaks
- Want it extra chocolatey? Add a touch of cocoa powder.
- Not a fan of food coloring? Skip it or go natural with beet juice.
Seasonal Ideas
- Christmas? Add crushed peppermint candies.
- Valentine’s Day? Heart-shaped sprinkles are adorable.
Serving Ideas
How to Serve
Scoop it into a waffle cone, a bowl, or even between two cookies for an ice cream sandwich. Top with whipped cream, red velvet crumbs, or chocolate shavings to make it extra special.
Leftovers?
Store any extras (if there are any!) in the pint container with the lid tightly sealed. It’ll keep for about a week. If it gets too hard, let it sit out for 10 minutes before scooping, or give it another spin in the Ninja Creami.
Final Thoughts
Rich, creamy, and loaded with red velvet flavor, this ice cream is as fun to make as it is to eat. Whether you’re experimenting with toppings or just enjoying it straight out of the container (no judgments!), it’s a guaranteed hit.
Go on, give it a try—your taste buds will thank you!
PrintNinja Creami Red Velvet Cake Batter Ice Cream
This Ninja Creami Red Velvet Cake Batter Ice Cream is a creamy, decadent treat inspired by the classic red velvet cake. With its rich cocoa flavor, tangy cream cheese base, and vibrant red hue, it’s perfect for special occasions or an indulgent everyday dessert.
- Prep Time: 15 minutes
- Cook Time: 5 minutes (toasting cake mix)
- Total Time: 24 hours (including freezing)
- Yield: 1 pint 1x
- Category: Dessert
- Cuisine: American
Ingredients
- 1/2 cup red velvet cake mix (toasted)
- 1/4 cup cream cheese, softened
- 1/2 cup whole milk
- 1/2 cup heavy whipping cream
- 1/4 cup granulated sugar
- Optional: 20 drops red food coloring
- Optional Mix-ins: 1/4 cup white chocolate chips or cream cheese baking chips
Instructions
- Toast the Cake Mix: Preheat your oven to 350°F. Spread the cake mix evenly on a parchment-lined baking sheet and toast for 5 minutes. Let it cool completely.
- Prepare the Base: Soften cream cheese in the microwave for 15–20 seconds. Combine the cooled cake mix with the cream cheese using a spatula until it forms a thick paste.
- Mix the Liquids: Gradually whisk in whole milk, starting with small amounts to loosen the paste. Once smooth, add heavy whipping cream, granulated sugar, and food coloring (if using). Whisk until fully combined and lump-free.
- Freeze: Pour the mixture into a Ninja Creami pint container, ensuring it doesn’t exceed the max fill line. Seal tightly and freeze on a level surface for at least 24 hours.
- Process in Ninja Creami: Remove the pint from the freezer and place it in the Ninja Creami machine. Select the “Ice Cream” function and process until creamy. If crumbly, use the “Re-spin” function or add a tablespoon of milk and re-spin again.
- Add Mix-ins (Optional): Create a well in the ice cream, add your mix-ins, and use the “Mix-in” function to incorporate.
Notes
Serving Suggestions:
- Serve in bowls or waffle cones topped with whipped cream, chocolate shavings, or extra red velvet crumbs for a stunning presentation.
Tips & Tricks:
- Toasting the cake mix enhances its flavor and ensures safety when used raw.
- For smoother ice cream, ensure all ingredients are fully mixed before freezing.
- Adjust food coloring to achieve your desired shade of red.
Storage & Reheating:
- Store leftovers in the pint container with a tight lid for up to one week in the freezer.
- Let frozen ice cream sit at room temperature for about 10 minutes before scooping or reprocess with “Re-spin” for better texture.