

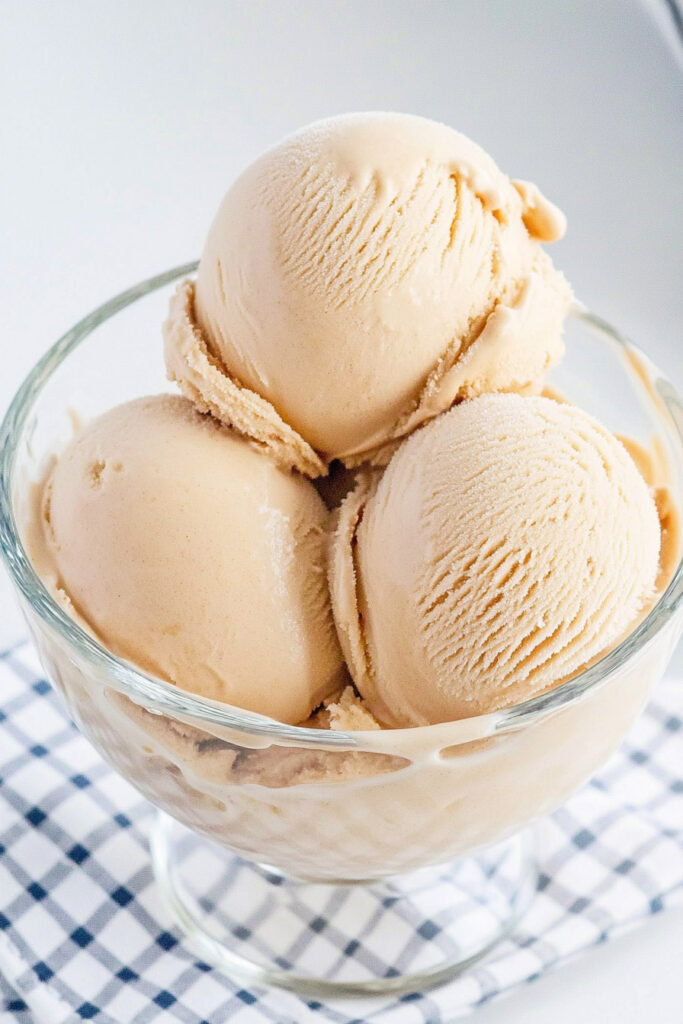
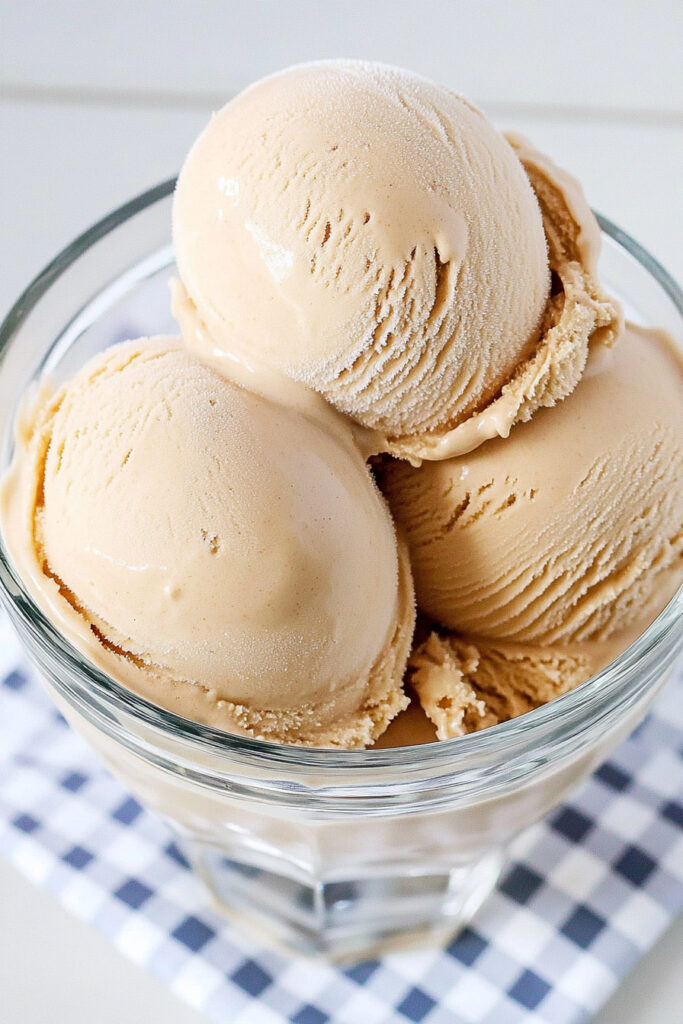
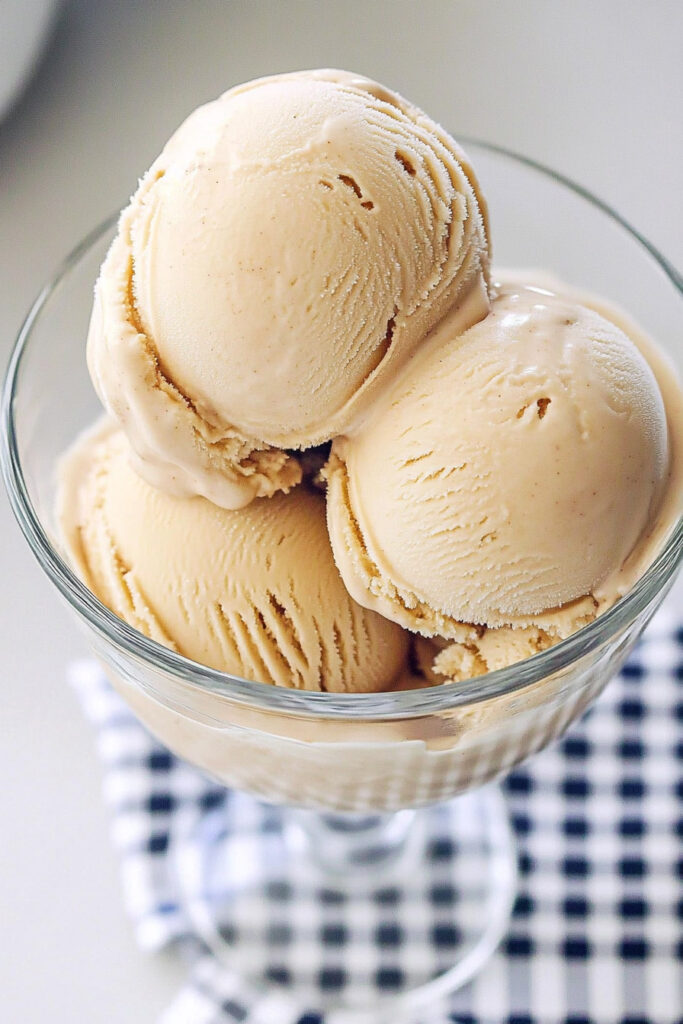
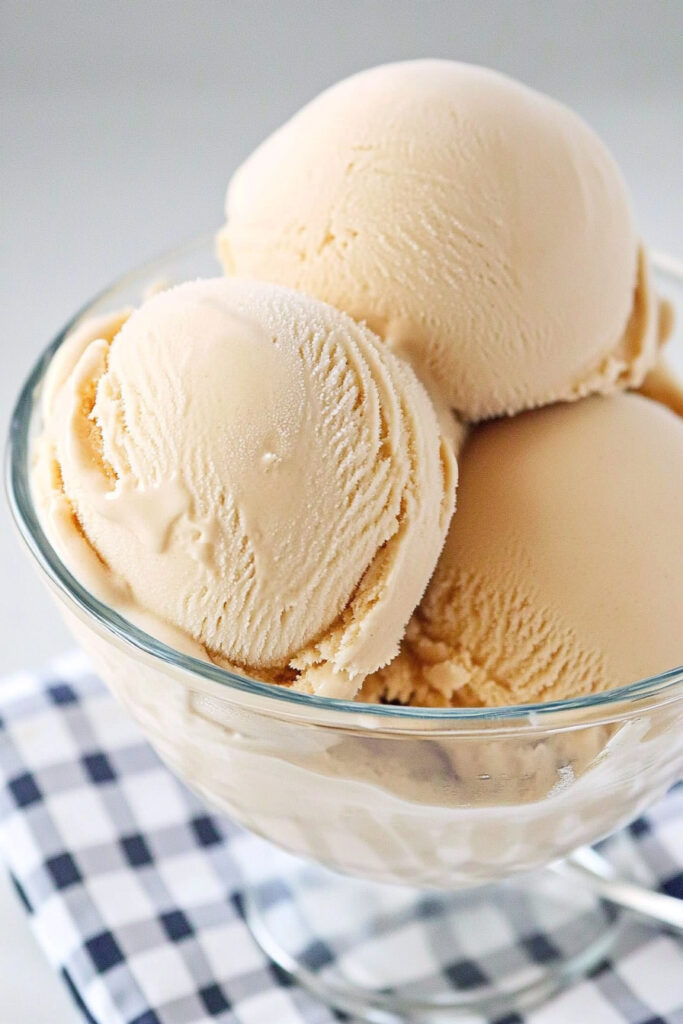
Who doesn’t love peanut butter? It’s creamy, a little salty, and, honestly, just irresistible. Now imagine turning that into rich, dreamy ice cream at home. Sounds good, right? This guide will show you how to whip up some amazing peanut butter ice cream using your Ninja Creami. Whether you’re an expert or just dabbling in homemade treats, you’re in for a deliciously fun time!
The Basics
What You Need to Know
- Prep Time: 10 minutes
- Freeze Time: 24 hours (yep, you’ll need to plan ahead for this one!)
- Total Time: About 24 hours and 10 minutes
How Much Does It Make?
- One pint, good for 2–4 servings. Hungry crowd? Double it up and make multiple pints.
Is It Hard?
- Nope! This recipe is super beginner-friendly. If you can blend and freeze, you’ve got this.
What You’ll Need
Equipment:
- Ninja Creami
- Pint container (the one that comes with the Ninja Creami)
- Immersion blender (or a regular blender)
- Whisk No immersion blender? No problem—just mix by hand. It takes a little effort, but it works!
Ingredients:
- 1 cup whole milk (or your favorite milk)
- 4 tablespoons instant vanilla pudding mix (trust me, this makes it extra creamy)
- 1/3 cup peanut butter (smooth and creamy)
- 1/2 cup heavy cream
Swaps You Can Make
- Milk: Got almond or oat milk? Use that instead.
- Peanut Butter: Allergic? Sub it with almond butter or sunflower seed butter.
- Heavy Cream: Coconut cream works for a dairy-free twist.
- Pudding Mix: Can’t find it? Mix in a tablespoon of cornstarch to thicken things up.
Pro Tip: Use creamy peanut butter (like Jif or Skippy). Natural peanut butter that separates can mess with the texture unless stirred really well.
Step-by-Step Instructions
Step 1: Blend Everything Together
In a mixing bowl, combine the milk, pudding mix, and peanut butter. Grab your blender or whisk and mix until it’s smooth—no lumps allowed! Scrape down the sides if needed.
What to look for: A creamy texture with no streaks of peanut butter hanging out.
Step 2: Add the Heavy Cream
Once everything’s blended, gently whisk in the heavy cream. The mixture should be thick but still easy to pour.
Quick check: If it looks silky and smooth, you nailed it.
Step 3: Freeze It
Pour the mixture into your Ninja Creami pint container, but don’t overfill it! Leave some space at the top. Pop on the lid and freeze it flat for 24 hours.
Heads up: Filling past the max line could mess up the churning process.
Step 4: Churn It
Take the pint out of the freezer, remove the lid, and pop it into the Ninja Creami. Press the “Ice Cream” button and let the machine work its magic!
If it looks crumbly after churning, don’t worry. Just press the “Re-spin” button. You might need to add a splash of milk to smooth things out.
Step 5 (Optional): Add Mix-Ins
Want to take it up a notch? Make a small hole in the center of your ice cream and toss in some mix-ins. Think chocolate chips, crushed peanuts, or mini peanut butter cups. Then hit the “Mix-in” button.
Pro Tip: Keep your mix-ins small so they blend evenly.
Ways to Customize It
- Dairy-Free? Use almond milk and coconut cream.
- Sugar-Free? Swap the pudding mix for a sugar-free version and use a low-carb sweetener like stevia.
- Feeling Fancy? Drizzle some caramel over the top and sprinkle with sea salt.
- Seasonal Twist: Add cinnamon or nutmeg for a cozy winter vibe, or pair it with fresh strawberries in summer.
How to Serve and Store
- Serve it up: Go for a classic bowl, a cone, or even on top of warm brownies. Crushed peanuts or chocolate shavings make great garnishes!
- Got leftovers? Store the pint container right in the freezer. It’ll stay good for about two weeks.
- Quick tip: Let it sit out for 10–15 minutes before scooping if it gets too hard.
Final Thoughts
This peanut butter ice cream is the perfect mix of creamy, sweet, and salty. It’s easy enough for beginners but still feels like a treat you’d get at an ice cream parlor. So what are you waiting for? Grab your ingredients, fire up the Ninja Creami, and treat yourself—you deserve it!
Hope this version feels more natural and fun to read! Let me know if there’s anything you’d like to tweak further.
1 Comment