

Italian ice isn’t just dessert—it’s a slice of history. Ever wondered what ancient Romans did to cool down? They mixed snow with honey and fruit juice. Fast forward to the Renaissance in Sicily, and it became the granita we know and love. By the time Italian immigrants brought this treat to the U.S., it had morphed into the smoother, sorbet-style dessert we enjoy today.
Now, thanks to the Ninja Creami, you can whip up your own version at home—quickly, easily, and with a nod to tradition. Let’s dive into this simple recipe that’s perfect for sunny days or just when you’re craving something sweet and icy.
The Basics
- Prep Time: 5 minutes active (plus 24 hours freezing)
- Servings: Makes 1 pint (about 2-3 servings)
- Skill Level: Beginner (yes, even if you “burn water” you can do this!)
- What You’ll Need:
- Ninja Creami Deluxe Ice Cream Maker
- Ninja Creami pint container
- Measuring cups
- A spoon (for mixing—it’s that easy)
The Ingredients
Here’s your short shopping list:
- 16 ounces of lemonade (store-bought or homemade—it just needs sugar).
- Optional goodies:
- Extra sugar or sweetener (if you’ve got a sweet tooth).
- A splash of yogurt or cream for a smoother, creamier texture.
Want to mix it up?
- Substitutions: Use limeade, orange juice, or even sugar-free lemonade for a lighter option.
- Pro Tip: High-quality lemonade makes a huge difference. If it’s too tart, your Italian ice will be too zippy too!
Step-by-Step Instructions
Let’s get that Italian ice going:
1. Mix It Up
Pour 16 ounces of lemonade into your Ninja Creami pint container. Want it sweeter or creamier? Add sugar or a splash of cream. Stir it all together until it’s uniform.
Little hint: If it looks well-mixed, you’re good to go.
2. Freeze
Pop the lid on the pint container and set it flat in your freezer for at least 24 hours. Want a pro move? Make sure the container stays level to avoid weird textures later.
Why wait so long? The mixture needs to freeze solid, trust me.
3. Spin and Smooth
Once frozen, take the lid off and drop the pint into your Ninja Creami. Lock it into place and hit the “Sorbet” button. In two minutes, the machine works its magic.
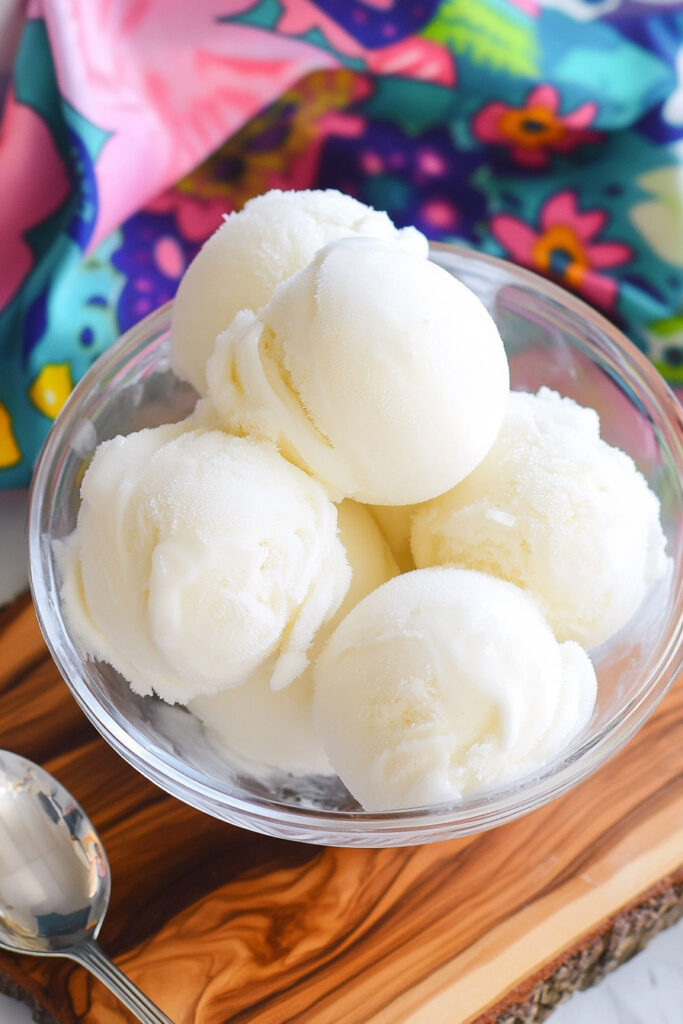
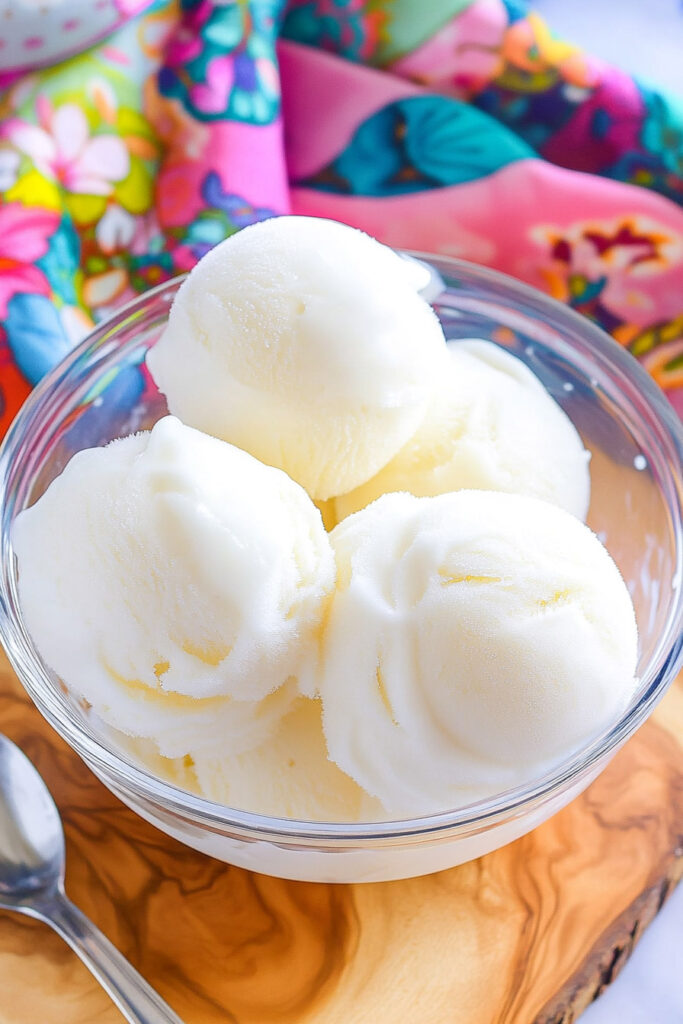
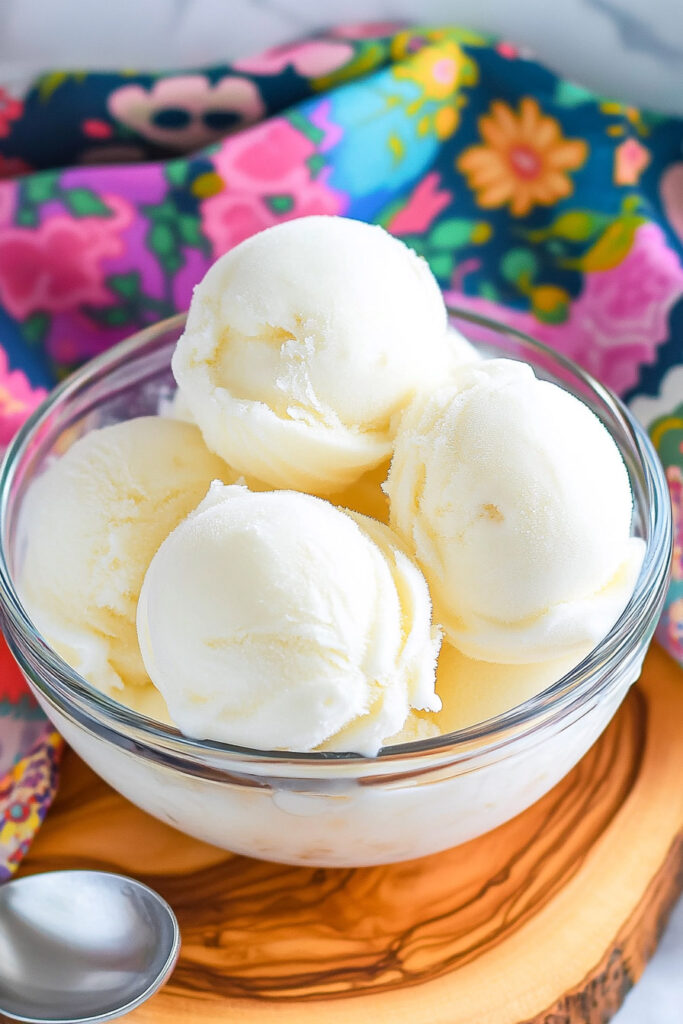
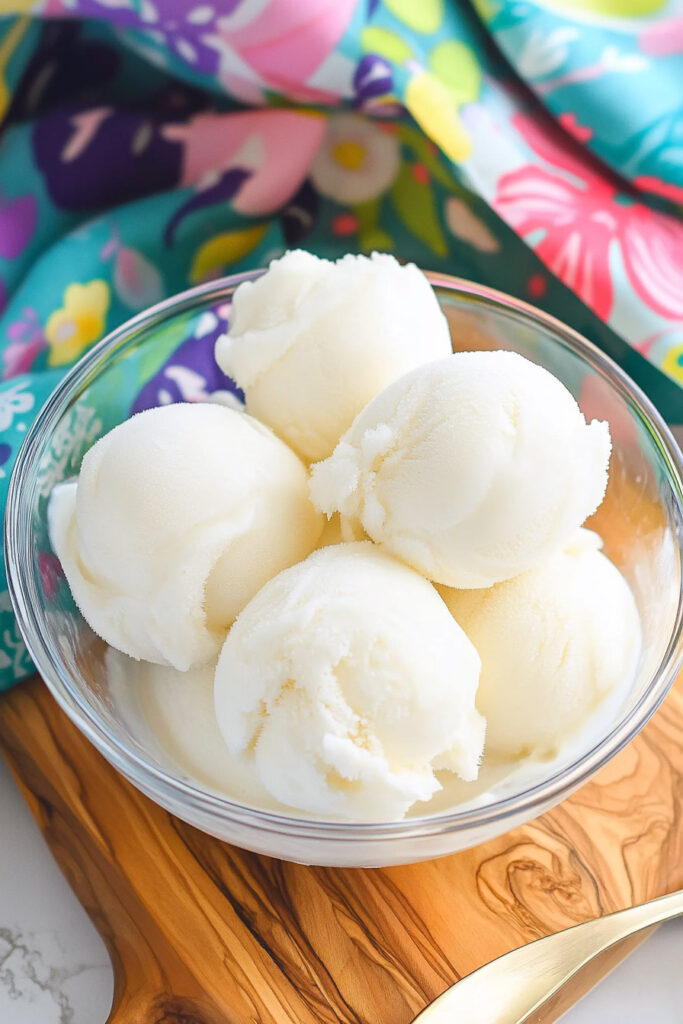
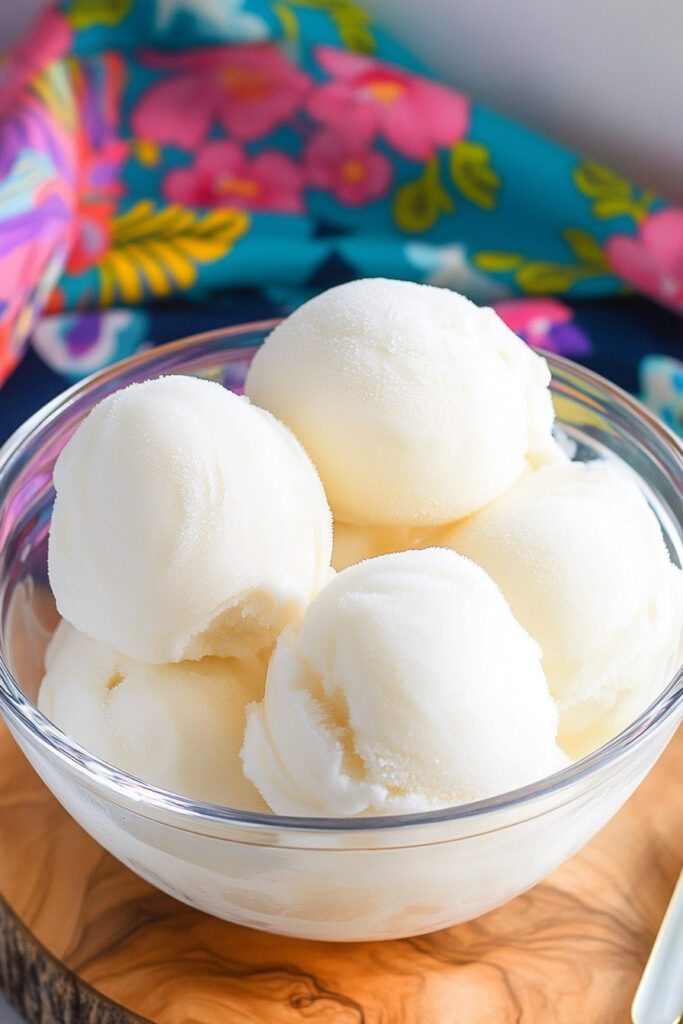
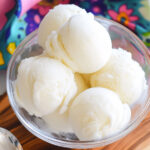
The result? Silky, smooth sorbet. It’s like summer in a bowl.
4. Re-Spin if Needed
Does it feel a little icy or gritty? Don’t worry—just hit the “Re-spin” button. This will give it that perfect, creamy texture.
Important: Don’t skip this step if it’s not as smooth as you’d like.
5. Serve and Enjoy
Scoop your Italian ice into chilled bowls or glasses. Serve it right away for the freshest flavor.
Fun Variations
The beauty of Italian ice? You can make it your own:
- Diet-Friendly Options: Use agave syrup or stevia for a vegan or sugar-free twist.
- Flavor Add-ons: Toss in some berries or a dash of lemon zest before freezing for extra zing.
- Seasonal Flavors: Think tropical (mango or pineapple) in summer or cozy (spiced apple cider) for winter.
Got leftovers? No problem. Store them in an airtight container in the freezer and re-spin before serving.
Serving Tips
Take it up a notch:
- Serve with a sprig of mint or a lemon slice for a fancy touch.
- Pair with biscotti or fresh fruit for a light, refreshing snack.
Why Make It at Home?
Italian ice is more than just a dessert—it’s a fun way to connect with the past while enjoying something delicious. And with the Ninja Creami? It’s a breeze. Whether it’s for a backyard BBQ or a quiet afternoon, this treat is guaranteed to impress. So, grab some lemonade, fire up your Ninja Creami, and get ready for a sweet taste of tradition.
Easy, refreshing, and oh-so-delicious. What’s not to love?
This version keeps the tone light, personable, and approachable while breaking down the information into bite-sized chunks. Let me know if you want any tweaks!
PrintNinja Creami Italian Ice
A refreshing, smooth, and creamy Italian ice made effortlessly with the Ninja Creami! Perfect for hot days or as a light dessert, this recipe is simple yet incredibly satisfying.
- Prep Time: 5 minutes
- Cook Time: 2 minutes (processing)
- Total Time: 24 hours (including freezing)
- Yield: 2-3 1x
- Category: Dessert
- Cuisine: Italian-American
Ingredients
- 16 ounces lemonade (must contain sugar)
- Optional: sugar or sweetener to taste, or a splash of dairy for creaminess
Instructions
- Mix Ingredients: Pour 16 ounces of lemonade into the Ninja Creami pint container. If desired, stir in extra sugar or a splash of dairy for added sweetness or creaminess. Mix until well combined.
- Freeze: Cover the container and freeze on a flat surface in a cold freezer for 24 hours. Ensure it’s level to avoid uneven freezing.
- Process in Ninja Creami: Remove the frozen pint from the freezer and take off the lid. Place it into the outer bowl of the Ninja Creami machine, lock it in place, and select the “Sorbet” function. Let it process for about 2 minutes until smooth.
- Re-spin if Needed: If the texture is not creamy enough, use the “Re-spin” function to achieve a smoother consistency.
- Serve: Scoop into bowls and enjoy immediately!
Notes
Serving Suggestions:
- Garnish with fresh mint leaves or lemon slices for a vibrant presentation.
- Serve in chilled bowls to keep it cool longer.
Tips & Tricks:
- Always freeze on a level surface to prevent uneven textures.
- Use the re-spin function if the mixture is too icy after the first cycle.
Storage & Reheating:
- Store leftovers in an airtight container in the freezer.
- To serve later, let it thaw slightly at room temperature and re-spin in the Ninja Creami for best results.