

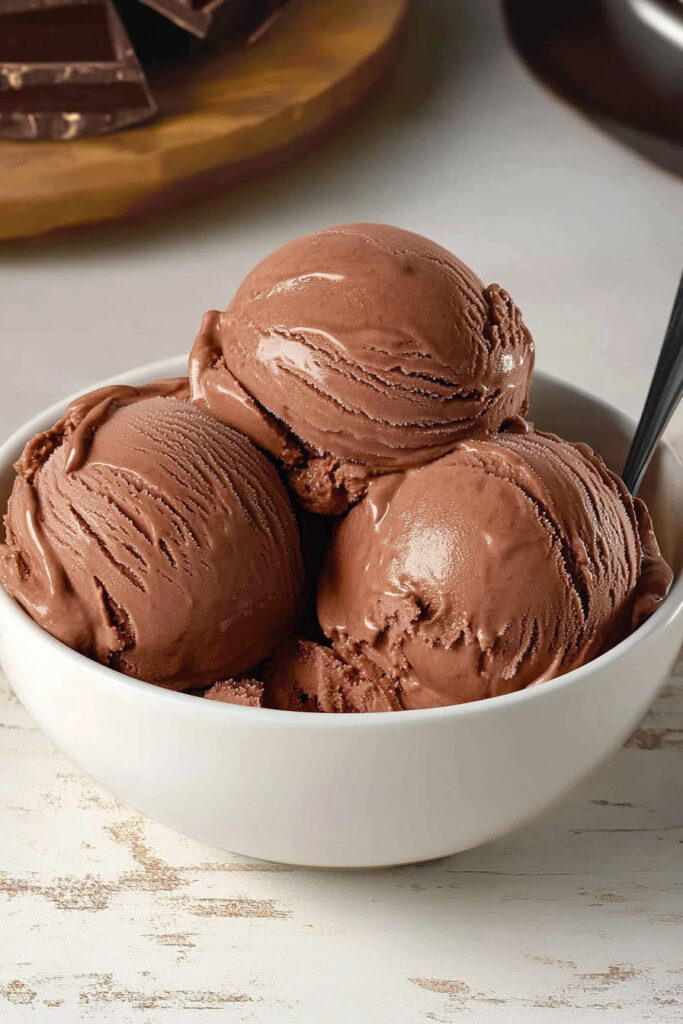
There’s something special about making ice cream at home. Especially when it’s rich, creamy, and ticks all the boxes for your dietary needs. This Ninja Creami Dairy-Free Chocolate Ice Cream is perfect for anyone who loves chocolate but avoids dairy. Whether you’re lactose-intolerant, vegan, or just looking for a healthier dessert, this recipe has you covered.
Here’s the best part: it’s made with simple, wholesome ingredients like almond milk, coconut milk, and dates. The result? A smooth, dreamy chocolate ice cream that’s every bit as good—if not better—than store-bought.
And yes, the Ninja Creami makes the whole process insanely easy. No ice cream maker? No problem. I’ll share options for that too. So, let’s dive in and churn up some magic in your kitchen.
Quick Recipe Overview
Here’s what you need to know:
- Prep Time: 10 minutes
- Freeze Time: 8–24 hours (up to you!)
- Cook Time: None
- Servings: Enough for 4 happy dessert lovers
- Difficulty: Super easy
Must-Have Tools
- Ninja Creami Machine: For that perfect creamy texture.
- Blender: To mix up the ingredients.
- Pint Container: Where the magic happens (or any freezer-safe container).
No Ninja Creami? You can use a regular ice cream maker OR freeze the mixture in a container and blend it periodically to break up ice crystals. It’s a bit more work, but still delicious.
Ingredients
Here’s the lineup:
- 1 cup almond milk (or any other plant-based milk)
- ¾ cup full-fat coconut milk (from a can)
- 2 medjool dates (pitted)
- 1 scoop chocolate protein powder (or skip it—totally fine)
- 2 tablespoons cocoa powder (unsweetened)
- A pinch of sea salt
Easy Substitutions
- Almond Milk: Try oat or cashew milk for extra creaminess.
- Dates: Swap them for 2 tablespoons of maple syrup or agave if that’s what you have.
- Coconut Milk: Use lite coconut milk or even dairy-free yogurt if you’re keeping it light.
- Protein Powder: Skip it for a classic ice cream vibe, or use cacao powder instead for bonus chocolate flavor.
Pro Tip: Make sure your dates are soft. If they’re feeling a little dry, soak them in warm water for 10 minutes before blending.
Step-By-Step: How to Make It
Step 1: Blend the Base
Throw the almond milk, coconut milk, dates, cocoa powder, protein powder, and a pinch of salt into your blender. Blend until smooth. If you see any date bits, you can strain the mixture—or leave them in for texture.
What to look for: It should look like a thick chocolate smoothie.
Step 2: Freeze the Mixture
Pour your chocolatey mix into the Ninja Creami pint container (or any freezer-safe container). Make sure it’s filled up to the max line. Pop the lid on and stick it in the freezer for at least 8 hours. Preferably overnight.
Quick Tip: Smooth out the top before freezing for even processing later.
Step 3: Process in the Ninja Creami
Once the base is frozen solid, take it out of the freezer, pop it into the Ninja Creami, and lock it in. Use the “Lite Ice Cream” setting and let it do its thing.
Feeling nervous? If the ice cream looks crumbly, no worries. That’s totally normal.
Step 4: Perfect the Texture
Drizzle 2–3 teaspoons of almond milk over the top and hit the “Re-spin” button. This step turns it into that creamy goodness you’re craving.
Texture Check: It should now be smooth, creamy, and ready to scoop.
Step 5: Add Toppings (Optional but Amazing)
Want to jazz it up? Toss in chopped nuts, dairy-free chocolate chips, or shredded coconut. Use the “Mix-In” setting on the Ninja Creami, or just sprinkle them on top.
Fun Variations
Want to make it your own? Try these ideas:
- Spicy Kick: Add cinnamon or cayenne for a Mexican chocolate vibe.
- Holiday Edition: A few drops of peppermint extract turn it into a festive winter treat.
- Fresh Twist: Swirl in crushed raspberries or strawberry sauce in the summer.
- Extra Fancy: Top it with dairy-free caramel or a drizzle of melted chocolate.
For dietary tweaks:
- Going low-sugar? Use monk fruit or stevia in place of dates.
- Boosting protein? Add an extra scoop of protein powder or mix in some chia seeds.
How to Serve & Store
- Serving Idea: Dish it out in bowls, cones, or over a warm brownie (yes, please). Want it Instagram-worthy? Add fresh mint or a drizzle of chocolate sauce.
- Storing Leftovers: Keep it in the pint container, tightly sealed, for up to a week.
If it’s been sitting in the freezer for a while and feels rock-hard, let it sit at room temp for 10 minutes or pop it back in the Creami for another spin cycle.
Final Word
Homemade ice cream doesn’t have to be complicated. This Ninja Creami Dairy-Free Chocolate Ice Cream is proof. It’s rich, indulgent, and free from dairy—so you can enjoy every bite, guilt-free. Whether it’s a date night dessert or a self-care treat, this recipe is a keeper.
Go on, give it a try. You’ll feel like a dessert pro in no time.
PrintNinja Creami Dairy-Free Chocolate Ice Cream

This rich and creamy dairy-free chocolate ice cream is a game-changer for plant-based dessert lovers. Made with almond milk, coconut milk, and natural sweeteners like medjool dates, this recipe delivers indulgent chocolate flavor with a velvety texture—all thanks to the magic of the Ninja Creami. Perfect for vegans or anyone craving a healthier frozen treat!
- Prep Time: 10 minutes
- Cook Time: None
- Total Time: 8–24 hours 10 minutes (includes freezing)
- Yield: 4 scoops 1x
- Category: Dessert
- Cuisine: Vegan, Dairy-Free
Ingredients
- 1 cup almond milk (or chocolate almond milk)
- ¾ cup canned full-fat coconut milk
- 2 medjool dates, pitted
- 1 scoop chocolate protein powder
- 2 tbsp unsweetened cocoa powder
- Pinch of sea salt
Instructions
- Blend the Base: Combine almond milk, coconut milk, dates, protein powder, cocoa powder, and sea salt in a blender. Blend until smooth. If your blender leaves small bits of dates, you can strain the mixture or leave it as is for added texture.
- Freeze the Mixture: Pour the blended base into a Ninja Creami pint container, filling up to the max fill line. Secure the lid and freeze for at least 8 hours (preferably 24 hours for optimal results).
- Process in Ninja Creami: Once frozen solid, place the pint into the Ninja Creami machine and select the “Lite Ice Cream” setting. Let it process through one full cycle.
- Re-spin for Creaminess: If the ice cream looks crumbly after processing, add 2–3 teaspoons of almond milk over the top and press “Re-spin.” This will create a smooth, creamy texture.
- Optional Mix-ins: Add toppings like dairy-free chocolate chips or nuts using the “Mix-In” setting—or enjoy it plain!
Notes
Serving Suggestions:
Serve in chilled bowls or waffle cones for a classic treat. Garnish with fresh mint leaves or drizzle with melted dark chocolate for an elegant touch.
Tips & Tricks:
- Use soft medjool dates for easier blending; soak them in warm water if they’re dry.
- Level out the mixture in the pint container before freezing to ensure even processing.
Storage & Reheating:
Store leftovers in the same pint container with a secure lid. Ice cream keeps well for up to 1 week in the freezer. If it hardens too much, let it sit at room temperature for 10 minutes or run it through another re-spin cycle before serving.