

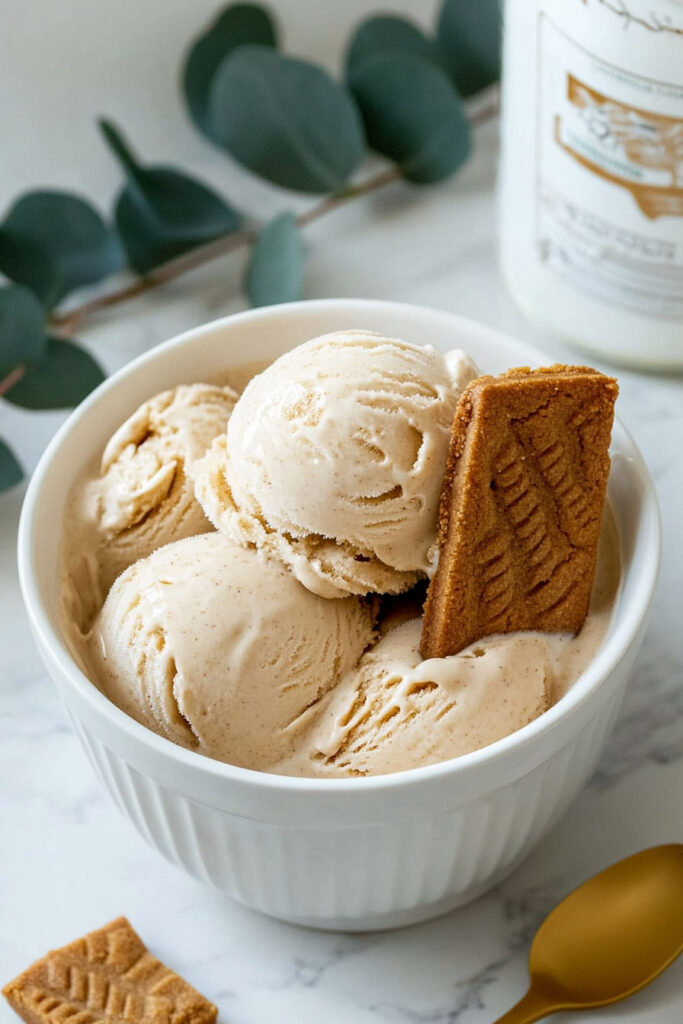
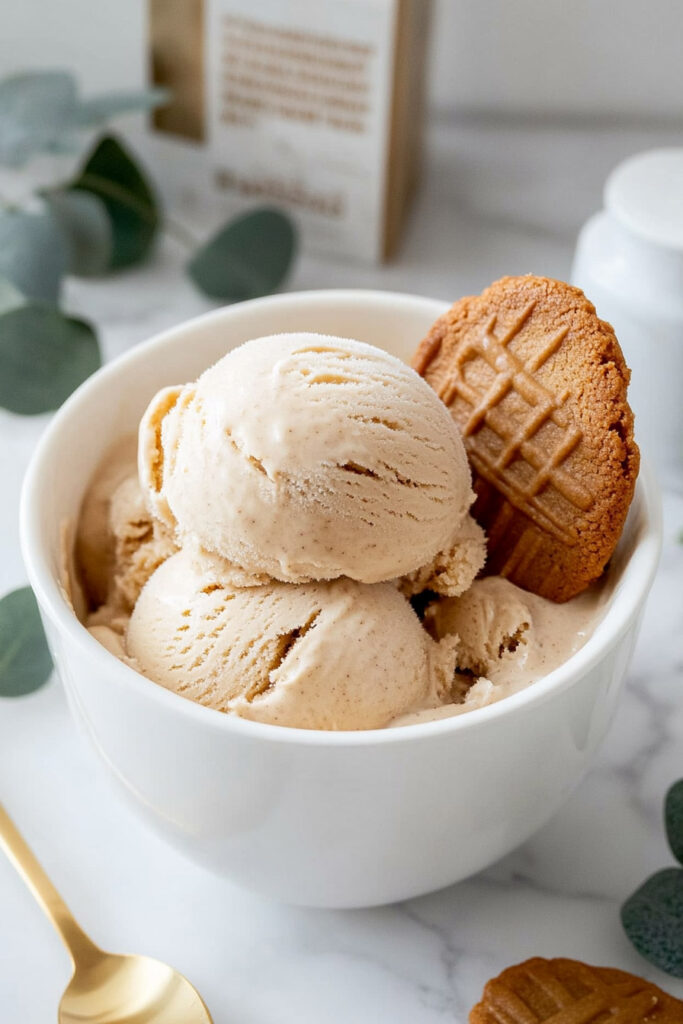
Cookie butter is pure magic. Its cozy, spiced caramel flavor takes you right back to warm cookies fresh out of the oven. Now imagine that creamy goodness turned into ice cream. Sounds dreamy, right? That’s exactly what this recipe delivers—a luscious treat made using the Ninja Creami. If you adore Lotus Biscoff cookies or Trader Joe’s cookie butter spread, you’re in for a real treat. Whether you’re whipping this up for friends, family, or just yourself (no judgment), this ice cream will quickly become a household favorite.
Recipe at a Glance
Time Commitment
- Active Time: 10 minutes
- Freezing Time: 24 hours
- Total Time: About a day (but worth the wait!)
Serving Size
One pint. Perfect for 2 to 4 servings—though no one’s stopping you from keeping it all to yourself.
Skill Level
Beginner-friendly. If you can blend and push buttons, you’ve got this.
Equipment You’ll Need
- Blender: To make the base silky smooth.
- Ninja Creami Ice Cream Maker: For that perfect creamy texture.
- Pint Container: Comes with the Ninja Creami; helps freeze the mixture properly.
No Ninja Creami? A standard ice cream maker works too, but the texture might be a little different.
Ingredients
What You’ll Need:
- 2 tbsp cookie butter spread: The star of the show (Biscoff cookie butter works perfectly).
- ½ cup cottage cheese: Adds creaminess without going overboard.
- ½ cup condensed milk: Sweet and creamy—adjust for taste.
- 1½ cups half and half: Creamy but not heavy.
- 4 Biscoff cookies (crushed): Because you can never have too much cookie flavor.
Ingredient Swaps (Because Options Are Always Nice):
- Cookie Butter: Swap with Nutella or peanut butter for a flavor twist.
- Cottage Cheese: Greek yogurt or softened cream cheese works too.
- Half and Half: Whole milk for a lighter version, heavy cream for richer ice cream.
- Cookies: No Biscoff? Ginger snaps or any spiced cookies will do.
How to Make It
Step 1: Blend Away
Toss the cookie butter, cottage cheese, condensed milk, and half and half into a blender. Blend until smooth—no lumps allowed! A creamy, velvety texture is the goal here.
Pro Tip: If your cookie butter feels stiff, let it sit at room temp before blending.
Step 2: Freeze the Base
Pour the blended mix into your Ninja Creami pint container. Pop the lid on and place it flat in the freezer. Freeze for 24 hours—this part needs patience.
Important: Don’t overfill the container. It could lead to uneven freezing.
Step 3: Let the Ninja Work
Once frozen, take the pint out and place it in the Ninja Creami machine. Hit the “Ice Cream” button and let it do its thing. The result? Perfectly creamy ice cream.
Pro Tip: If the ice cream looks crumbly, try the “Re-spin” function or add a splash of milk before reprocessing.
Step 4: Mix in the Crunch
Make a small well in the center of the ice cream and add your crushed cookies. Use the “Mix-In” function to evenly distribute that crunchy goodness.
Pro Tip: Don’t over-process the mix-ins—you want chunky bites, not crumbs.
Step 5: Serve It Up
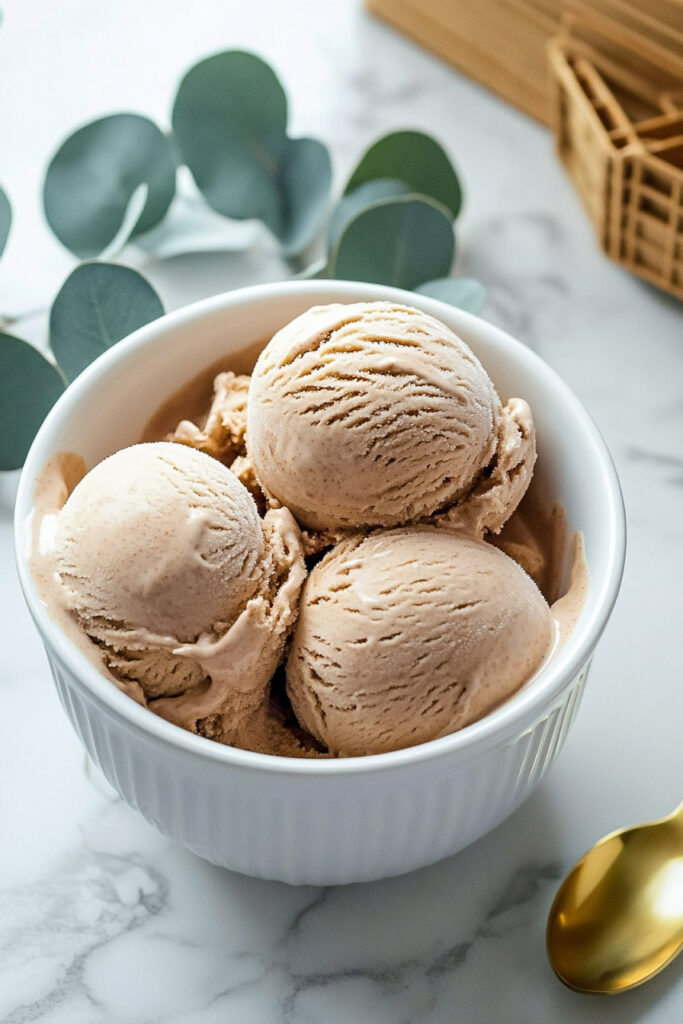
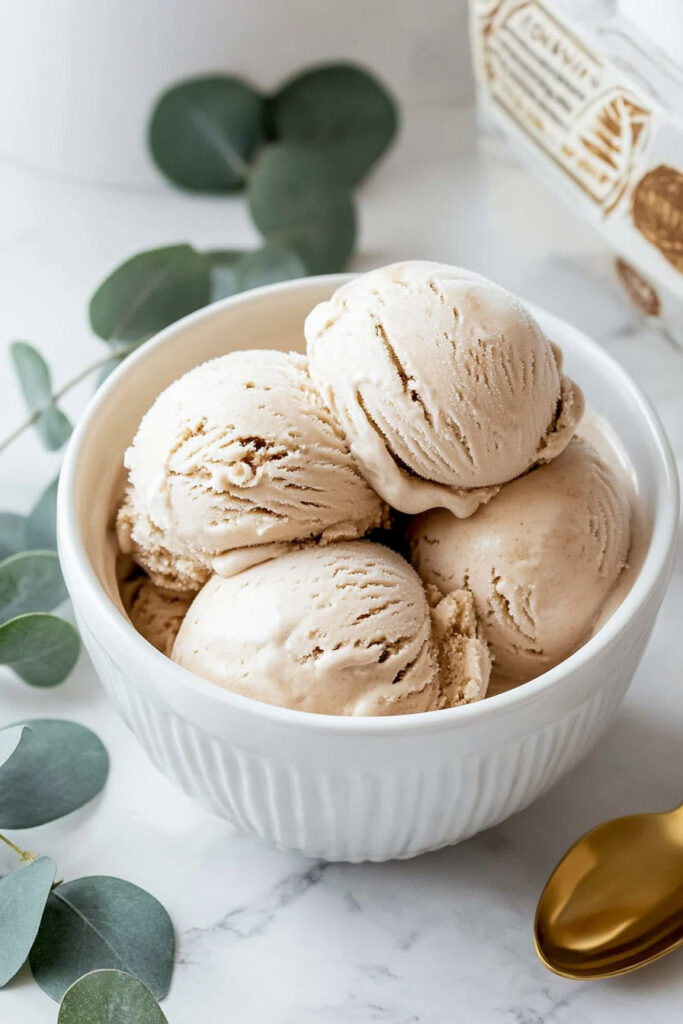
Scoop the ice cream into bowls or cones. Top it off with extra crushed cookies, caramel drizzle, or whipped cream for an extra touch.
Best Served: Right after processing for the creamiest, freshest texture.
Tips and Customizations
- For Gluten-Free: Use gluten-free cookie butter and cookies.
- For a Vegan Twist: Sub cottage cheese with vegan cream cheese, condensed milk with coconut condensed milk, and half and half with oat or almond milk.
- Want More Spice? Add a pinch of cinnamon or nutmeg to the base.
Feeling fancy? Swirl in melted white chocolate before freezing or top with caramel sauce for a layered dessert.
Storing & Serving
- Storage: Keep leftovers in an airtight container in the freezer for up to 2 weeks. But let’s be real—it probably won’t last that long.
- Before Serving: Let the ice cream sit out for 5 minutes to soften, especially if it’s been stored for a while.
Why You’ll Love This
This cookie butter ice cream is a cozy, creamy dessert that hits all the right notes: sweet, spiced, and indulgent. It’s easy enough for beginners and customizable enough to keep things interesting. Plus, with just a few minutes of prep (and some patience while it freezes), you’ll have a homemade treat that rivals anything from an ice cream shop.
The best part? Sharing it with friends. Or… not. Your call.
PrintNinja Creami Cookie Butter Ice Cream Recipe

Indulge in the creamy, spiced sweetness of this homemade Cookie Butter Ice Cream, made effortlessly with the Ninja Creami. Featuring rich cookie butter, creamy cottage cheese, and crunchy Biscoff cookies, this dessert is a perfect blend of comfort and indulgence.
- Prep Time: 10 minutes
- Cook Time: None
- Total Time: 24 hours 10 minutes (Freeze Time: 24 hours)
- Yield: 1 pint (2–4 servings) 1x
- Category: Dessert
- Cuisine: American
Ingredients
- 2 tablespoons cookie butter spread (e.g., Biscoff)
- ½ cup cottage cheese
- ½ cup condensed milk
- 1½ cups half and half
- 4 Biscoff cookies, crushed
Instructions
- Blend the Base: Combine cookie butter, cottage cheese, condensed milk, and half and half in a blender. Blend until smooth and creamy. The mixture should have no lumps.
- Freeze: Pour the blended mixture into a Ninja Creami pint container. Seal tightly with the lid and freeze for at least 24 hours on a flat surface.
- Process in Ninja Creami: Once frozen solid, place the pint in the Ninja Creami machine. Select the “Ice Cream” function and process until smooth. If crumbly, use the “Re-spin” function for a creamier texture.
- Add Mix-ins: Remove the pint, create a small well in the center of the ice cream, and add crushed Biscoff cookies. Process again using the “Mix-in” setting to evenly distribute the cookies.
- Serve: Scoop into bowls or cones and enjoy! Garnish with extra crushed cookies or caramel drizzle if desired.
Notes
Serving Suggestions
- Serve immediately for the creamiest texture. Add toppings like whipped cream or caramel sauce for extra indulgence.
Tips & Tricks
- Ensure cookie butter is at room temperature for easier blending.
- Use a high-speed blender for a smoother base.
- If ice cream is too hard after freezing, let it sit at room temperature for 5 minutes before serving.
Storage & Reheating
- Store leftovers in an airtight container in the freezer for up to two weeks.
- Allow stored ice cream to soften slightly at room temperature before scooping.