

Love chocolate and peanut butter? Me too. This recipe is like a healthier, protein-packed version of Reese’s in ice cream form. It’s creamy, rich, and packed with flavor—but with less sugar and more protein. And the best part? You can whip it up easily with a Ninja Creami.
Ready to dig in? Let’s do it.
What to Know Before You Start
Time Commitment
- Hands-on Time: 5 minutes
- Freezing Time: 24 hours
- Total: About a day
Servings
This recipe makes one small pint—perfect for one or two people. Need more? Just double or triple the ingredients.
Skill Level
Super easy. If you’re new to making ice cream, the Ninja Creami has your back.
What You’ll Need
- Ninja Creami ice cream maker
- A small blender or immersion blender
- Measuring cups and spoons
No Ninja Creami? You can try a regular ice cream maker, but the texture might not be the same.
Ingredients (Enough for 1 Pint)
Ice Cream Base
- 11.5 oz chocolate protein shake
- 2 tbsp sugar-free instant chocolate fudge pudding mix
- 1 tsp dark cocoa powder
- 2 tbsp powdered peanut butter (like PB Fit)
Mix-ins
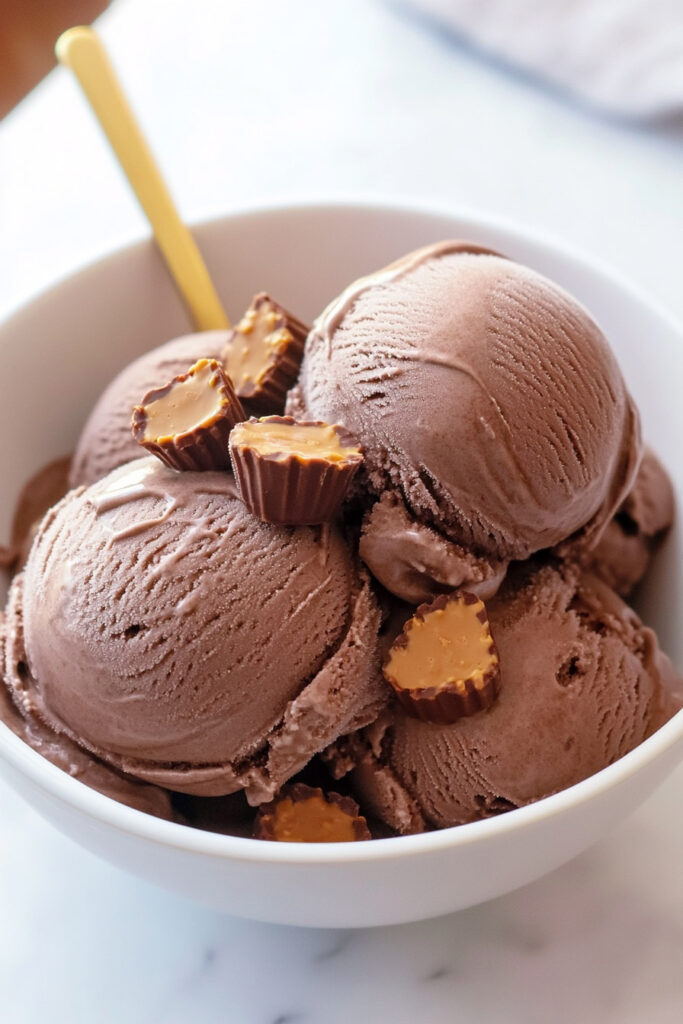
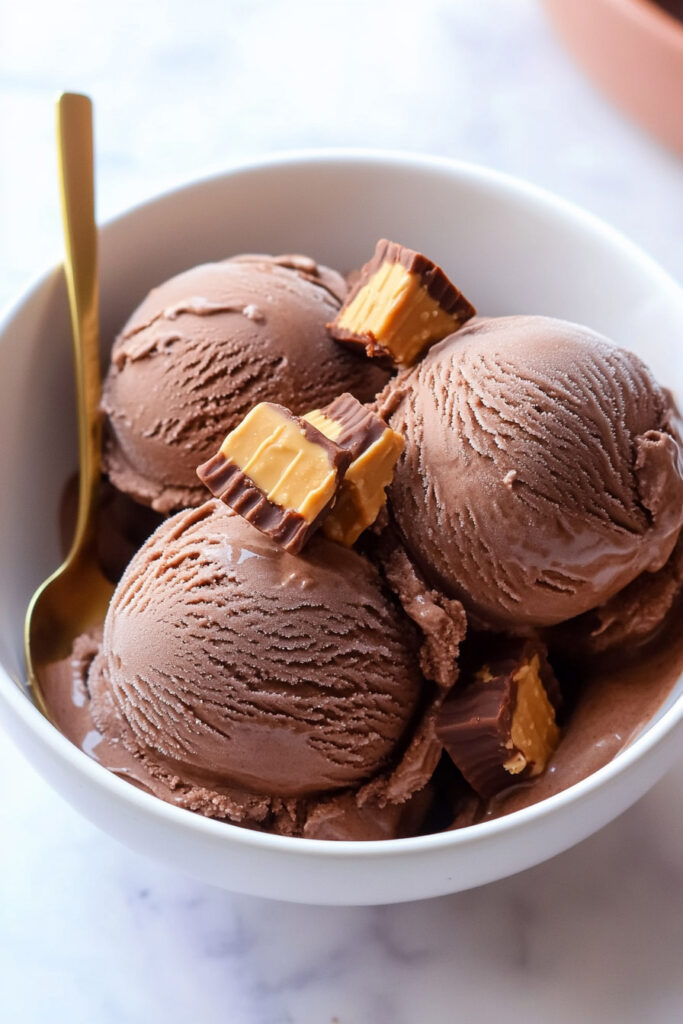
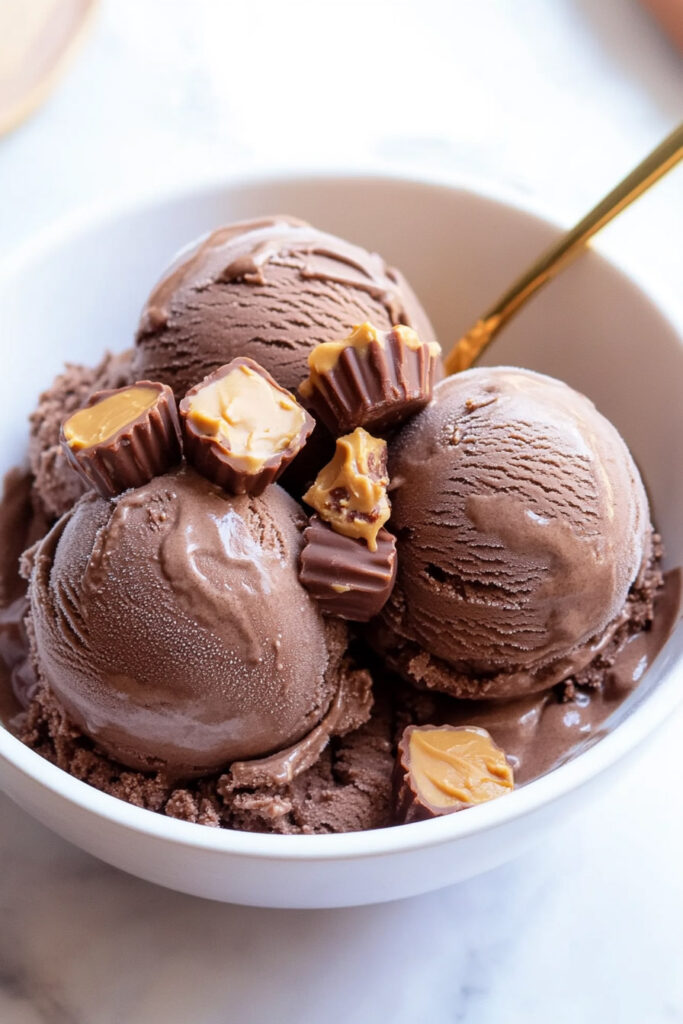
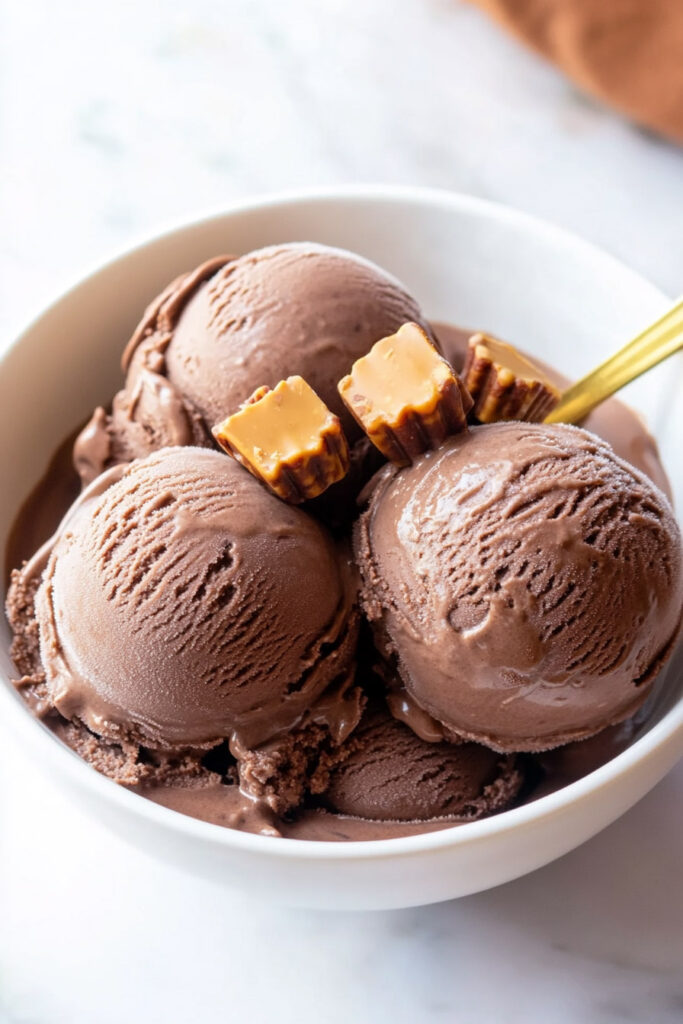
- 3 zero-sugar peanut butter cups (chopped)
Optional
- 1–2 tbsp chocolate almond milk (if needed for respinning)
Ingredient Swaps
- Protein Shake: Use your favorite brand. Fairlife and plant-based shakes work great.
- Pudding Mix: Don’t have it? Swap it for a thickener like xanthan gum or guar gum.
- Powdered Peanut Butter: PB2 works too. Regular peanut butter is fine but will change the nutrition.
- Almond Milk: Any milk will do—dairy or non-dairy.
How to Make It (Step-by-Step)
Step 1: Blend the Base
Mix all the base ingredients—protein shake, pudding mix, cocoa powder, and powdered peanut butter—in a blender. Blend until smooth and lump-free.
Tip: If it gets foamy, let it sit for a few minutes before pouring.
Step 2: Freeze
Pour the mixture into a Ninja Creami pint container. Place it flat in the freezer and leave it uncovered for a smooth surface. Freeze for at least 24 hours.
Step 3: Process the Ice Cream
Take the frozen pint out of the freezer. Let it sit at room temp for 10 minutes. Then, process it in the Ninja Creami on the “Lite Ice Cream” setting.
If it looks grainy or crumbly: Add 1–2 tablespoons of chocolate almond milk and process again. Repeat if needed until it’s smooth and creamy.
Step 4: Add the Mix-ins
Make a small well in the center of the ice cream and add the chopped peanut butter cups. Use the “Mix-ins” setting to combine. Like bigger chunks? Pulse briefly instead.
Tips, Tweaks & Variations
Diet or Flavor Changes
- Vegan? Use plant-based protein shakes and dairy-free peanut butter cups.
- Lower calorie? Swap peanut butter cups for sugar-free chocolate chips.
- Want it richer? Add regular peanut butter or a splash of cream.
How to Serve and Store
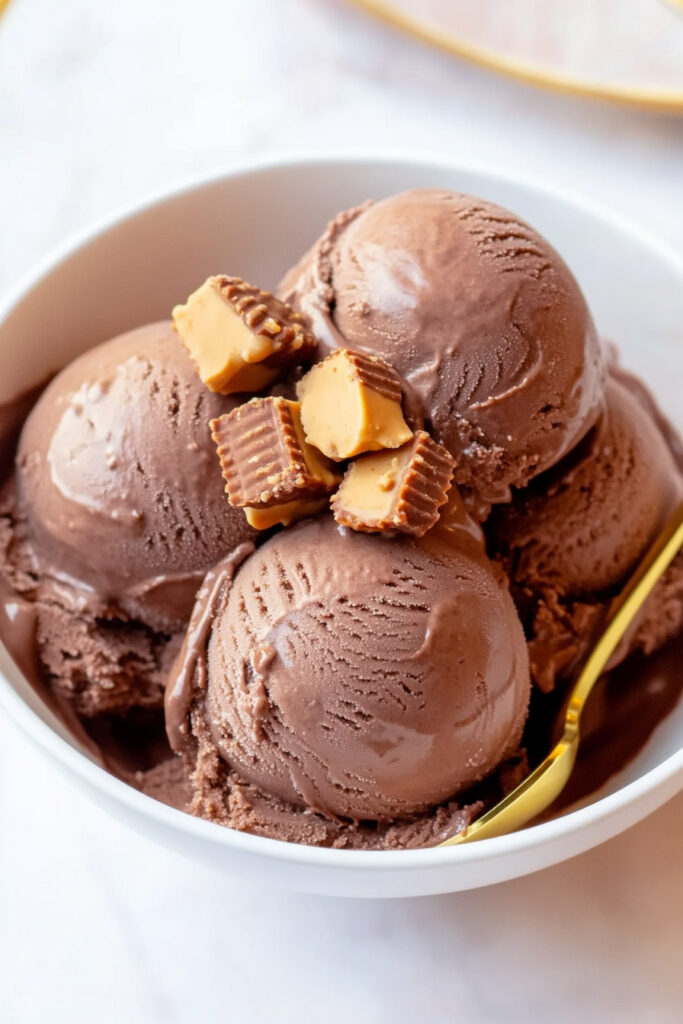
- Serving Ideas: Scoop it into a chilled bowl. Sprinkle on more chopped peanut butter cups or dust with cocoa powder. Want extra indulgence? Drizzle some melted chocolate on top.
- Storage: Keep leftovers in the pint container with the lid sealed. If it gets too hard, let it sit for 10 minutes at room temp before reprocessing.
That’s it! A creamy, chocolatey, peanut-buttery dessert that’s surprisingly good for you. Perfect as a treat or a post-workout snack. Enjoy!
PrintNinja Creami Chocolate Peanut Butter Cup Protein Ice Cream

This creamy, protein-packed dessert combines the rich flavors of chocolate and peanut butter for a guilt-free treat. Perfect as a post-workout snack or a healthy indulgence, it’s easy to make with the Ninja Creami machine and satisfies your sweet tooth without the added sugar.
- Prep Time: 5 minutes
- Cook Time: None
- Total Time: 24 hours, 5 minutes (included freezing time)
- Yield: 1 pint (1–2 servings) 1x
- Category: Dessert, Healthy Treat
- Cuisine: American
Ingredients
Ice Cream Base:
- 11.5 oz (326 g) chocolate protein shake
- 2 tbsp sugar-free instant chocolate fudge pudding mix
- 1 tsp dark cocoa powder
- 2 tbsp PB Fit powdered peanut butter
Mix-ins:
- 3 zero-sugar peanut butter cups
Optional:
- 1–2 tbsp chocolate almond milk (for respinning if needed)
Instructions
- Blend the Base: Combine the protein shake, pudding mix, cocoa powder, and peanut butter powder in a blender. Blend until smooth and no lumps remain.
- Freeze: Pour the mixture into a Ninja Creami pint container. Freeze on a level surface without the lid for 24 hours at -7°F to 9°F.
- Process in Ninja Creami: After freezing, place the container in the Ninja Creami machine and process on “Lite Ice Cream.” If crumbly, add 1–2 tablespoons of chocolate almond milk and respin until creamy.
- Add Mix-ins: Create a small well in the center of the ice cream and add chopped peanut butter cups. Process on “Mix-ins” to evenly distribute them.
- Serve: Scoop into bowls or enjoy straight from the container!
Notes
Serving Suggestions:
- Top with extra peanut butter cups or a drizzle of melted chocolate for added indulgence.
- Pair with warm brownies or cookies for a decadent dessert.
Tips & Tricks:
- Freeze without the lid to prevent bumps on the surface.
- Let the frozen pint sit at room temperature for about 10 minutes before processing for smoother results.
Storage & Reheating:
- Store leftovers in the pint container with its lid on. Keep frozen at -7°F to 9°F.
- To soften after refreezing, let sit at room temperature for 10 minutes or respin in the Ninja Creami.