

Ice cream isn’t just a dessert. It’s a memory, a moment, and sometimes, a little bit of art. This Cherry Chocolate Ice Cream recipe is like a modern twist on the classic Black Forest dessert. Think cherry and chocolate, but made super easy with the Ninja Creami.
What’s special? It’s creamy, rich, and simple to make. Whether you’re craving a treat for yourself or serving it to family and friends, this one’s bound to become a favorite. Ready to dive in? Let’s get started.
Let’s Talk Details
Quick Overview
- Prep Time: 10 minutes of mixing (but you’ll need 24 hours to freeze the base).
- Servings: Makes one pint—perfect for 2 to 3 people.
- Difficulty: Super easy! This is beginner-friendly, thanks to the Ninja Creami machine.
Equipment You’ll Need
- Ninja Creami machine (or any ice cream maker—though the texture might vary).
- A mixing bowl or big measuring cup.
- A spoon or whisk.
- One pint container—these typically come with the Ninja Creami.
What You’ll Need
Ingredients
- 1/2 cup heavy whipping cream – For that creamy, velvety texture.
- 1/2 cup whole milk – Helps balance the richness.
- 2 tablespoons sugar – Sweetness, plain and simple.
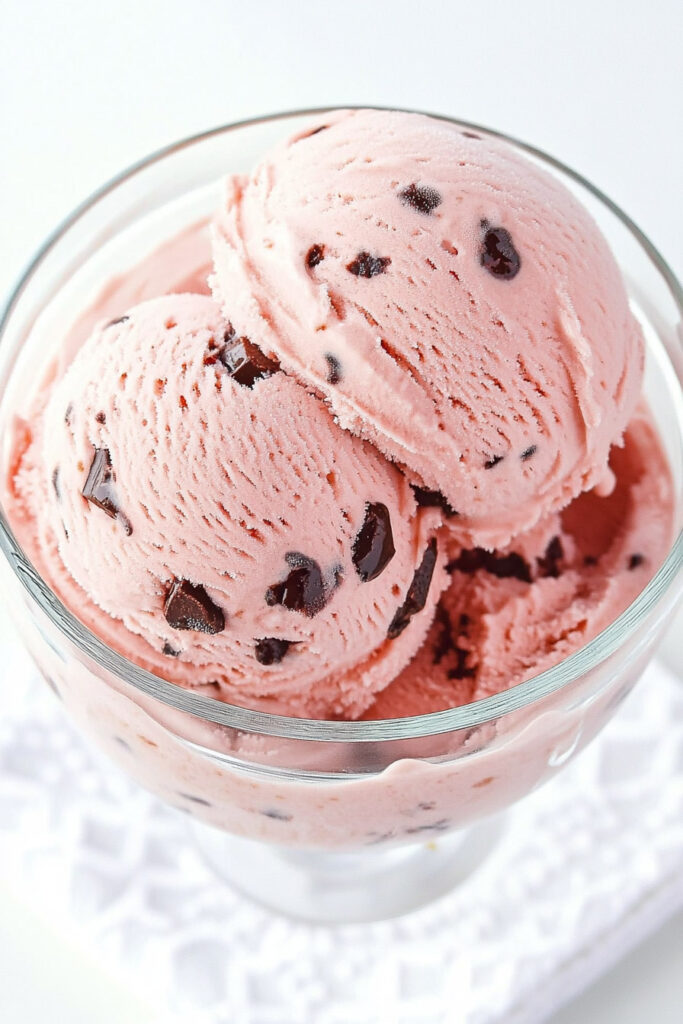
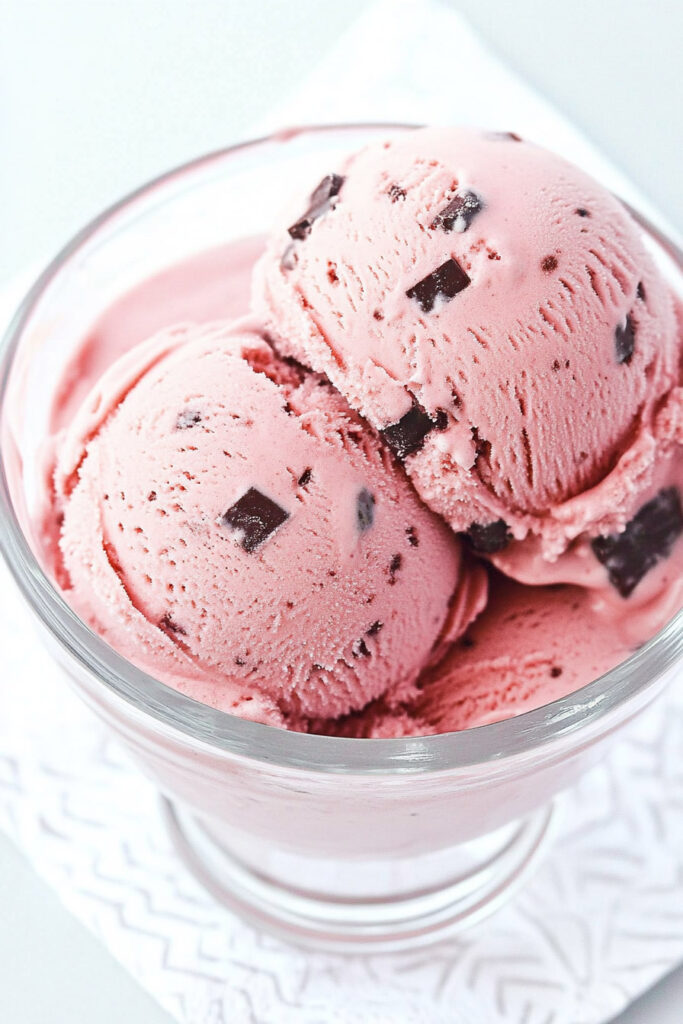
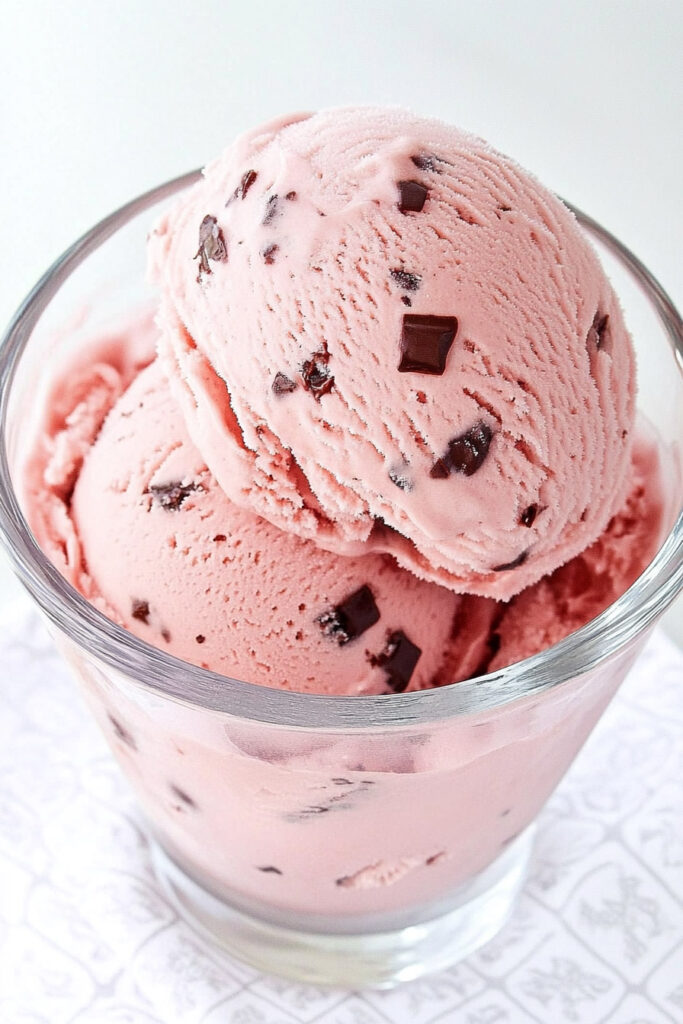
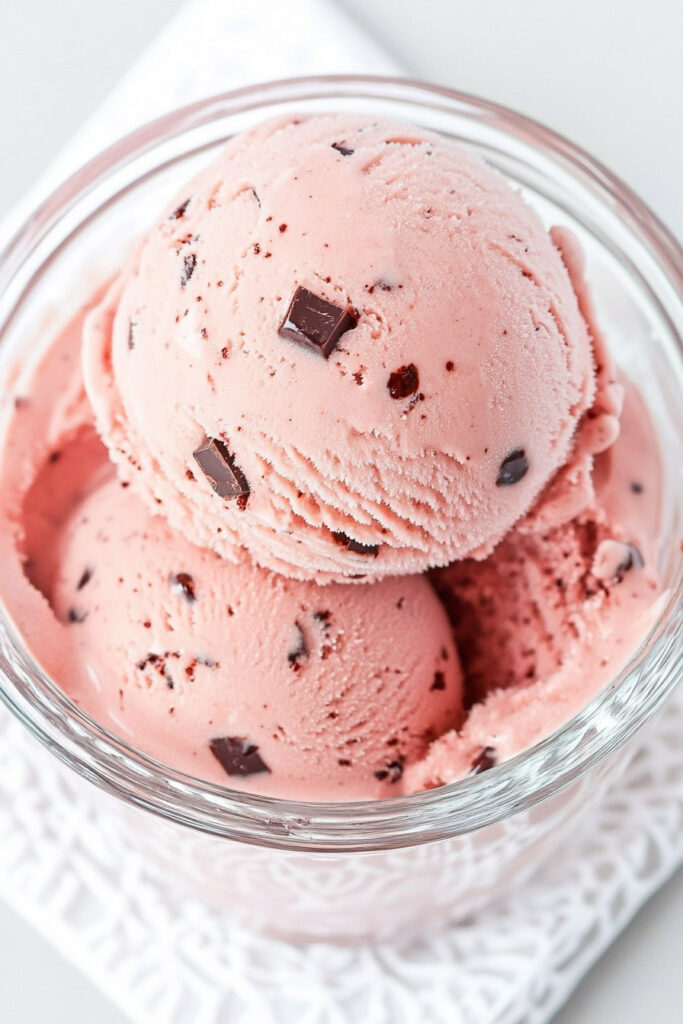
- 1 cup cherry pie filling – Sweet cherry flavor with bits of fruit.
- 1/4 cup brownie chunks or chocolate chips – Add a burst of chocolaty goodness.
Substitution Ideas
- Want it dairy-free? Use coconut cream and almond milk.
- No cherry pie filling? Homemade cherry compote works (and it’s less sweet).
- Brownies not your style? Try dark chocolate chips or even chopped nuts.
How to Make It
Step 1: Mix It All Together
Grab a mixing bowl. Pour in the cream, milk, sugar, and cherry pie filling. Give it a good stir until the sugar dissolves and everything’s well blended. You’ll have a thick mixture with cherry chunks.
Quick Tip: Taste it before freezing. Too tart? Add a little more sugar.
Step 2: Freeze It
Pour your mixture into the pint container. Don’t go over the max fill line—it’s there for a reason. Pop the lid on and freeze it for at least 24 hours.
Common Mistake: Overfilling can mess up the machine’s churning process, so be mindful.
Step 3: Spin the Magic
Take the pint out of the freezer. Remove the lid and place the container into your Ninja Creami. Secure it, press the “Ice Cream” button, and let the machine do its thing for about 2 minutes.
What to Look For: The texture should be smooth and creamy. If it looks crumbly, no worries—move to Step 4.
Step 4: Re-spin (Optional but Worth It)
If the ice cream isn’t creamy enough, use the “Re-spin” button. Want it extra smooth? Add a splash of milk before spinning again.
Step 5: Add the Fun Stuff
Time for mix-ins! Make a little well in the center of your ice cream (just about 1/2 inch wide). Add brownie bits or chocolate chips. Put the pint back into the machine and hit the “Mix-In” button.
Pro Tip: Use room-temperature mix-ins for even blending.
Step 6: Serve and Enjoy
Scoop out your creamy, homemade Cherry Chocolate Ice Cream. Serve it in bowls or cones. Want to get fancy? Top with extra cherries or shaved chocolate.
Leftovers? Let it sit for 10–15 minutes at room temp before scooping. It’ll make things easier.
Variations and Ideas
Make It Your Own
- Dairy-Free: Swap out the cream and milk for coconut cream and almond milk.
- Lower Sugar: Use a sweetener like monk fruit or stevia instead of sugar.
- Fancy It Up: Drizzle dark chocolate over the top or serve with whipped cream and fresh cherries.
Seasonal Twist
- Summer: Use fresh cherries instead of cherry pie filling for a lighter, fruitier version.
- Winter: Add a splash of cherry liqueur for a cozy, grown-up dessert.
Serving and Storing
- How to Serve: Use bowls, cones, or even sandwich it between cookies for a fun twist.
- Storage: Keep leftover ice cream in an airtight container in the freezer. Best eaten within two days for top-notch flavor.
There you have it—a creamy, chocolate-cherry treat that’s incredibly easy to make. Whether you’re recreating a nostalgic dessert or just trying something new, this recipe is a winner. Now, go enjoy your ice cream moment!
PrintNinja Creami Cherry Chocolate Ice Cream

A creamy and indulgent dessert that combines the sweet-tart flavor of cherries with rich chocolate chunks or brownie bits. Perfect for summer days or as a decadent treat anytime!
- Prep Time: 10 minutes
- Cook Time: 2 minutes (processing time)
- Total Time: 24 hours (includes freezing)
- Yield: 2–3 1x
- Category: Dessert
- Cuisine: American
Ingredients
- 1/2 cup heavy whipping cream
- 1/2 cup whole milk
- 2 tablespoons granulated sugar
- 1 cup cherry pie filling
- 1/4 cup brownie chunks (or chocolate chips)
Instructions
- Prepare the Base: In a mixing bowl, combine heavy cream, whole milk, sugar, and cherry pie filling. Stir until sugar dissolves and the mixture is smooth with visible cherry chunks.
- Freeze: Pour the mixture into a Ninja Creami pint container, ensuring it doesn’t exceed the max fill line. Seal and freeze on a flat surface for at least 24 hours.
- Process: Remove the pint from the freezer and place it in the Ninja Creami machine. Press the “Ice Cream” button and let it process for about 2 minutes.
- Adjust Texture (if needed): If crumbly, use the “Re-spin” function. For extra creaminess, add a tablespoon of milk before respinning.
- Add Mix-ins: Create a small well in the center of the ice cream and fill with brownie chunks or chocolate chips. Use the “Mix-In” setting to incorporate evenly.
- Serve and Enjoy: Scoop into bowls or cones and enjoy immediately!
Notes
- erving Suggestions: Top with fresh cherries, chocolate shavings, or drizzle with warm cherry sauce for an elegant touch.
Tips & Tricks:
- Taste your base before freezing to adjust sweetness if needed.
- Use room-temperature mix-ins for better integration.
Storage/Reheating Instructions:
- Store leftovers in the pint container with an airtight lid in the freezer.
- Let frozen ice cream sit at room temperature for 10–15 minutes before scooping for easier serving.