

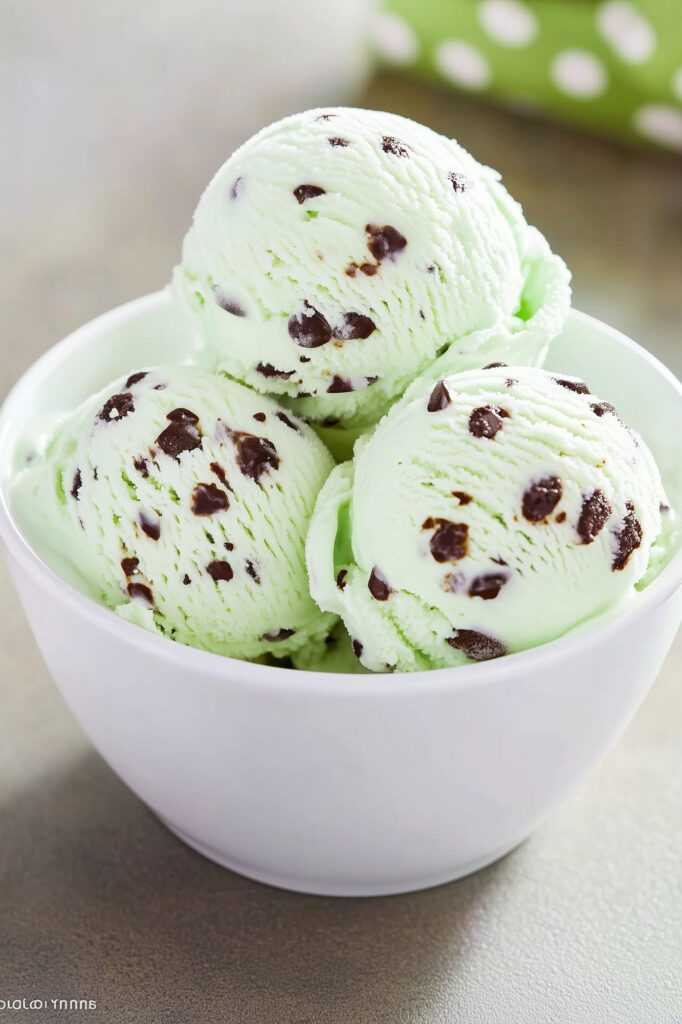
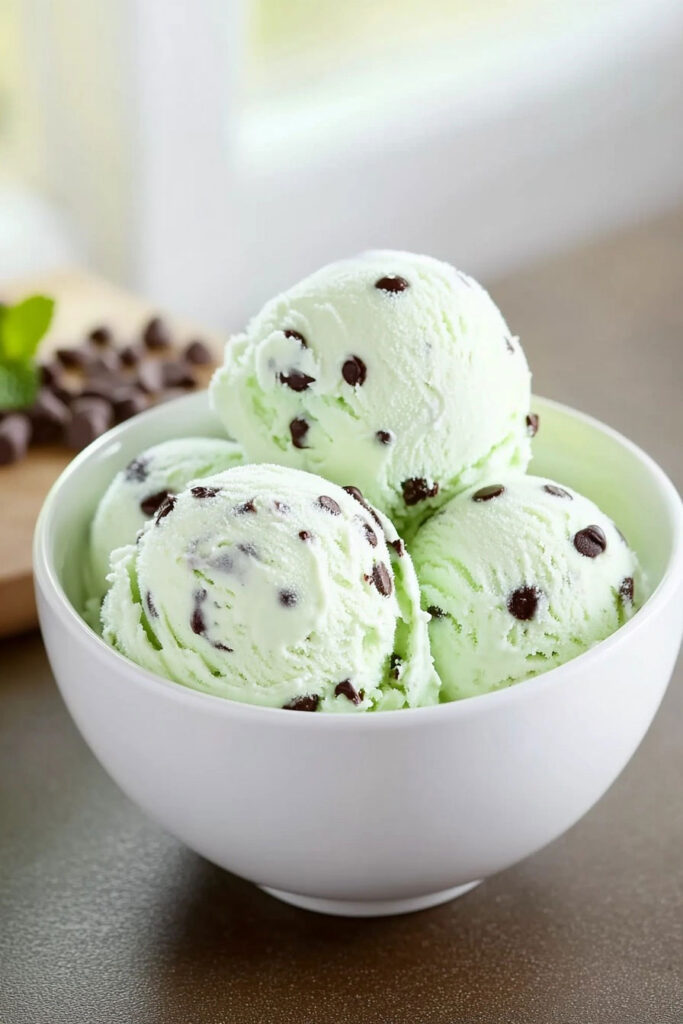
Mint Chocolate Chip Ice Cream is one of those flavors that just hits the spot. Cool, refreshing mint paired with bits of chocolate—what’s not to love? Fun fact: this flavor was invented back in 1973 by Marilyn Ricketts, a culinary student, for a royal wedding dessert contest. Fast forward to today, and it’s a worldwide favorite. Green and creamy with chocolatey goodness—what’s not to crave?
This recipe sticks to the traditional custard-based ice cream method but adds a little twist to make it even creamier and more flavorful. Let’s get started!
Quick Recipe Overview
Time Breakdown:
- Prep Time: 45 minutes
- Cook Time: 20 minutes
- Chill Time: 10 hours (yes, patience required!)
- Total Time: 10 hours, 55 minutes
Servings:
Makes 12 scoops (½ cup each). Got fewer mouths to feed? You can scale it down—but keep in mind your ice cream maker’s capacity if you go smaller.
Skill Level:
Intermediate—nothing too intimidating, but tempering eggs and using an ice cream maker will need your attention.
Tools You’ll Need:
- Ice cream maker (or no-churn tricks if you don’t have one)
- A cooking thermometer (for custard perfection)
- Medium saucepan
- Whisk
- Airtight container
Ingredients
What You’ll Need for the Ice Cream Base:
- 5–6 egg yolks (6 will give you a richer texture)
- ¾ cup sugar (150 g)
- 1 tbsp vanilla extract
- Pinch of salt (about ⅛ tsp)
- 1½ cups whole milk (360 ml)
- 1½ cups heavy cream (360 ml, 35% fat)
- 2 tsp peppermint extract (adjust to taste)
- A few drops of green food coloring (optional—but it looks fun!)
For the Chocolate Sauce:
- 4 oz dark chocolate (or semisweet if you prefer)
- 2½ tbsp unsalted butter (35 g)
- 1 tsp peppermint extract
Ingredient Tips:
- Use high-quality peppermint extract for the best flavor. A little goes a long way, so add it gradually to avoid going overboard.
- Chop your chocolate finely so it stays smooth and melts nicely in the ice cream.
Substitution Ideas:
- No peppermint extract? Use spearmint for a lighter flavor or steep fresh mint in the milk for a natural touch.
- Try milk or white chocolate instead of dark chocolate for a sweeter spin.
Step-by-Step Instructions
Making the Ice Cream Base
- Mix the Yolks and Sugar
In a saucepan, whisk together the yolks, sugar, vanilla, and salt. Aim for a smooth, thick paste. This step helps dissolve the sugar properly. - Add the Milk
Slowly whisk in half a cup of milk to loosen things up, then stir in the rest. - Cook the Custard
Heat the mixture on medium, stirring often, until it thickens. You’re looking for a temperature of 165°F–170°F. Keep an eye on it—no boiling! This takes about 10–12 minutes. - Cool It Down
Take it off the heat and let it cool to room temp. Keep whisking every now and then to prevent that annoying skin from forming. Once cool, chill it in the fridge for at least 4 hours (or overnight if you can wait). - Flavor It Up
Stir in the peppermint extract and green food coloring. Go slow—you can always add more, but you can’t take it out! - Churn the Ice Cream
Pour the chilled base into your ice cream maker and let it do its thing until the mix looks like soft serve.
Prepping the Chocolate
- Melt the chocolate and butter together. Use the microwave in short bursts (20–30 seconds), stirring between each one until smooth.
- Add the peppermint extract and let the mixture cool for a bit. Once ready, transfer it to a piping bag or a zip-top bag with the corner snipped off—it makes drizzling easier.
Combining the Chocolate
While the ice cream churns, drizzle the chocolate mixture into the churned base in thin streams. The cold ice cream will harden the chocolate on contact, creating those delicious chips.
Freezing
Transfer the churned ice cream to an airtight container. Press plastic wrap directly onto the surface to prevent ice crystals from forming, then freeze for 2–4 hours or overnight for a firmer texture.
Customization & Variations
- Vegan Option: Use coconut milk and cream as dairy substitutes. To replace the eggs, try cornstarch or aquafaba (chickpea liquid).
- Fancy Add-Ins: Swirl in fudge or toss in crushed mint candies for extra texture and flavor.
- Seasonal Twist: During the holidays, sprinkle in crushed candy canes for a festive vibe.
How to Serve
- Presentation: Scoop into a waffle cone or bowl. Add a few mint leaves or chocolate shavings on top for a fancy touch.
- Pair It With: Warm brownies or fresh-baked cookies? You’ll thank yourself later.
Storing Leftovers
Store in an airtight container with plastic wrap pressed on top to avoid freezer burn. It keeps beautifully for up to two weeks.
Pro Tip:
Let the ice cream sit out for 5 minutes before scooping to make it easier to serve.
Making this Mint Chocolate Chip Ice Cream might take a little time, but trust me—it’s worth it. Whether it’s for guests, family, or just a treat for yourself, this creamy, minty dessert always delivers. Let me know how yours turns out!