

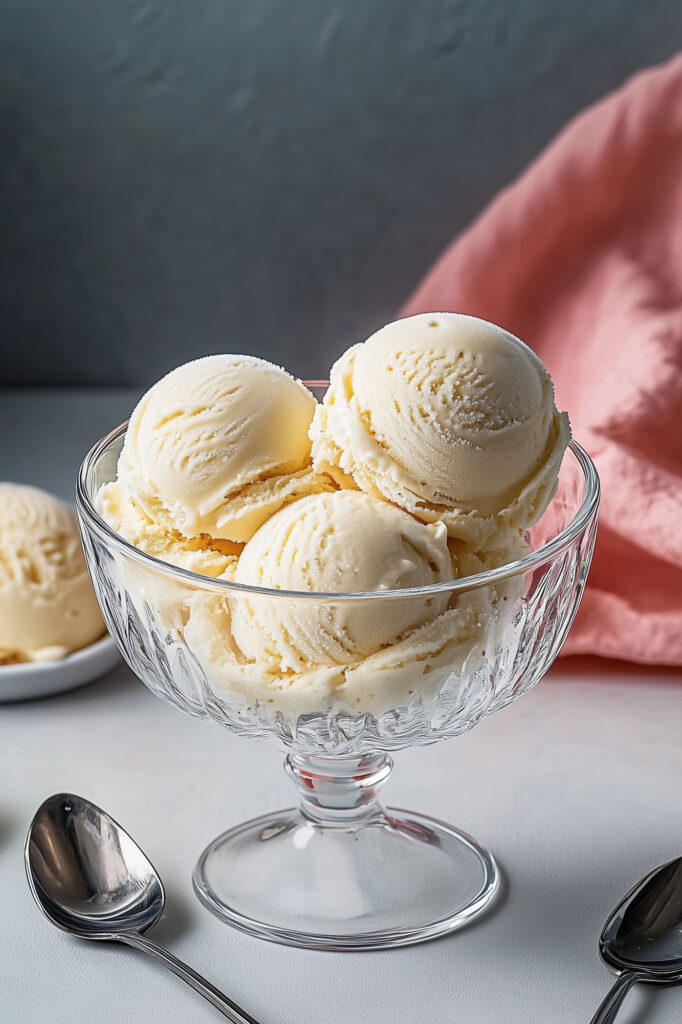
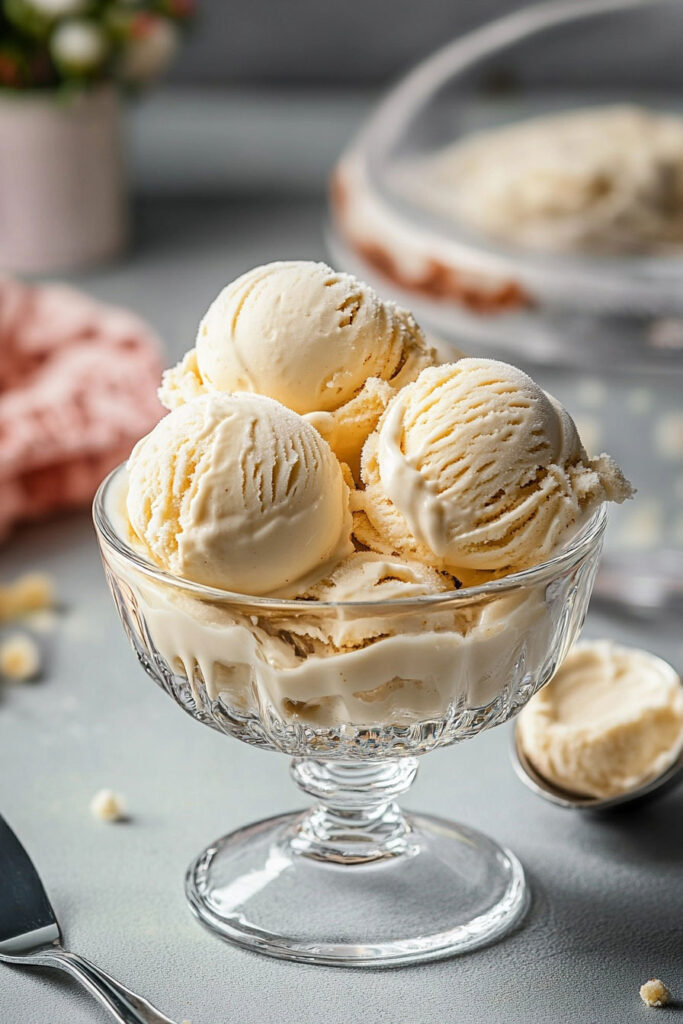
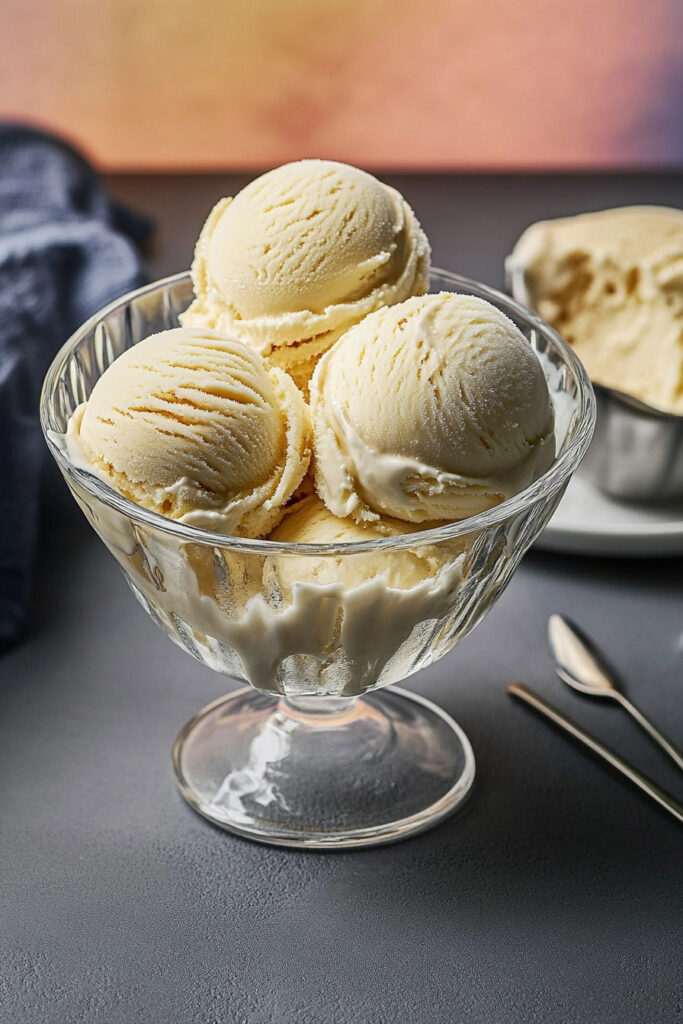
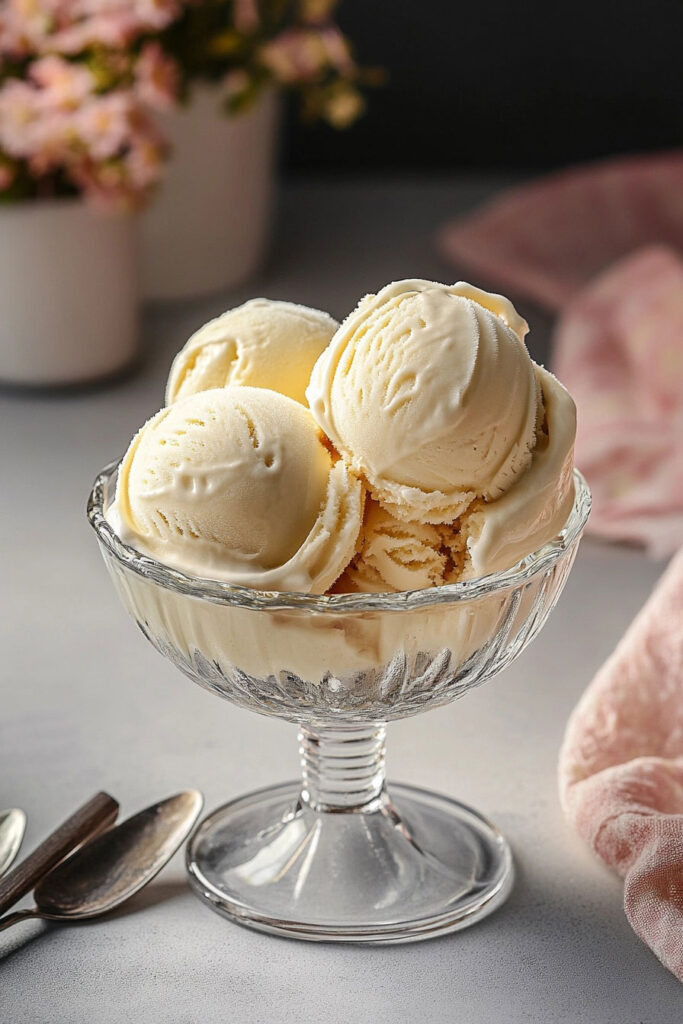
Who doesn’t love cheesecake? And ice cream? Now, imagine the two combined into one creamy, dreamy dessert. That’s exactly what Cheesecake Ice Cream is—a match made in dessert heaven. It’s rich, tangy, and smooth, with just the right amount of sweetness. For this recipe, I swap out regular sugar for maple syrup, which gives it a subtle, earthy flavor that pairs beautifully with the creamy base.
Fun fact: cheesecake dates back to ancient Greece and Rome. Crazy, right? While they definitely didn’t have ice cream back then, this modern twist feels like a nod to those timeless roots.
Whether you’re team cheesecake, team ice cream, or both, this recipe is easy to follow and perfect for any occasion. Let’s dive in!
Recipe at a Glance
Time Commitment
- Hands-On Time: 20 minutes
- Chilling & Freezing Time: 6–8 hours
Servings
Makes about 1 quart. Serves 6–8 people. Want more? Double or even triple the recipe—but check your ice cream maker’s capacity first.
Skill Level
Moderate. You’ll need some basic kitchen experience, like tempering eggs and using an ice cream maker. But don’t worry—I’ll walk you through it.
What You’ll Need
Ingredients
- ¾ cup whole milk (bonus points if it’s raw for extra creaminess)
- 1⅓ cups heavy cream (raw cream works wonders too)
- ⅔ cup maple syrup (for that natural sweetness)
- 4 ounces cream cheese, softened
- 2 egg yolks (large)
- 1 teaspoon vanilla extract
Ingredient Swaps
- Prefer honey or regular sugar? Swap it for the maple syrup.
- Need it dairy-free? Use coconut milk and cream, and grab some plant-based cream cheese.
- Love bold vanilla flavor? Try vanilla bean paste instead of extract.
Tools
- Medium saucepan
- Mixing bowl
- Whisk (or electric mixer)
- Ice cream maker (or a freezer-safe container for the no-churn option)
- Fine-mesh sieve (optional, if you want a super-smooth texture)
Step-by-Step Instructions
Step 1: Start with the Dairy Base
Heat the milk, cream, and maple syrup in a saucepan over medium heat. Gently stir until you see steam and tiny bubbles around the edges—but don’t let it boil.
Quick Tip: Take your time here. Heating it slowly prevents scorching.
Step 2: Mix the Cream Cheese and Eggs
In a mixing bowl, beat the softened cream cheese, egg yolks, and vanilla extract together. Don’t stress if it’s not perfectly smooth; those lumps will melt away later.
How it Should Look: Pale yellow and slightly thick.
Step 3: Temper, Temper
Here’s where it gets fancy, but don’t worry—it’s easier than it sounds. Slowly pour about ½ cup of the warm milk mixture into the cream cheese mixture while whisking constantly. This warms up the eggs without scrambling them.
Pro Tip: Go slow. Add the hot liquid too fast, and you’ll end up with cheesecake-flavored scrambled eggs.
Step 4: Cook the Custard
Pour the tempered mixture back into the saucepan. Whisk over medium heat until it thickens—about 4–5 minutes. You’ll know it’s ready when it coats the back of a spoon, and running your finger through it leaves a clear line.
Step 5: Cool it Down
Pour the custard into a bowl, cover it, and let it cool to room temperature. Then pop it in the fridge for at least 4 hours (or overnight if you’re patient).
The Smell Test: You should get a creamy, slightly tangy aroma with a hint of vanilla.
Step 6: Churn or Freeze
If you have an ice cream maker, churn the chilled custard according to the instructions (usually 20–30 minutes). No ice cream maker? No problem! Pour it into a freezer-safe container and stir it every hour until it’s frozen.
Make It Yours
Flavor Ideas
- Swirl in some fruit compote, like blueberry or strawberry, for a fruity twist.
- Mix in crushed graham crackers for that classic cheesecake vibe.
- Add chocolate chips or caramel sauce for extra indulgence.
Seasonal Spins
- Summer: Serve with fresh berries or peaches.
- Winter: Add a pinch of cinnamon or nutmeg for cozy vibes.
Dietary Tweaks
Watching sugar? Opt for monk fruit or stevia syrup.
Dairy-free? Use coconut milk/cream and vegan cream cheese.
Serving & Storing
How to Serve
This ice cream is amazing on its own, but you can level it up:
- Scoop it into waffle cones or bowls.
- Top with fresh berries, whipped cream, or a drizzle of maple syrup.
- Sprinkle crushed nuts, like pistachios, for a fancy touch.
Storage Tips
Keep it in an airtight container in the freezer for up to a week. For the best texture, press plastic wrap directly onto the surface to avoid ice crystals.
Need it softer? Let it sit at room temp for 10 minutes before scooping.
There you have it—a creamy, tangy dessert that brings the best of cheesecake and ice cream together. Whether you stick to this recipe or add your own spin, it’s guaranteed to be a crowd-pleaser. Now go grab a spoon and dig in!