

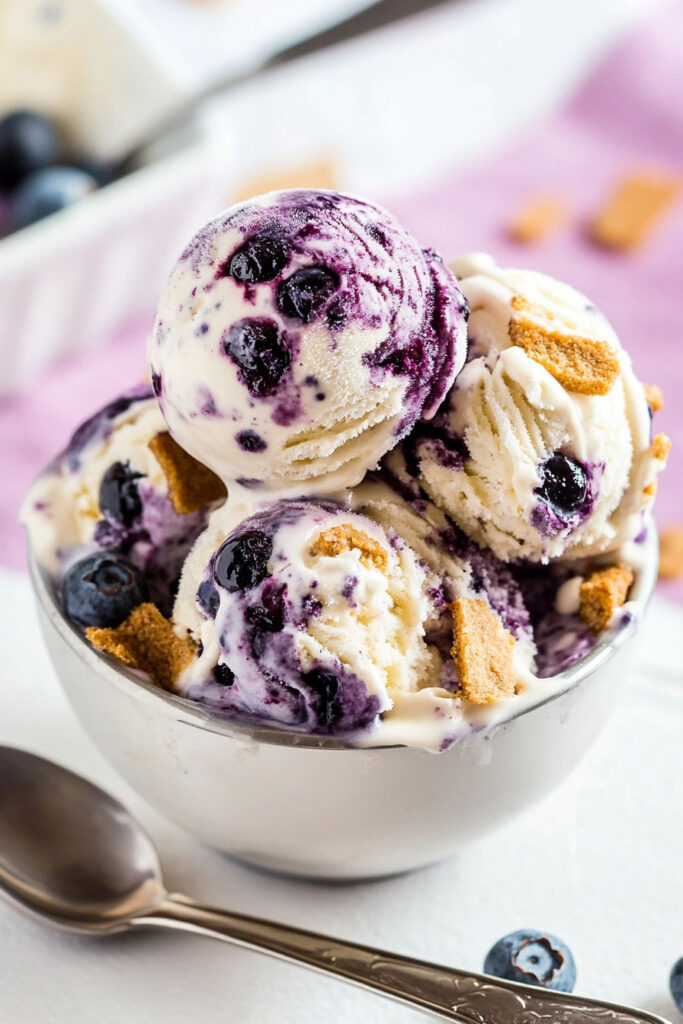
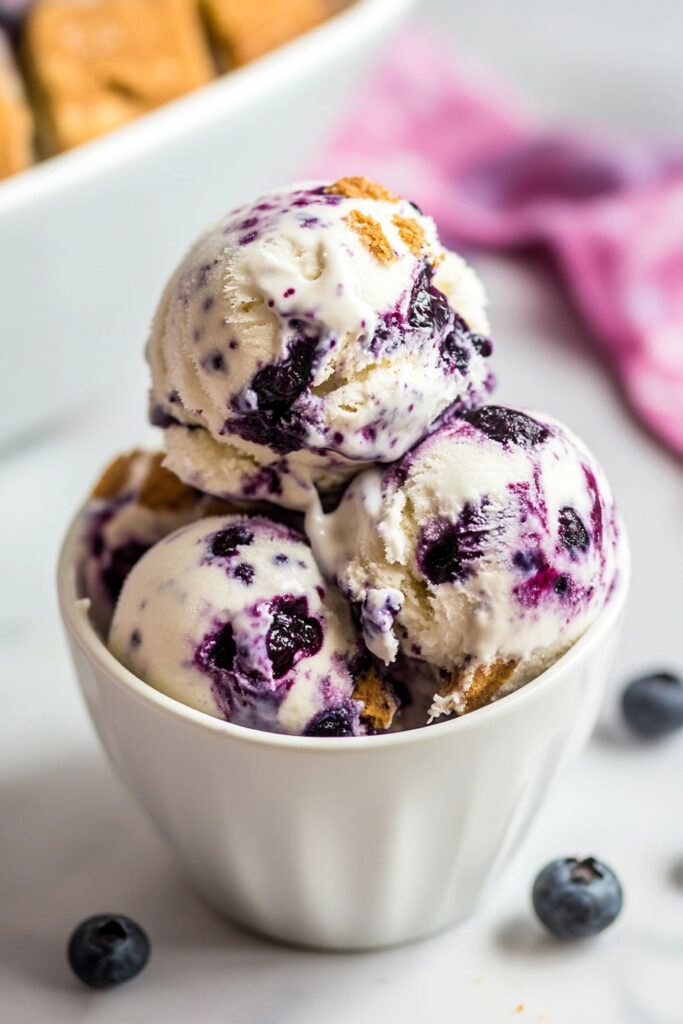
There’s something truly special about mixing tangy blueberries with creamy cheesecake and the coolness of homemade ice cream. This dessert is like a party on a spoon—great for summer BBQs, cozy movie nights, or just a little treat for yourself. This Blueberry Cheesecake Ice Cream combines the smoothness of cheesecake with the sweet pop of blueberries, all blended into a no-churn ice cream that’s super easy to whip up!
I was inspired by classic cheesecake flavors and the warm memories of homemade desserts. The crunch of Biscoff cookies adds a delightful twist, while the blueberry sauce gives you bursts of fruity goodness in every bite. Let’s get started and make something delicious together!
Recipe Overview
Prep and Chill Time
This recipe takes about 1 hour of hands-on prep plus at least 6 hours in the freezer. For the best results, I recommend freezing it overnight. That way, you’ll get the perfect scoopable texture.
Servings
You’ll get 6 generous servings from this recipe. If you’re having a crowd, feel free to double it! Just make sure you have enough room in your freezer.
Difficulty Level
No ice cream maker? No problem! This beginner-friendly recipe uses a no-churn method. You just need a stand mixer or a hand mixer to make this creamy dessert.
Equipment Needed
- Stand mixer (or hand mixer)
- Medium saucepan for the blueberry sauce
- Freezer-safe container (like a loaf pan)
- Skewer or knife for swirling
- Spatula for folding
Tip: If you don’t have a stand mixer, a hand mixer works just as well. And if you’re missing a skewer, use the back of a spoon to swirl!
Make-Ahead Options
You can totally prep this ice cream ahead of time. The blueberry sauce can be made up to 3 days in advance. Just keep it in the fridge until you’re ready to use it. The finished ice cream can be stored in the freezer for up to 2 weeks—if you can resist eating it all before then!
Ingredients
Blueberry Sauce:
- 1 ½ cups blueberries (fresh or frozen)
- ¼ cup sugar (you can adjust this based on how sweet your berries are)
- 1 tablespoon cornstarch (to help it thicken)
- Pinch of salt (to balance out the sweetness)
Custard Base:
- 2 cups heavy cream, chilled
- 8 ounces cream cheese, softened
- 1 (14 oz) can sweetened condensed milk
- 1 teaspoon vanilla extract
- 1 ½ cups broken Biscoff cookies (or graham crackers if you prefer)
Step-by-Step Method
Making the Blueberry Sauce
Let’s start with that lovely blueberry sauce! In a medium saucepan, heat your blueberries over medium heat. You’ll want them to soften and release their juices—this takes about 2-3 minutes. When they start breaking down and your kitchen smells amazing, they’re ready!
In a small bowl, mix the sugar, cornstarch, and salt. Add this mix to the blueberries and stir. Let it cook for another 3-5 minutes until it thickens to a jam-like consistency. Remove it from the heat, transfer to a shallow bowl, and chill in the fridge until cool.
Pro Tip: If you like chunks of fruit in your ice cream, mash some blueberries while keeping others whole for a fun texture.
Making the Custard Base
Now for the creamy goodness! Start by whipping your chilled heavy cream in a stand mixer until stiff peaks form—about 2-3 minutes. Transfer the whipped cream to another bowl and pop it in the fridge.
Next, switch to the paddle attachment and beat the softened cream cheese until smooth. Then mix in the sweetened condensed milk and vanilla until it’s silky smooth.
Gently fold in a third of the whipped cream. This lightens the mixture. Keep folding in the rest of the whipped cream until you only see faint streaks. Finally, stir in the Biscoff cookies for that yummy crunch.
Assembling Your Ice Cream
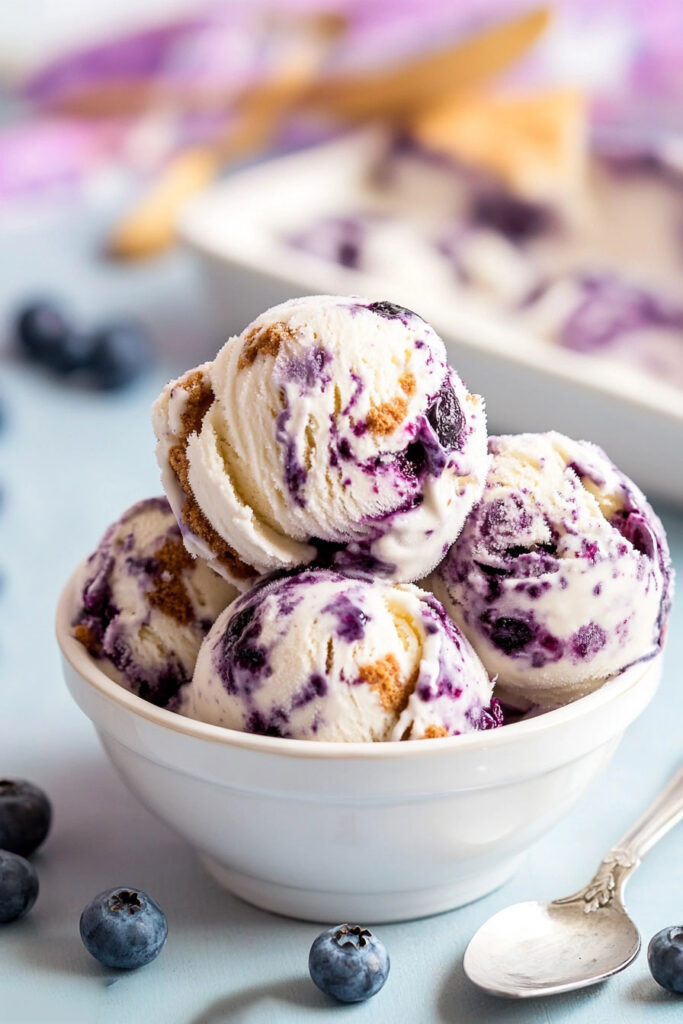
Grab your freezer-safe container and layer one-third of the custard base in it. Drop spoonfuls of blueberry sauce on top, then swirl it gently with a skewer or knife. Repeat this two more times until you use up all the custard and sauce.
Feeling fancy? Sprinkle some extra cookie crumbs on top, cover it tightly, and freeze for at least 6 hours or overnight.
Variations & Customization
Dietary Modifications:
- For a gluten-free option, swap Biscoff cookies for gluten-free graham crackers or leave them out.
- Want a vegan treat? Use plant-based cream cheese, coconut cream instead of heavy cream, and sweetened condensed coconut milk.
Seasonal Ideas:
When berries are in season, swap blueberries for raspberries or blackberries—or mix them together!
Fancy Versions:
For a special touch, drizzle some white chocolate ganache over each serving or fold chunks of white chocolate into the custard before freezing.
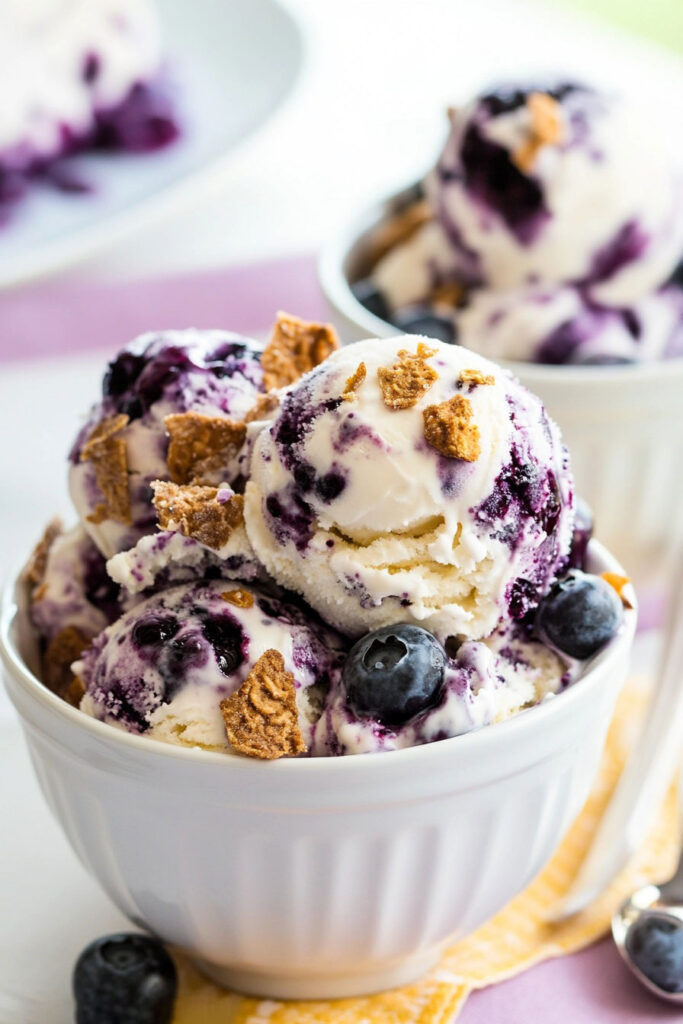
Serving & Storage
When it’s time to serve, let your ice cream sit out for about 5 minutes to soften a bit for easier scooping. Serve it in bowls or waffle cones, topped with fresh blueberries or more cookie crumbs.
Store leftovers in an airtight container in the freezer for up to 2 weeks. If you’re making this for an event, prep it a day in advance for the best results.
And there you have it! This creamy, dreamy Blueberry Cheesecake Ice Cream is just as fun to make as it is to eat. Whether you’re savoring it on a sunny afternoon or sneaking a spoonful from the freezer late at night, I hope this becomes a favorite. Happy scooping!