

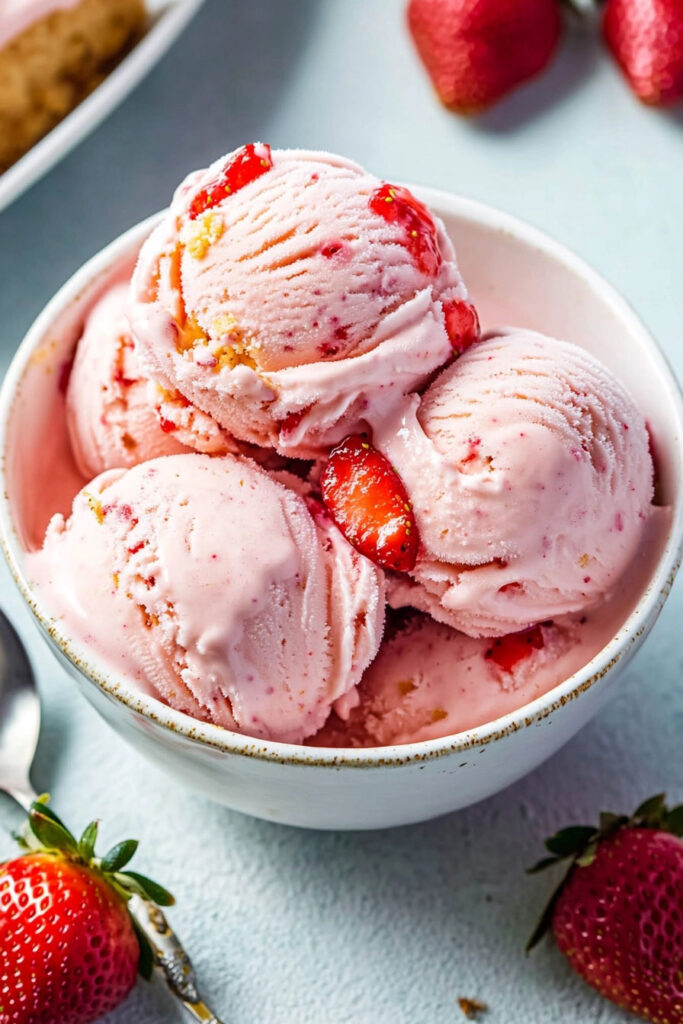
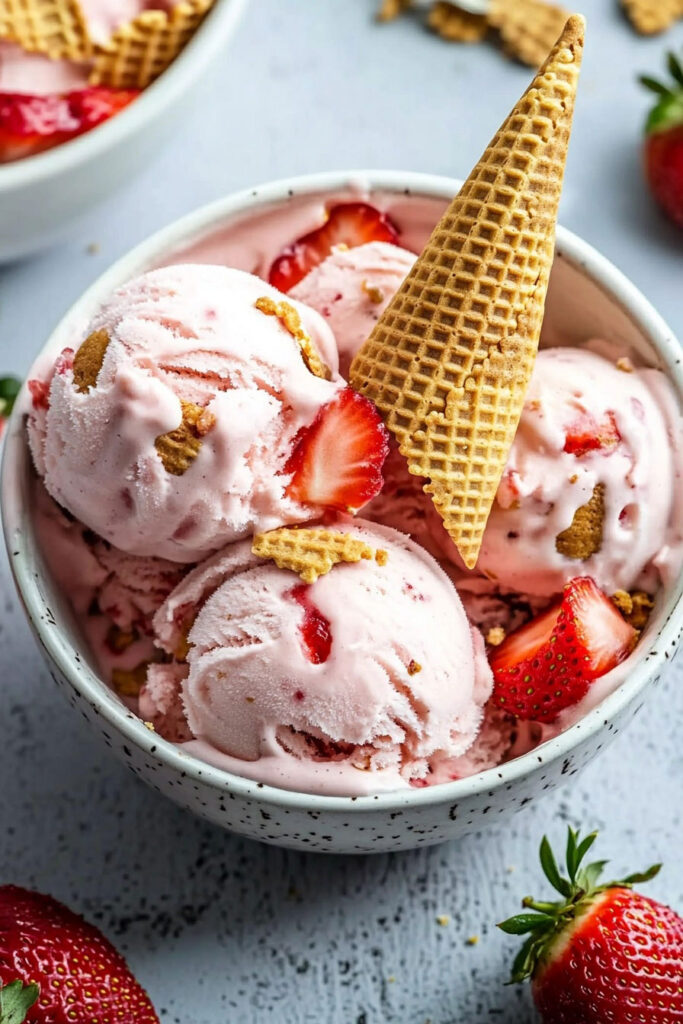
Strawberry Cheesecake Ice Cream is one of those desserts that makes your taste buds dance. It combines the creamy richness of cheesecake with the sweet, fruity taste of strawberries. Did you know this delicious dessert has a fun history? It goes back to early American times, and even Dolley Madison served strawberry ice cream at fancy presidential parties.
Over the years, the blend of strawberries and creamy cheesecake has turned into a classic favorite, inspiring tons of recipes. I’m excited to share my take on this yummy treat, perfect for hot days or whenever you need a sweet pick-me-up.
Quick Recipe Overview
- Prep Time: About 15 minutes.
- Cook Time: 25 minutes for the strawberry sauce.
- Chill/Freeze Time: At least 4 hours and 30 minutes.
- Total Time: Roughly 5 hours and 10 minutes.
Servings: This recipe makes about 6 servings. Got a party coming up? Feel free to double the recipe—but make sure your ice cream maker can keep up!
Skill Level: I’d say this recipe is easy to moderate. You just need some basic cooking skills and a bit of practice with an ice cream maker. Don’t worry; I’m here to guide you through it!
What You’ll Need:
- An ice cream maker (no biggie if you don’t have one; I’ll share no-churn options too).
- A medium saucepan for your strawberries.
- Mixing bowls and an electric mixer.
Make-Ahead Tips: The strawberry sauce can be whipped up in advance and stored in the fridge until you’re ready to churn the ice cream. You can even prepare the whole ice cream mix the day before and let it freeze overnight for extra flavor.
Ingredients
Gather these goodies to make your delicious Strawberry Cheesecake Ice Cream:
- 1 lb strawberries, hulled and diced (around 2 cups)
- 1 cup granulated sugar, divided
- 8 ounces cream cheese, softened
- 2 cups heavy cream
- 1 cup whole milk
- 2 teaspoons vanilla extract
- 1/2 teaspoon kosher salt
- 1 cup graham crackers, roughly chopped (about 4 oz)
Substitutions:
- Low-fat cream cheese works fine for a lighter version.
- Use honey or maple syrup instead of sugar if you prefer that.
- For a gluten-free option, choose gluten-free graham crackers or skip them altogether.
Pick ripe, fresh strawberries for the best taste. If they’re out of season, frozen strawberries work too—just thaw them first.
Step-by-Step Guide
Let’s make this ice cream together!
- Chill Your Ice Cream Bowl: Start by putting your ice cream maker bowl in the freezer for at least 24 hours. It should be icy cold—no sloshing water when you shake it!
- Cook the Strawberry Sauce: In your saucepan, mix the diced strawberries with ¼ cup of sugar over medium heat. Bring it to a boil, then lower the heat to simmer for about 10 minutes until it thickens a bit. The smell will be amazing! Let it cool to room temperature, then stash it in the fridge.
- Mix the Ice Cream Base: In a large bowl, beat the softened cream cheese and remaining ¾ cup of sugar with an electric mixer until smooth. Then, add the heavy cream, whole milk, vanilla, and salt. Mix until everything is combined. Let it chill in the fridge for about 30 minutes before churning.
- Churn the Ice Cream: Time to churn! Pour your mixture into the ice cream maker and churn according to the machine’s instructions (usually about 25 minutes). It’s ready when it’s thick like soft serve.
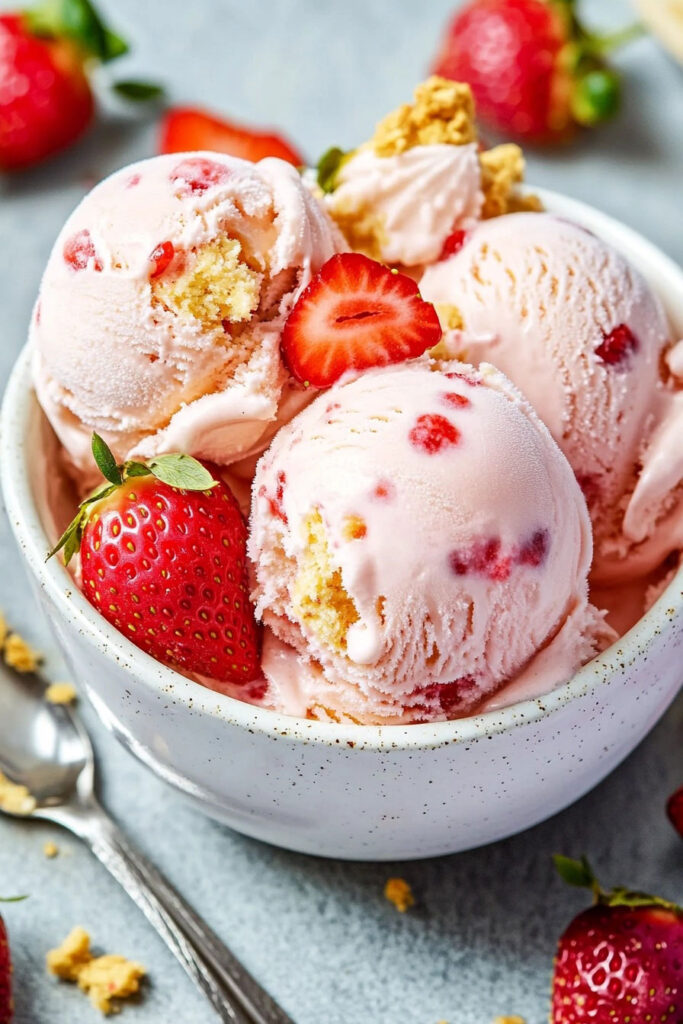
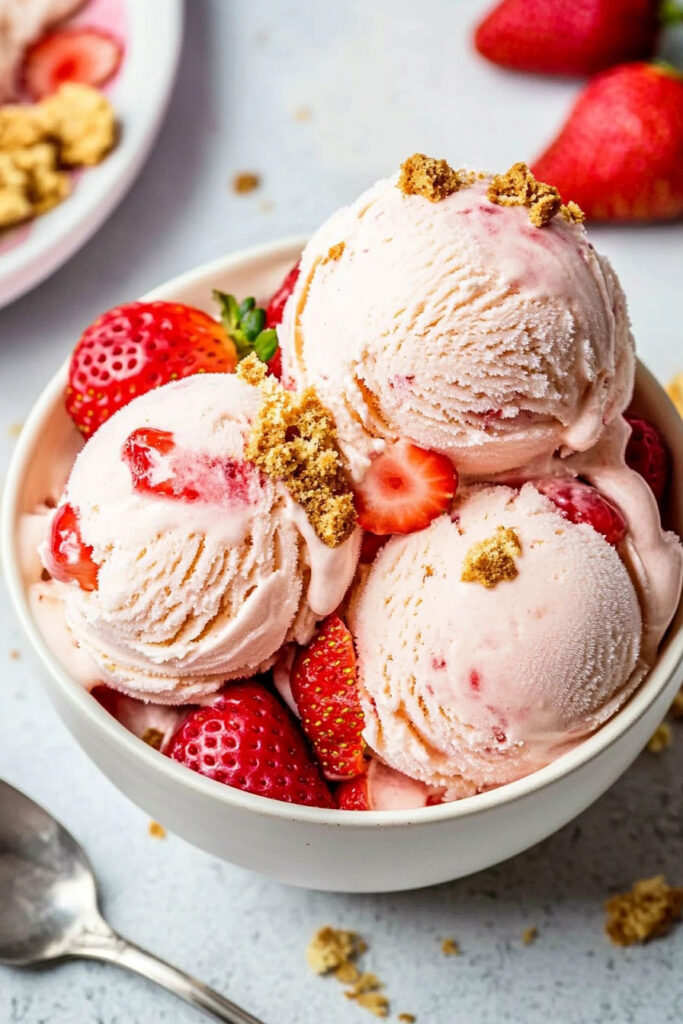
- Layer Up: In a shallow container or loaf pan, layer about ⅓ of the ice cream base, followed by ⅓ of the strawberry sauce and ⅓ of the graham crackers. Repeat this two more times. Use a knife to gently swirl everything together for those pretty strawberry ribbons!
- Freeze Until Solid: Cover your container with plastic wrap or wax paper pressed against the surface. This helps prevent ice crystals. Freeze for at least 4 hours or until solid.
- Serve and Enjoy: When you’re ready to dig in, let it sit for about 5 minutes at room temperature before scooping. This makes it easier to serve!
Fun Variations
There’s plenty of room for creativity with this recipe! Here are a few ideas:
- Dairy-Free Version: Swap heavy cream for coconut cream and use dairy-free cream cheese.
- Add Some Spice: A pinch of cinnamon or nutmeg can add a cozy warmth to the flavor.
- Dress It Up: Serve in fancy glasses topped with mint leaves or edible flowers for a wow factor.
- Seasonal Changes: While strawberries rock, you can switch to blueberries or raspberries when they’re in season!
Serving and Storage Tips
When it’s time to serve your Strawberry Cheesecake Ice Cream:
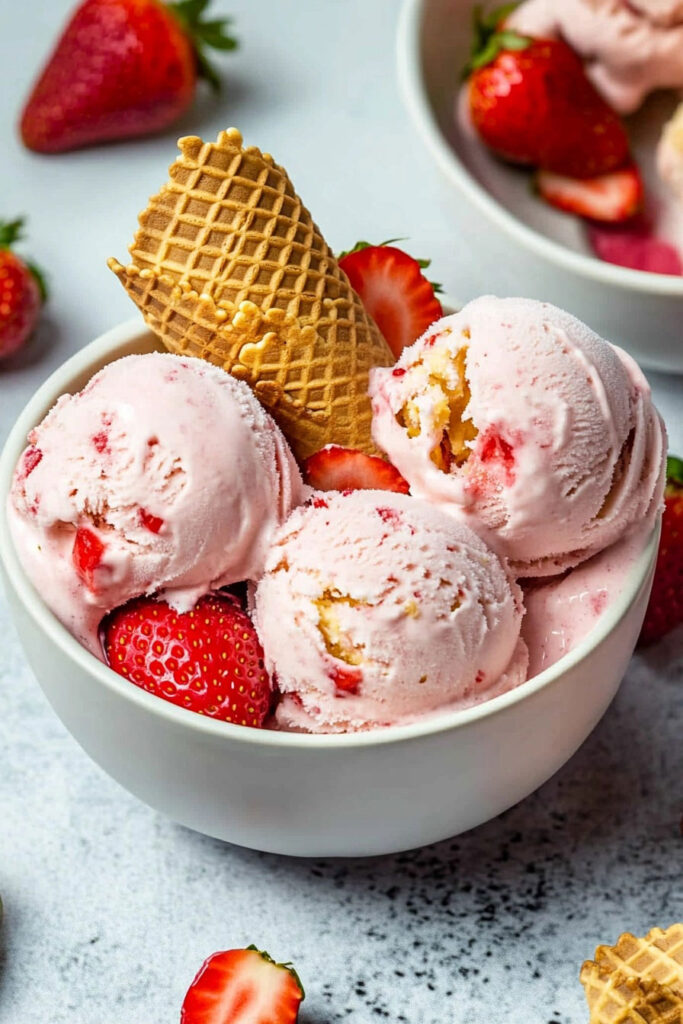
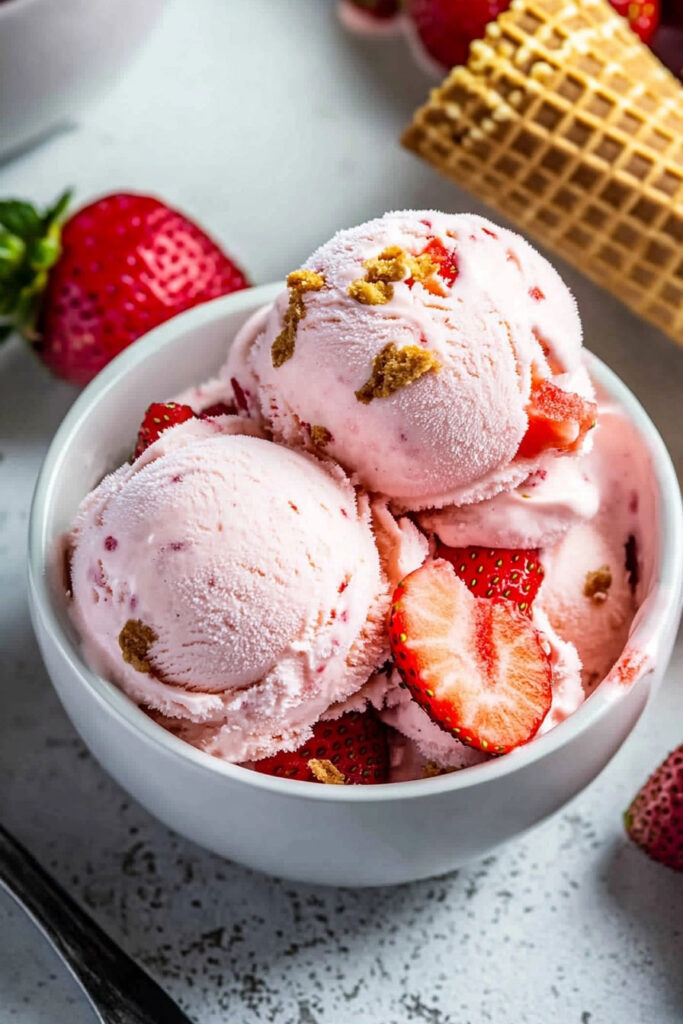
- Plating Ideas: Serve scoops in waffle cones or bowls with extra strawberry sauce and whipped cream.
- Perfect Pairings: It goes great with chocolate desserts like brownies or lemon cake for a refreshing twist.
- Storage: Keep any extras in an airtight container in the freezer for up to two weeks—if it lasts that long!
- Hard Ice Cream?: Let it sit out for about 10 minutes to soften before scooping.
Final Thoughts
Creating your own Strawberry Cheesecake Ice Cream is a delightful journey. It’s not just about cooking; it’s about enjoying every step of the way. I hope this guide inspires you to whip up your own batch. Happy cooking!