

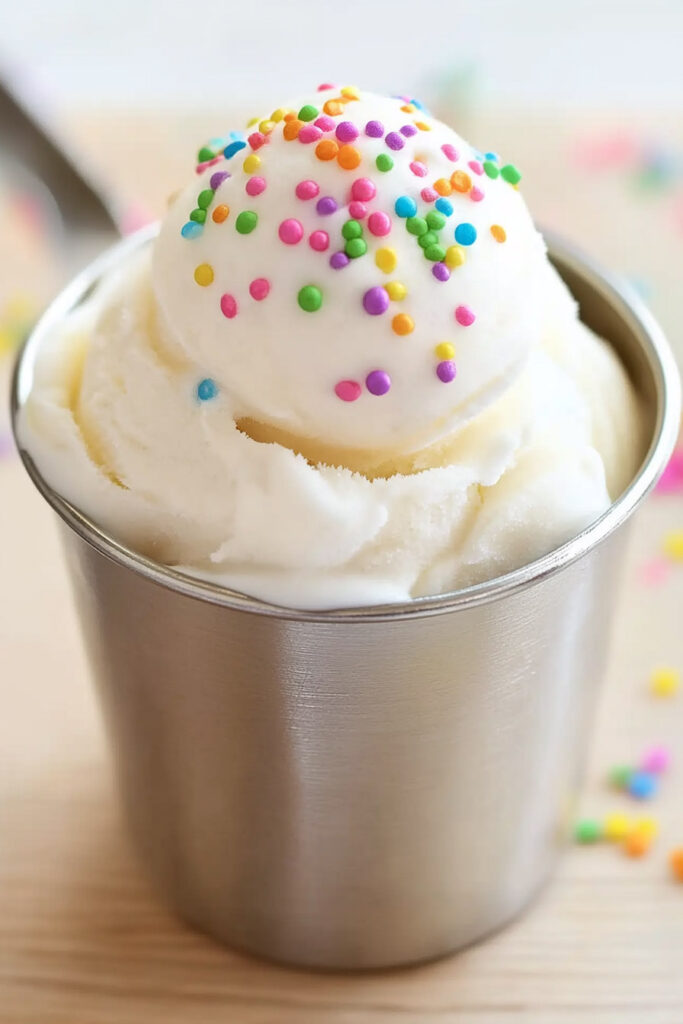
Soft serve ice cream has a special kind of magic, doesn’t it? It’s creamy, smooth, and melts perfectly in your mouth. Plus, it brings back all those fun memories—summer fairs, days at the beach, or chasing after the ice cream truck as a kid.
Guess what? You can make soft serve at home in under 10 minutes. Yep, no fancy machine required—just some basic ingredients and a fun little science trick using salt and ice to freeze your mixture. Perfect for family nights or when you’re craving a quick treat. Let’s roll up our sleeves and get started!

Quick Recipe Details
Time
You’ll need just 10 minutes to whip up this classic dessert.
Servings
Makes 2 servings, but you can easily adjust the amounts for more. Just double the ingredients if you’re making it for a group.
Easy Scale
This is super beginner-friendly. No cooking skills required—just mix, shake, and freeze.
What You’ll Need
- Two plastic bags: One small for the ice cream base and one large for the ice and salt.
- Gloves or a towel: Keep your hands warm while shaking.
- Optional tweak: Don’t have resealable bags? Use sealed containers, but shaking will be harder.
The Ingredients
Here’s what you’ll need:
- ½ cup heavy cream: So rich, so creamy.
- ½ cup whole milk: Lightens up the mixture.
- ¼ cup sugar: Sweet but not too sweet.
- 1 teaspoon vanilla extract: That classic flavor we all love.
- 3 cups ice: Helps freeze the base fast.
- ⅓ cup kosher salt: Makes the ice super cold—don’t skip it!
Substitutions
- No heavy cream? Use half-and-half—it’s still delicious.
- Want dairy-free? Swap in coconut cream and almond milk.
- Cutting sugar? Go for honey or stevia instead.
How to Make It
Let’s make homemade soft serve, step by step:
Step 1: Mix Your Ice Cream Base
Grab the smaller bag and add heavy cream, milk, sugar, and vanilla. Seal it tight and shake gently to dissolve the sugar. Don’t feel any sugar granules? You’re good to go.
Pro Tip: Squeeze the air out before sealing to avoid leaks later.
Step 2: Set Up the Freezing Bag
Fill the bigger bag with ice, then sprinkle in the salt. The salt drops the ice’s freezing point, making it cold enough to freeze your mixture fast.
Reminder: Salt isn’t optional—it’s what makes the magic happen!
Step 3: Shake It Like You Mean It
Place the smaller bag inside the ice bag and seal it up. Now, shake it hard! After about 5 minutes, the cream mixture will start thickening.
Helpful Tip: Wrap a towel around the bag or wear gloves so your hands don’t freeze.
Step 4: Scoop & Enjoy
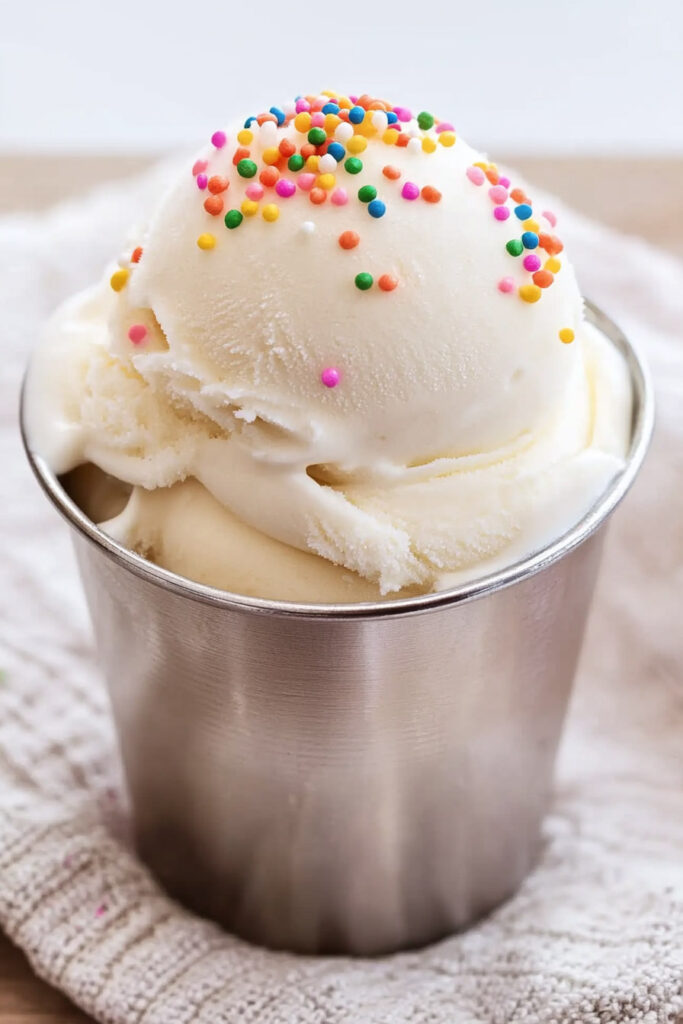
Take the smaller bag out and check the consistency. If it’s still soft, give it another minute of shaking. When ready, scoop the soft serve into bowls or cones.
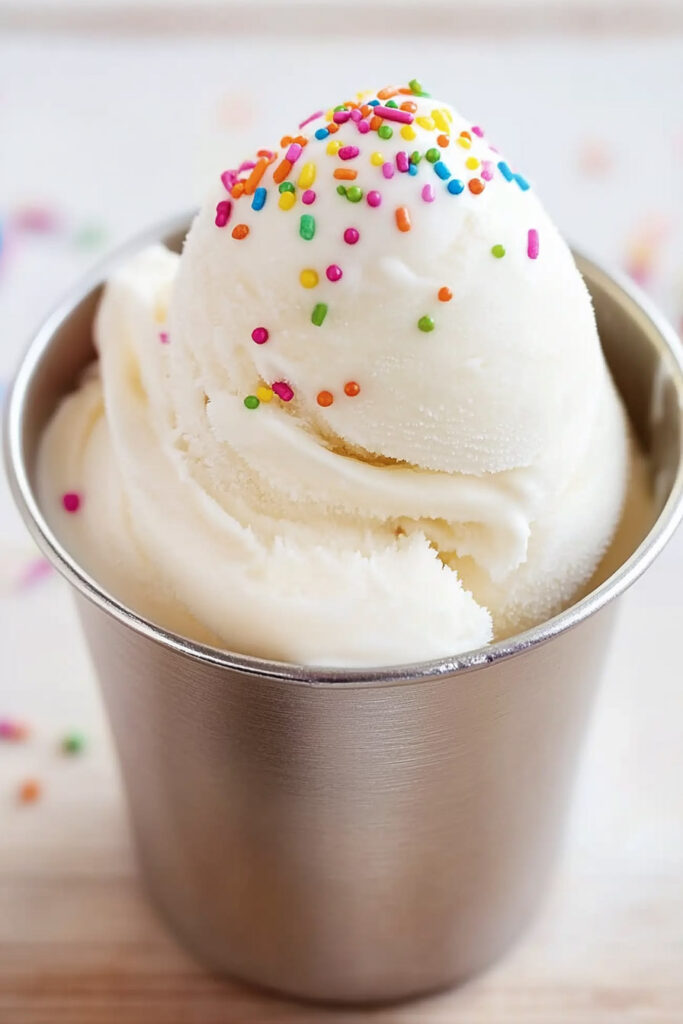
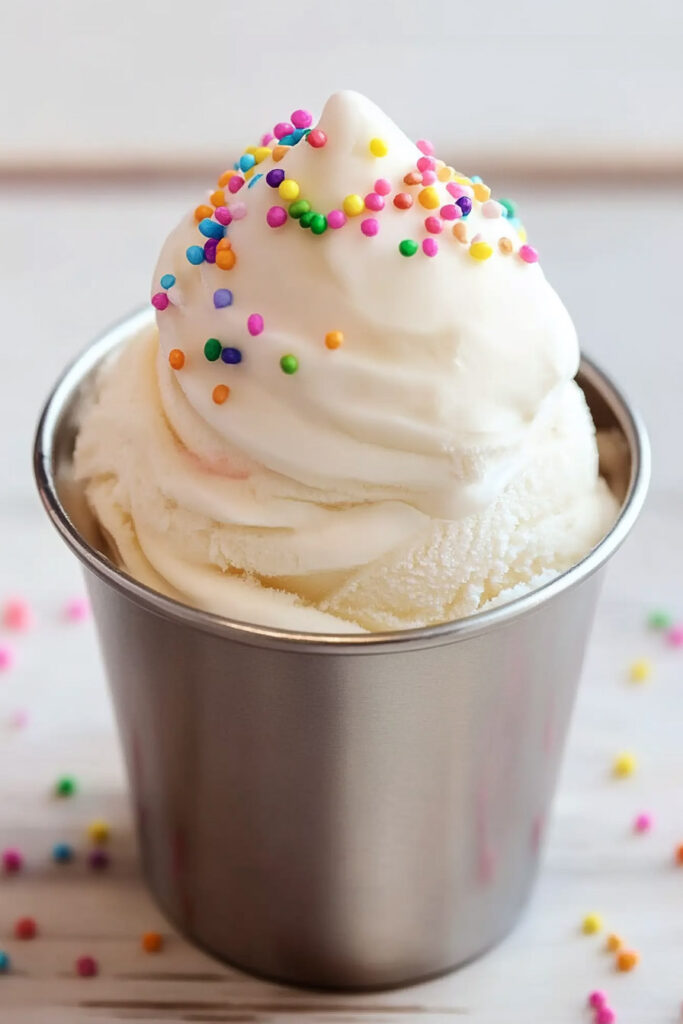
The Goal: Smooth, thick ice cream that holds its shape but still swirls beautifully.
Fun Variations
You can get creative with flavors:
- Chocolate version: Add a spoonful of cocoa powder to the mix.
- Fruity twist: Blend in some strawberry or mango puree during Step 1.
- Seasonal flair: Sprinkle cinnamon and nutmeg for a warm winter vibe.
Looking for toppings? Crushed cookies, sprinkles, or a drizzle of caramel take it to the next level.
Serving & Storage
How to Serve
Pile it into cones or chilled bowls, and dress it up with your favorite toppings.
Storing Leftovers
Soft serve is best fresh, but you can freeze leftovers in an airtight container for up to a week. Let it thaw for 10–15 minutes before scooping to soften.
Homemade soft serve ice cream isn’t just a dessert—it’s a fun little adventure. Whether you’re spending time with family, entertaining guests, or treating yourself, this quick recipe is always a hit. Pick up your ingredients, grab those bags, and get ready to shake your way to creamy, dreamy soft serve!