

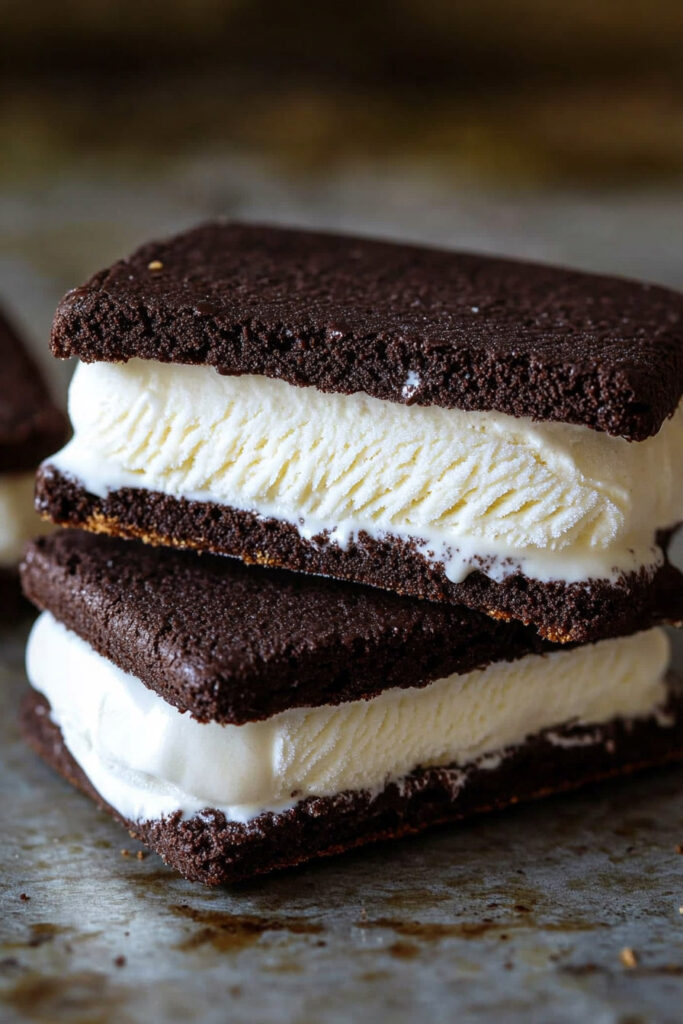
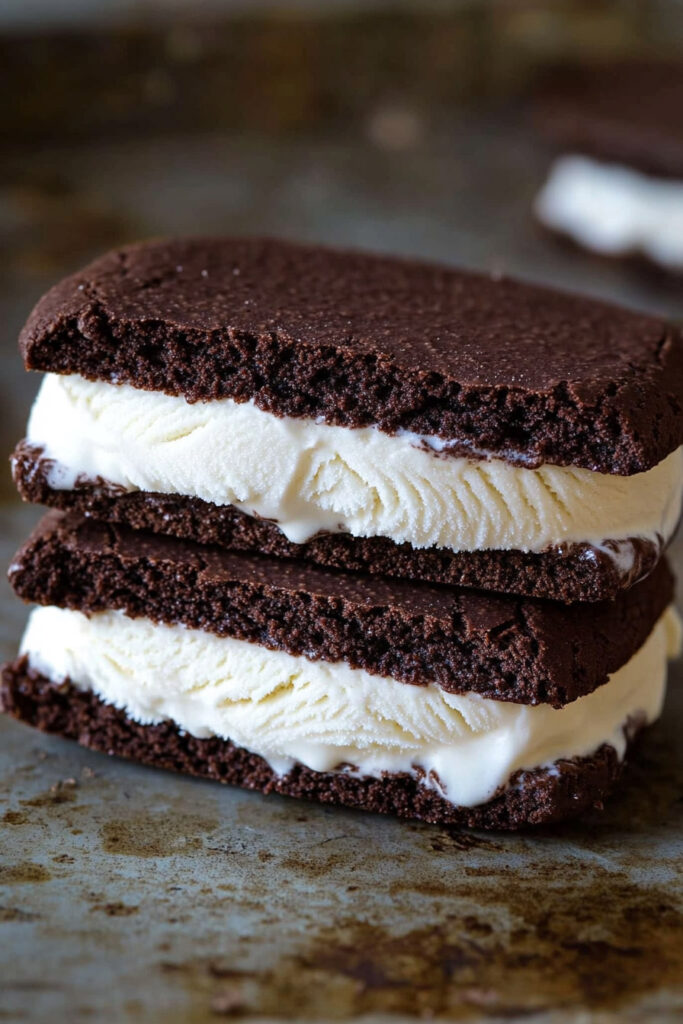
What dessert takes you straight back to sunny afternoons and sticky fingers? Yep, the ice cream sandwich. Creamy, cold ice cream hugged by soft chocolatey cake. It’s the ultimate nostalgic treat—and it’s been around for over 100 years!
Fun fact: The original ice cream sandwiches were called “hokey pokeys” and sold by street vendors in New York during the late 1800s. Cool, right? Now, we’re giving this classic a modern twist. This version is dairy-free, gluten-free, and just as delicious. Let’s dive in!
Recipe at a Glance
Prep Time
- Active Time: 40 minutes
- Freezing Time: 8+ hours
- Total Time: About 9 hours (trust me, it’s worth it)
Servings
Makes 8 sandwiches. Need more? Double the recipe—we won’t judge. Just make sure your freezer has room!
How Hard Is It?
Intermediate. The steps are simple, but freezing and assembly take a little patience. You’ve got this!
Tools You’ll Need
- Mixer (stand or handheld)
- Rimmed baking sheet (13×18 inches)
- Parchment paper
- Offset spatula
- Plastic wrap
- Serrated knife
No mixer? Use a whisk and a little elbow grease! And if you don’t have a serrated knife, any sharp one will do.
Ingredients
Chocolate Cake Layers
- 1/3 cup softened palm shortening (or butter)
- 1/2 cup coconut sugar (or brown sugar)
- 2 tablespoons honey
- 2 large eggs (room temp)
- 1 teaspoon vanilla extract
- 2 tablespoons arrowroot powder
- 1/2 cup Dutch cocoa powder (for that rich flavor)
- 1/2 cup coconut flour (or almond flour, your choice)
- 1/2 teaspoon each: grain-free baking powder & baking soda
- 1/4 teaspoon sea salt
- 3/4 cup full-fat coconut milk
Ice Cream Filling
- 2 pints dairy-free vanilla ice cream (any brand you love!)
Substitutes: Not dairy-free? Regular ice cream works fine. Almond flour can swap in for coconut flour for a nutty flavor.
Let’s Make It!
First, bake the cake layers. Preheat your oven to 350°F and line a rimmed baking sheet with parchment paper. In a mixing bowl, cream together the softened palm shortening, coconut sugar, and honey until it becomes light and fluffy. This should take about a minute if you’re using a stand or hand-held mixer. Then, add the eggs and vanilla extract, blending it all until the mixture is smooth and fully combined.
In a separate bowl, whisk together the dry ingredients—arrowroot powder, cocoa powder, coconut flour, baking powder, baking soda, and sea salt. Gradually add this dry mixture to the wet ingredients, alternating with the coconut milk. The batter should end up smooth, with a slightly thick texture. Spread the batter evenly onto your prepared baking sheet, leaving about a quarter-inch of space around the edges. Bake for 15–17 minutes, or until the cake feels set and slightly springy when you touch it. Once done, let the cake cool completely on a wire rack.
To freeze the cake layers, first cut the cooled cake crosswise into two equal rectangular pieces (roughly 9×13 inches each). Keep the parchment paper on, as it helps prevent sticking, and carefully wrap each layer tightly in plastic wrap. Transfer them to the freezer for at least one hour. Freezing the cake layers at this stage ensures they hold up better during assembly—they’ll be less fragile and easier to handle.
When you’re ready to assemble the sandwiches, take the ice cream out of the freezer and let it soften for about 10–15 minutes. Place one of the cake layers top-side down on a clean surface. Scoop softened ice cream onto the cake and spread it out evenly using an offset spatula. Once the ice cream is distributed in a smooth layer, gently place the second cake layer on top, with the top side facing up. Wrap the entire block tightly in plastic wrap and return it to the freezer for 8 hours or overnight. This step ensures that the ice cream solidifies and the sandwiches stay intact when cut.
Finally, it’s time to cut and serve! Unwrap the frozen block and trim the edges to create clean lines (this step is optional but makes for a prettier finished product). Using a serrated knife, carefully slice the block into eight rectangular sandwiches. For the neatest cuts, dip your knife in warm water and wipe it dry between each slice. Now your homemade ice cream sandwiches are ready to enjoy or store for later!
Customize It
Want to make these sandwiches your own? Try these ideas:
Diet-Friendly Swaps
- Vegan version? Replace eggs with flax eggs (1 tablespoon ground flaxseed + 3 tablespoons water per egg).
- Nut-free? Use oat flour instead of almond or coconut flour.
Fun Flavors
- Switch things up with chocolate chip mint or strawberry ice cream.
- Mix crushed cookies or nuts into the ice cream layer for some crunch.
Seasonal Takes
- Fall vibes? Use pumpkin spice ice cream and cinnamon in the cake.
- Summer favorite? Try a fruity sorbet filling.
Serving & Storing
How to Serve
Serve these straight from the freezer. For extra fun, roll the edges of the sandwiches in mini chocolate chips or sprinkles before freezing.
Storage Tips
- Wrap each sandwich individually in parchment paper or plastic wrap.
- Store in the freezer for up to 2 weeks. (If they last that long!)
- Got a rock-hard sandwich? Let it sit at room temp for a minute or two before biting in.
And there you go—a treat that’s nostalgic, tasty, and friendly to all your dietary needs! Whether you’re cooling off on a hot day or just want a little something sweet, these ice cream sandwiches are always a good idea. Now, grab one and enjoy every creamy, chocolatey bite!