

Let’s be real—our pups deserve the best. And what better way to treat them than with a homemade ice cream that’s simple, healthy, and delicious? This Pumpkin Dog Ice Cream is a quick and fun way to spoil your dog. It’s packed with ingredients that dogs love and benefit from: pumpkin helps with digestion, bananas add natural sweetness, and plain yogurt creates that creamy texture.
Think of it as a little project that’ll have tails wagging. Whether your dog’s been extra good or you just want to keep them cool on a hot day, this recipe is bound to be a hit. Bonus: It’s super easy to make.
The Basics
Here’s the lowdown:
- Prep Time: Just 5 minutes.
- Freeze Time: 3 hours (or until solid).
- Serving Size: Enough for 6–8 small treats.
- Difficulty: Couldn’t be easier. Blend, freeze, done!
- Tools You’ll Need:
- A blender or food processor
- Silicone molds or ice cube trays (anything freezer-safe works)
Want to make a big batch? You totally can. These frozen treats last up to 3 months in the freezer. Meal prep for your pup = sorted.
What You’ll Need
Ingredients:
- 2 cups plain yogurt: Make sure it’s unsweetened and plain—Greek yogurt works great, too.
- 1 cup pumpkin purée: Canned or fresh is fine, but stick to plain pumpkin (not pie filling!).
- 2 ripe bananas: The riper, the better—these add natural sweetness and a creamy texture.
Swaps & Tips:
- If your dog doesn’t do well with dairy, try lactose-free yogurt or coconut yogurt instead.
- No pumpkin on hand? Sweet potato purée works just as well.
- No bananas? Applesauce makes a solid stand-in.
Important: Check food labels! Avoid anything with added sugar or artificial sweeteners like xylitol—it’s toxic for dogs.
How to Make It
This is the fun part. Follow these steps:
Step 1: Prep Your Ingredients
Peel and slice the bananas for easier blending. If you’re using fresh pumpkin, steam it until soft, then mash it up.
Step 2: Blend It All Together
Toss the yogurt, pumpkin, and bananas into a blender or food processor. Blend until the mixture is smooth and creamy. Too thick? Add a splash of water or more yogurt to thin it out.
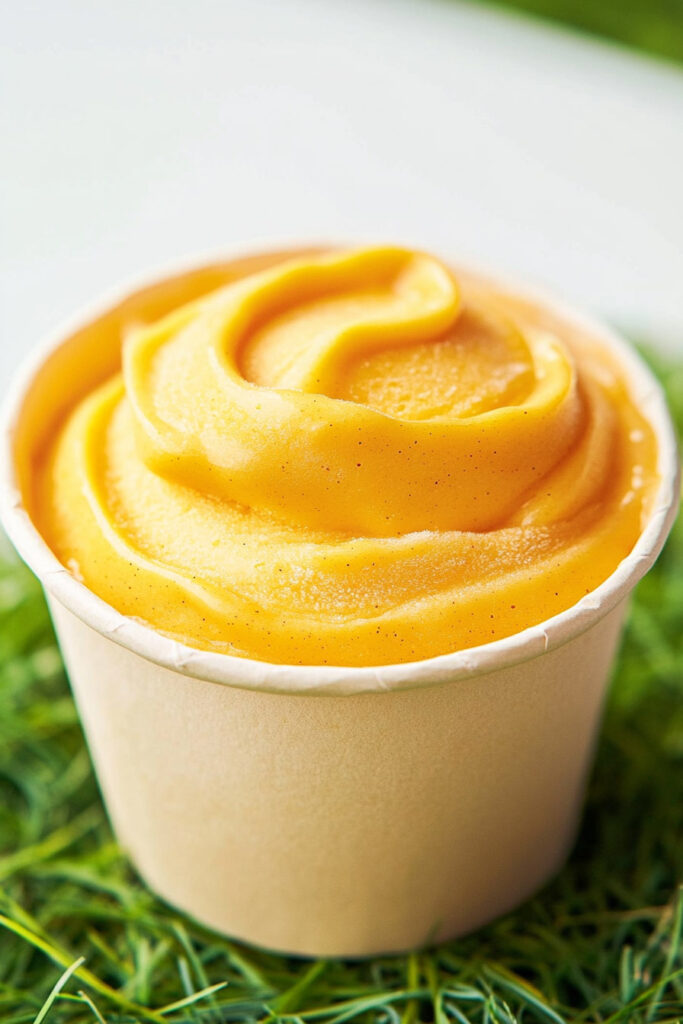
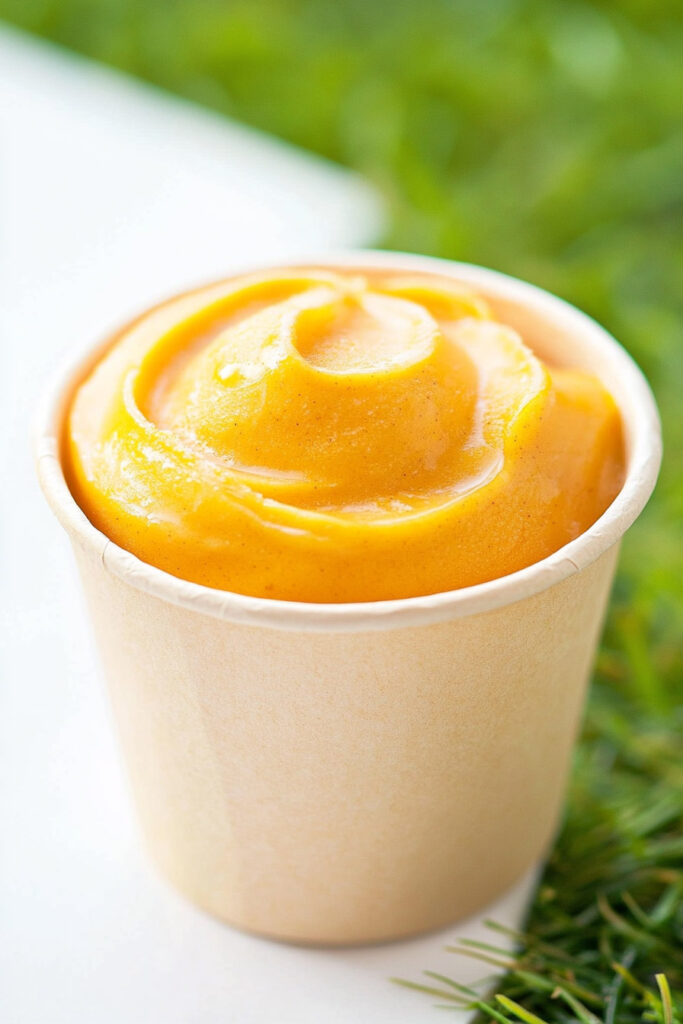
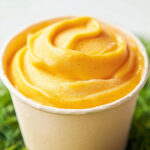
What to Look For: A silky, orange mixture with no lumps.
Step 3: Pour Into Molds
Carefully pour the mixture into your silicone molds or trays. Don’t have molds? Ice cube trays or small containers work, too.
Pro Tip: Gently tap the molds on the counter to get rid of air bubbles.
Step 4: Freeze
Pop the molds into the freezer for at least 3 hours, or until the treats are completely solid. If you’re using larger containers, freezing might take a bit longer.
Customize It
Want to switch things up? Here are some ideas:
- Diet-Friendly Options: Go vegan with coconut yogurt, or consult your vet for other substitutions based on your dog’s diet.
- Seasonal Fun: Add a little cinnamon (just a pinch) for a cozy fall vibe. Or mix in some chopped blueberries or strawberries for texture in the summer.
- Dress It Up: For special occasions, top each treat with a drizzle of dog-safe peanut butter or a sprinkle of shredded carrots before freezing.
At the end of the day, though, dogs don’t care about fancy—they just want something yummy!
Serving & Storing
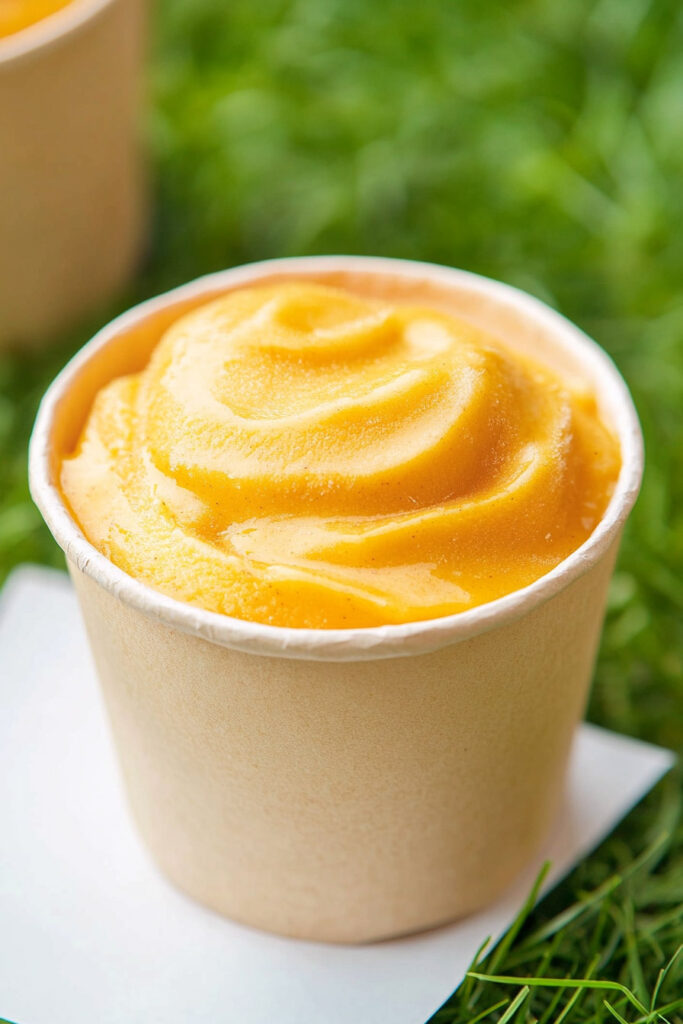
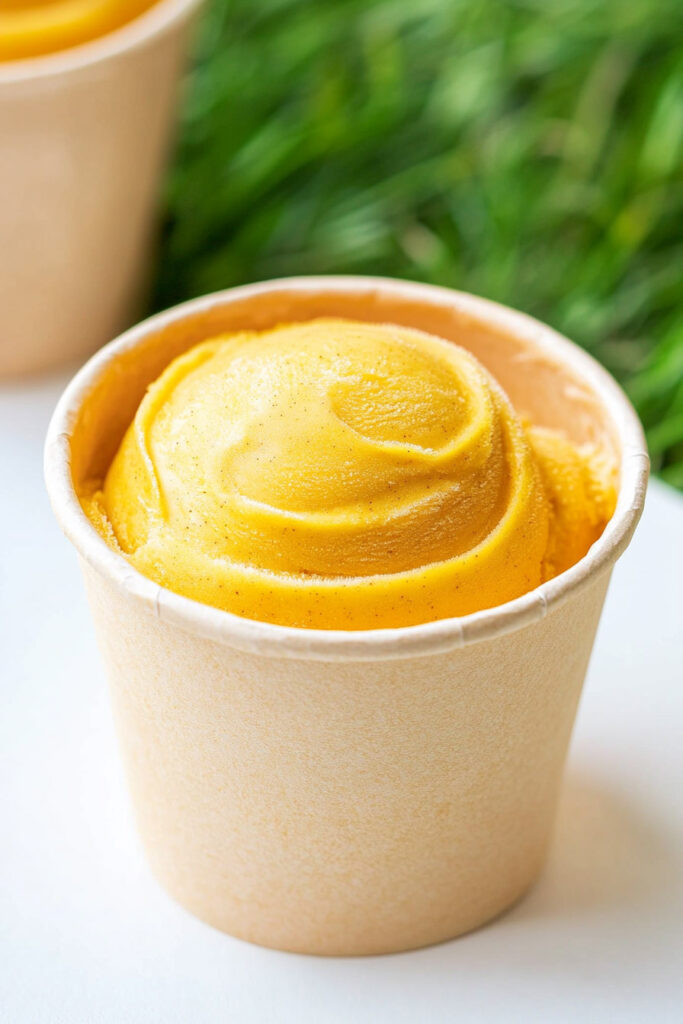
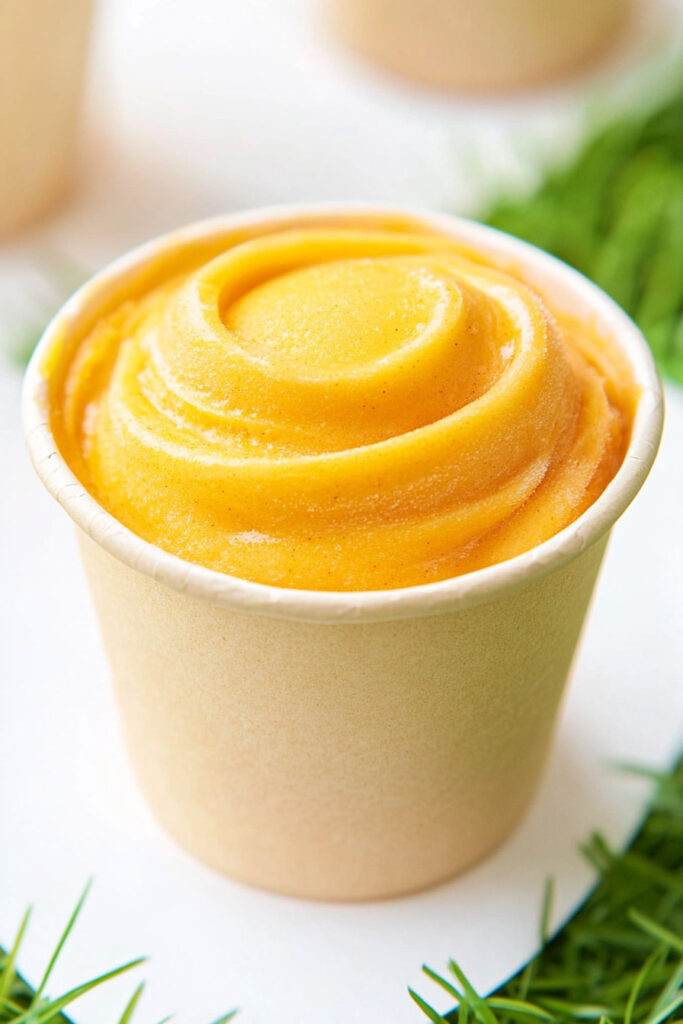
- Serve treats straight from the mold—they look extra cute in shapes like paws or bones! If using a larger container, scoop and serve like regular ice cream.
- Store leftovers in an airtight container or freezer bag. These treats will stay fresh for up to 3 months.
No need to thaw, but if your dog prefers softer textures, let the treat sit for a minute or two before serving.
Final Thoughts
Making these Pumpkin Dog Ice Cream treats is more than just a recipe—it’s an act of love. Watching your pup enjoy something you made for them? It’s the best feeling. So grab those ingredients, get blending, and prepare for some serious tail wags!
Ready to start? Let’s make your dog’s day.
PrintPumpkin Dog Ice Cream
A creamy, refreshing, and nutritious frozen treat for your furry friend! Made with just three wholesome ingredients, this easy pumpkin dog ice cream is perfect for hot days or as a special reward.
- Prep Time: 5 minutes
- Cook Time: None
- Total Time: 3 hours (freezing included)
- Yield: 6–8 treats (depending on mold size) 1x
- Category: Dog Treats
- Cuisine: Pet-Friendly
Ingredients
- 2 cups plain yogurt (unsweetened, unflavored)
- 1 cup pumpkin purée (unsweetened)
- 2 ripe bananas
Instructions
- Blend Ingredients: Add yogurt, pumpkin purée, and sliced bananas into a blender or food processor. Blend until smooth and creamy with no lumps. The mixture should be thick but pourable.
- Fill Molds: Pour the blended mixture into silicone molds, ice cube trays, or small containers. Tap gently to remove air bubbles and level the surface.
- Freeze: Place the molds in the freezer for at least 3 hours or until fully solidified.
- Serve & Enjoy: Pop out a treat and serve it to your pup! Watch their tail wag with joy.
Notes
Serving Suggestions:
- Serve frozen for a refreshing summer treat or thaw slightly for softer bites. Use fun-shaped molds like paws or bones for added charm!
Tips & Tricks:
- Use ripe bananas for natural sweetness and smooth blending.
- Avoid overfilling molds to prevent overflow as the mixture freezes.
Storage & Reheating:
- Store frozen treats in an airtight container or freezer bag for up to 3 months. No reheating needed—simply serve straight from the freezer!