

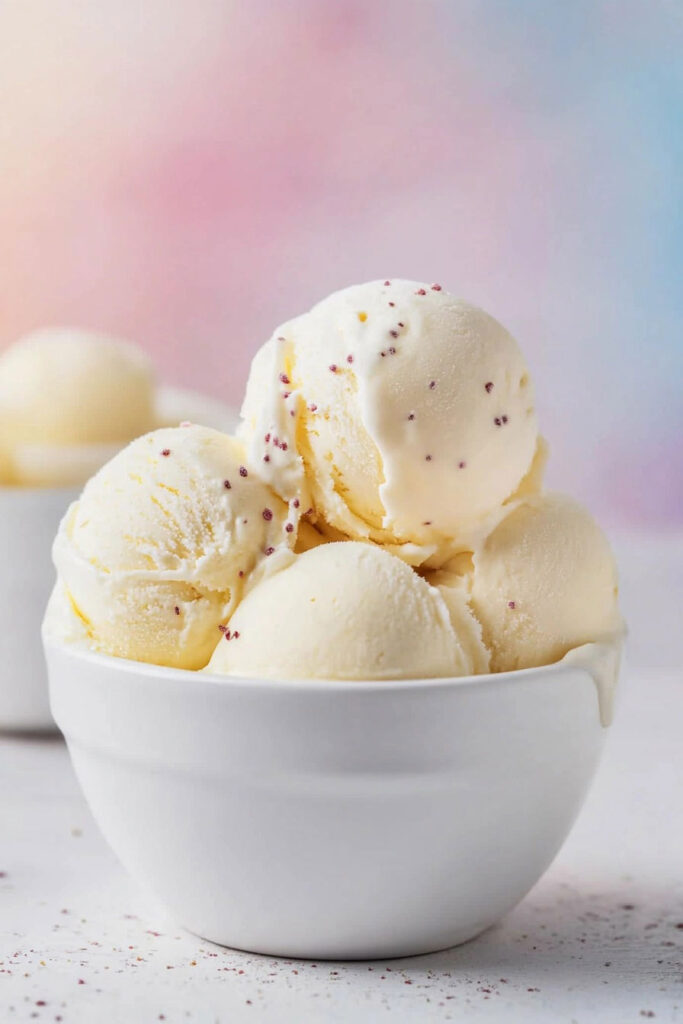
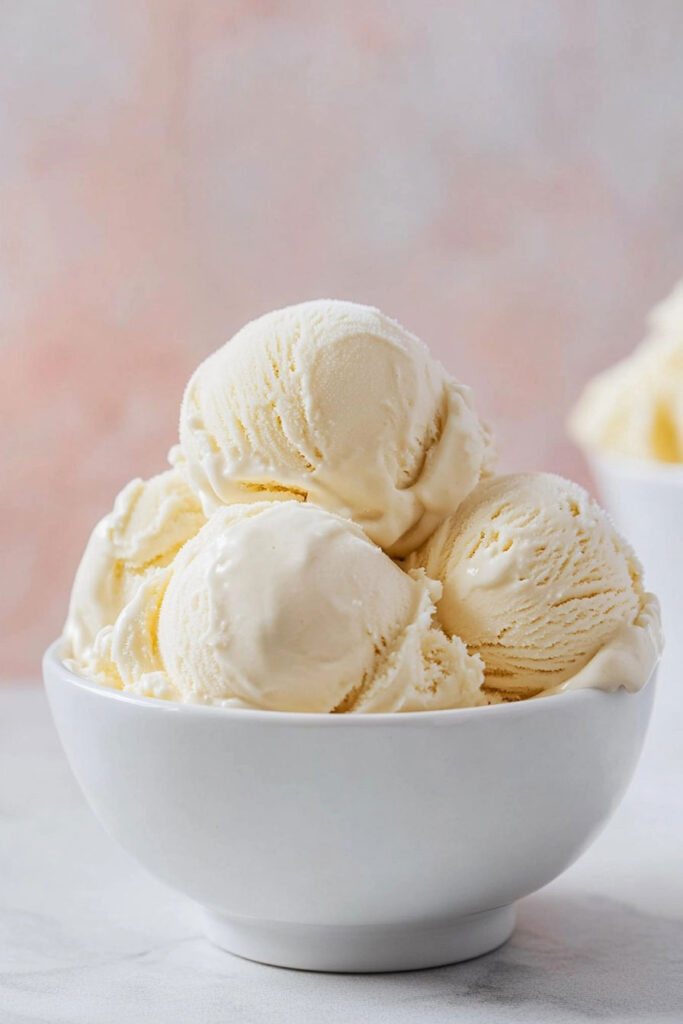
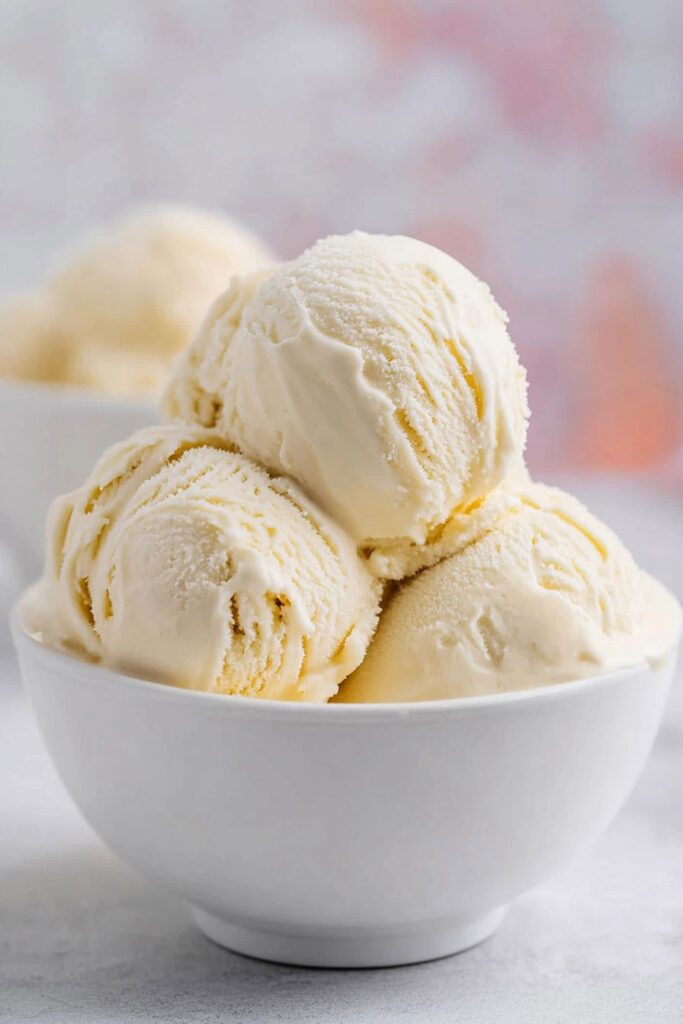
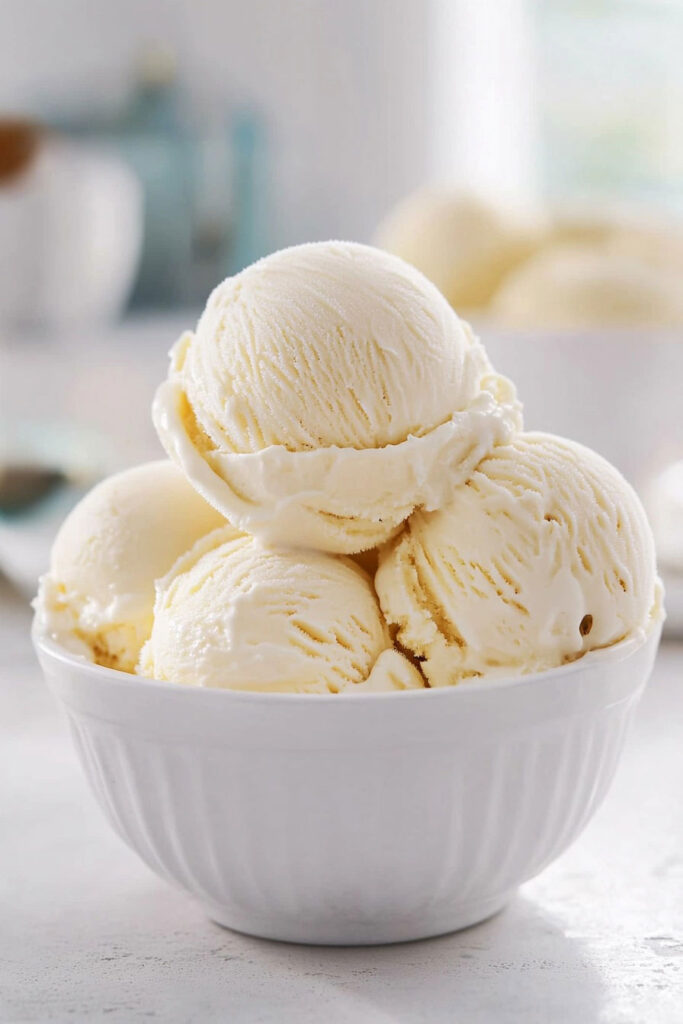
Let’s talk about French Vanilla Ice Cream. It’s not just your run-of-the-mill dessert—it’s a little fancier, a little richer, and oh-so-delicious. What makes it special? The egg custard base. This extra step gives it a creamy, velvety texture and that beautiful golden color. Fun fact: Thomas Jefferson was so hooked on this dessert when he visited France in the 1780s that he brought the recipe back to the U.S. Cool, right?
This recipe combines that classic French technique with a modern twist, so you can create a luxurious dessert for any occasion—without needing to book a trip to Paris.
Quick Recipe Highlights
Make-Ahead Tip:
You can prep the custard base up to two days ahead. Just stash it in the fridge until you’re ready to churn.
Time Commitment:
About 3 hours and 40 minutes (most of that is chilling and freezing)—you’ll only need about 40 minutes of hands-on time.
Servings:
Makes 10 servings. Want less? Halve the recipe. Need more? Double it!
Skill Level:
Intermediate. Nothing too crazy, but there’s some egg tempering involved, so it’s good to stay focused.
Tools Required:
- Saucepan
- Whisk and fine mesh strainer
- Ice cream maker (or try a no-churn method if you don’t have one!)
- Freezer-safe container
Ingredients You’ll Need
The Basics:
- 1½ cups whole milk
- 1½ cups heavy cream
- 1 vanilla bean (or 1 tablespoon high-quality vanilla extract)
- ⅛ teaspoon salt
- 4 large egg yolks
- ⅔ cup granulated sugar
Substitutes and Notes:
- No vanilla bean? No problem—vanilla extract or vanilla bean paste works just fine.
- Watching calories? Swap heavy cream for half-and-half, but expect a slightly less creamy texture.
- Prefer a twist? Use raw cane sugar or coconut sugar for a subtle flavor change.
Pro Tip: Let your egg yolks reach room temp before whisking. Want maximum vanilla flavor? Split and scrape the vanilla bean minutes before you start cooking.
How to Make It
Step 1: Warm the Milk and Cream
In a saucepan, combine milk, heavy cream, the vanilla bean (seeds and pod), and a pinch of salt. Heat it over medium until you see small bubbles along the edges—roughly 10 minutes. Trust me, your kitchen will smell amazing.
Step 2: Whisk Egg Yolks and Sugar
In a bowl, whisk egg yolks and sugar until the mixture turns pale yellow and fluffy. Think of it as building the foundation for your creamy custard.
Step 3: Temper the Eggs
Here’s the tricky part, but you’ve got this. Slowly ladle some of the hot milk into the yolk mixture, whisking constantly. This step warms the eggs gently so they don’t scramble. Once combined, pour everything back into the saucepan.
Step 4: Cook the Custard
Return the saucepan to low heat and stir constantly for about 10 minutes. The custard is done when it coats the back of your spoon or hits 175°F. Don’t let it boil—curdled eggs are not the vibe we’re going for.
Step 5: Strain and Chill
Strain the custard through a fine mesh strainer to remove any eggy bits (it happens) and leftover vanilla pod. Let it cool for 30 minutes before covering it with plastic wrap (pressed directly onto the surface) and refrigerating for at least 2 hours.
Step 6: Churn and Freeze
Pour the chilled custard into your ice cream maker and churn for 20–25 minutes (check your machine’s instructions). Transfer to a freezer-safe container, press plastic wrap on top to avoid ice crystals, and freeze it overnight.

Make It Your Own
Diet-Friendly Swaps:
- Going vegan? Use coconut milk or almond cream with an egg substitute like aquafaba.
- Need it dairy-free? Coconut milk is your BFF.
Flavor Boosters:
- Mix in chocolate chips, caramel swirls, or crushed cookies when churning.
- Infuse spices like cinnamon or nutmeg for a cozy, seasonal taste.
Fancy Presentation?
Serve your ice cream with fresh berries or drizzle with salted caramel. Feeling casual? Pair it with brownies or pie.
Serving and Storing Tips
- Serving: Scoop it into a bowl, cone, or even as a base for affogato (add hot espresso on top).
- Storage: Keep it in an airtight container in the coldest part of your freezer. Homemade ice cream gets harder than store-bought, so let it sit out for about 10 minutes before scooping.
Final Thoughts
Making French Vanilla Ice Cream at home is like stepping back in time and creating something magical. Sure, it takes a little patience, but the result? Totally worth it. Whether you’re serving it plain or jazzing it up with mix-ins, this creamy, dreamy dessert is bound to impress. Give it a try—you might just find your new go-to treat!