

Homemade ice cream has a special kind of magic, doesn’t it? It’s smooth, packed with flavor, and feels like a hug in dessert form. But let’s be honest—who has time for bulky ice cream machines or fancy techniques? That’s why this no-churn banana ice cream is a total game-changer.
You don’t need anything fancy. No gadgets, no stress. Just a bowl, a whisk (or mixer), and a few simple ingredients. The result? Creamy, dreamy ice cream that tastes like sunshine and smiles. Think banana pudding meets frozen dessert heaven. Perfect for a summer picnic, a lazy Saturday, or just because you’re craving something sweet. Ready to get started? Let’s go!
What To Expect
Time Commitment:
- Prep takes just 15 minutes, but you’ll need to freeze it for 4–6 hours before diving in.
Servings:
- Makes about 6 servings, but you can easily double the recipe for a crowd or halve it if you’re just treating yourself.
Skill Level:
- Beginner-friendly. If you can whip cream and fold ingredients, you’re golden.
Equipment You’ll Need:
- Large mixing bowl (stand mixer works too!)
- A second bowl for mixing
- Whisk or hand mixer
- A loaf pan or any freezer-safe dish
- Plastic wrap or foil for covering
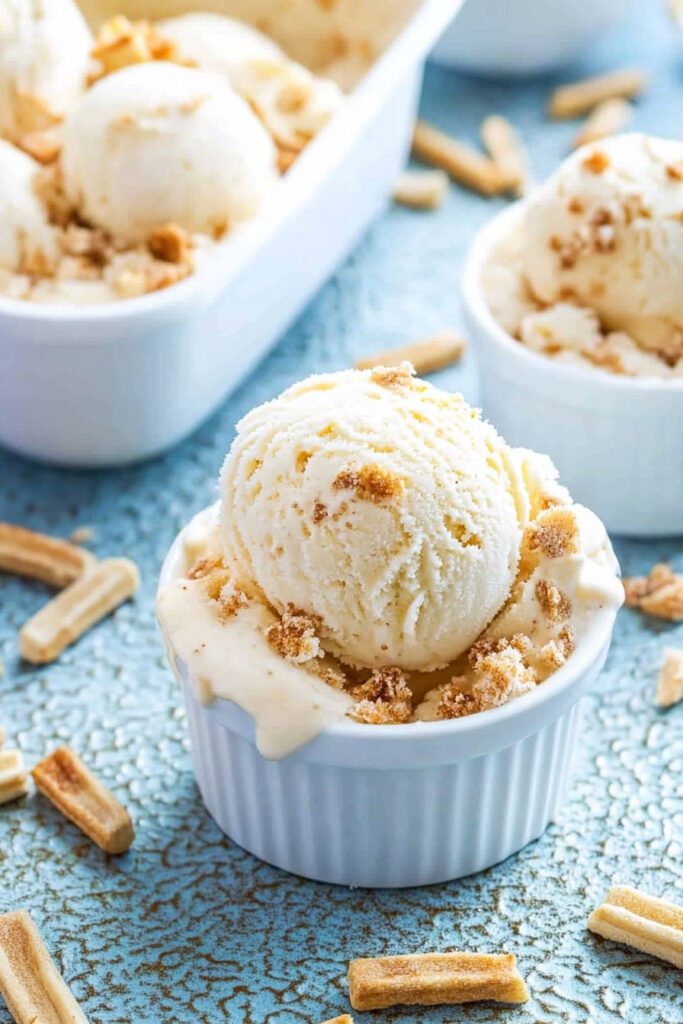
No loaf pan? No problem. Use a shallow dish or individual ramekins instead for cute, single servings!
What You’ll Need
Here’s what goes into this ridiculously good ice cream:
- 2 cups heavy cream: This gives the ice cream its signature creaminess. Use cream with at least 30% fat for the best texture.
- 1 (14 oz) can sweetened condensed milk: Sweetens and smooths everything out—no ice cream maker needed!
- 1 (3.4 oz) box banana pudding mix: Brings all the banana flavor without the hassle. Instant pudding mix is your best friend here.
- 1 tsp vanilla extract: Just a splash for a warm, sweet flavor boost.
- 1 large banana: Sliced for extra banana goodness. Use ripe ones—they’re sweeter and tastier.
- 1 cup crushed vanilla wafers: Perfect for that crunchy banana pudding vibe.
Quick Tips & Substitutions
- No banana pudding mix? Use vanilla pudding mix and add mashed bananas or banana extract.
- Gluten-free? Swap regular wafers for gluten-free ones, or skip them entirely.
- Cold cream whips faster, so chill your cream, bowl, and whisk for a few minutes before starting.
How to Make It
Let’s break it down. You’re just five simple steps away from sweet, creamy perfection.
Step 1: Whip the Cream
Pour cold heavy cream into a large bowl. Whip it with a hand mixer (or a whisk, if you’re up for a mini workout) until stiff peaks form. Fluffy and light, but not butter. You’ll know it’s ready if the peaks hold their shape.
Pro tip: Chill your bowl and beaters first—it makes whipping faster!
Step 2: Mix the Sweet Stuff
In another bowl, combine the sweetened condensed milk, dry banana pudding mix, and vanilla extract. Whisk until smooth. The smell? Like bananas and caramel heaven.
Step 3: Combine the Two
Take your fluffy whipped cream and gently fold it into the sweetened milk mixture. Go slow—no need to rush. You want to keep it light and airy, so don’t overmix. A few streaks are totally fine.
Step 4: Add Bananas and Wafers
Fold in the sliced banana and crushed vanilla wafers. The banana adds bursts of sweetness, and the wafers bring the crunch. Want extra crunch? Save a handful of wafers for sprinkling on top later.
Step 5: Freeze It
Pour everything into a loaf pan or freezer-safe container. Smooth it out with a spatula, sprinkle those leftover wafers on top, and cover it tightly with plastic wrap or foil. Pop it in the freezer and let it sit for 4–6 hours.
Pro tip: Soft, scoopable ice cream? Freeze for 4 hours. Want it firmer? Go for 6 hours or overnight.
Fun Variations
This recipe is super flexible. Here’s how you can make it your own:
Diet-Friendly Tweaks:
- Lighten it up with low-fat sweetened condensed milk or replace half the cream with whipped coconut cream.
- Gluten-free? Use gluten-free wafers or leave them out altogether.
Add-Ons for Extra Flavor:
- Stir in mini chocolate chips or a caramel swirl for extra indulgence.
- Toss in toasted nuts, like pecans or walnuts, for a crunchy twist.
Seasonal Spin:
- Summer: Top with fresh strawberries or blueberries.
- Fall: Sprinkle a little cinnamon or nutmeg over each scoop.
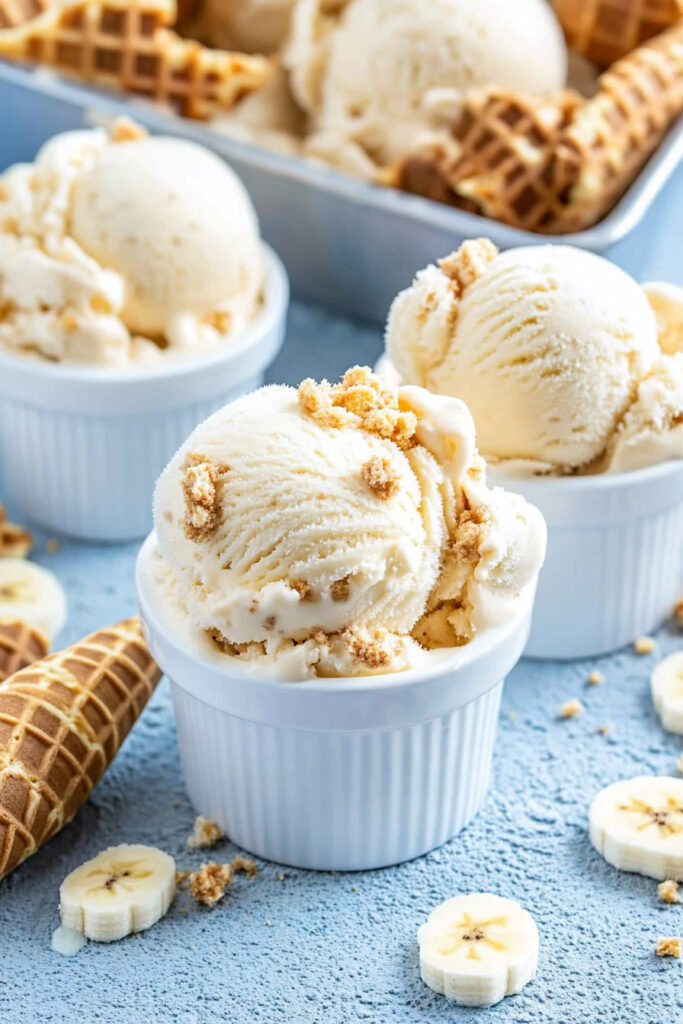
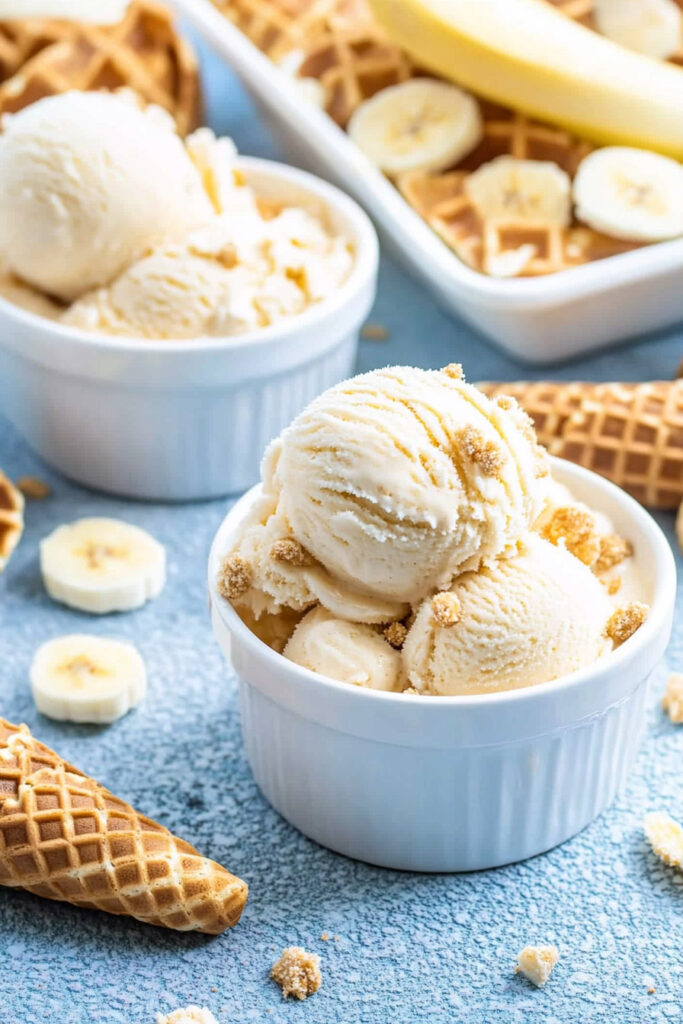
Serve It Up
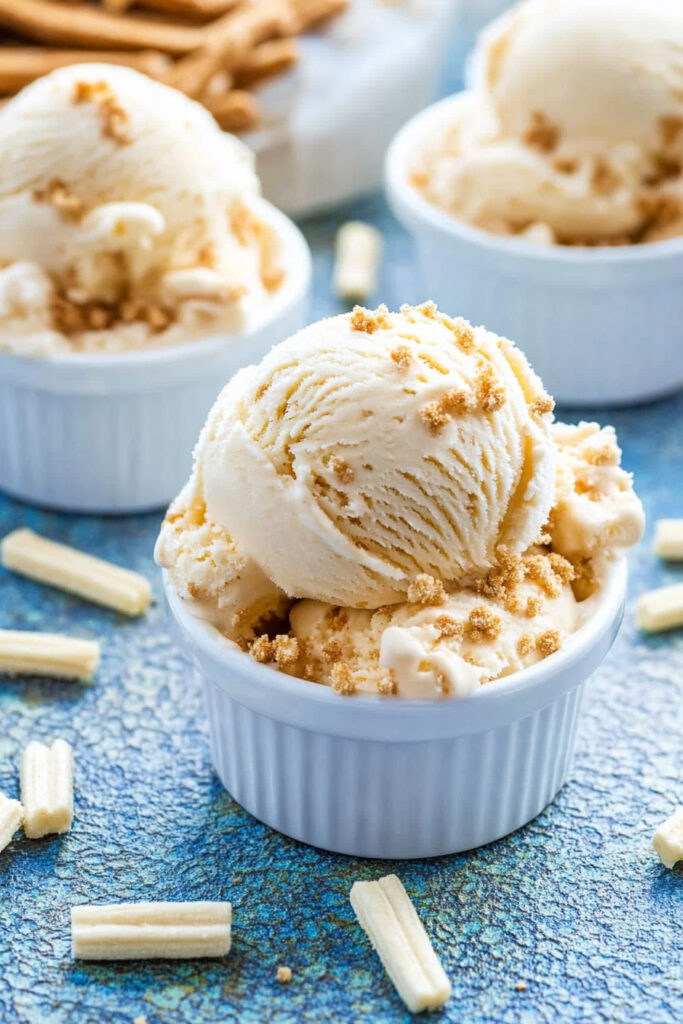
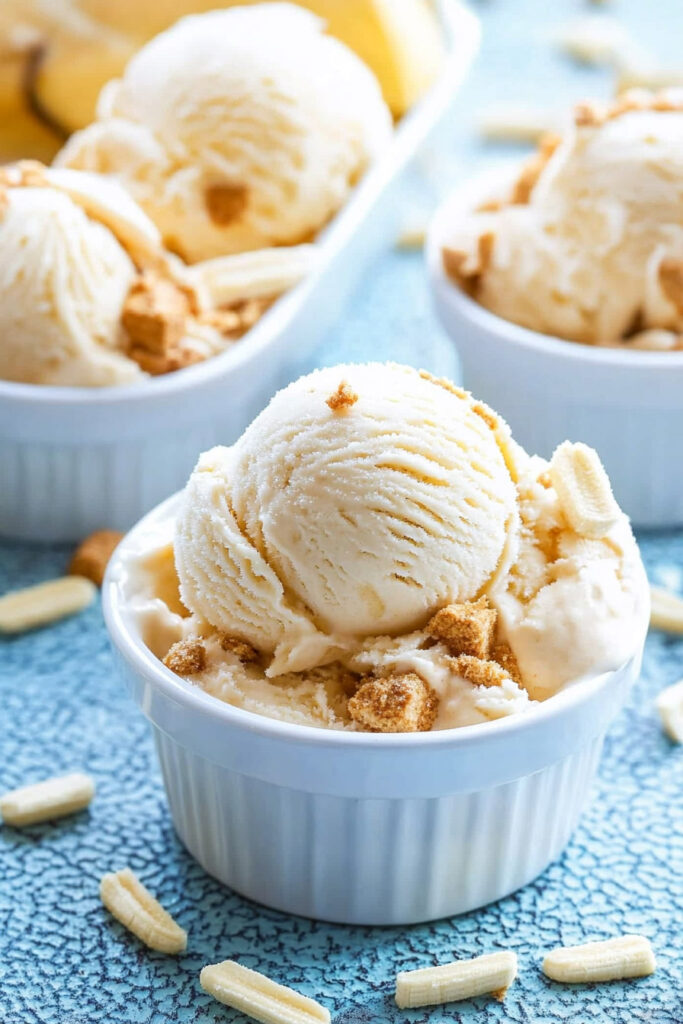
Scoop this goodness into bowls or cones. Sprinkle some extra crushed wafers on top for that classic banana pudding vibe. Feeling fancy? Drizzle caramel sauce on top.
Storing Leftovers:
Keep it in an airtight container in the freezer for up to 2 weeks. (But honestly, it probably won’t last that long!) Let it sit at room temp for a few minutes before scooping if it’s too firm.
This ice cream is proof that great desserts don’t have to be complicated. Whip it up for family movie night, a party with friends, or just because. Trust me—it’s good enough to make you forget about store-bought ice cream. So grab that ripe banana on your counter, and let’s get started! No churning required.