

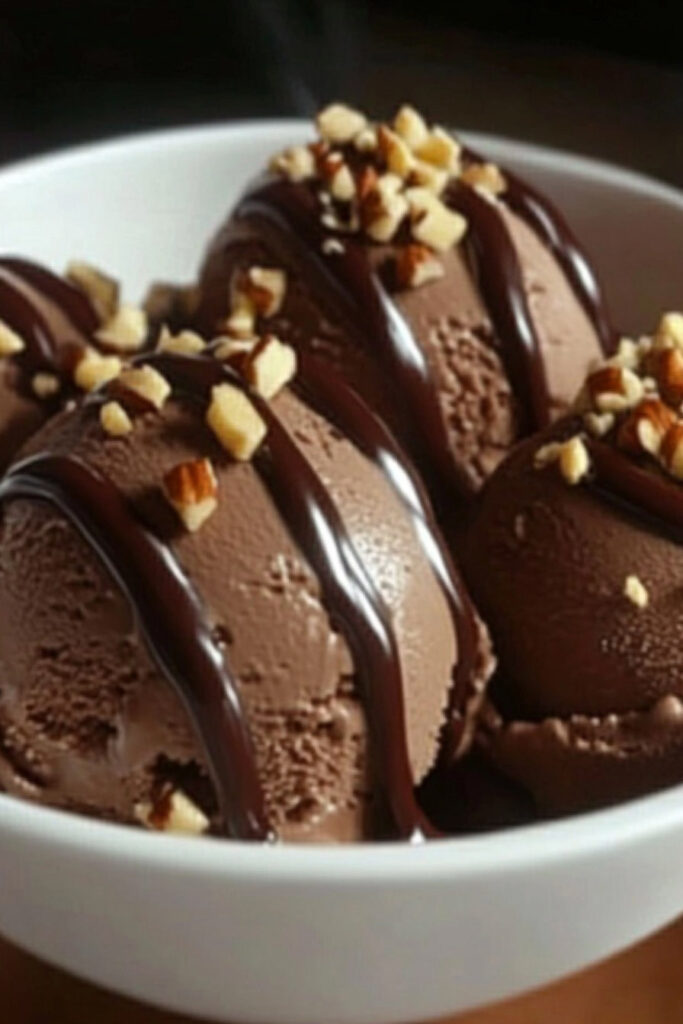
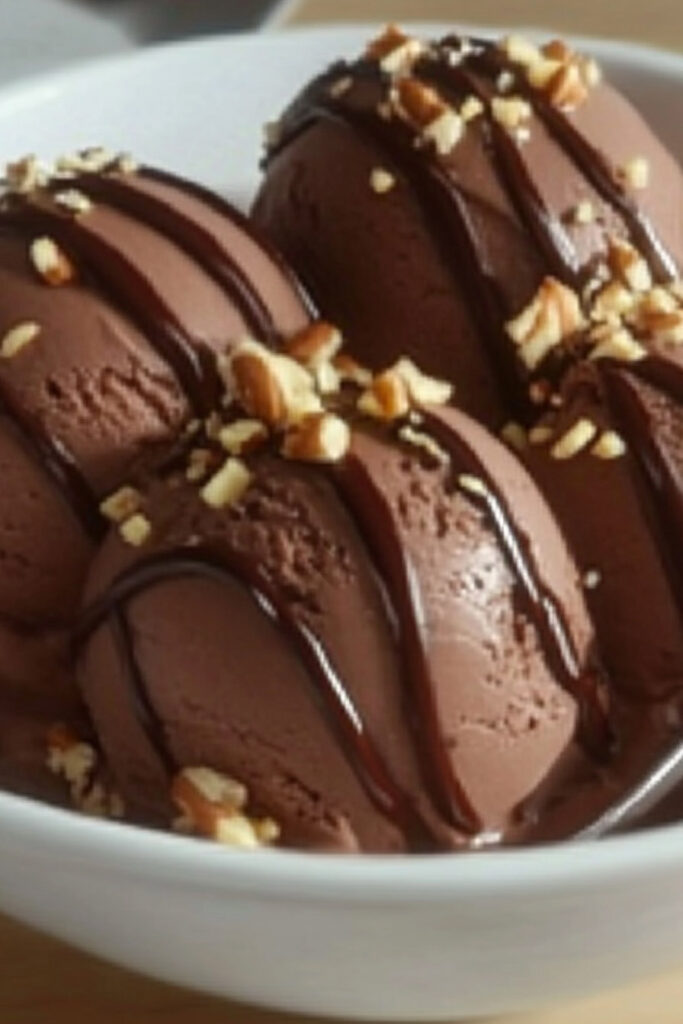
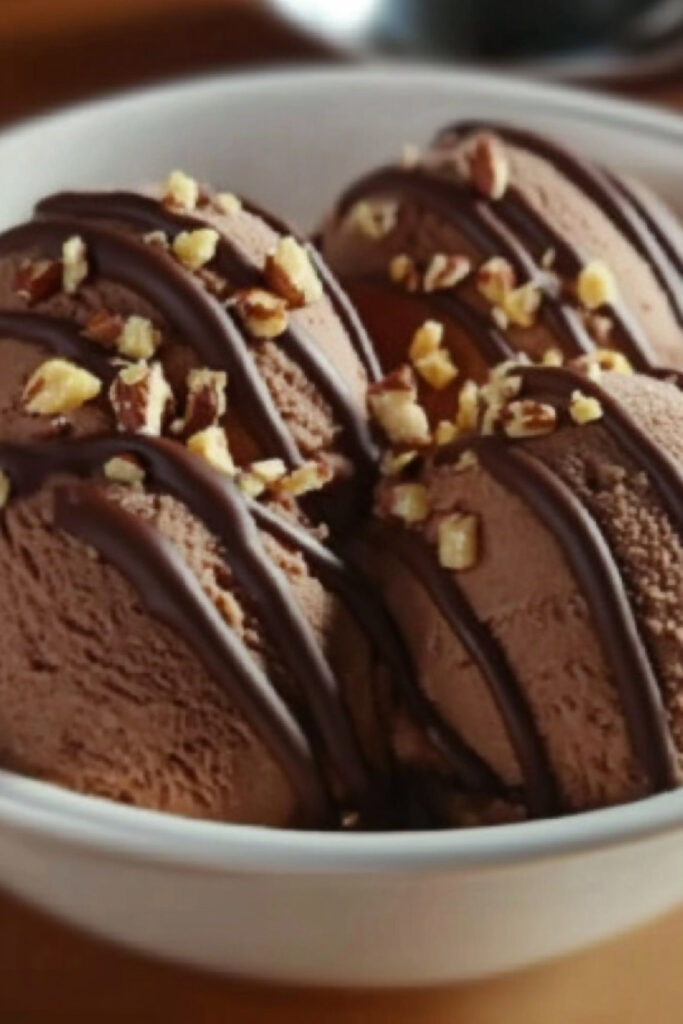
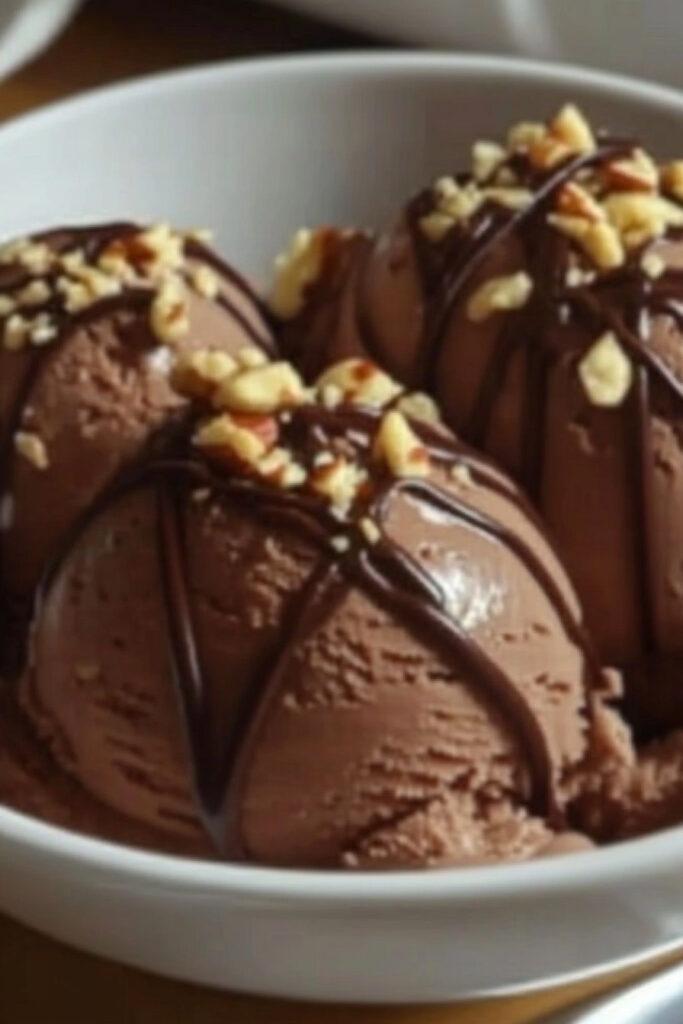
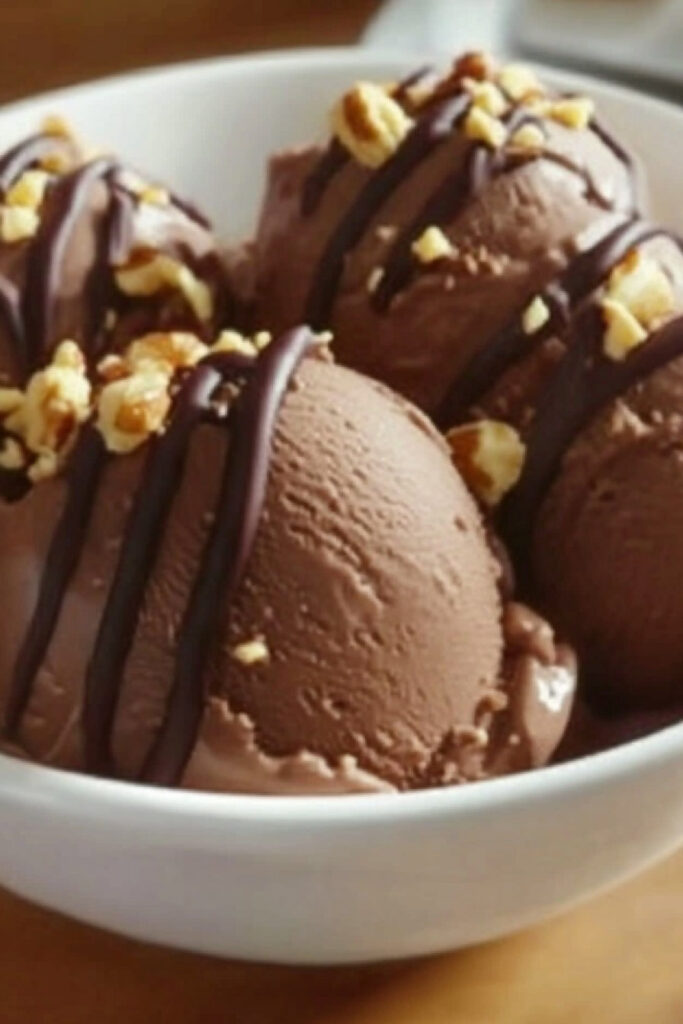
Craving a rich, creamy dessert without the guilt? You’re in the right place. This Ninja Creami Low-Calorie Chocolate Cheesecake Ice Cream combines the best of both worlds: indulgent flavors with fewer calories. At just 213 calories per pint, it’s perfect for anyone looking to satisfy their sweet tooth without going overboard.
The secret? Clever ingredient swaps like fat-free cheese triangles and your favorite low-calorie sweeteners. Plus, a little trick called “blooming” the cocoa powder amps up the chocolatey goodness. Don’t worry—it’s super easy to make, and you’ll only need a few minutes of prep time (and a bit of patience while it freezes). Ready? Let’s dive in!
Quick Recipe Info
- Prep Time: 3 minutes
- Freezing Time: 24 hours
- Makes: 1 pint (213 calories per pint)
- Difficulty: Easy
Tools You’ll Need
- Ninja Creami ice cream maker
- Immersion blender (or a regular blender)
- Ninja Creami pint container
- Measuring cups and spoons
- A microwave-safe bowl (optional)
Pro Tip: Make a few batches at once and store them in the freezer—you’ll thank yourself later!
Ingredients
- 6 Fat-Free Cheese Triangles (like Laughing Cow Light)
- 15g Unsweetened Cocoa Powder
- 15ml Liquid Sweetener (try Stevia, Monk Fruit, or your favorite substitute)
- ¼ tsp Xanthan Gum (for that creamy texture)
- 50ml Hot Water (to bloom the cocoa powder)
- Cold Water (to fill to the max line in the container)
Ingredient Swaps
- No cheese triangles? Use low-fat cream cheese for a richer flavor.
- No xanthan gum? Try a cornstarch slurry instead.
- Don’t like liquid sweeteners? Use powdered ones—just dissolve them in hot water first.
Quick Tips
- Let the cheese triangles warm up to room temp before blending. Easier to mix!
- Use high-quality cocoa powder for deep, bold chocolate flavor.
Let’s Make It!
1. Bloom the Cocoa Powder
Start strong by blooming the cocoa powder. Just stir it into 50ml of hot water right inside your pint container. Stir until smooth and glossy—no lumps allowed.
Why bloom? It enhances the cocoa’s flavor. Worth the step, trust me.
2. Add Sweetener and Cheese Triangles
Now, add your sweetener and unwrapped cheese triangles. These will make the base creamy and rich.
3. Blend It Up
Grab your immersion blender and give it a whirl until everything is silky smooth. No immersion blender? No problem—just toss everything into a regular blender.
4. Add Xanthan Gum and Cold Water
Next, fill the container with cold water until it’s just below the max line. Sprinkle the xanthan gum evenly over the surface (don’t dump it all at once—it’ll clump!). Blend again for that perfect texture.
5. Freeze It
Pop a lid on your pint container and stick it in the freezer. Let it chill for at least 24 hours.
Pro Tip: Keep your freezer temp between -7°F and 9°F for the best results.
6. Process and Serve
After freezing, it’s time to bring in the Ninja Creami! Lock the pint into the machine, hit the “Smoothie Bowl” setting, and let it work its magic. Once it’s processed, you’ve got creamy, chocolatey goodness.
Customizations
- Make It Vegan: Use vegan cream cheese and swap water with almond milk.
- Add a Twist: Stir in sugar-free chocolate chips, nuts, or a splash of vanilla.
- Seasonal Fun: Peppermint extract (for winter). Fresh berries (for summer).
Storing Leftovers (If There Are Any!)
If you somehow have leftovers, store them in an airtight container in the freezer for up to a month. Want it scoopable straight from the freezer? Add 2 teaspoons of food-grade vegetable glycerin during the prep stage.
This recipe is proof you don’t need to trade flavor for low-calorie options. It’s creamy, chocolatey, and totally customizable. So go ahead—treat yourself!
PrintNinja Creami Low-Calorie Chocolate Cheesecake Ice Cream

A creamy, chocolatey indulgence with a cheesecake twist—this low-calorie ice cream is rich, smooth, and guilt-free. Made with clever ingredient swaps, it’s the perfect treat for dessert lovers looking to enjoy flavor without the extra calories.
- Prep Time: 3 minutes
- Cook Time: None
- Total Time: 1 day, 3 minutes (includes freezing time)
- Yield: 1 pint 1x
- Category: Dessert
- Cuisine: American
Ingredients
- 6 fat-free cheese triangles (e.g., Laughing Cow Light)
- 15 grams dark cocoa powder (unsweetened)
- 15 milliliters liquid saccharine (or any sugar substitute)
- ¼ teaspoon xanthan gum
- 50 milliliters hot water
- Cold water (to fill up to the max line in the Ninja Creami pint container)
Instructions
- Bloom Cocoa Powder: In the Ninja Creami pint container, mix the cocoa powder with hot water until fully dissolved. This enhances the chocolate flavor.
- Add Sweetener & Cheese: Stir in the liquid saccharine and add the unwrapped fat-free cheese triangles.
- Blend Until Smooth: Use an immersion blender to combine everything into a silky mixture.
- Incorporate Xanthan Gum: Add cold water until just below the max fill line, then sprinkle in xanthan gum while blending to ensure a creamy texture.
- Freeze: Secure the lid on the pint container and freeze for at least 24 hours on a flat surface.
- Process in Ninja Creami: After freezing, place the pint in the Ninja Creami outer bowl, lock it into place, and select the “Smoothie Bowl” setting. Let it process until smooth.
- Serve & Enjoy: Scoop out your creamy chocolate cheesecake ice cream and savor immediately!
Notes
Serving Suggestions: Serve in a chilled bowl or cone and garnish with sugar-free chocolate shavings or a dusting of cocoa powder for extra flair.
Tips & Tricks:
- Sprinkle xanthan gum gradually to prevent clumping.
- Use high-quality dark cocoa powder for a richer taste.
Storage & Reheating Instructions: Store leftovers in an airtight container in the freezer for up to one month. For easier scooping, let it sit at room temperature for 10 minutes or microwave for 5–10 seconds before serving.