

What if I told you that you can enjoy the rich flavors of mocha and espresso in a creamy, satisfying ice cream that’s packed with protein? Sounds amazing, right? Well, that’s exactly what this recipe delivers. Imagine dessert that not only tastes indulgent but also gives your body a little boost. Whether you’re a coffee lover, a fitness enthusiast, or just someone who enjoys good food, this recipe is about to become your new go-to treat.
So, what’s the secret? A simple mix of chocolate protein shake, instant espresso powder, dark cocoa, and sugar-free pudding powder. Put it all together with a Ninja Creami machine, and you’ve got yourself a homemade ice cream that feels like it came straight out of a fancy gelato shop—but healthier!

Let’s dive in.
Recipe at a Glance
Prep Time
- Hands-on time: 5 minutes
- Freezing time: 24 hours
- Processing time: 5 minutes
Servings
This recipe makes one pint, which serves about 2–4 people depending on how generous you’re feeling! Want more? No problem. Just prep an extra batch in another container.
How Easy Is It?
Super easy. If you can blend and freeze, you’ve got this in the bag.
What You’ll Need
- A Ninja Creami
- A blender (or a whisk if you’re old school)
- Measuring tools
- A freezer-safe pint container
No blender? No worries! Just whisk the ingredients really well.
What You’ll Need to Make It
Ingredients for Your Base
- Chocolate Protein Shake (11.5 oz): Premier Protein is a great choice, but any shake you love will work.
- Sugar-Free Chocolate Fudge Pudding Mix (2 tbsp): For that creamy texture.
- Instant Espresso Powder (2 tbsp): Adds that bold coffee flavor. Skip the brewed coffee—too watery.
- Dark Cocoa Powder (1 tbsp): It deepens the chocolate vibes.
Optional Add-Ins
- Zero-Sugar Chocolate Chips (2 tbsp): Chop them up for little bursts of extra chocolate.
- Need to fix crumbly ice cream? Add 1–2 tablespoons of chocolate almond milk (or any milk you like).
The Step-By-Step Process
Step 1: Whip Up the Mixture
Blend your protein shake, pudding mix, espresso powder, and cocoa powder until smooth. No blender? Whisk like crazy until there are no lumps. Pour this mixture into your Ninja Creami pint container.
Pro Tip: Taste it before freezing. Want it sweeter? Now’s the time to adjust.
Step 2: Freeze It
Stick the container in the freezer (lid off for now) and freeze for 24 hours. Your freezer temperature should stay between -7°F and 9°F for the best results—this ensures perfect freezing and texture.
Step 3: Time for the Magic!
Take your frozen pint and pop it into the Ninja Creami. Select the “Lite Ice Cream” setting and let the machine do its thing.
Quick Fix: If your ice cream comes out crumbly on the first try (it happens!), don’t panic. Add a tablespoon or two of chocolate almond milk and hit the “Re-spin” button. Repeat until it’s creamy perfection.
Step 4: Mix It Up (Optional)
Want to add chocolate chips? Make a small well in the center of the ice cream, drop them in, and run the “Mix-ins” setting. Chopping the chips finely helps them blend without turning into hard chunks.
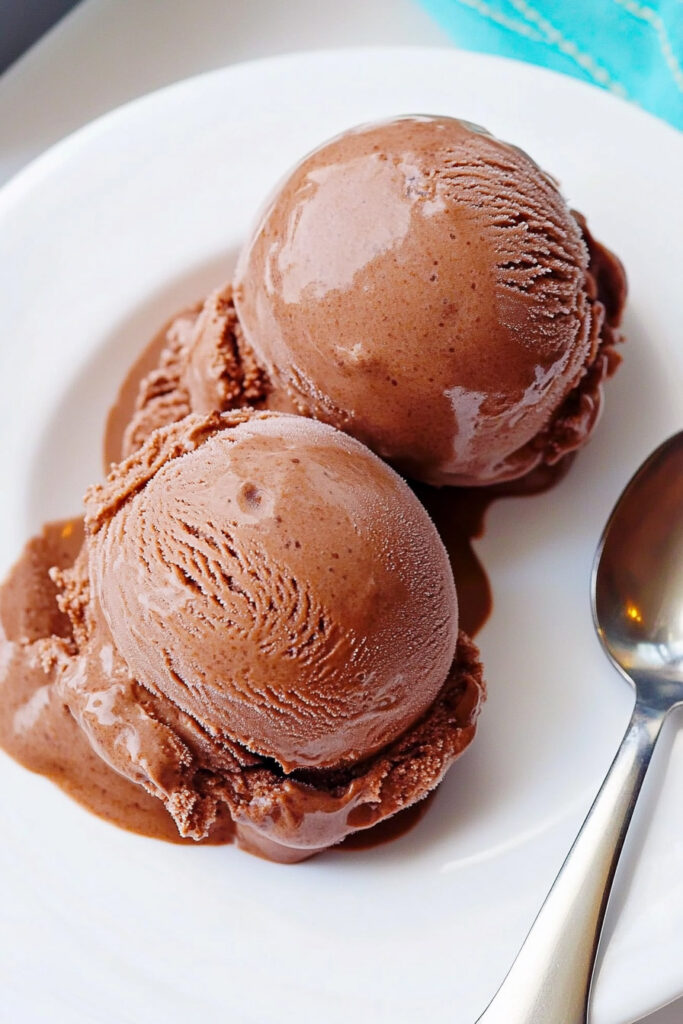
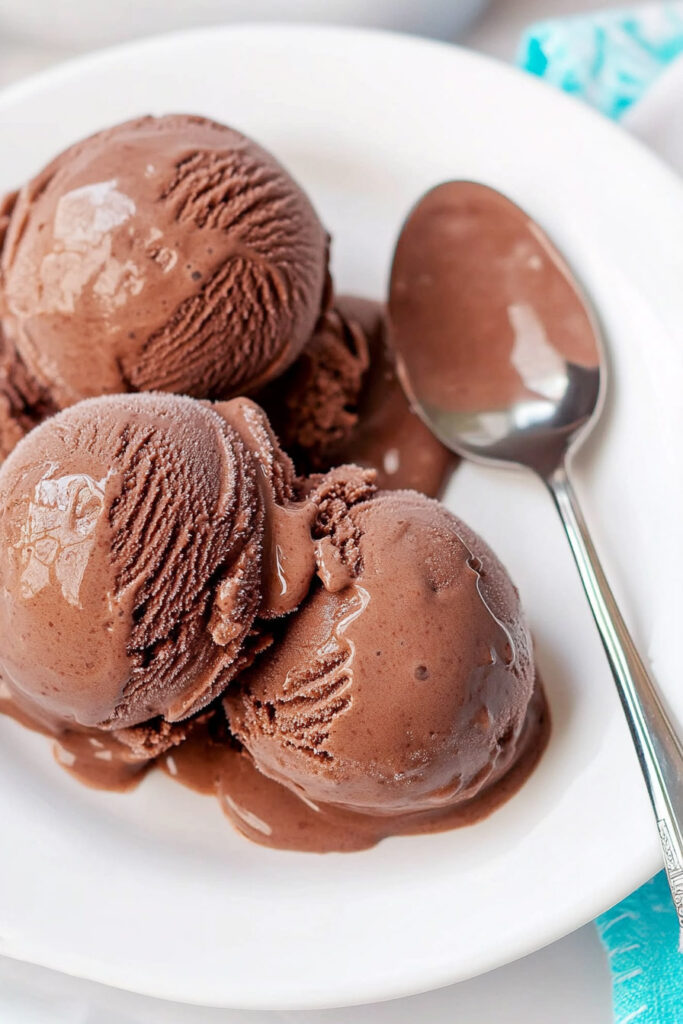
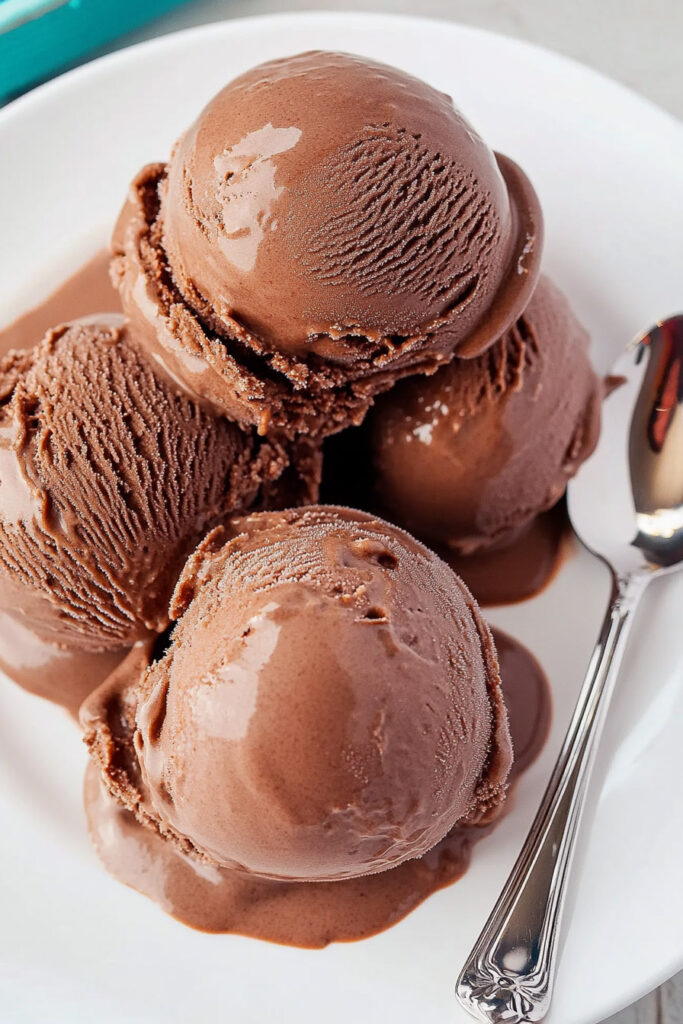
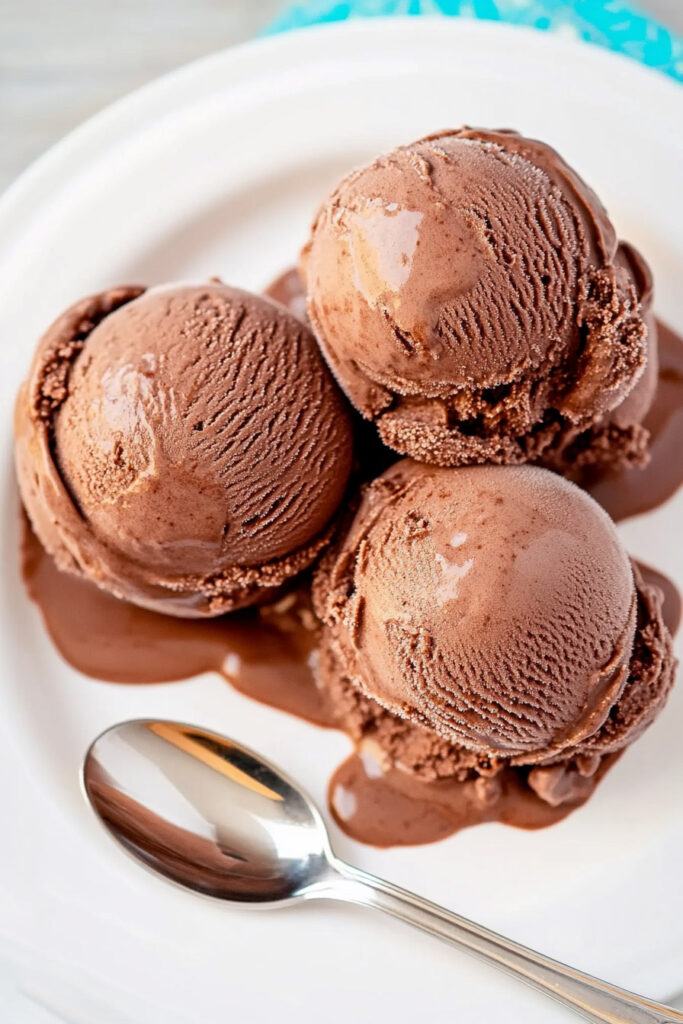
Step 5: Serve and Enjoy
Scoop it into a bowl or a cone, top it with whatever you love, and dig in while it’s fresh and creamy.
Customize It Your Way
Make It Vegan
Swap the protein shake for a plant-based option (like Ripple or Koia) and use dairy-free pudding mix. For the mix-ins, grab vegan chocolate chips.
Want More Coffee?
Add an extra teaspoon of espresso powder before freezing.
Different Seasons, Different Flavors
Feeling festive? Use peppermint extract instead of espresso for a wintery vibe. Or try pumpkin spice for the fall.
Everyday Treat or Fancy Dessert?
Make it simple for a weekday snack, or drizzle some caramel and sprinkle crushed nuts on top if you’re feeling fancy.
Tips for Serving and Storing
How to Serve
Serve it in chilled bowls and sprinkle on some cocoa powder or shaved chocolate for an elegant touch.
Storing Leftovers (If You Have Any!)
Press the ice cream flat in the container, cover tightly, and freeze for up to two weeks. When you’re ready to eat it again, let it sit at room temp for 5–10 minutes, then re-spin it in your Ninja Creami.
This Mocha Espresso Protein Ice Cream isn’t just a treat—it’s a little moment of joy in your day. It’s rich, creamy, full of flavor, and completely customizable. So grab your Ninja Creami and get started. Dessert awaits!
PrintNinja Creami Mocha Espresso Protein Ice Cream
Rich, creamy, and packed with bold coffee and chocolate flavors, this Mocha Espresso Protein Ice Cream is the perfect guilt-free treat. Made with a protein-packed base and just the right touch of sweetness, it’s ideal as a post-workout snack or an indulgent dessert.
- Prep Time: 5 minutes
- Cook Time: None
- Total Time: 24 hours 5 minutes (includes freezing time)
- Yield: 1 pint (2–4 servings) 1x
- Category: Dessert, High-Protein Treat
- Cuisine: American
Ingredients
Ice Cream Base:
- 11.5 oz (326g) chocolate protein shake (e.g., Premier Protein)
- 2 tbsp sugar-free instant chocolate fudge pudding mix
- 2 tbsp instant espresso powder
- 1 tbsp dark cocoa powder
Mix-ins (Optional):
- 2 tbsp zero-sugar chocolate chips, chopped
Optional Additions:
- 1–2 tbsp chocolate almond milk (for re-spin if needed)
Instructions
Step 1: Prepare the Ice Cream Mixture
- Combine the protein shake, pudding mix, espresso powder, and cocoa powder in a blender. Blend until smooth and fully combined.
- Pour the mixture into a Ninja Creami pint container.
Step 2: Freeze the Mixture
- Place the container on a flat surface in your freezer (lid off) and freeze for at least 24 hours at -7°F to 9°F (-22°C to -13°C).
Step 3: Process in the Ninja Creami
- Remove the frozen pint from the freezer and process on the “Lite Ice Cream” setting.
- If crumbly, add 1–2 tablespoons of chocolate almond milk and re-spin until creamy. Repeat if necessary.
Step 4: Add Mix-ins (Optional)
- Create a small well in the center of the ice cream and add chopped chocolate chips. Process using the “Mix-ins” function.
Step 5: Serve and Enjoy!
Scoop into bowls or cones and enjoy immediately for the creamiest texture!
Notes
Serving Suggestions:
- Top with a sprinkle of cocoa powder or shaved dark chocolate for extra flair. Pair with biscotti or cookies for added crunch.
Tips & Tricks:
- Freeze without the lid to avoid bumps on the surface.
- Use instant espresso powder instead of brewed coffee to prevent an icy texture.
Storage & Reheating:
- Store leftovers in the pint container with a tightly sealed lid for up to two weeks in the freezer. Re-spin before serving for best results! Let sit at room temperature for 5–10 minutes if too firm.