

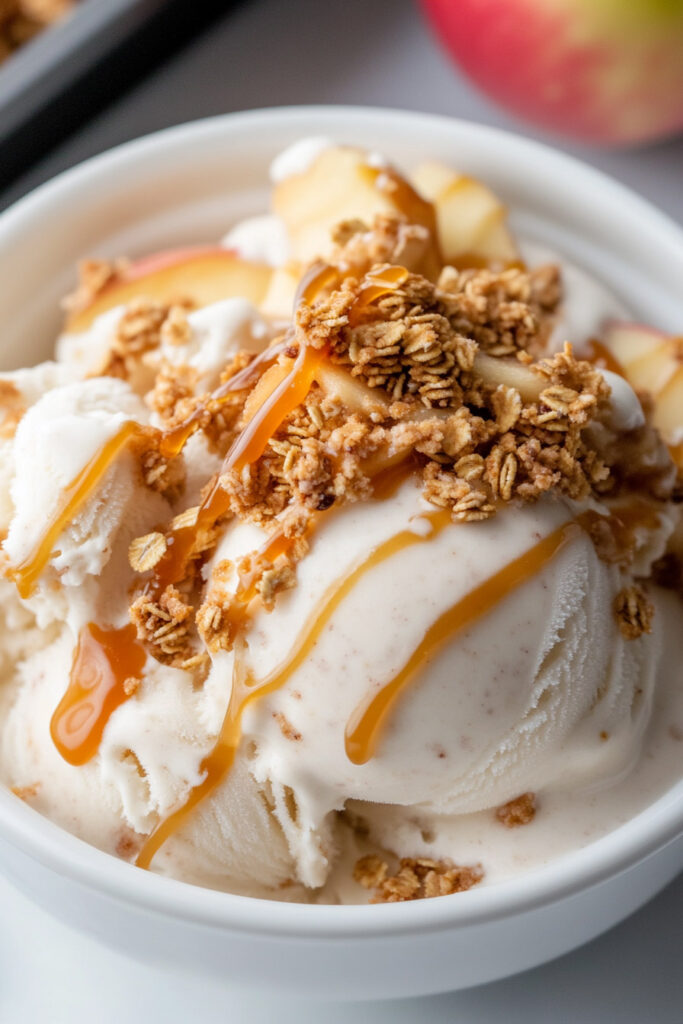
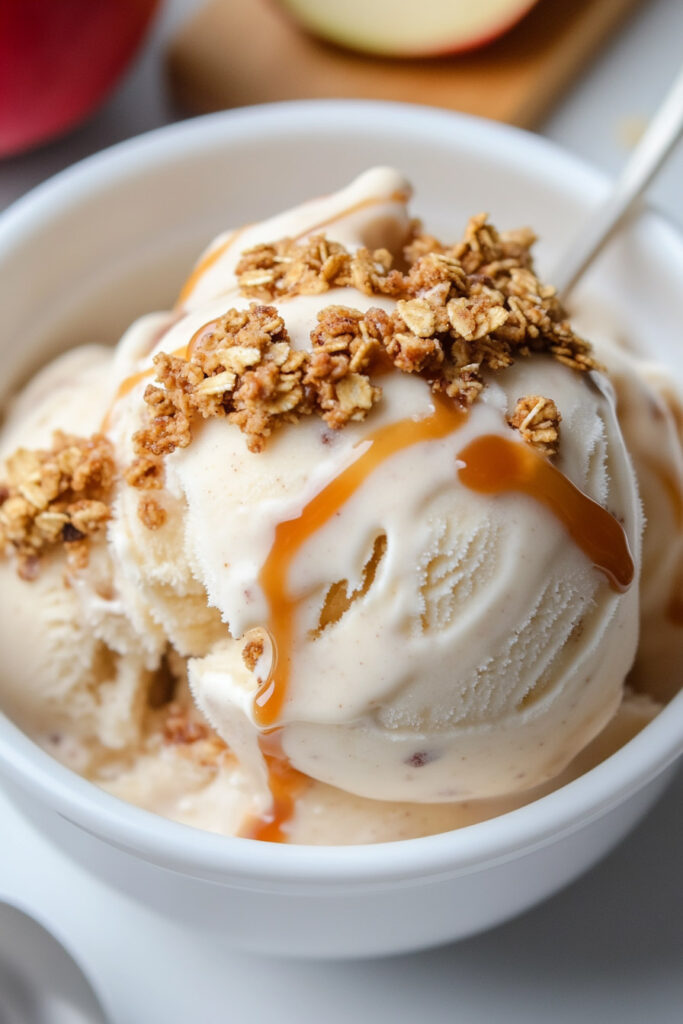
Picture this: the cozy flavors of apple cobbler—warm cinnamon, tender apples, buttery crumble—turned into a cold, creamy dessert. That’s what this recipe is all about. Ninja Creami Apple Cobbler Ice Cream takes a classic comfort food and spins it into a sweet frozen treat. Think caramelized apples, crunchy topping, and luscious vanilla ice cream, all in one scoop.
This dessert is perfect for fall evenings, summer picnics, or just when you’re craving something special. Plus, it’s easier than you think to make, thanks to the Ninja Creami machine. So whether you’re a pro or just starting with homemade ice cream, this recipe will walk you through it step by step. Let’s get started!
Recipe At a Glance
- Prep Time: 20 minutes
- Cook Time: 15 minutes
- Freezing Time: 24 hours
- Total Time: About 1 day and 45 minutes
- Serves: About 4
Tip: Double the recipe if you’ve got more pint containers! - Skill Level: Moderate. The steps are simple but require care (like caramelizing the apples).
- Tools You’ll Need:
- Ninja Creami machine
- Pint container
- Mixing bowls
- Skillet (for apples)
- Baking sheet (for the topping)
- Measuring tools
Make-Ahead Option: Prep the apple mixture and crumble topping ahead of time and stash them in the fridge. The ice cream base? It needs a full 24 hours to freeze.
What You’ll Need
For the Ice Cream Base:
- 1 cup heavy cream – Makes it rich.
- 1 cup whole milk – Lightens things up a bit.
- ½ cup granulated sugar – Sweetness, of course.
- 1 teaspoon vanilla extract – Adds flavor depth.
- 2 tablespoons softened cream cheese – For smooth texture.
For the Apple Filling:
- 2 cups diced apples (fresh or frozen) – Granny Smith is a great option.
- 1 tablespoon lemon juice – Keeps it bright (and prevents browning).
- 1 teaspoon ground cinnamon – For that warm, spicy kick.
- ¼ cup brown sugar – Sweet and caramel-like.
For the Topping:
- ½ cup crushed graham crackers or pie crust – Adds crunch.
- Optional: A sprinkle of cinnamon.
Substitutes:
- Go dairy-free? Use coconut cream and milk.
- Cutting sugar? Try monk fruit or erythritol.
- Gluten-free? Swap graham crackers with gluten-free options.
How to Make It
Step 1: Whip Up the Ice Cream Base
Combine the heavy cream, milk, sugar, vanilla, and softened cream cheese in a bowl. Whisk until smooth and no lumps remain. (Vanilla bean paste instead of extract? It’ll add those pretty little specks for extra flair.)
Step 2: Caramelize the Apples
Heat a skillet over medium heat. Toss in your diced apples, lemon juice, cinnamon, and brown sugar. Stir occasionally for about 10 minutes, until the apples soften and caramelize. You’ll know they’re ready when your kitchen smells like a bakery. Let them cool completely.
Step 3: Make the Crunchy Topping
Mix the graham cracker crumbs or crumbled pie crust with a dash of cinnamon. For even more crunch, bake the crumbs on a baking sheet at 350°F for 5 minutes. Totally optional, but worth it.
Step 4: Mix and Freeze
Blend the ice cream base with half of the cooled apple mixture. Don’t overdo it—you want some texture. Pour the mix into your Ninja Creami pint container, stopping at the max fill line. Freeze it flat for at least 24 hours.
Step 5: Process the Ice Cream
Take the frozen pint out of the freezer and let it sit for 5 minutes. Pop it into the Ninja Creami and select “Ice Cream.” If it looks crumbly, add a splash of milk and re-spin.
Step 6: Add the Mix-Ins
Scoop a small well into the middle of the ice cream. Add the remaining apples and crumble topping into the well. Use the “Mix-in” setting to blend it all together.
Make It Your Own
Diet-Friendly Tweaks
- Vegan alternative: Use coconut milk and plant-based cream cheese.
- Lower sugar: Substitute sweeteners like monk fruit.
Spice It Up
- Add a pinch of nutmeg or allspice for extra flavor.
Fancy or Simple
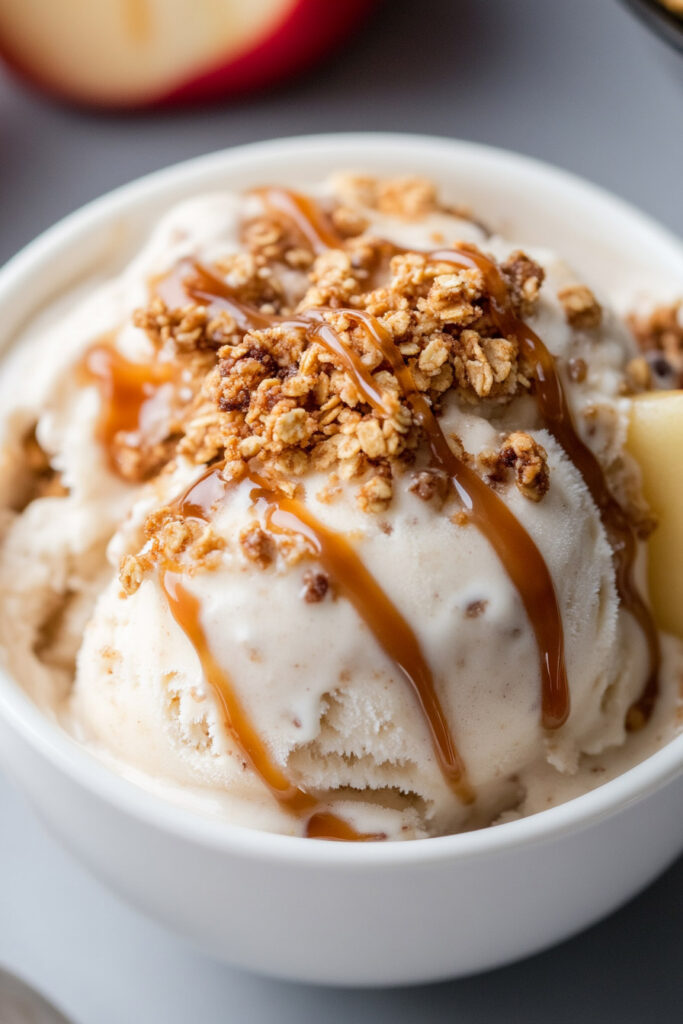
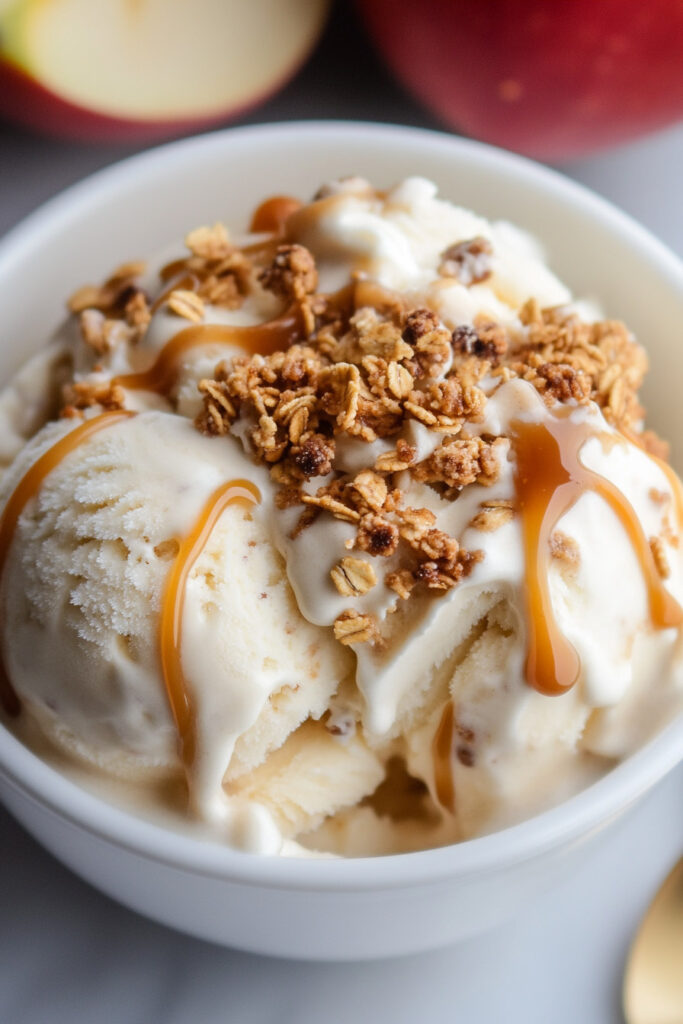
- Drizzle some caramel sauce over the top for a fancy touch.
- No time for baking? Use granola as a quick topping.
Seasonal Spins
Swap the apples for pears in winter or peaches in summer. The possibilities? Endless.
Serving & Storage Tips
How to Serve It
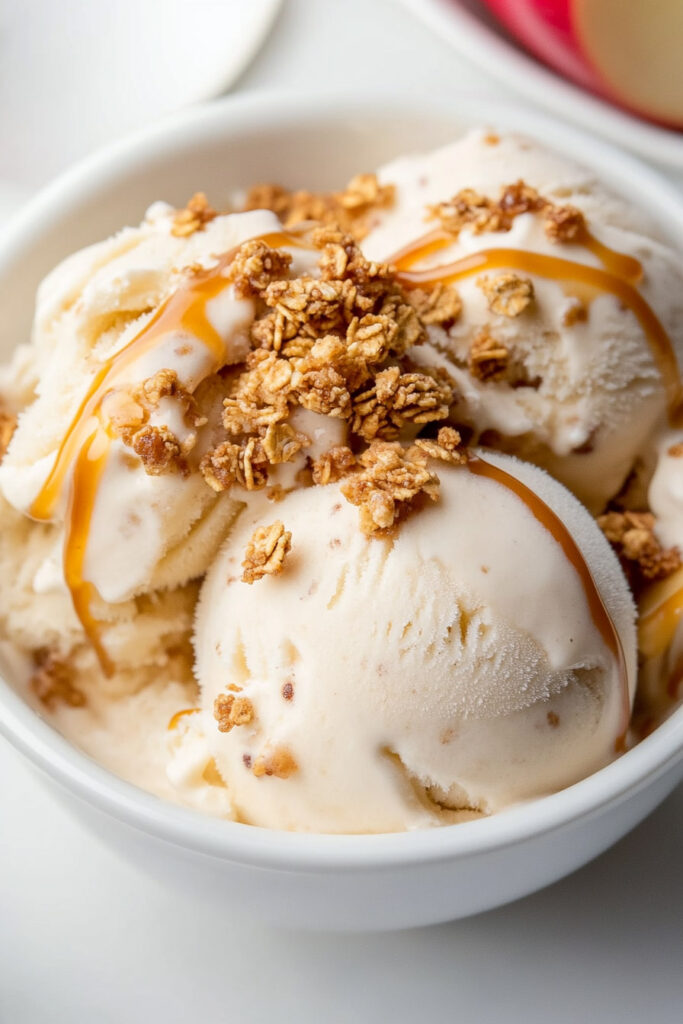
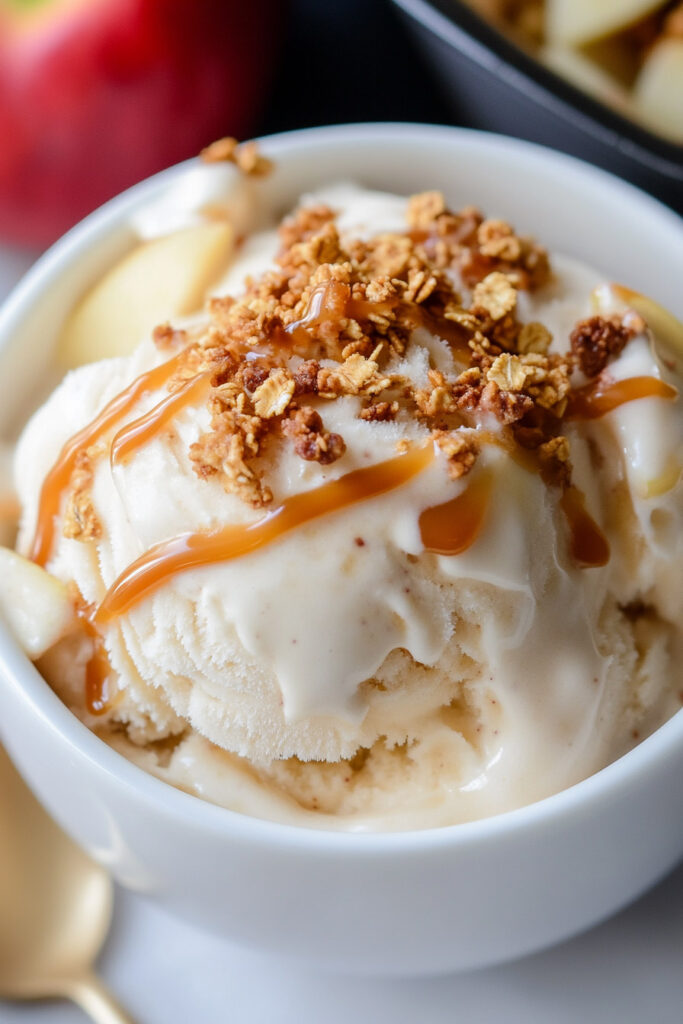
Dish it out into bowls or pile it onto waffle cones. Want to spruce it up? Add a dollop of whipped cream, extra crumble topping, or even chopped pecans for a little crunch.
Storage
Keep leftovers in an airtight container in the freezer for up to a week. (Pro tip: Add 1 teaspoon of food-grade vegetable glycerin to your ice cream base before freezing. It’ll make scooping from the freezer easier.)
When Ready to Serve
Let it sit out for 10 minutes if it’s too hard. Problem solved.
This recipe brings together the comfort of a warm dessert and the cool creaminess of ice cream. Whether you’re sharing it with friends, family, or indulging all on your own, this Ninja Creami Apple Cobbler Ice Cream is bound to become a favorite. Try it out and make your taste buds happy!
PrintNinja Creami Apple Cobbler Ice Cream
Transform the comforting flavors of apple cobbler into a creamy, indulgent ice cream with this easy-to-follow recipe. Sweet, spiced apples and a buttery crumble topping come together in a rich vanilla base, all made effortlessly with the Ninja Creami. Perfect for cozy nights or as a refreshing twist on a classic dessert!
- Prep Time: 20 minutes
- Cook Time: 15 minutes
- Total Time: ~1 day 35 minutes (includes freezing time)
- Yield: 4 1x
- Category: Dessert
- Cuisine: American
Ingredients
For the Ice Cream Base:
- 1 cup heavy cream
- 1 cup whole milk
- ½ cup granulated sugar
- 1 teaspoon vanilla extract
- 2 tablespoons cream cheese, softened
For the Apple Filling:
- 2 cups diced apples (fresh or frozen)
- 1 tablespoon lemon juice
- 1 teaspoon ground cinnamon
- ¼ cup brown sugar
For the Topping:
- ½ cup crumbled pie crust or graham crackers
- Optional: Extra cinnamon for sprinkling
Instructions
- Prepare the Ice Cream Base: In a mixing bowl, whisk together heavy cream, whole milk, sugar, vanilla extract, and softened cream cheese until smooth and lump-free. Set aside.
- Cook the Apple Filling: In a skillet over medium heat, sauté diced apples with lemon juice, cinnamon, and brown sugar. Cook for about 10 minutes until softened and caramelized. Let cool to room temperature.
- Assemble and Freeze: Blend the ice cream base with half of the cooled apple filling until combined but slightly textured. Pour into a Ninja Creami pint container (do not exceed the max fill line) and freeze for at least 24 hours.
- Process in Ninja Creami: Remove the frozen pint from the freezer and let it sit at room temperature for about 5 minutes. Process in the Ninja Creami using the “Ice Cream” setting. If crumbly, add a tablespoon of milk and re-spin until smooth.
- Add Mix-ins: Create a small well in the center of your ice cream and add remaining apple filling and crumbled pie crust or graham crackers. Use the “Mix-in” setting to incorporate.
- Serve: Scoop into bowls or cones, sprinkle with extra cinnamon if desired, and enjoy!
Notes
Serving Suggestions:
- Top with whipped cream or drizzle with caramel sauce for an extra indulgent treat.
- Pair with warm apple pie or enjoy on its own as a perfect fall dessert.
Tips & Tricks:
- Use tart apples like Granny Smith for balanced sweetness.
- Ensure your pint container is level before freezing to ensure even processing.
- For chunkier texture, reserve some apple filling to mix in after processing.
Storage & Reheating:
- Store leftovers in an airtight container in the freezer for up to one week.
- Let frozen ice cream sit at room temperature for about 10 minutes before scooping if it hardens too much.