

Coffee lovers, this one’s for you. If you’ve ever dreamed of combining the rich, bold flavor of coffee with a smooth, creamy dessert, this Ninja Creami coffee gelato will hit the spot. Think of it as Italian gelato meets convenient home magic. Whether you’re indulging after dinner or enjoying an afternoon treat, this recipe is a must-try. Let’s walk through how to make it!

Quick Recipe Snapshot
Here’s what to expect:
- Prep time? About 15 minutes of hands-on work.
- Freezing? 24 hours (you’ll plan ahead, but it’s worth it).
- Result? A pint of pure coffee bliss.
Not enough gelato for you? No problem. Just double or triple the ingredients, but process each batch separately to keep it perfect.
How Hard Is It to Make?
It’s not too tricky! If you can whisk and pay attention while heating, you’re golden. Just watch the custard closely to avoid scrambled eggs (we’ll cover how to avoid that).
What You’ll Need:
- Tools: A Ninja Creami machine, saucepan, a whisk, a fine mesh sieve, a thermometer (or just some good observation skills), and a mixing bowl for an ice bath.
- Pro Tip: No thermometer? Just go by sight—the custard should thicken enough to coat the back of a spoon.
Ingredients List
- 2 large egg yolks (room temp works best)
- 1/3 cup sugar
- 1 cup whole milk
- 3/4 cup heavy cream
- 1 teaspoon vanilla extract
- 1 1/2 tablespoons instant coffee granules
- Want a crunch? Toss in 1/4 cup chocolate-covered espresso beans!
Ingredient Swaps
- Milk/Cream: Full-fat dairy gives the creamiest texture. Want it lighter? Use 2% milk, but expect a slightly different texture.
- Coffee: Good instant coffee matters here—cheap stuff equals bland gelato. You could swap it for brewed espresso (just reduce the milk a bit).
- Sugar Alternatives: Following a special diet? Try maple syrup or allulose.
How to Make It
Step 1: Whisk the Custard Base
Start by preparing your custard base. In a medium saucepan (off the heat), whisk together the egg yolks and sugar until smooth and slightly pale. This step ensures the sugar dissolves and blends well with the eggs. Slowly add the milk and heavy cream, continuing to whisk until you achieve a silky, even mixture. Once the dairy is fully combined, stir in the vanilla extract and coffee granules, allowing them to dissolve fully. Using room-temperature ingredients here makes blending much easier and reduces the risk of curdling later.
Step 2: Heat the Custard
Now it’s time to cook the custard. Place your saucepan over medium heat and whisk gently but consistently. The goal is to gradually bring the mixture to 165°F–175°F. At this temperature, the egg yolks will cook safely and thicken the custard without scrambling. If you don’t have a thermometer, pay attention to visual cues: the mixture should thicken slightly and coat the back of a spoon. You’ll know it’s ready when a finger swipe across the back of the spoon leaves a clean line. Be careful not to overheat, as this can cause the eggs to curdle and ruin the custard.
Step 3: Strain and Cool the Mixture
Once your custard reaches the right consistency, remove it from the heat and immediately pour it through a fine mesh sieve into your Ninja Creami pint container. Straining removes any cooked egg bits or lumps, ensuring a smooth and velvety base. To cool the mixture quickly, place the pint container in an ice bath—a mixing bowl filled with ice water—and stir it gently every few minutes. This will prevent a skin from forming on the surface while bringing the temperature down efficiently.
Step 4: Freeze It
When the custard is fully cooled, dry off the outside of the pint container and seal it tightly with a lid. Lay the container flat in your freezer and leave it to freeze for at least 24 hours. This step requires patience, but it’s essential for achieving the perfect gelato texture once processed.
Step 5: Process in the Ninja Creami
After the freezing is complete, remove the pint container from the freezer. Place it into the Ninja Creami’s outer bowl, secure the lid, and lock it into the machine. Select the “Gelato” function, and let the machine do its magic. If the gelato appears crumbly after the first spin, don’t worry—this is normal. Simply use the “Re-spin” function until the texture becomes smooth and creamy. This extra spin can make all the difference in achieving that authentic gelato feel.
Step 6: Add Mix-Ins (Optional)
If you want to elevate your gelato with some mix-ins, now’s the time. Create a small well in the center of the gelato using a spoon, and add ingredients like chocolate-covered espresso beans, crushed nuts, or caramel swirls. Use the “Mix-in” function on the Ninja Creami to incorporate these additions evenly throughout the gelato. This step is perfect for adding a personal touch or experimenting with fun flavor combinations.

Ways to Make It Your Own
- Dairy-Free? Sub in oat milk or coconut cream. Coconut cream will add a little extra flavor of its own.
- Sugar-Free? Allulose or monk fruit works great.
- Seasonal Twist? Add a dash of cinnamon or nutmeg for a winter vibe, or serve with fresh berries in the summer.
Serving It Up
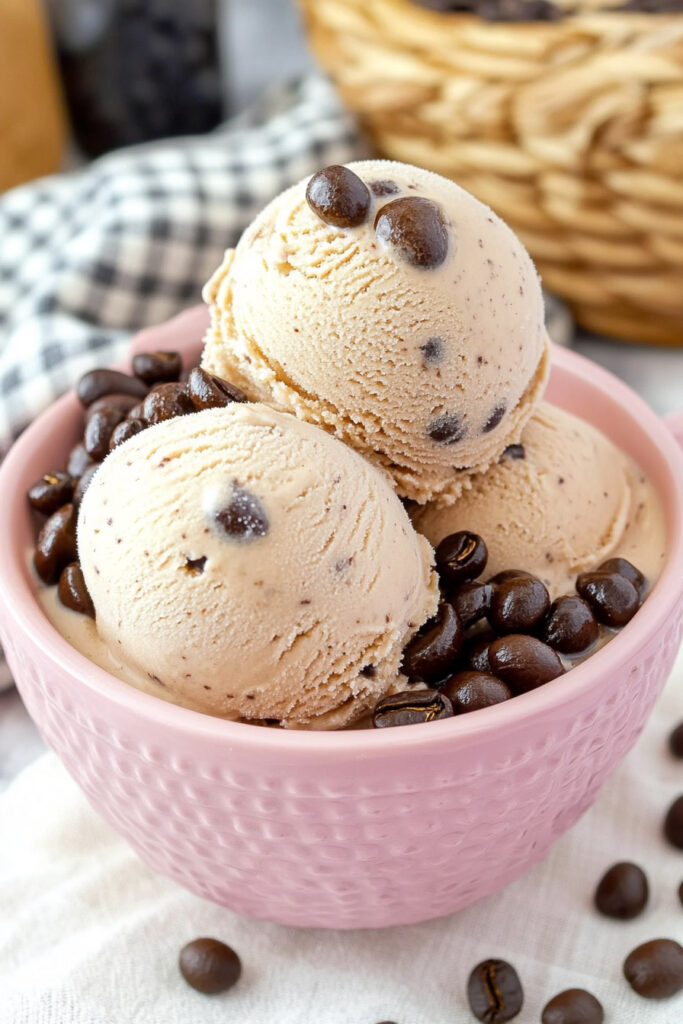
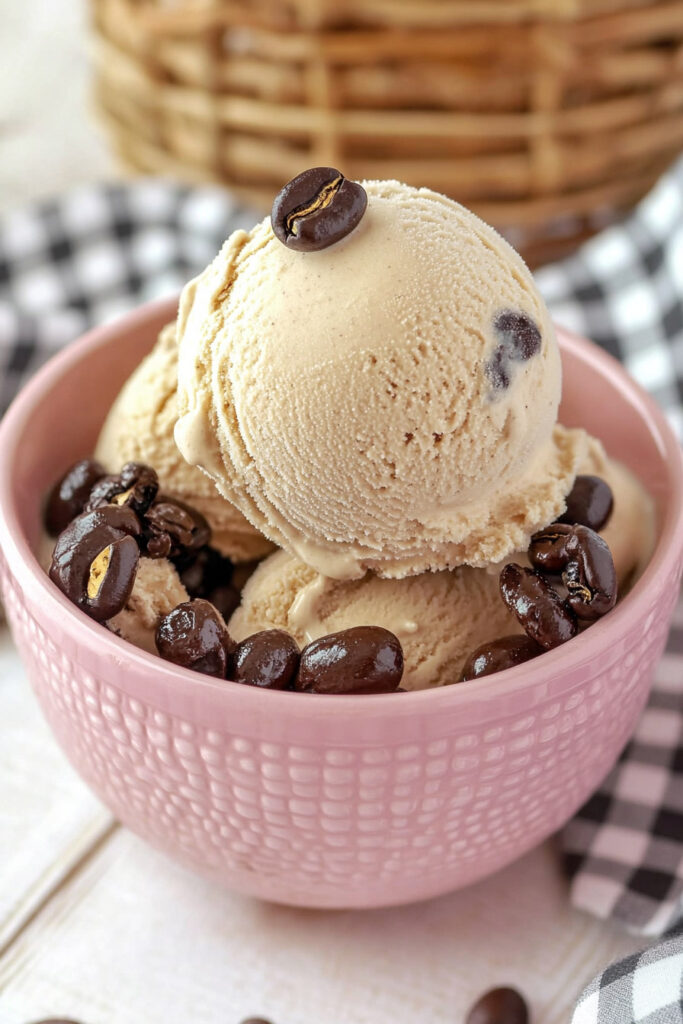
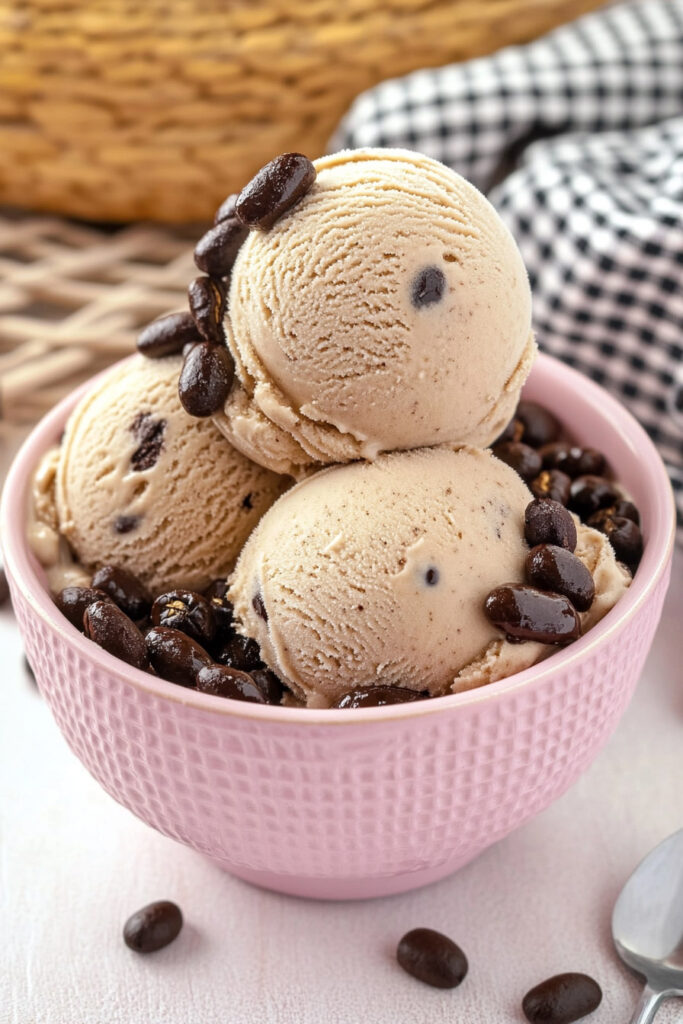
- Scoop it into chilled bowls or crispy waffle cones. Want to impress? Garnish with chocolate shavings or a dusting of cocoa powder.
- Perfect Pairing: Serve it affogato-style by pouring a shot of espresso over the top. Or enjoy with biscotti for a cafe-worthy dessert experience.
Leftovers?
Store any extras in an airtight container in your freezer for up to a week. Before you dig back in, let it sit on the counter for about 5 minutes to soften. Never microwave it—it’ll lose that creamy texture.
This Ninja Creami coffee gelato is pure indulgence. Bold coffee flavor. Silky smooth texture. It’s like bringing a little taste of Italy into your kitchen. So, ready to wow yourself (and maybe your guests)? Go for it—you’ll love every bite.
PrintNinja Creami Coffee Gelato

A rich and creamy coffee-flavored gelato made with a custard base and processed to perfection in the Ninja Creami. This decadent dessert is perfect for coffee lovers seeking a smooth, indulgent treat.
- Prep Time: 15 minutes
- Cook Time: 10 minutes
- Total Time: 24 hours 25 minutes (includes freezing time)
- Yield: 1 pint (2–3 servings) 1x
- Category: Dessert
- Cuisine: Italian-inspired
Ingredients
- 2 large egg yolks (room temperature)
- 1/3 cup granulated sugar
- 1 cup whole milk
- 3/4 cup heavy cream
- 1 teaspoon vanilla extract
- 1 1/2 tablespoons instant coffee granules
- Optional: 1/4 cup chocolate-covered espresso beans (for mix-in)
Instructions
- Prepare the Custard Base: In a medium saucepan (off the heat), whisk together egg yolks and sugar until smooth. Gradually whisk in milk and heavy cream until fully combined. Stir in vanilla extract and instant coffee granules.
- Cook the Custard: Place the saucepan over medium heat, whisking gently but constantly. Heat until the mixture reaches 165°F–175°F, thickens slightly, and coats the back of a spoon. Remove from heat immediately.
- Strain and Cool: Pour the custard through a fine mesh sieve into the Ninja Creami pint container to remove any solids. Place the container in an ice bath to cool quickly, stirring occasionally. Once cooled, seal with the lid and freeze flat for at least 24 hours.
- Process in Ninja Creami: Remove the frozen pint from the freezer. Place it in the Ninja Creami’s outer bowl, secure the lid, and lock it into the machine. Press “Gelato” and let it process. If crumbly, press “Re-spin” for a smoother texture.
- Optional Mix-ins: To add chocolate-covered espresso beans, create a small well in the gelato using a spoon or knife. Add mix-ins to the well and use the “Mix-in” function to incorporate evenly.
Notes
Serving Suggestions: Serve in chilled bowls or waffle cones for an authentic experience. Garnish with chocolate shavings or a dusting of cocoa powder for extra flair.
Tips & Tricks:
- Constantly whisk during cooking to prevent curdling.
- Use high-quality instant coffee for bold flavor.
- Perform multiple re-spins if needed for ultra-smooth texture.
Storage & Reheating: Store leftover gelato in an airtight container in your freezer for up to one week. Let it soften at room temperature for about 5 minutes before serving—do not microwave!