

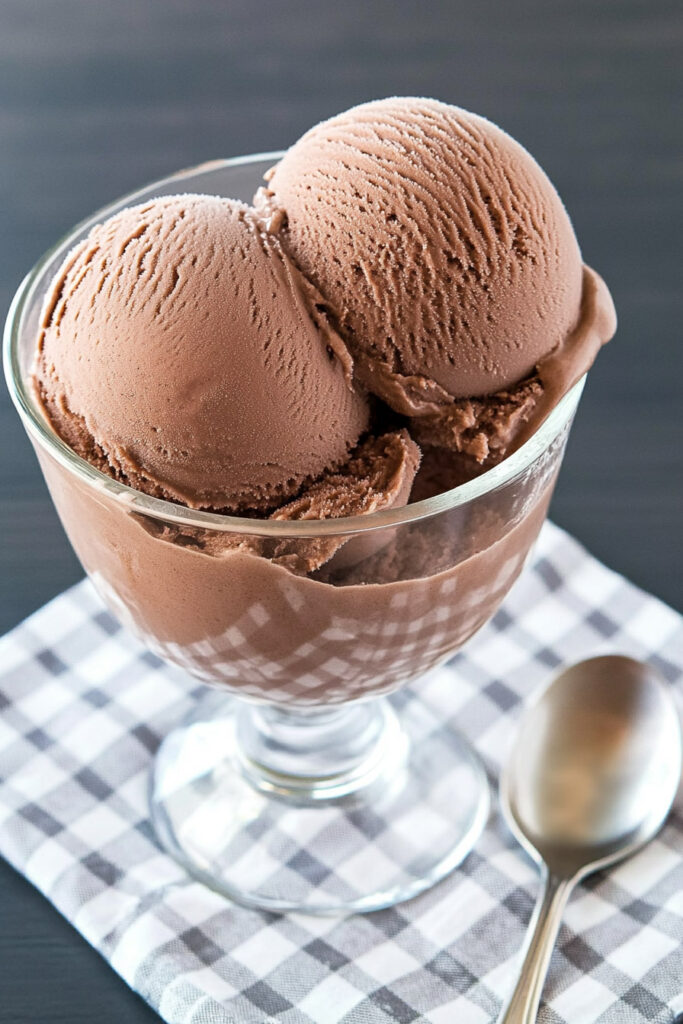
Craving chocolate ice cream? This recipe is super easy and totally delivers on creamy, chocolatey goodness. And the secret ingredient? Instant pudding mix. It makes the texture ultra-smooth, no eggs or fancy techniques needed. Whether you’re new to making ice cream or just looking for a fun twist, this one’s a winner. Give it a try—it’s like having a gourmet dessert at home without the hassle.
Quick Recipe Snapshot
- Hands-On Time: 5 minutes
- Freezing Time: 24 hours
- Serves: 1 pint (but you can scale up!)
- Difficulty Level: Easy-breezy
- Gear You’ll Need:
- Ninja Creami machine
- Pint container (it usually comes with the Creami)
- Whisk (or blender)
- Measuring tools
Make-ahead tip: You can prep several pints at once and freeze them, so you’ve got homemade ice cream ready anytime.
What You’ll Need
Ingredients
- 1½ cups whole milk – For a creamy base. Want a dairy-free option? Go for almond or oat milk.
- 4 tablespoons instant chocolate pudding mix – The magic ingredient! Sugar-free works too.
- ½ cup heavy cream – Adds richness. Coconut cream is a great substitute if you’re going dairy-free.
- ½ teaspoon vanilla extract – A little extra flavor boost.
Pro Tip: Use instant pudding mix, not the cook-and-serve kind. It dissolves quicker and gives that perfect texture.
Let’s Make It
Step 1: Make the Ice Cream Base
Start by preparing the base of your ice cream. In a mixing bowl or large measuring cup, whisk together the whole milk and instant chocolate pudding mix until the mixture is completely smooth and free of lumps. The pudding mix dissolves quickly, so this step won’t take long. Once you’ve got a velvety texture, gently stir in the heavy cream and vanilla extract. If you’re using coconut cream as a dairy-free substitute, blending the ingredients can help create an even consistency that’s perfect for a creamy finish.
Step 2: Freeze It
Once your base is ready, pour it into the Ninja Creami pint container. Be careful not to exceed the “max fill” line—it’s important to leave some room for the ice cream to expand as it freezes. Snap the lid on tightly to keep your base secure, and place the container on a flat surface in your freezer. Let it freeze for at least 24 hours to ensure it sets completely. You’ll know it’s ready when the base feels solid and looks evenly frozen with no soft spots.
Step 3: Process with the Ninja Creami
After the base has frozen, remove the pint from the freezer and take off the lid. Place the frozen pint into the outer bowl of the Ninja Creami, securing it with the outer bowl lid. Insert the container into the machine and select the “Ice Cream” function. Let the machine do its magic; the processing cycle will typically take around two minutes. You’ll end up with a creamy, soft-serve-style consistency that’s ready to enjoy or refine.
Step 4: Fix the Texture (if needed)
Sometimes, the texture may be a bit crumbly after the first cycle. Don’t worry—this is easy to fix! Simply add a tablespoon of milk to the middle of the pint and use the “Re-spin” function on the machine. Repeat this step as needed until the ice cream is smooth and creamy. If you want to avoid crumbly textures altogether, let the pint sit at room temperature for about five minutes before processing. This slight defrost can make a big difference in the final texture.
Step 5: Add Some Fun Mix-ins (Optional)
Once you’ve achieved a perfectly creamy base, you can get creative with mix-ins to add texture and flavor. After processing, use a spoon to create a small well in the center of your ice cream. Add ingredients like chocolate chips, crushed cookies, or brownie pieces into the well. Put the pint back into the machine and use the “Mix-In” function to blend your additions evenly throughout the ice cream. This step is optional, but it’s a fun way to make your dessert even more special.
Variations to Try
Diet-Friendly Options:
- Make it dairy-free with coconut cream and almond milk.
- Cut the sugar by using sugar-free pudding mix.
Flavor Boosters:
- Add 1 teaspoon of espresso powder for a mocha vibe.
- Swap in dark chocolate pudding mix for a bold chocolate punch.
Seasonal Twists:
- Peppermint extract for a festive winter treat.
- Fresh berries as a summer swirl.
Serving & Storing
How to Serve:
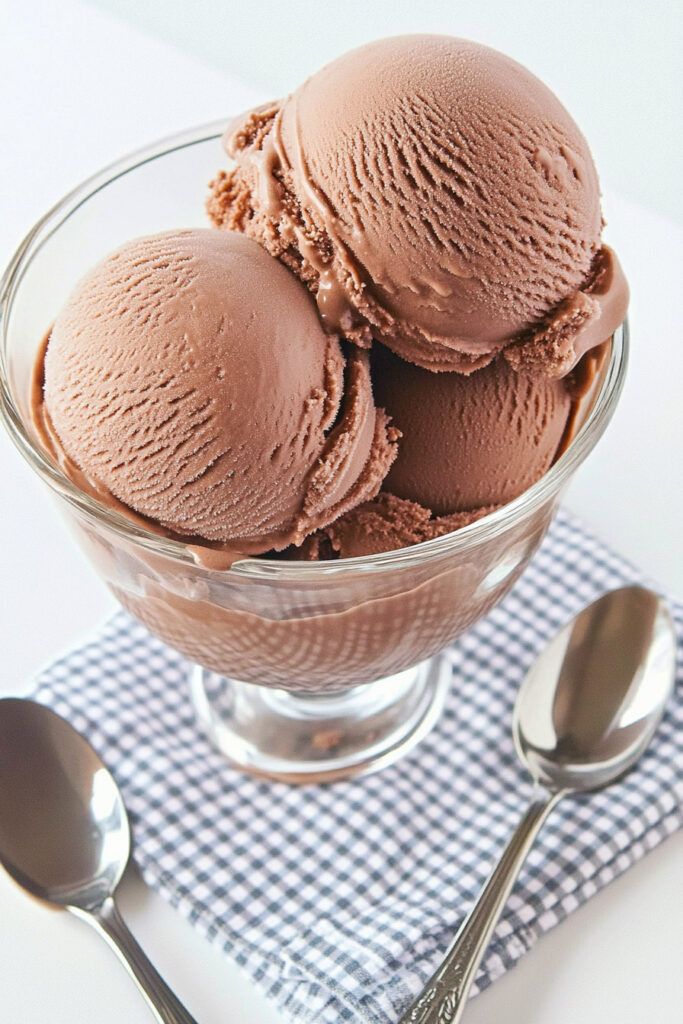
Scoop into chilled bowls or cones. Top with whipped cream, sprinkles, or a drizzle of chocolate syrup for extra flair.
Storage Tips:
Seal any leftovers in an airtight container. When you’re ready for more, let it sit at room temp for a few minutes to soften up.
Pro Move: Prep a few extra pints and store them in the freezer for up to a week. That way, you’re always ready for dessert.
Final Thoughts
This Ninja Creami chocolate ice cream is a keeper—rich, creamy, and ridiculously easy to make. Play around with mix-ins and flavors to make it your own. Trust me, once you start making this, store-bought ice cream just won’t cut it anymore. Time to grab your Ninja Creami and start spinning!
PrintNinja Creami Chocolate Ice Cream with Pudding Mix

This creamy, chocolatey delight is a simple homemade ice cream made with just four ingredients. The instant pudding mix ensures a smooth, velvety texture, while the Ninja Creami machine makes it easy to create a dessert reminiscent of your favorite ice cream parlor. Perfect for chocolate lovers and customizable for any occasion!
- Prep Time: 5 minutes
- Cook Time: None
- Total Time: 24 hours (includes freezing time)
- Yield: 1 pint (2–3 servings) 1x
- Category: Dessert
- Cuisine: American
Ingredients
- 1½ cups whole milk
- 4 tablespoons dry instant chocolate pudding mix
- ½ cup heavy cream
- ½ teaspoon vanilla extract
Instructions
- Mix the Base: In a mixing bowl, whisk together the milk and pudding mix until fully dissolved and smooth. Stir in the heavy cream and vanilla extract until combined.
- Freeze: Pour the mixture into a Ninja Creami pint container, ensuring not to exceed the max fill line. Seal the lid tightly and freeze on a flat surface for at least 24 hours.
- Process in Ninja Creami: Remove the frozen pint from the freezer, take off the lid, and place it into the outer bowl of the Ninja Creami machine. Secure the lid and process using the “Ice Cream” function.
- Adjust Texture (if needed): If the ice cream appears crumbly, add 1 tablespoon of milk to the center and use the “Re-spin” function until creamy. Repeat if necessary.
- Optional Mix-ins: For added texture, create a small well in the center of the ice cream after processing, add mix-ins (e.g., chocolate chips or crushed cookies), and use the “Mix-in” function to incorporate them evenly.
Notes
- Serving Suggestions: Serve in chilled bowls or cones with whipped cream, chocolate syrup, or sprinkles for extra indulgence.
- Tips & Tricks: Use instant pudding mix (not cook-and-serve) for best results. Slightly defrost your pint before processing to avoid crumbly textures. For richer flavor, try dark chocolate pudding mix or add a teaspoon of espresso powder for mocha vibes.
- Storage & Reheating: Store leftover ice cream in an airtight container in the freezer for up to one week. Let it sit at room temperature for 5–10 minutes before scooping to soften.