

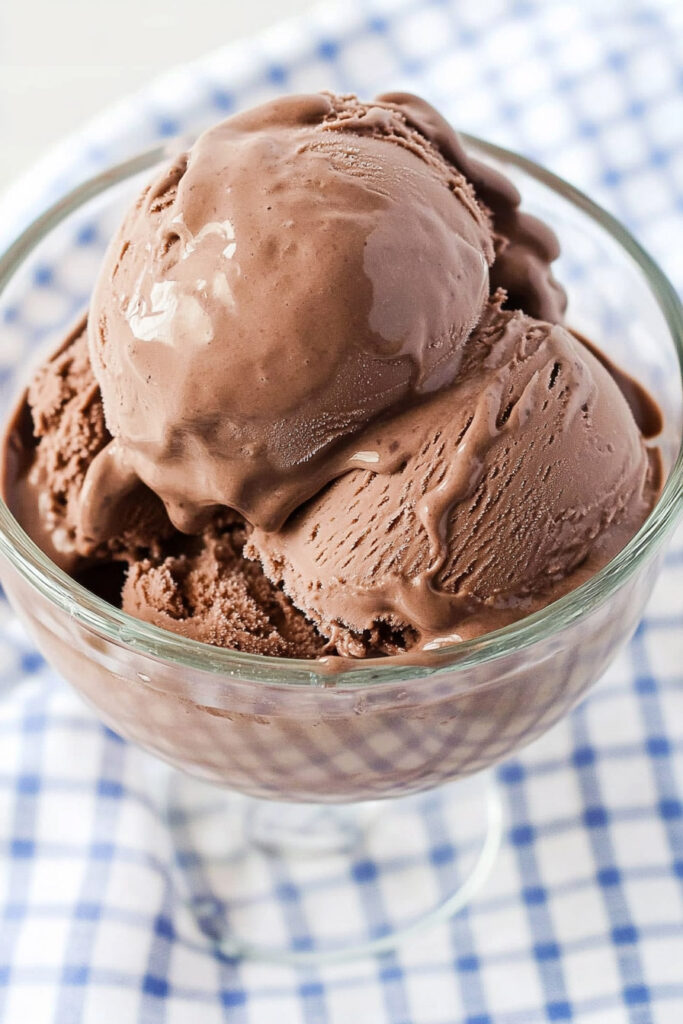
Who doesn’t love chocolate ice cream? It’s rich, creamy, and oh-so-satisfying. Believe it or not, this timeless treat has been delighting people for centuries. It all started in 17th-century Naples, Italy, thanks to Antonio Latini, who first documented frozen chocolate recipes. Fast forward to today, and chocolate ice cream is a staple in freezers everywhere.
This recipe keeps it simple—just chocolate milk and a few optional extras. No fuss, no complicated steps. Perfect for beginners or anyone craving homemade ice cream without the hassle.
Quick Recipe Highlights
Time Investment
- Prep: 5 minutes
- Freezing: 24 hours
- Processing: 5 minutes
Serving Size
Makes one pint—a sweet reward just for you or to share (if you’re feeling generous). Want to make more? Just double up on ingredients and use separate containers for freezing.
Why It’s Easy
Even if you’ve never attempted homemade ice cream, this is foolproof. The Ninja Creami does all the heavy lifting, so there’s no need to stress. It’s as simple as freeze, process, enjoy.
What You’ll Need
Equipment
- Ninja Creami Machine: The star of the show!
- Pint Container: Comes with the Creami, but extras are handy if making more than one pint.
- Optional Mixing Bowl: For adding mix-ins or substitutions, if you want to get creative.
No Creami? You can try blending frozen chocolate milk chunks in a high-speed blender, but don’t expect the same silky smooth results. Still worth a shot!
Ingredients
- 2 cups chocolate milk (whole or 2% works best for creaminess)
- Optional: Want more flavor or texture? Toss in chocolate chips, crushed cookies, or nuts.
Substitution Tips
- For extra creaminess, go for Fairlife chocolate milk—high in protein and lactose-free.
- Watching calories? Try 2% or low-fat chocolate milk, but note the texture might not be as rich.
- Dairy-free? Almond or oat chocolate milk is a great swap, though the ice cream might turn out a bit icier.
Pro Tip: Quality Matters
The better the chocolate milk, the better your ice cream will taste. Simple as that. Whole milk varieties are your best bet for a dreamy, creamy finish.
Step-by-Step Instructions
1. Prepare and Freeze
Start by pouring 2 cups of chocolate milk into the Ninja Creami pint container. Be sure not to exceed the maximum fill line—this is important for proper freezing and processing later. Once poured, securely attach the lid and place the container on a flat surface in your freezer. Freezing on a level surface ensures the base freezes evenly, which is crucial for achieving the best texture when processed. Let the container freeze for at least 24 hours, or until the milk is completely solid.
2. Process the Base
After freezing, remove the pint container from the freezer and take off the lid. Insert the frozen container into the outer bowl of your Ninja Creami machine, locking it into place securely. Select the “Lite Ice Cream” setting and let the machine do its thing. In about 2 minutes, the frozen chocolate milk will transform into a creamy treat. If the texture doesn’t look quite right—say it’s crumbly or powdery instead of smooth—don’t worry. Simply add 1 tablespoon of chocolate milk to the center of the pint and re-spin. This step can be repeated if necessary until the desired creamy consistency is achieved.
3. Add Mix-Ins (Optional)
If you want to take your ice cream to the next level, now’s the time to add those fun mix-ins like crushed cookies, chopped nuts, or sprinkles. First, create a small well in the center of the ice cream—about half an inch wide—and add your chosen extras into this space. Place the pint back into the Ninja Creami and use the “Mix-In” function to evenly distribute the additions throughout the ice cream. After just a minute, you’ll have a customized pint that’s bursting with flavor and texture.
Make It Your Own
Dietary Tweaks
- Dairy-Free: Swap with almond or oat chocolate milk.
- Low-Calorie: Use reduced-fat or sugar-free chocolate milk.
- Keto-Friendly: Mix unsweetened almond milk with cocoa powder and a keto-friendly sweetener like erythritol.
Flavor Ideas
- Add a splash of vanilla extract for extra depth.
- Sprinkle in a pinch of sea salt to balance the sweetness.
- Feeling daring? Try a dash of cinnamon or cayenne for a spicy Mexican chocolate vibe.
Seasonal Twist
- Summer: Top with fresh berries or drizzle with caramel.
- Winter: Stir in crushed candy canes or a hint of peppermint extract for a festive touch.
Serving and Storage
Best Way to Serve
Enjoy immediately for the perfect consistency. Scoop it into a bowl or cone, and maybe jazz it up with whipped cream or hot fudge. Brownies on the side? Yes, please.
Storing Leftovers
Got extra? Store it in an airtight container in the freezer for up to a month. When you’re ready to dig in again:
- Let it sit at room temperature for 5–10 minutes.
- Re-spin in the Ninja Creami, and voilà—good as new.
That’s it! This simple chocolate ice cream recipe is proof that homemade doesn’t have to be complicated. With just a few ingredients and the Ninja Creami, you’ll have a dessert that tastes like it came straight from your favorite ice cream shop. Go ahead—treat yourself!
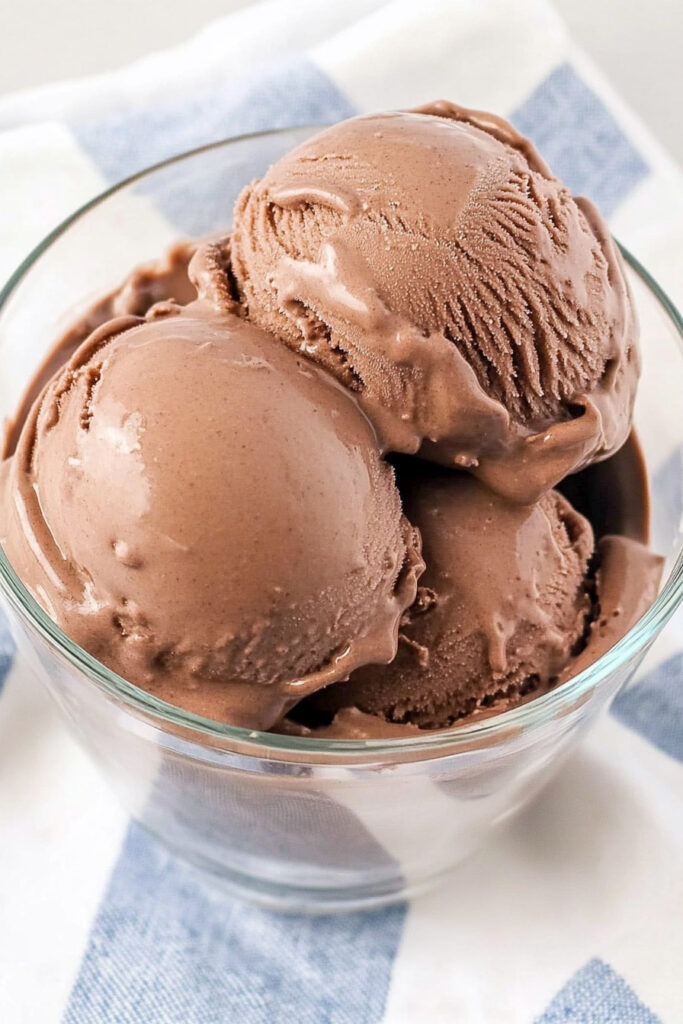
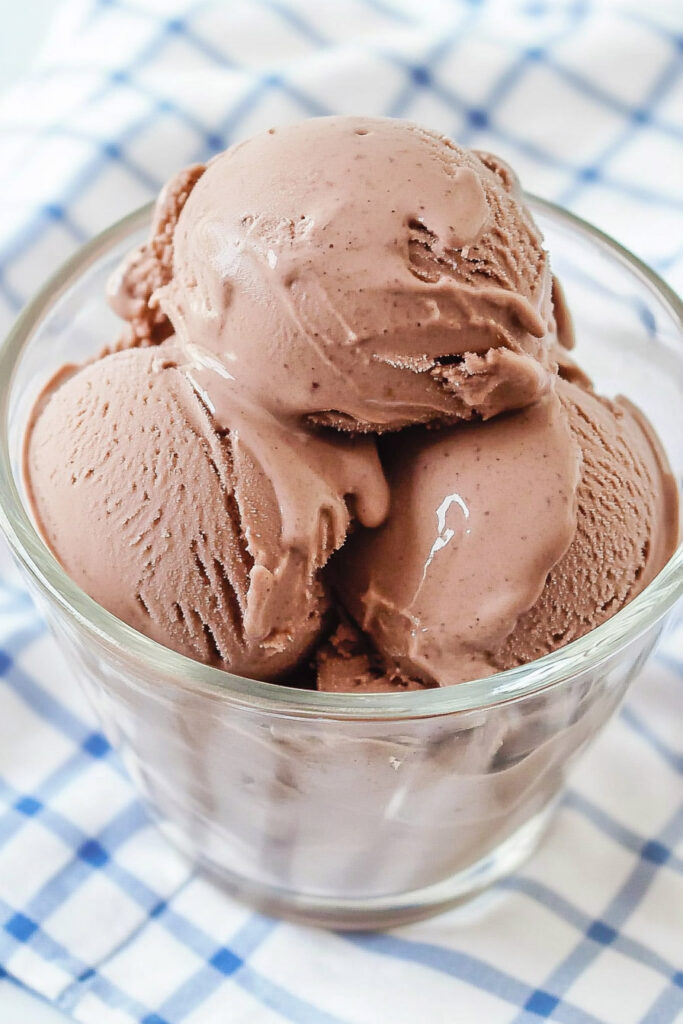
PrintNinja Creami Chocolate Ice Cream Made with Chocolate Milk
This creamy and indulgent chocolate ice cream is made effortlessly with just chocolate milk and a Ninja Creami. Perfect for a quick homemade dessert, it’s rich, smooth, and customizable with your favorite mix-ins!
- Prep Time: 5 minutes
- Cook Time: 2 minutes (processing)
- Total Time: 24 hours 7 minutes (includes freezing)
- Yield: 1 pint (2 cups) 1x
- Category: Dessert
- Cuisine: American
Ingredients
- 2 cups chocolate milk (preferably whole or 2%)
- Optional: Mix-ins such as chopped cookies, chocolate chips, or nuts
Instructions
- Prepare the Base: Pour chocolate milk into the Ninja Creami pint container, ensuring it doesn’t exceed the max fill line. Secure the lid and place it on a flat surface in your freezer. Freeze for at least 24 hours.
- Process the Ice Cream: Remove the pint from the freezer and take off the lid. Place it in the Ninja Creami outer bowl, secure it in the machine, and press the “Lite Ice Cream” button. Let the cycle run (~2 minutes).
- Adjust Texture (if needed): If the ice cream looks crumbly after processing, add 1 tablespoon of chocolate milk to the center of the pint. Return it to the Ninja Creami and press “Re-spin” until smooth.
- Add Mix-Ins (Optional): To incorporate mix-ins, create a small well in the center of the pint, add your desired ingredients, and use the “Mix-In” function on your Ninja Creami.
- Serve and Enjoy: Scoop into bowls or cones and enjoy immediately for the best texture!
Notes
Serving Suggestions
- Top with whipped cream, sprinkles, or a drizzle of hot fudge for extra indulgence.
- Pair with warm brownies or cookies for a decadent dessert combo.
Tips & Tricks
- Whole chocolate milk yields the creamiest results; for a lighter option, use Fairlife 2% chocolate milk.
- If using mix-ins, freeze them beforehand to maintain consistency during processing.
Storage & Reheating
- Store leftover ice cream in an airtight container in your freezer for up to one month.
- To serve again, let it sit at room temperature for 5–10 minutes or re-spin in your Ninja Creami to restore creaminess.