

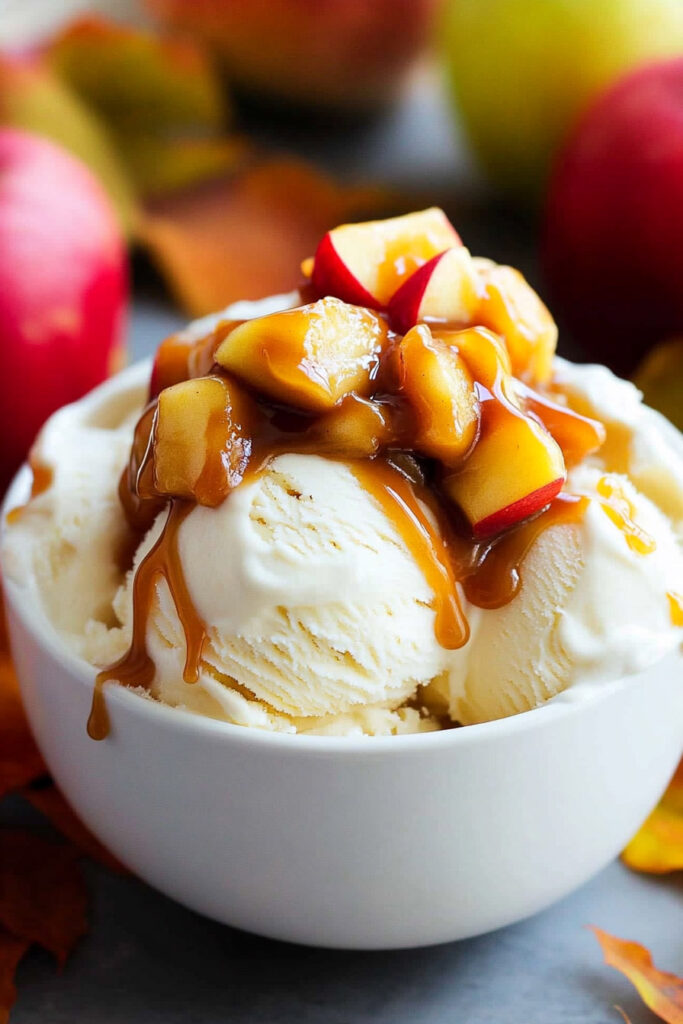
What’s better than apple pie? Apple pie with ice cream. Now, picture that cozy, cinnamon-apple pie flavor swirled into creamy, dreamy ice cream. Sounds like heaven, right? That’s exactly what this Apple Pie Ice Cream recipe is all about. It’s the perfect combo of comfort food and indulgence, made super easy with your Ninja Creami. Whether you’re a pro in the kitchen or just getting started, this recipe will take you step-by-step to whip up something that tastes like autumn in a bowl.
Quick Recipe Highlights
Time Commitment
- Prep time: 10 minutes
- Cook time: 5 minutes (for the mix-ins)
- Freezing time: 24 hours
- Total time: About a day…but trust me, it’s worth the wait.
How much does it make?
One pint. Perfect if you’re sharing (or having a “treat yourself” moment). Want more? Double or triple the ingredients, but make sure to freeze each pint separately.
How hard is this?
Easier than homemade pie—promise. The Ninja Creami does most of the work for you!
What do you need?
- A high-speed blender (like a Vitamix)
- The Ninja Creami Deluxe 11-in-1 Ice Cream Maker
- A Ninja Creami pint container (or any freezer-safe container if you’re winging it)
No Ninja Creami? You can use a regular container, freeze the base, and blend it in a food processor. It won’t be as creamy, but it’ll still be amazing.
Ingredients You’ll Need
Ice Cream Base:
- 1½ cups half-and-half: For that creamy texture. Whole milk works too. Want it dairy-free? Go for coconut cream.
- ½ cup cottage cheese: Sounds weird, I know, but it adds creaminess and protein. Try vegan cream cheese for a plant-based option.
- ½ cup condensed milk: Sweetens it up while making the base thick and luxurious. There’s a coconut version if you’re avoiding dairy.
- 2 teaspoons vanilla extract: Because vanilla makes everything better.
- ½ teaspoon cinnamon: Warm and cozy, just like apple pie.
- ¼ teaspoon sea salt: Balances the sweetness.
- 1 tablespoon monk fruit sweetener: Keeps it low-sugar. Use regular sugar or honey if that’s what you’ve got.
Mix-ins:
- 1 large apple (peeled, cored, diced): Fresh and fruity. Shortcut? Use canned apple pie filling.
- 1 tablespoon butter: For that rich, caramelized apple flavor. Vegan butter works too.
- 1 tablespoon dark brown sugar: Adds a deeper sweetness. Coconut sugar works if you want a healthier vibe.
- A dash of cinnamon: Because you can never have too much.
- Graham crackers (crumbled): Crunchy bits that remind you of pie crust. Use gluten-free crackers if needed.
How to Make It
Step 1: Blend the Base
Throw the half-and-half, cottage cheese, condensed milk, vanilla, cinnamon, sea salt, and monk fruit sweetener into a blender. Blend until smooth—about 30 seconds in a high-speed blender. The mixture should be creamy with no lumps.
Taste Tip: Before freezing, take a little sip. Too sweet? Add a pinch of salt. Want more spice? Toss in extra cinnamon.
Step 2: Freeze the Base
Pour the mix into your Ninja Creami pint container. Don’t overfill—stick to the max fill line. Freeze the container flat for at least 24 hours.
How to tell it’s ready? It should look rock-solid with no bubbles or uneven spots on top.
Step 3: Prep the Mix-ins
While your base is freezing, heat up some butter in a skillet over medium heat. Add the diced apples, brown sugar, and cinnamon. Sauté for about 5 minutes until the apples are soft but not mushy. Cool them completely before storing them in the fridge.
Pro Tip: Don’t overcook the apples—you want them to still have some bite for texture.
Step 4: Spin the Ice Cream
After 24 hours, take the pint out of the freezer. Let it sit for 5 minutes to soften slightly. Pop it into your Ninja Creami machine, lock it in, and select the “Ice Cream” setting. Let the machine do its thing.
Troubleshooting: Crumbly texture after spinning? Add 1–2 tablespoons of milk and re-spin.
Step 5: Mix It Up
Time to get fancy. Make a small well in the middle of your ice cream. Add your cooled apple mix and crumbled graham crackers. Use the “Mix-in” setting to blend it all together.
What to look for? The apples and crackers should be evenly spread, but still have their own texture—soft and crunchy.
Step 6: Serve and Enjoy
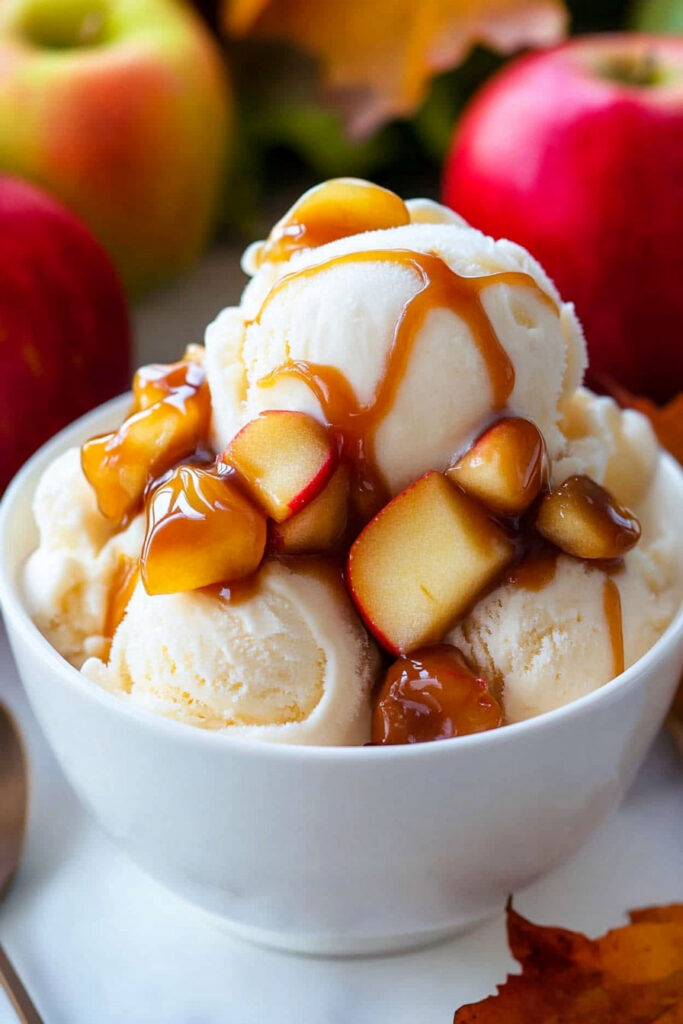
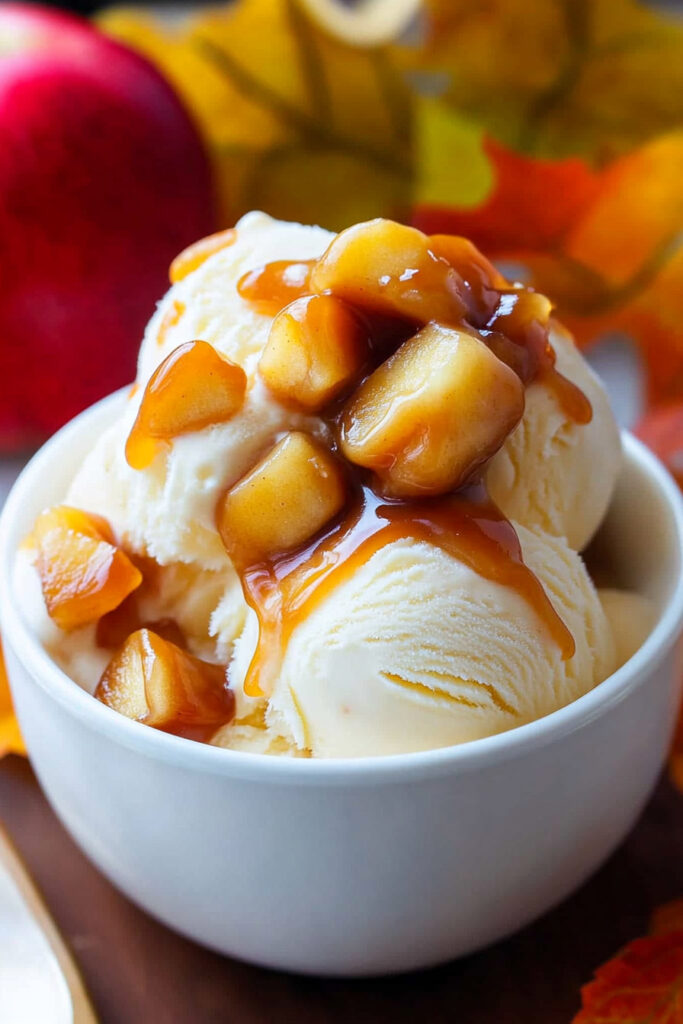
Scoop out your homemade apple pie ice cream and serve in bowls or cones. Add some extra graham cracker crumbs or a drizzle of caramel sauce if you’re feeling extra.
Fun Twists and Customizations
- Dairy-Free Version: Use coconut cream, vegan condensed milk, and plant-based butter and cream cheese.
- Low-Sugar Option: Swap the brown sugar in the apples for more monk fruit sweetener.
- Summer Vibes: Try peaches or pears instead of apples for a warm-weather version.
Want to elevate it? Serve it with candied nuts or some freshly baked cookies on the side.
Storing Leftovers
If you somehow don’t finish this in one sitting, store the leftover ice cream in the pint container with an airtight lid. It’ll keep well in the freezer for up to a week.
Pro Tip: Let it sit out for 10 minutes before scooping—or toss it back in the Ninja Creami for a quick re-spin to bring the creamy texture back.
So, there you have it. A bowl of Ninja Creami Apple Pie Ice Cream is like a homemade hug in dessert form. Whether you’re sharing it with friends or keeping it all to yourself, this recipe is a winner every time.
PrintNinja Creami Apple Pie Ice Cream Recipe
This Ninja Creami Apple Pie Ice Cream combines the cozy flavors of spiced apples, buttery graham crackers, and creamy vanilla ice cream. Inspired by the classic apple pie, it’s a perfect fall dessert with a luscious texture and a delightful crunch.
- Prep Time: 15 minutes
- Cook Time: 5 minutes
- Total Time: 24 hours 20 minutes (Freezing Time: 24 hours)
- Yield: 1 pint (about 2 servings) 1x
- Category: Dessert
- Cuisine: American
Ingredients
Ice Cream Base:
- 1½ cups half-and-half
- ½ cup cottage cheese
- ½ cup condensed milk
- 2 teaspoons vanilla extract
- ½ teaspoon cinnamon
- ¼ teaspoon sea salt
- 1 tablespoon monk fruit sweetener
Mix-ins:
- 1 large apple (peeled, cored, diced)
- 1 tablespoon butter
- 1 tablespoon dark brown sugar
- Dash of cinnamon
- Graham crackers (crumbled)
Instructions
In a blender, combine half-and-half, cottage cheese, condensed milk, vanilla extract, cinnamon, sea salt, and monk fruit sweetener. Blend until smooth and creamy. Pour into a Ninja Creami pint container, seal tightly, and freeze for at least 24 hours.
In a skillet over medium heat, melt butter and add diced apples, brown sugar, and cinnamon. Sauté for about 5 minutes until the apples are tender but not mushy. Let cool completely before storing in the fridge.
Once the base is frozen solid (after 24 hours), place the pint in your Ninja Creami machine and use the “Ice Cream” setting. If the texture is crumbly after spinning, add a splash of milk and re-spin until smooth.
Create a small well in the center of your ice cream and add the sautéed apples and crumbled graham crackers. Use the “Mix-in” setting to evenly incorporate them into the ice cream.
Scoop into bowls or cones and garnish with extra graham cracker crumbs or caramel sauce for an extra treat.
Notes
Serving Suggestions:
Serve alongside warm apple pie for an indulgent à la mode dessert or enjoy it on its own as a flavorful fall treat.
Tips & Tricks:
- Let the frozen base sit at room temperature for about 5 minutes before spinning for smoother results.
- Avoid overcooking apples; they should remain slightly firm for texture contrast.
Storage & Reheating:
Store leftover ice cream in its pint container with an airtight lid in the freezer for up to one week. Allow it to sit at room temperature for about 10 minutes before serving or re-spin in your Ninja Creami if needed.