

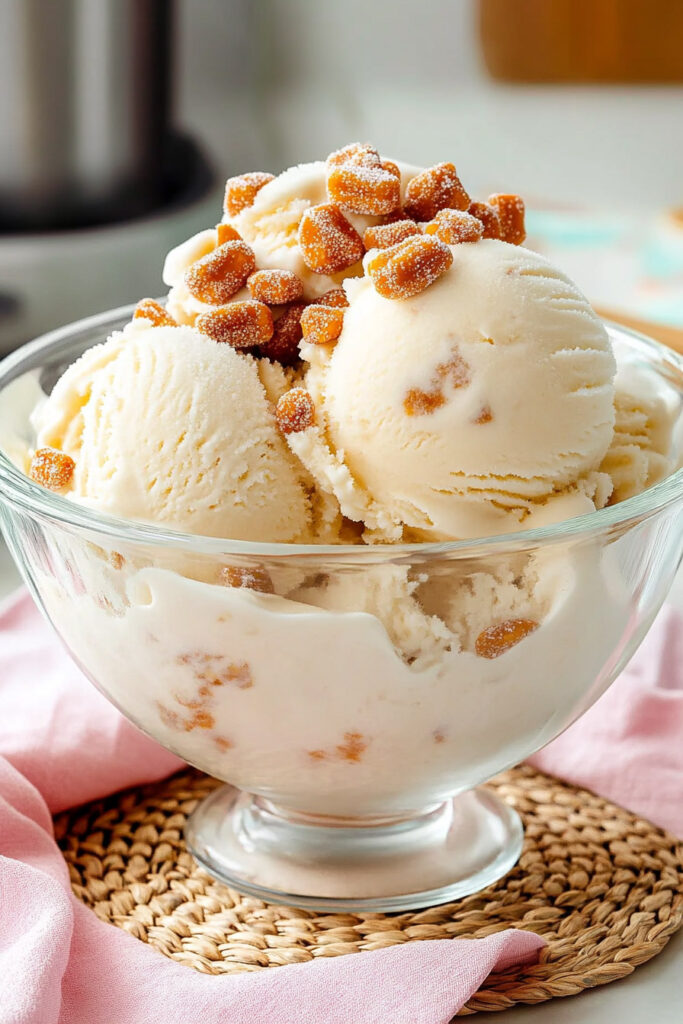
Think of this: creamy, dreamy ice cream mixed with the crunchy, peanut-buttery goodness of Butterfinger candy. Sound amazing? That’s exactly what this Ninja Creami Butterfinger Ice Cream brings to the table. Perfect for satisfying a late-night sweet tooth or impressing guests at your next dinner party.
And the best part? You don’t need to be a kitchen pro. This recipe is simple, fun, and a great way to experiment with your Ninja Creami machine. So, grab your ingredients and let’s churn up something delicious together!
Quick Recipe Breakdown
Here’s a quick look at what you’re getting into:
Time Needed:
- Prep: About 15 minutes
- Freeze: 24 hours
- Total: Just over 24 hours (most of it waiting time!)
- Yields: One pint. Want more? Just double or triple the recipe.
- Skill Level: Beginner. Seriously, it’s so easy.
What You’ll Need:
- A blender
- Ninja Creami (Deluxe or Classic)
- Pint container
Pro Tip: You can make the base ahead of time and freeze it for up to 48 hours. Once made, store leftovers in the freezer—it’ll still taste fresh after a quick re-spin.

Ingredients You’ll Need
Here’s the full ingredient list with a few notes:
- 1¾ cups half and half – This gives the base creaminess.
- ½ cup sweetened condensed milk – Makes it perfectly sweet and rich.
- ¼ cup PB2 powdered peanut butter – A subtle peanut butter flavor. (Swap for regular peanut butter if you prefer!)
- ½ cup cream cheese (softened) – For that smooth, creamy texture.
- 2 teaspoons vanilla extract – Adds depth of flavor.
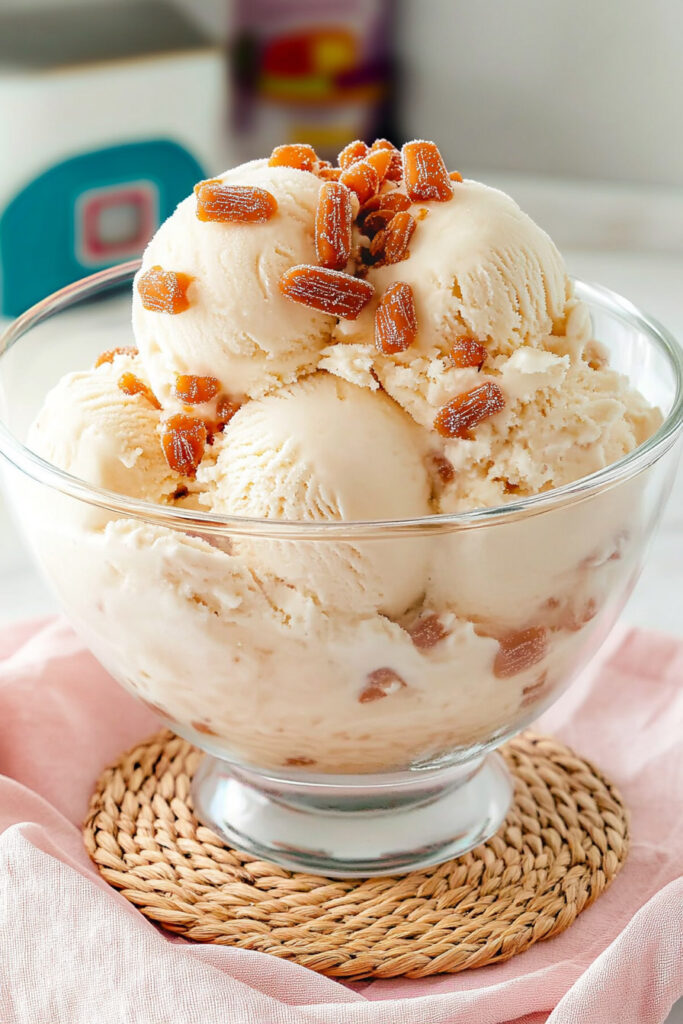
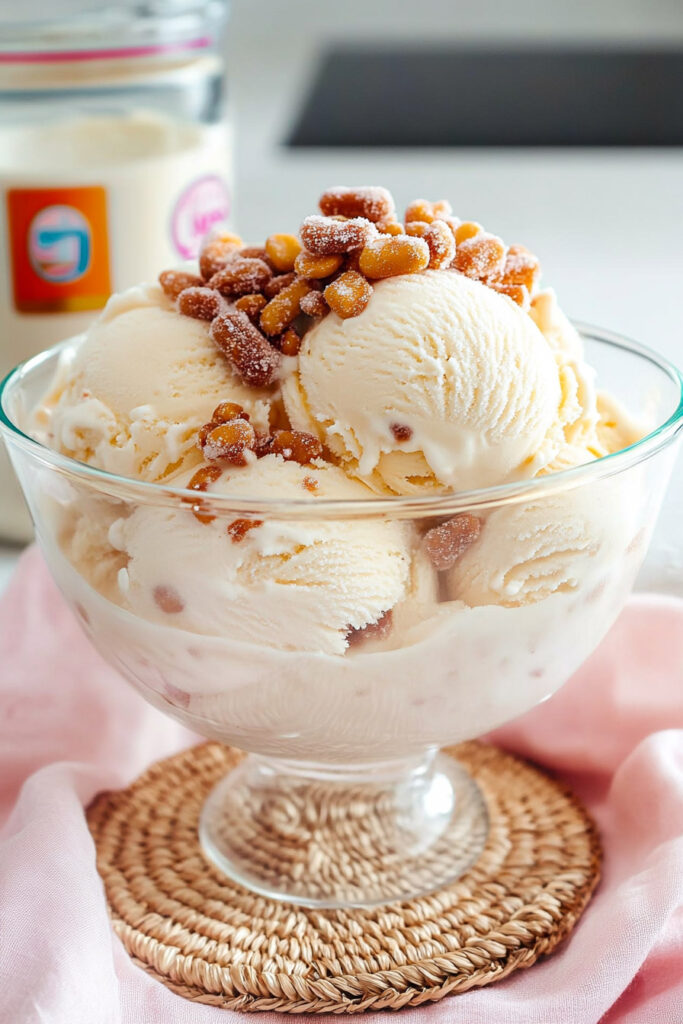
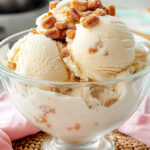
- 8 mini Butterfinger candies, chopped – The star of the show!
Let’s Make Butterfinger Ice Cream!
Ready? Follow these simple steps:
1. Blend the Ice Cream Base
Pop your half and half, condensed milk, PB2, cream cheese, and vanilla into a blender. Blend until smooth. No lumps! You’ll want it to look creamy like pancake batter and smell nutty and sweet.
Tip: Using regular peanut butter? Blend on high speed to get it fully mixed.
2. Pour and Freeze
Pour your blended mix into a Ninja Creami pint container. Don’t overfill—leave a little room at the top for freezing.
Stick the container on a flat space in your freezer, and freeze for at least 24 hours.
Avoid This: Freezing at an angle. It makes the base uneven, which can mess with the texture later.
3. Process the Frozen Base
After 24 hours, take the frozen pint out of the freezer. Pop it into your Ninja Creami, secure everything in place, and hit the “Ice Cream” or “Lite Ice Cream” button. Let the machine do its magic!
Texture to Watch For: When it’s done, your ice cream should be creamy but firm enough to scoop.
4. Butterfinger Time
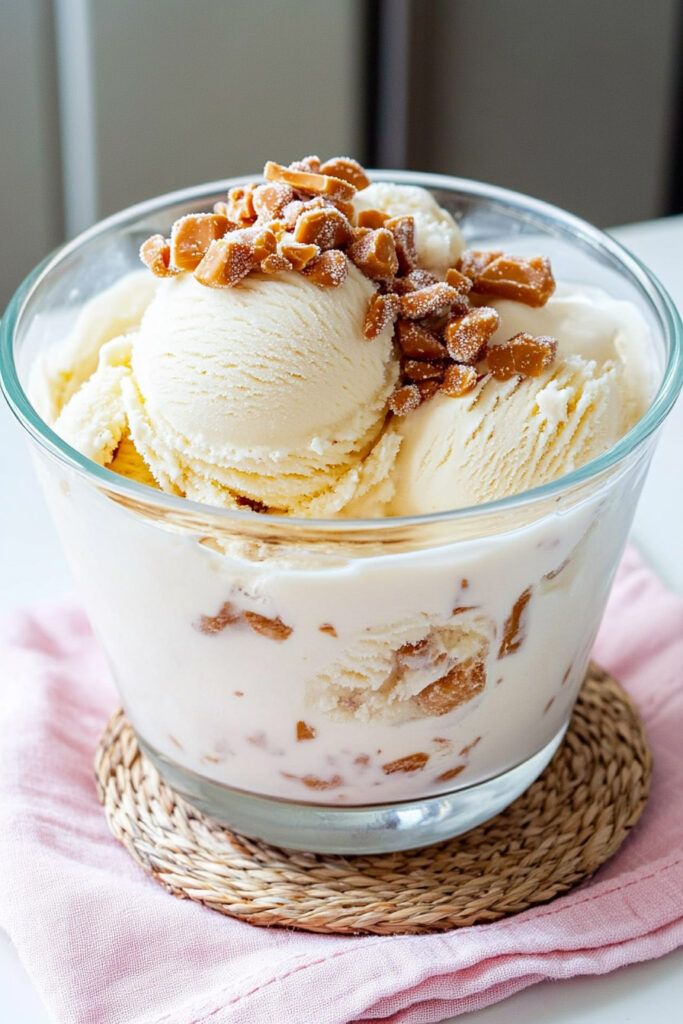
Grab those chopped Butterfinger pieces! Make a small hole in the center of the ice cream and toss them in. Use the “Mix-In” function on your Ninja Creami to evenly distribute the candy pieces.
Bonus Garnish Idea: Save a few extra Butterfinger chunks to sprinkle on top when you serve.
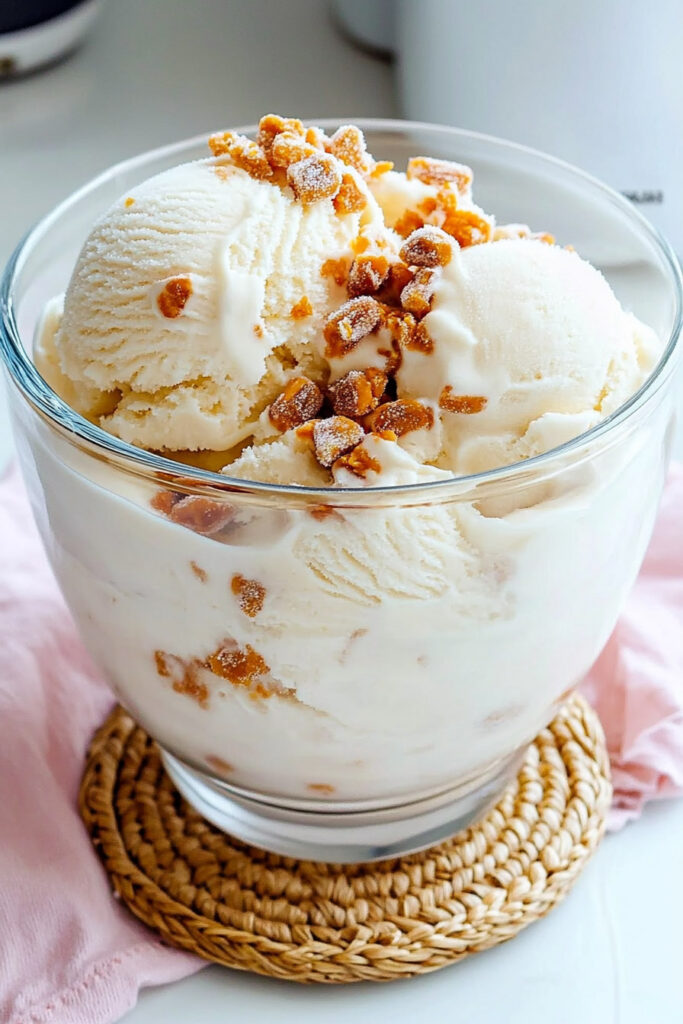
5. Scoop & Enjoy
Serve your homemade Butterfinger ice cream in bowls or cones. Want to go the extra mile? Top it with whipped cream or a drizzle of caramel.
If it’s frozen harder than you’d like, let it sit out for five minutes to soften up before scooping.
Mix It Up: Variations to Try
Dietary Swaps:
- Gluten-Free: Most Butterfingers are naturally gluten-free, but double-check the label!
- Dairy-Free: Use almond milk or coconut milk in place of half and half, and try coconut cream instead of condensed milk.
Flavor Ideas:
- Chocolate Lover’s Twist: Add 2 tablespoons of cocoa powder to the base.
- Peanut Butter Overload: Toss in Reese’s Peanut Butter Cups alongside the Butterfingers.
- Fall Favorites: Sprinkle in some pumpkin spice or cinnamon for a seasonal kick.
Serving Tips & Storage
- Serving Ideas: Serve in cold bowls or waffle cones. Pair it with warm brownies or chocolate chip cookies for an extra treat.
- Storage: Leftovers? Keep them in an airtight container in the freezer for up to a week. Need to soften it later? Just re-spin in your Ninja Creami for that fresh-out-of-the-machine texture.
So, what do you think? Candy bar-inspired ice cream that’s easy to make and completely customizable. Whether you’re whipping up a pint for yourself or treating friends, this Ninja Creami Butterfinger Ice Cream is a guaranteed crowd-pleaser. Now, let’s dig in!
PrintNinja Creami Butterfinger Ice Cream
A creamy, indulgent homemade ice cream loaded with the nostalgic crunch of Butterfinger candy. Perfect for satisfying your sweet tooth or impressing guests with a fun, candy-inspired dessert!
- Prep Time: 15 minutes
- Cook Time: None
- Total Time: 24 hours 15 minutes (Freeze Time: 24 hours)
- Yield: 1 pint 1x
- Category: Dessert
- Cuisine: American
Ingredients
- 1¾ cups half and half
- ½ cup sweetened condensed milk
- ¼ cup PB2 powdered peanut butter
- ½ cup cream cheese (softened)
- 2 teaspoons vanilla extract
- 8 bite-sized Butterfinger candies, coarsely chopped
Instructions
- Blend the Base: In a blender, combine half and half, sweetened condensed milk, PB2, cream cheese, and vanilla extract. Blend until smooth and creamy.
- Freeze the Mixture: Pour the blended mixture into a Ninja Creami pint container, leaving about half an inch of space at the top. Freeze flat for at least 24 hours.
- Process in Ninja Creami: Once frozen solid, process the base using the “Lite Ice Cream” or “Ice Cream” function on your Ninja Creami machine until smooth and creamy.
- Add Butterfinger Mix-ins: Create a small well in the center of the ice cream and add the chopped Butterfinger pieces. Use the “Mix-In” function to evenly incorporate them into the ice cream.
- Serve & Enjoy: Scoop into bowls or cones, garnish with extra Butterfinger pieces if desired, and enjoy immediately!
Notes
Serving Suggestions:
Top with whipped cream, caramel drizzle, or extra crushed Butterfingers for added decadence. Serve alongside warm brownies or cookies for a delightful pairing.
Tips & Tricks:
- Ensure all ingredients are chilled before blending for a smoother texture.
- Freeze the pint container on a flat surface to ensure even freezing.
- If the ice cream is too firm after freezing, let it sit at room temperature for 5 minutes or use the “Re-spin” function on your Ninja Creami.
Storage & Reheating:
Store leftover ice cream in an airtight container in the freezer for up to one week. To restore its creamy texture after freezing, use the “Re-spin” function before serving.