

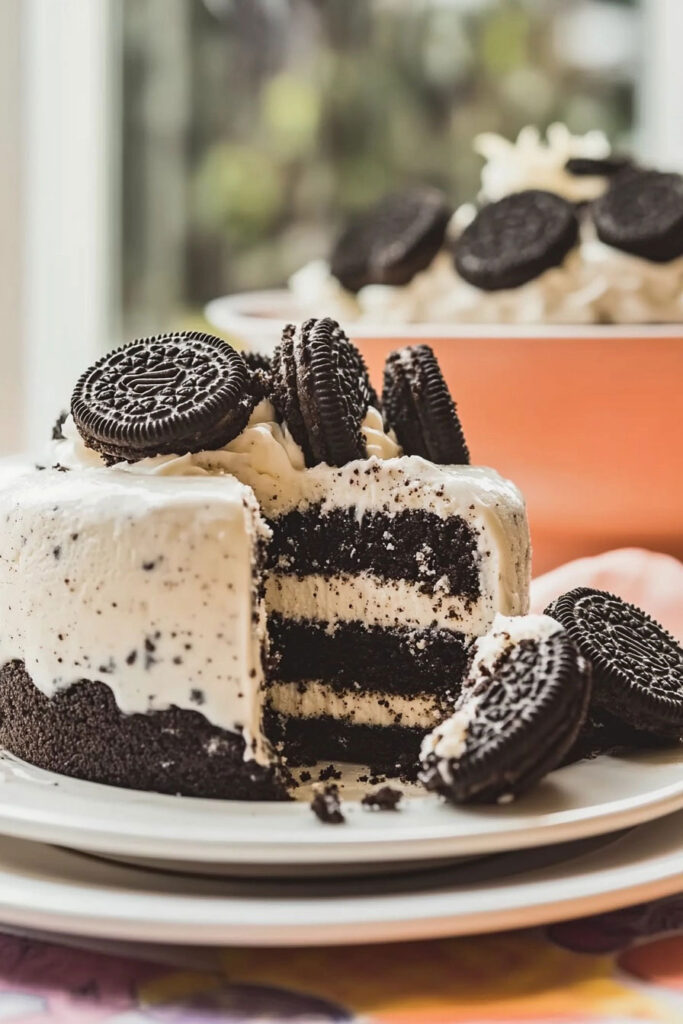
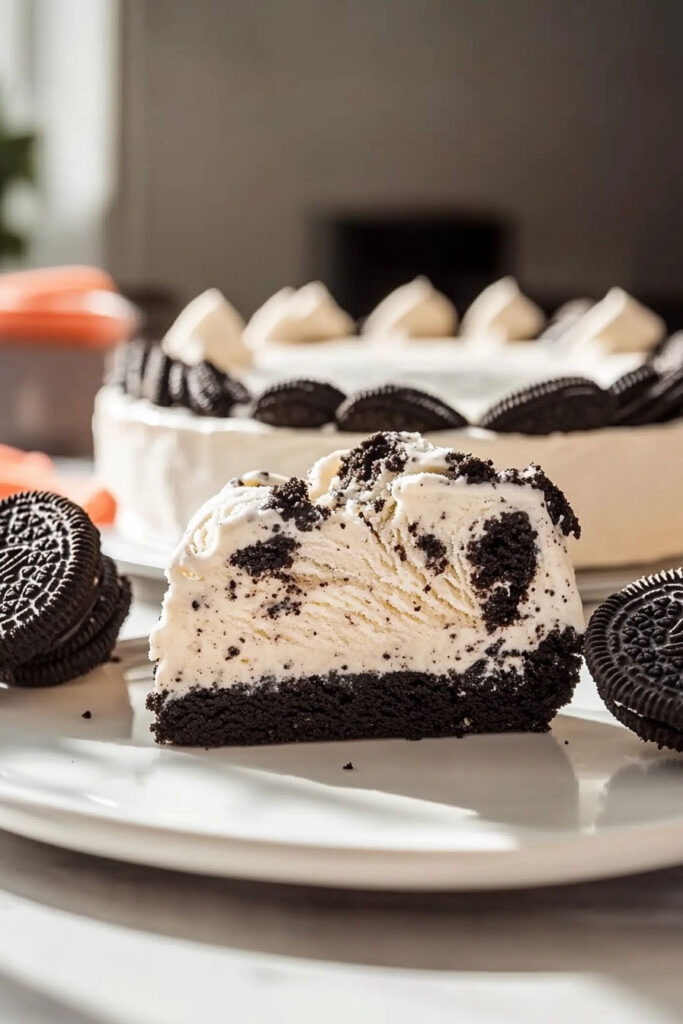
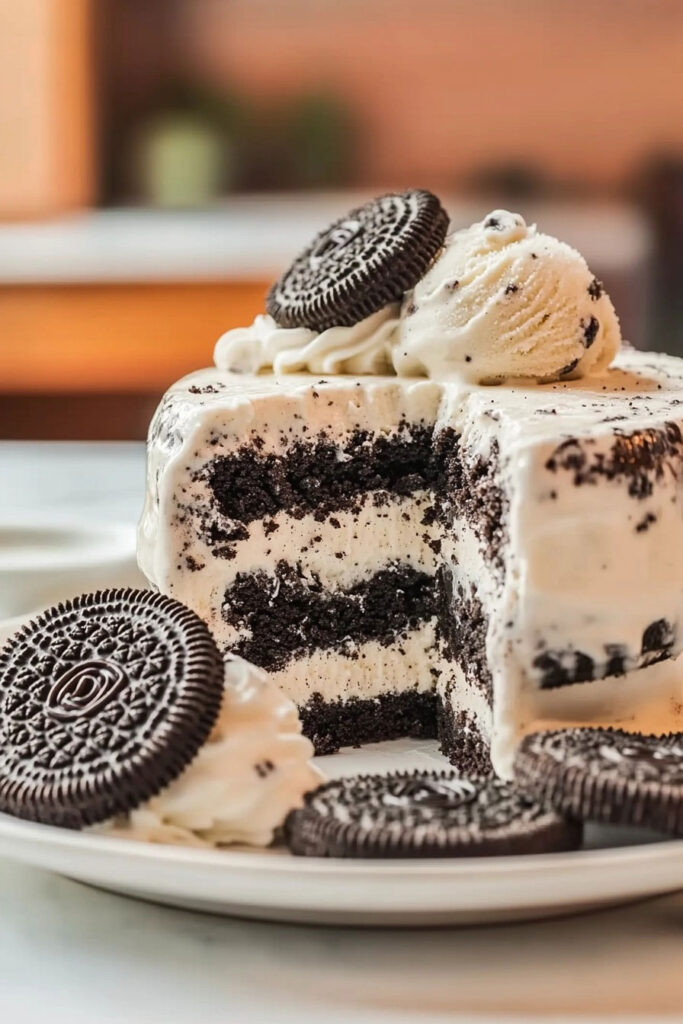
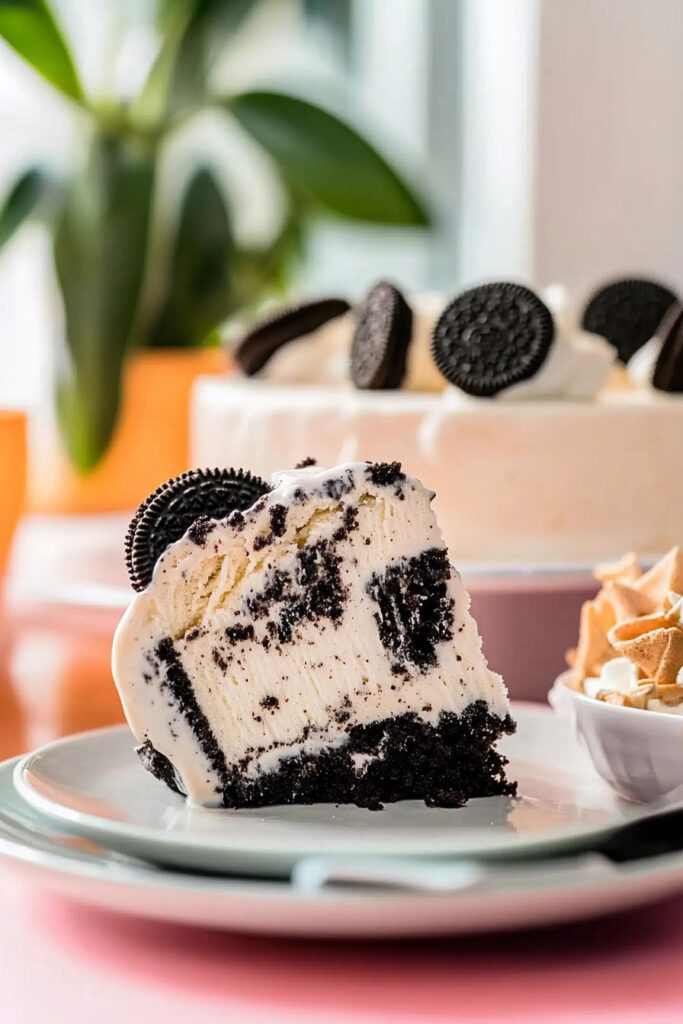
Looking for a dessert that’s simple, crowd-pleasing, and downright delicious? Let me introduce you to the Oreo Ice Cream Cake. Imagine layers of crunchy Oreos, creamy ice cream, rich hot fudge, and fluffy whipped topping. No baking required. It’s the perfect treat for a birthday, barbecue, or just a random Tuesday when you’re feeling fancy.
Quick Recipe Facts:
- Prep Time: 10 minutes
- Freeze Time: 5 hours
- Total Time: 5 hours and 10 minutes
- Serves: About 15 people (but that depends on how big your slices are!)
Why You’ll Love This Recipe:
- Super easy—even beginners can nail it.
- It’s no-bake, which makes it perfect for hot summer days.
- You can personalize it with different flavors or toppings.
- Leftovers store beautifully in the freezer (if there are any).
What You’ll Need
Ingredients:
- 1 package of Oreos (crushed; save some for garnish)
- ¼ cup melted butter
- ½ gallon cookies and cream ice cream (softened for easier spreading)
- 16 oz jar of hot fudge sauce (warmed but not too hot)
- 8 oz container whipped topping (like Cool Whip, thawed)
Substitutions & Ideas:
- Oreos: Try fun flavors like mint or peanut butter. Go gluten-free if needed.
- Butter: Coconut oil works for a dairy-free option.
- Ice Cream: Use vanilla, chocolate, or even seasonal flavors like peppermint.
- Whipped Topping: Homemade whipped cream adds a fancier touch.
Let’s Make It!
Step 1: Build the Crust
- Crush your Oreos—either in a food processor or by popping them in a zip-top bag and smashing them with a rolling pin. Reserve about ½ cup for garnish.
- Mix the remaining Oreo crumbs with melted butter until it feels like damp sand.
- Press the mixture firmly into a greased 9×13-inch pan to create the crust. Chill it in the freezer for 15 minutes.
Pro Tip: Use the bottom of a glass or measuring cup to get an even crust.
Step 2: Add the Ice Cream
Spread softened cookies and cream ice cream over the chilled crust. Smooth it out with a spatula. Cover the pan with plastic wrap or foil, then freeze for 2 hours to let it firm up.
What to Watch For: The ice cream should spread easily but not be a puddle!
Step 3: Top It with Hot Fudge
Warm the jar of hot fudge just enough to pour. Drizzle it all over the frozen ice cream layer. You can spread it evenly with a spatula. Pop the pan back in the freezer for another hour.
Avoid This: Don’t heat the fudge up too much—it’ll melt the ice cream layer.
Step 4: Finish with Whipped Topping
Spread the whipped topping over the fudge layer. Sprinkle the reserved Oreo crumbs on top for that final touch. Freeze again for at least 2 hours or overnight. The longer it sets, the better the layers will hold.
Extra Fancy: Want to go big? Pipe rosettes of whipped topping and top with whole Oreos or chocolate shavings.
Step 5: Slice and Serve
Before serving, let the cake sit out for 10–15 minutes to soften slightly. Run a knife under hot water (and wipe it clean between cuts) for clean slices.
Bonus Idea: Serve with fresh berries or a drizzle of caramel sauce for a fruity or sweet twist.
Variations You’ll Love
- Gluten-Free Version: Use gluten-free Oreos and dairy-free ice cream.
- Caramel Lover’s Cake: Swap hot fudge for caramel sauce or layer both.
- Seasonal Flavors: Try pumpkin spice ice cream in the fall or peppermint ice cream for the holidays.
- Tropical Vibes: Use coconut ice cream with crushed pineapple as a topping.
Storing & Serving Tips
- Storage: Keep leftovers tightly covered in the freezer—they’ll last up to a week (though good luck not eating them by then).
- Prepping Ahead: Make the cake up to two days in advance for stress-free entertaining.
- Serving Tip: Use chilled plates to keep the slices from melting too fast.
So there you have it—your go-to dessert for any occasion that’ll wow a crowd without breaking a sweat in the kitchen. Oreo Ice Cream Cake isn’t just a dessert; it’s a guaranteed hit. Trust me, once you try it, you’ll wonder how you ever lived without it!