

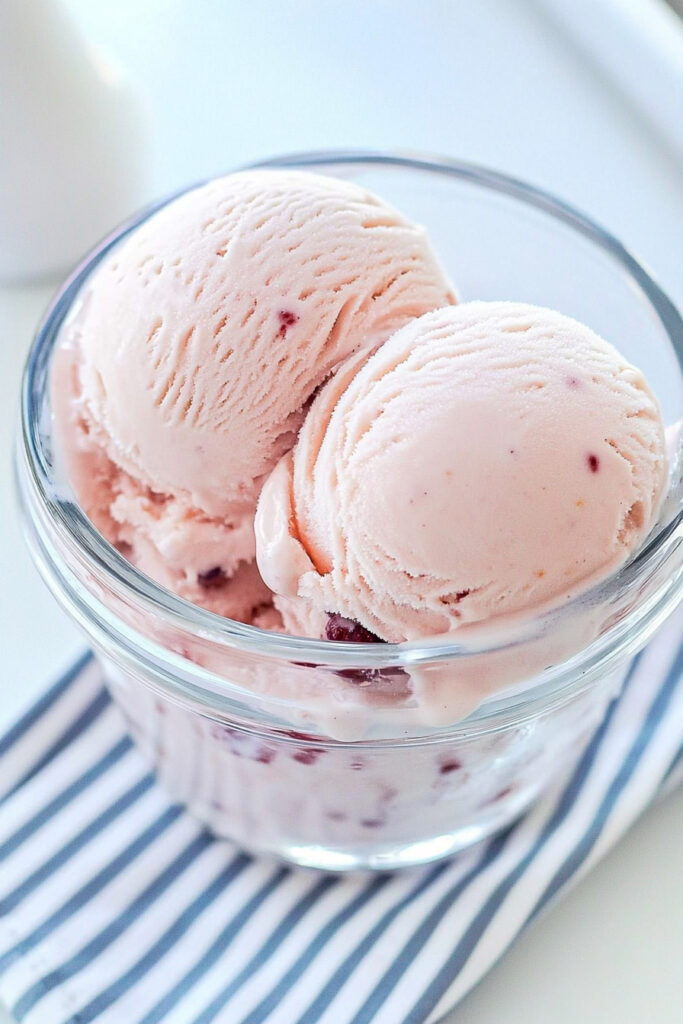
Let’s be honest—cherry cheesecake is delicious. But turning it into a creamy, dreamy ice cream? That’s next-level genius. With tangy cheesecake flavor and sweet cherries in every bite, this dessert has it all. The best part? You don’t need fancy techniques like tempering eggs or hours of churning. Just grab some simple ingredients—like instant pudding mix and cherry pie filling—and let your Ninja Creami do the rest. Whether you’re new to making ice cream or a pro, this recipe makes it easy to whip up a treat everyone will love.
Recipe Overview
Quick Details
- Prep time: 10 minutes
- Freeze time: 24 hours
- Processing time: 5 minutes
Serving Size
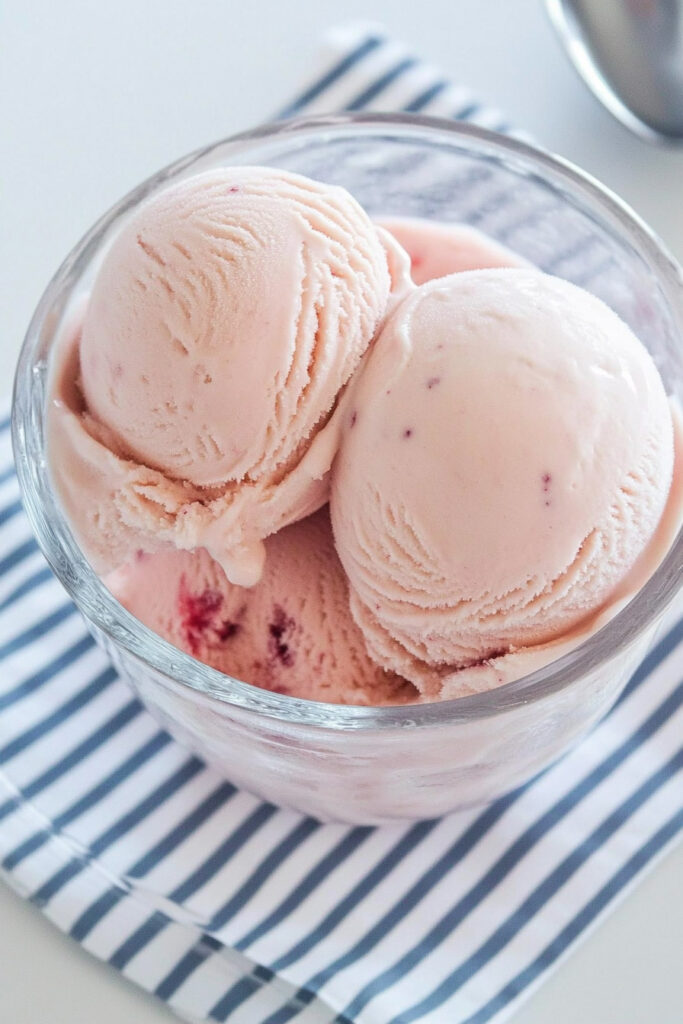
Makes 1 pint—enough for 2–3 servings. Need more? Double the recipe and use two pint containers.
Skill Level
Beginner-friendly. No special cooking skills required.
Equipment Checklist
- Ninja Creami
- Mixing bowl or measuring cup
- Whisk or spatula
- Pint container (comes with the Ninja Creami!)
No Ninja Creami? No worries. You can freeze the mix in a loaf pan, then blend it in a high-speed blender before serving. It won’t be exactly the same, but it’ll still hit the spot.
Ingredients
What You’ll Need
- ¾ cup whole milk
- 4 tablespoons (half a box) instant cheesecake pudding mix
- ½ cup heavy cream
- ½ teaspoon vanilla extract
- ¾ cup cherry pie filling
Swaps & Substitutions
- Dairy-free? Use almond, oat, or coconut milk, and swap heavy cream with coconut cream.
- Cutting sugar? Try a sugar-free pudding mix and reduced-sugar cherry filling.
- Homemade vibe? Use fresh or frozen cherries blended with sugar to taste.
Pro Tip: Go for cherry pie filling with whole cherries—it makes all the difference in flavor and texture.
Step-by-Step Instructions
Step 1: Mix the Base
In a mixing bowl, combine the milk and pudding mix. Whisk until smooth. It might thicken a little—that’s totally normal. It just means your ice cream is going to have that rich, creamy texture.
Step 2: Add Flavor
Stir in the heavy cream and vanilla. Then gently fold in the cherry pie filling. Want more cherry goodness? Mash a few cherries with a fork before mixing them in.
Step 3: Freeze It
Pour everything into your Ninja Creami pint container. Make sure you don’t go over the MAX FILL line. Pop on the lid, place it in the freezer, and let it sit for 24 hours.
Helpful Tip: Keep the container upright while freezing. A tilted pint can mess with the final texture.
Step 4: Process to Perfection
Once frozen solid, take the pint out, remove the lid, and lock it into your Ninja Creami. Select the “Ice Cream” function. If the texture looks crumbly after the first spin, use the “Re-spin” function for that silky finish.
Step 5: Optional Mix-Ins
Want extra texture? Add crushed graham crackers, chocolate chips, or any other fun mix-ins. Just make a small well in the center of the ice cream before processing with the “Mix-In” function.
Tips & Variations
- Dairy-Free Version: Substitute with plant-based milk and cream alternatives.
- Lower Sugar/Keto-Friendly: Use sugar-free pudding mix and cherry filling.
- Fancy Upgrade: Drizzle dark chocolate on top or serve with fresh whipped cream and a cherry.
- Seasonal Flavors: Switch out cherries for summer peaches or winter cranberries for a festive twist.
How to Serve & Store
Serving Ideas
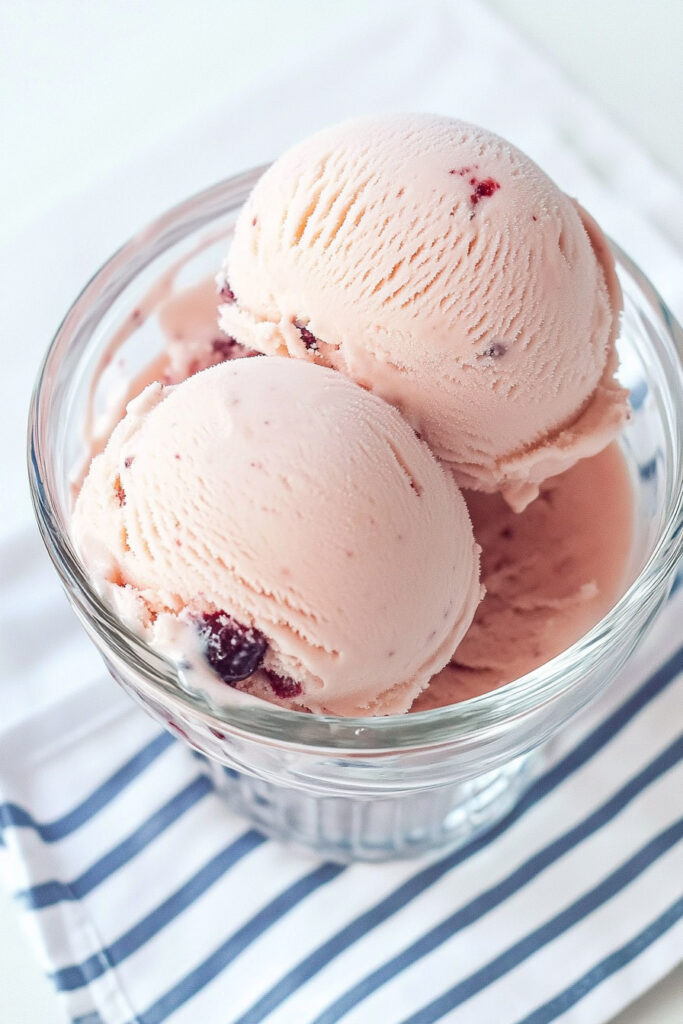
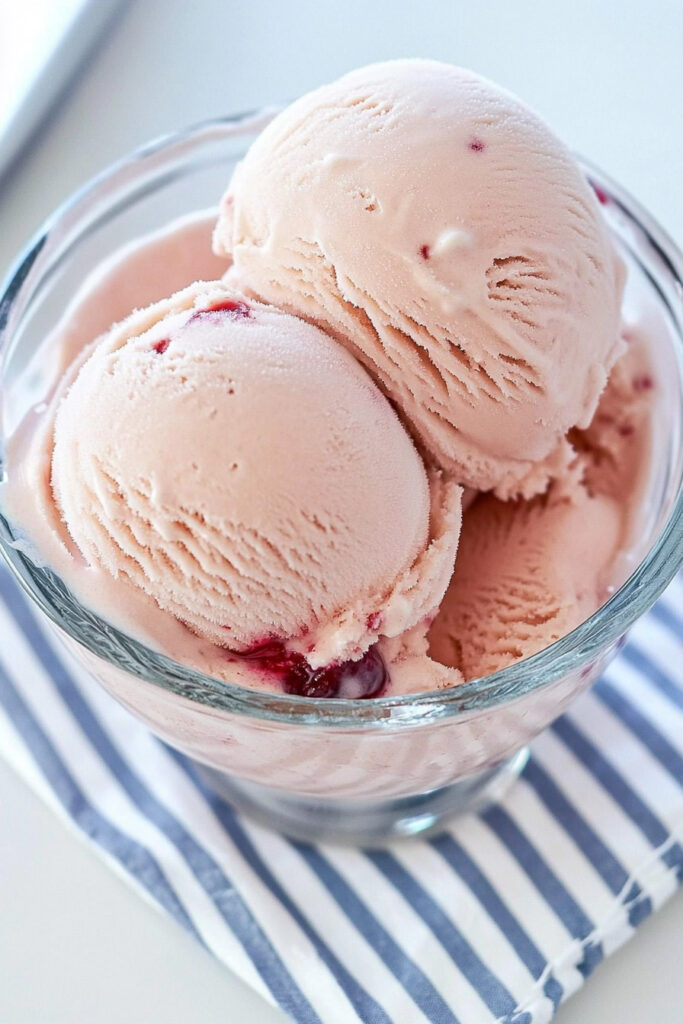
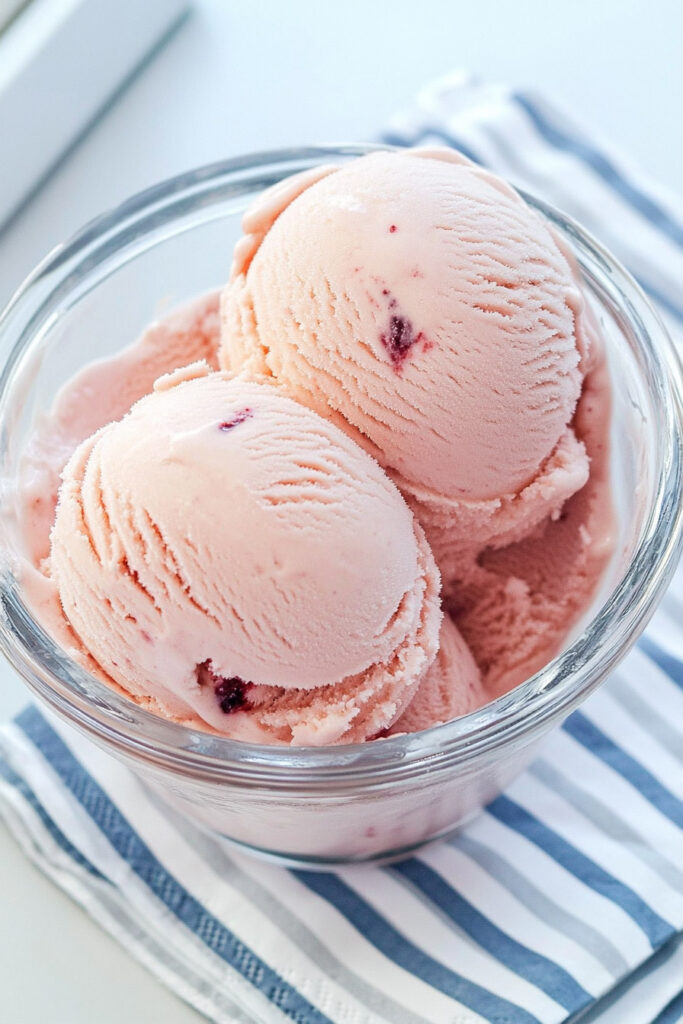
Scoop it into bowls and top with fresh cherries or crushed graham crackers. Feeling indulgent? Add it to a slice of cheesecake or a warm brownie.
Storage Tips
Store leftovers (if you have any!) in the Ninja Creami pint container. Keep it in the freezer for up to 2 weeks. When you’re ready to eat, let it thaw for about 10 minutes so it’s easy to scoop.
And there you have it—a creamy, tangy, cherry-filled dessert that’s as easy to make as it is to eat. Whether it’s for a special occasion or just a random Tuesday, this recipe will turn any day into a sweet celebration. Enjoy!
PrintNinja Creami Cherry Cheesecake Ice Cream Recipe

This creamy, tangy Ninja Creami Cherry Cheesecake Ice Cream combines the richness of cheesecake with the sweet burst of cherries. Perfect for a quick homemade dessert, this recipe uses simple ingredients and comes together effortlessly with the Ninja Creami machine. Whether you’re indulging on a warm summer day or treating yourself after dinner, this ice cream is a guaranteed crowd-pleaser.
- Prep Time: 10 minutes
- Cook Time: None
- Total Time: 24 hours 10 minutes (Freeze Time: 24 hours)
- Yield: 1 pint (2–3 servings) 1x
- Category: Dessert
- Cuisine: American
Ingredients
- ¾ cup whole milk
- 4 tbsp instant cheesecake pudding mix (half of a small box)
- ½ cup heavy cream
- ½ tsp vanilla extract
- ¾ cup cherry pie filling
Instructions
- Prepare the Base:
In a mixing bowl, whisk together the milk and cheesecake pudding mix until smooth and slightly thickened. Stir in the heavy cream and vanilla extract. Gently fold in the cherry pie filling until evenly combined. - Freeze:
Pour the mixture into a Ninja Creami pint container, ensuring it doesn’t exceed the MAX FILL line. Secure the lid and freeze on a flat surface for at least 24 hours. - Process in Ninja Creami:
Remove the pint from the freezer and place it into the outer bowl of your Ninja Creami machine. Lock it into place and select the “Ice Cream” function to process. - Adjust Texture (if needed):
If the ice cream appears crumbly after processing, use the “Re-spin” function to achieve a smooth consistency. If still crumbly, add 1 tablespoon of milk and re-spin again. - Optional Mix-ins:
For added texture, create a small well in the center of the ice cream, add mix-ins like crushed graham crackers or chocolate chips, and use the “Mix-In” function to incorporate.
Notes
Serving Suggestions:
Serve in dessert bowls topped with fresh cherries, whipped cream, or crushed graham crackers for an extra indulgent touch.
Tips & Tricks:
- Use high-quality cherry pie filling for better flavor. Lightly mash some cherries for added texture if desired.
- If using sugar-free pudding mix or pie filling, consider using the “Lite Ice Cream” setting for optimal results.
Storage & Reheating:
Store leftovers in the pint container with a secure lid for up to 2 weeks in the freezer. Let sit at room temperature for about 10 minutes before scooping to soften slightly without compromising texture.