

There’s something incredibly satisfying about making your own ice cream, especially when it’s a classic flavor like vanilla bean. The rich, creamy texture combined with the intense aroma of real vanilla beans creates a dessert that is simply irresistible. Whether you’re an experienced cook or just starting out, making vanilla bean ice cream at home can be a rewarding process that results in a far superior product compared to store-bought varieties.
In this guide, I’ll walk you through the steps to create your own homemade vanilla bean ice cream, share some tips and tricks for success, and answer common questions that often come up when making this delicious treat.
Why Vanilla Bean Ice Cream?
Vanilla bean ice cream stands out from regular vanilla ice cream because of its pure, natural flavor. Instead of relying solely on vanilla extract, this recipe uses real vanilla beans. The tiny black seeds from the vanilla pod give the ice cream a unique speckled appearance and an intense, aromatic flavor that you can’t get from extract alone.
The result is a rich and creamy dessert that pairs well with almost anything—whether it’s served alongside a warm slice of pie or enjoyed on its own in a cone. Plus, by making it at home, you can control the quality of ingredients and adjust the sweetness or creaminess to your liking.
Ingredients for Vanilla Bean Ice Cream
Making vanilla bean ice cream from scratch requires just a few simple ingredients, but each plays an essential role in creating that rich, creamy texture and deep vanilla flavor. Here’s what you’ll need:
- Vanilla Bean: The star ingredient! The seeds inside the vanilla bean pod give this ice cream its signature flavor and those beautiful black specks.
- Egg Yolks: These provide the custard base, making the ice cream creamy and rich.
- Granulated Sugar: Adds sweetness and helps to create a smooth texture.
- Whole Milk: Provides a balance of creaminess without making the ice cream too heavy.
- Heavy Cream: Essential for that luxurious, velvety texture.
- Salt: Just a pinch to enhance all the flavors.
- Vanilla Extract (optional): While the vanilla bean provides most of the flavor, a small amount of vanilla extract can add an extra layer of depth.
Why Use Real Vanilla Beans?
You may wonder why we use real vanilla beans instead of just vanilla extract. The answer lies in the flavor. Vanilla beans provide a more intense and complex taste compared to extract. They contain hundreds of flavor compounds that give depth to the ice cream, resulting in a more aromatic and flavorful dessert. Plus, those tiny black specks from the vanilla seeds give your ice cream an artisanal look that’s hard to resist.
Step-by-Step Instructions for Making Vanilla Bean Ice Cream
Now that we’ve covered the ingredients, let’s dive into the process of making homemade vanilla bean ice cream. While it may seem intimidating at first, the steps are straightforward and well worth the effort. Follow these instructions carefully, and you’ll be rewarded with a rich and creamy dessert that’s perfect for any occasion.
Step 1: Prepare Your Ice Cream Maker
Before you start making the ice cream base, ensure your ice cream maker’s bowl has been chilled in the freezer for at least 24 hours. This step is crucial to achieving the right texture when churning your ice cream. If you hear any liquid sloshing around when you shake the bowl, it’s not ready yet.
Step 2: Make the Custard Base
In a medium bowl, whisk together 4 large egg yolks and ¾ cup granulated sugar until the mixture is smooth and pale yellow. This step helps to create a thick, creamy base for your ice cream.
Next, split a vanilla bean lengthwise and scrape out the seeds. Add both the seeds and the pod to a saucepan along with 1½ cups whole milk and ½ teaspoon salt. Heat this mixture over medium heat until it reaches a simmer, but be careful not to let it boil—boiling can cause the milk to curdle.
Step 3: Temper the Eggs
Once your milk mixture is hot, slowly add about ½ cup of it to the egg yolk mixture while whisking constantly. This process is called tempering and prevents the eggs from scrambling when they come into contact with hot liquid.
After tempering, pour the egg mixture back into the saucepan with the remaining milk. Continue heating over low heat, stirring constantly until the custard thickens enough to coat the back of a spoon. This should take about 5-7 minutes.
Step 4: Strain and Chill
Once your custard has thickened, strain it through a fine-mesh sieve into a clean bowl to remove any bits of cooked egg. Add back the vanilla bean pod for extra flavor infusion. Stir in 1½ cups heavy cream and ½ teaspoon vanilla extract, then cover with plastic wrap, pressing it directly against the surface of the custard to prevent a skin from forming.
Refrigerate this mixture for at least 3 hours or overnight for best results. Discard the vanilla bean pod before churning.
Step 5: Churn and Freeze
After chilling, pour your custard into your ice cream maker and churn according to your manufacturer’s instructions (this usually takes about 20-30 minutes). The ice cream should thicken to a soft-serve consistency by this point.
Transfer your freshly churned ice cream into a shallow container or loaf pan. Press plastic wrap or wax paper directly onto its surface to prevent freezer burn. Freeze for at least 4 hours or until solid.
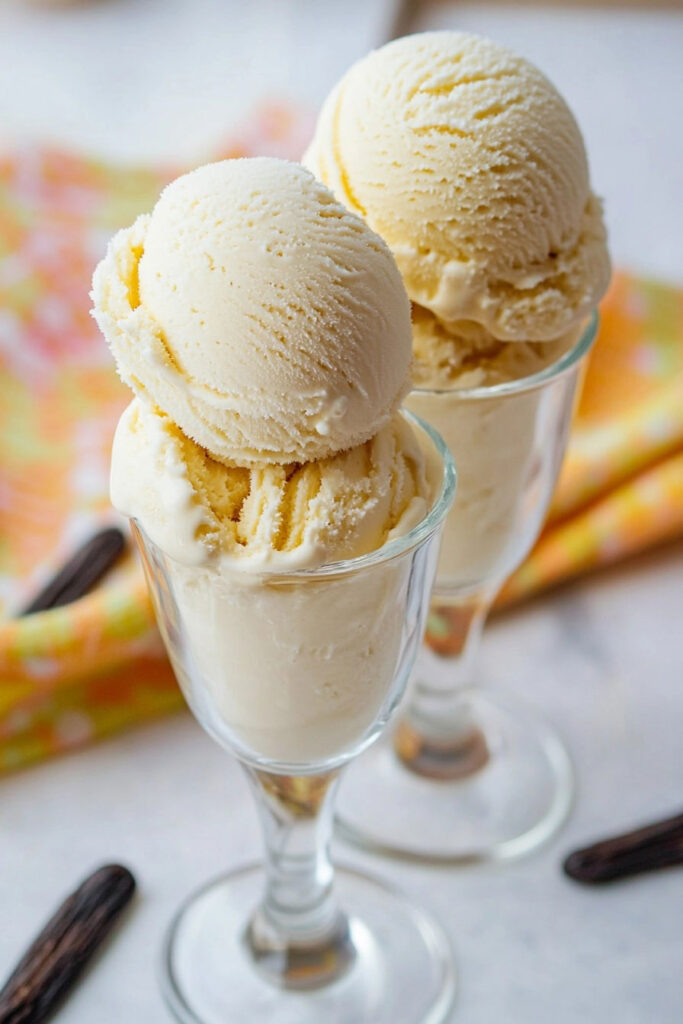
Serving Suggestions and Pairings
Once your vanilla bean ice cream is ready, you can enjoy it in many ways! Here are some ideas:
- Classic Sundae: Top with hot fudge, whipped cream, and a cherry for a timeless treat.
- Pie A La Mode: Serve a scoop alongside warm apple pie or peach cobbler.
- Affogato: Pour a shot of hot espresso over your ice cream for an Italian-inspired dessert.
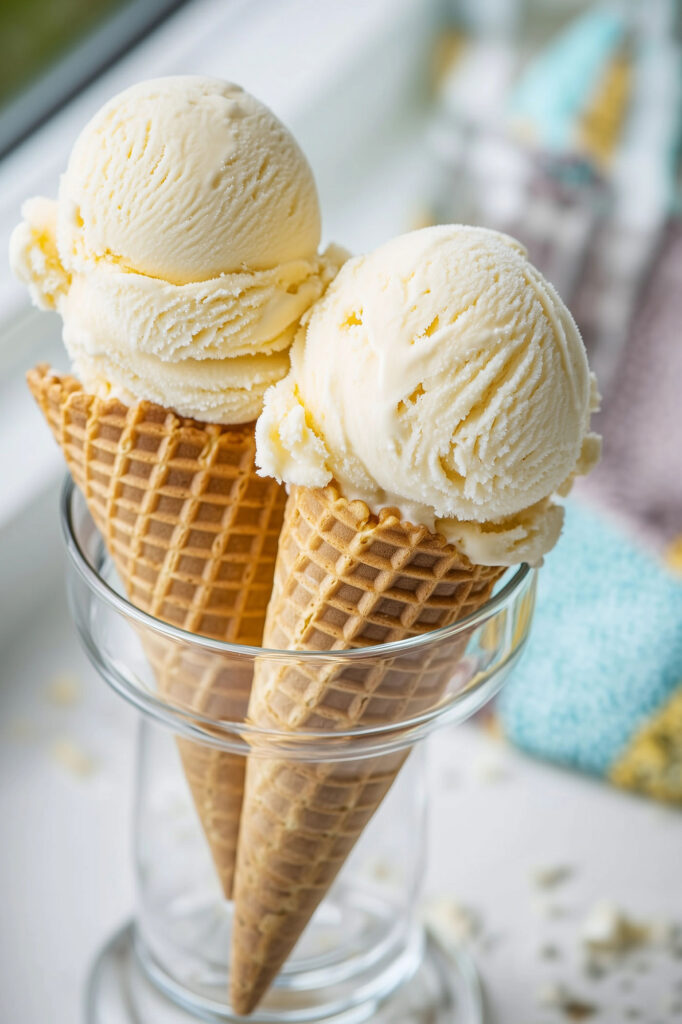
- Ice Cream Sandwiches: Pair with homemade cookies for a fun twist.
No matter how you serve it, this homemade vanilla bean ice cream is sure to impress!
Frequently Asked Questions About Vanilla Bean Ice Cream
When making vanilla bean ice cream, a few common questions often arise. Let’s address some of them here to ensure your ice cream-making experience is as smooth as possible.
1. What is the difference between vanilla bean ice cream and regular vanilla ice cream?
The primary difference lies in the flavor source. Vanilla bean ice cream is made using real vanilla beans, which provide a more intense and complex flavor. The tiny black seeds from the vanilla pod also give the ice cream its signature speckled appearance. In contrast, regular vanilla ice cream typically uses vanilla extract, which offers a milder flavor.
2. Can I use vanilla extract instead of vanilla beans?
Yes, you can substitute vanilla extract for vanilla beans if needed, but the flavor won’t be as rich or aromatic. If using extract, add it after cooking the custard base to preserve its flavor. However, for the best results, I recommend sticking to vanilla beans or vanilla bean paste.
3. How do I split and scrape a vanilla bean?
Using a sharp paring knife, carefully slice the vanilla bean lengthwise down the middle. Then, use the back of the knife to scrape out the tiny seeds (also called caviar). Add both the seeds and pod to your milk mixture to infuse maximum flavor.
4. Why is my homemade vanilla bean ice cream yellow?
The yellow hue comes from the egg yolks used in the custard base. This is completely normal and indicates that your ice cream has a rich, creamy texture thanks to those yolks.
5. How long can I store homemade vanilla bean ice cream?
Homemade vanilla bean ice cream can be stored in an airtight container in the freezer for up to two weeks. Be sure to press plastic wrap or wax paper directly onto the surface of the ice cream to prevent freezer burn.
Conclusion
Making vanilla bean ice cream at home is a rewarding experience that allows you to enjoy the pure, rich flavor of real vanilla beans. The process may take a bit of time and patience, but the results are well worth it. By following the steps in this guide, you can create an ice cream that’s far superior to store-bought varieties—creamy, flavorful, and full of those beautiful vanilla bean specks.
Whether you serve it on its own or pair it with your favorite desserts, this homemade treat will surely impress your family and friends. Plus, once you’ve mastered this recipe, you can experiment with other flavors or toppings to make it your own.
So, grab your ingredients, dust off your ice cream maker, and get ready to enjoy the best vanilla bean ice cream you’ve ever tasted! Let me know if you’d like any revisions!