

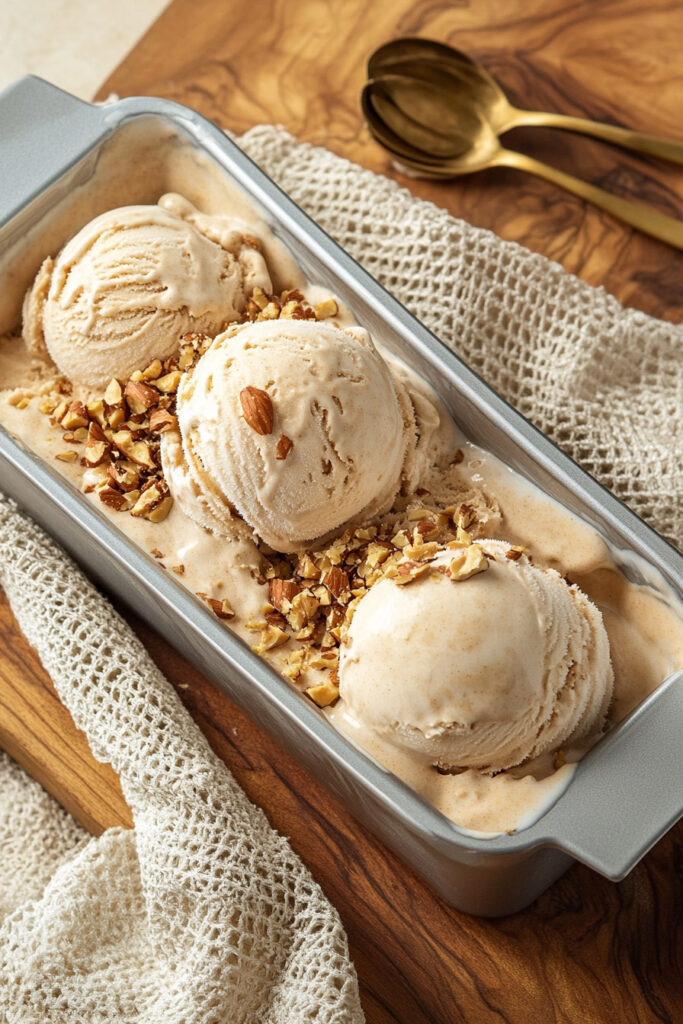
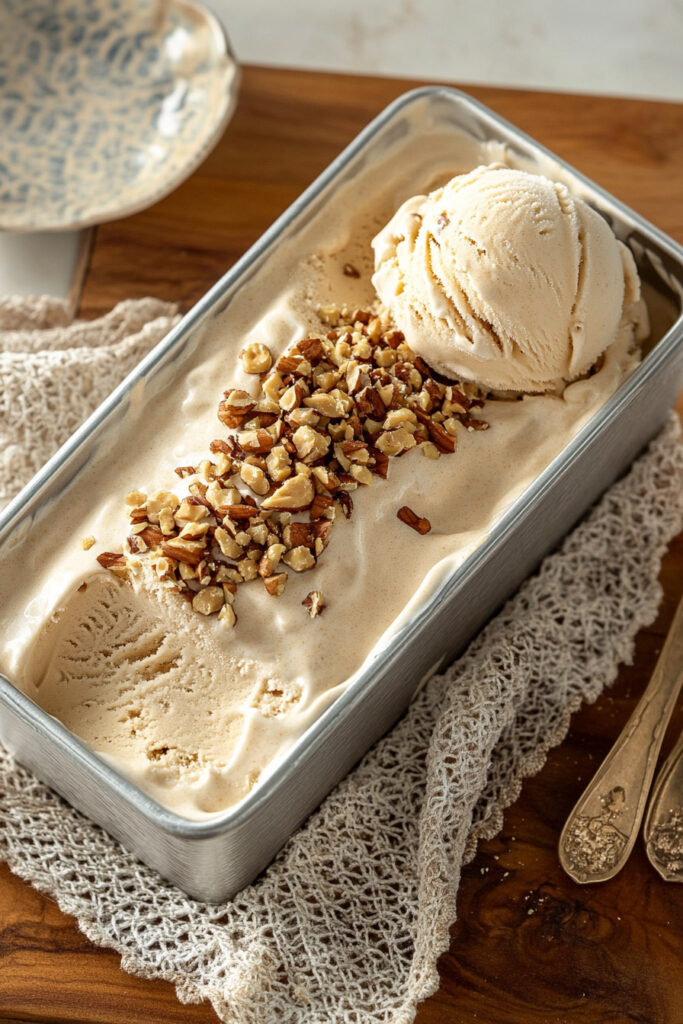
Let me guess—you’ve never thought of cottage cheese as a dessert ingredient, right? Trust me, neither did I… until I tried this! Today, I’m excited to share a recipe that’s creamy, dreamy, and full of flavor: Peanut Butter Cottage Cheese Ice Cream.
Here’s the deal: it’s packed with protein, ridiculously easy to make, and so satisfying. If you’re craving ice cream but want something a little lighter and healthier, this is it. Plus, it’s totally customizable! Ready to give it a whirl? Let’s go!
Prep Time:
- 10 minutes of hands-on work.
- Then, just freeze it for 4 hours and you’re golden.
Servings:
- Makes about 6 scoops. (Big party? Double it. Just you? Halve it.)
Skill Level:
- Beginner-friendly. If you can use a blender, you’ve got this.
Equipment You’ll Need:
- A food processor or blender (non-negotiable—this is how the magic happens).
- A loaf pan or freezer-safe dish.
- Plastic wrap to line the pan (trust me, this makes scooping way easier).
What You’ll Need
Here’s what goes into this creamy, peanut-buttery goodness:
- 1 (16-oz) carton of full-fat cottage cheese: This is what gives it that rich, creamy texture. If you’re watching calories, you can try low-fat, but it won’t taste quite as indulgent.
- ½ cup crunchy peanut butter: Love texture? Stick with crunchy. Prefer smooth? That’s fine too!
- ¼ cup honey: A natural way to sweeten things up. Avoiding honey? Swap it with maple syrup or agave nectar.
- ¼ cup milk: Anything works—regular milk, almond, oat, or even coconut if you want a tropical twist.
- 6 pitted dates: These bring a caramel-like sweetness that’s hard to beat. No dates? Raisins or dried figs work too.
- ¼ tsp sea salt: Just a pinch makes everything pop. Don’t skip this—it’s the secret ingredient!
- Optional topping: chopped salted peanuts: Sprinkle these on top for crunch and a little flair.
How to Make It
Step 1: Prep Your Pan
Line your loaf pan (or any container) with plastic wrap. Leave some extra hanging over the sides so you can easily lift the ice cream out later.
Step 2: Blend Everything
Toss cottage cheese, peanut butter, honey, milk, dates, and sea salt into your food processor or blender. Blend it until it’s super smooth. This might take 2–3 minutes.
Pro tip: If the mixture seems too thick for your blender, add a splash of milk to loosen it up.
Step 3: Freeze It
Pour the mixture into your lined pan. Smooth it out with a spatula, and if you’re feeling fancy, sprinkle some chopped salted peanuts on top. Cover it with plastic wrap or foil and freeze for at least 4 hours.
Don’t rush it. It needs that full freeze time to get properly scoopable!
Step 4: Scoop and Enjoy
When you’re ready to dig in, let it sit at room temp for about 5–10 minutes to soften up just enough for perfect scoops.
Make It Your Own
Here’s the cool part: this recipe is super flexible!
Diet-Friendly Options
- Going vegan? Swap the cottage cheese for silken tofu or coconut cream and use maple syrup instead of honey.
- Gluten-free? Just make sure your peanut butter (and other ingredients) are certified GF.
Flavor Add-Ins
- Love spice? Add a pinch of cinnamon or nutmeg before blending.
- Feeling indulgent? Melt some dark chocolate and drizzle it over the top before serving.
Seasonal Twists
- Summer vibes? Toss in fresh berries like strawberries or blueberries.
- Holiday treat? Crush some peppermint candies and sprinkle them on top.
Serving & Storing Tips
How to Serve
Scoop into chilled bowls for the best experience. Want to take it up a notch? Drizzle with honey, chocolate syrup, or even sprinkle some granola for crunch.
Storage
Leftovers? No problem. Store this ice cream in an airtight container in the freezer for up to 2 weeks. To avoid freezer burn, press some plastic wrap directly onto the surface before sealing the container.
Pro tip: If the ice cream gets too frozen, just leave it at room temp for a few minutes to soften.
And there you have it! A creamy, protein-packed dessert that’s as easy to make as it is delicious. Trust me—once you try this, you’ll never look at cottage cheese the same way again. Have fun making it, and don’t forget to share your creations with friends and family!
PrintPeanut Butter Cottage Cheese Ice Cream

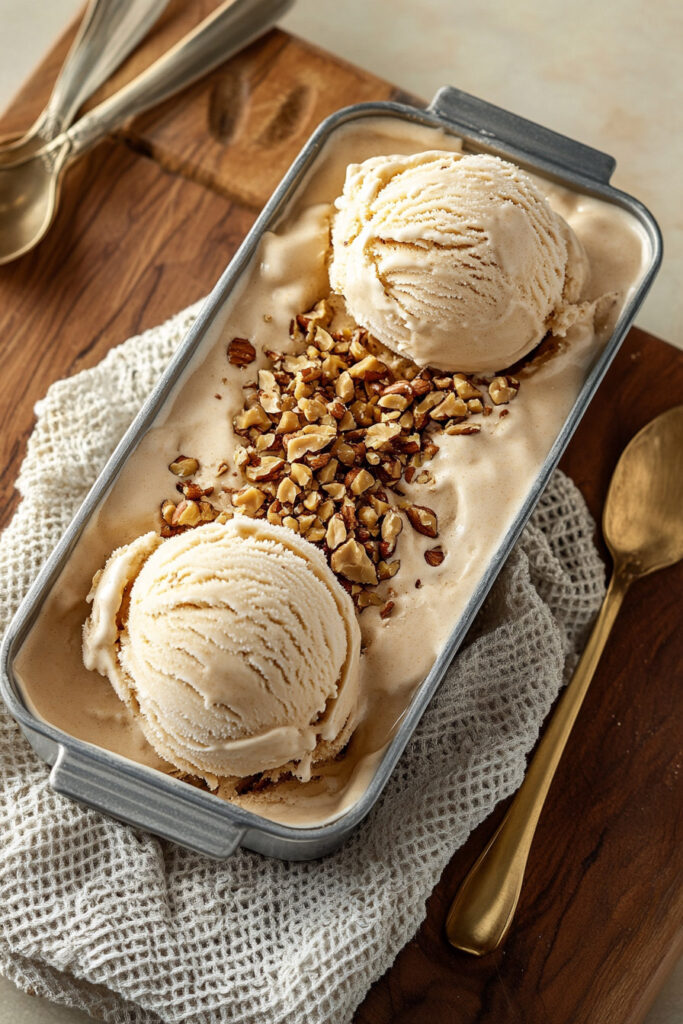
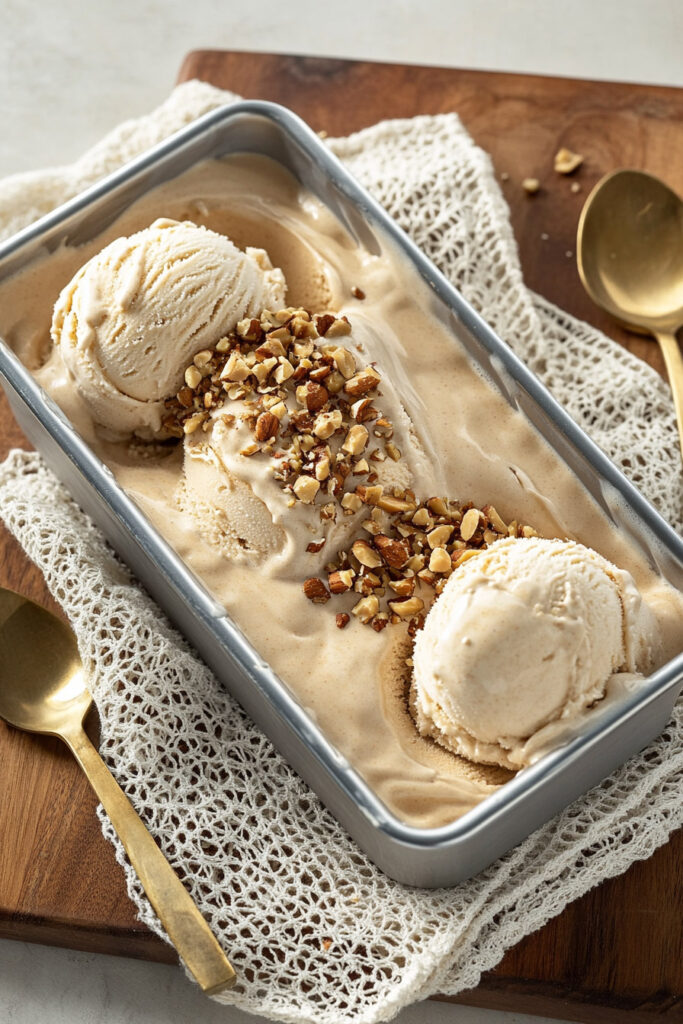
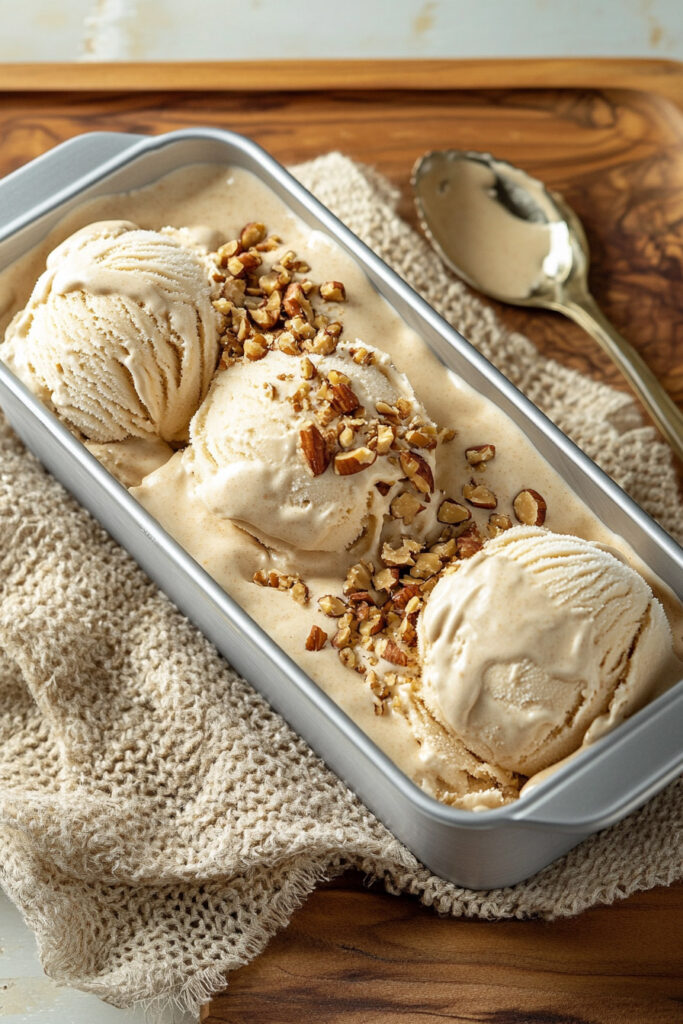
This creamy, protein-packed Peanut Butter Cottage Cheese Ice Cream is a delightful twist on traditional ice cream. Made with wholesome ingredients like cottage cheese, peanut butter, and dates, it’s naturally sweetened and perfect for a guilt-free treat. Easy to make and freezer-friendly, this recipe is ideal for both everyday indulgence and special occasions!
- Prep Time: 10 minutes
- Cook Time: None
- Total Time: 10 minutes (+4 hours freezing)
- Yield: 6 1x
- Category: Dessert
- Cuisine: American
Ingredients
- 1 (16-oz) carton full-fat cottage cheese
- ½ cup crunchy peanut butter
- ¼ cup honey
- ¼ cup milk (any variety)
- 6 pitted dates
- ¼ tsp sea salt
- Chopped salted peanuts (optional, for garnish)
Instructions
- Prepare the Pan: Line an 8 x 4-inch loaf pan with plastic wrap, leaving extra overhang for easy removal later.
- Blend the Ingredients: In a food processor or high-speed blender, combine cottage cheese, peanut butter, honey, milk, dates, and sea salt. Blend until smooth and creamy, scraping down the sides as needed.
- Transfer to Pan: Spoon the blended mixture into the prepared loaf pan. Smooth the top with a spatula and sprinkle chopped salted peanuts on top if desired.
- Freeze: Cover the pan with plastic wrap or foil and freeze for at least 4 hours or until firm.
- Serve: Let the ice cream sit at room temperature for about 5–10 minutes before scooping to soften slightly. Serve in bowls or cones and enjoy!
Notes
Serving Suggestions:
Pair this ice cream with warm brownies, oatmeal cookies, or drizzle honey or melted chocolate on top for added indulgence.
Tips & Tricks:
- Use full-fat cottage cheese for maximum creaminess; low-fat versions may result in a less rich texture.
- If your blender struggles with thickness, add an extra splash of milk to help it blend smoothly.
- For extra crunch, mix chopped peanuts into the ice cream before freezing.
Storage & Reheating:
Store leftover ice cream in an airtight container in the freezer for up to 2 weeks. To prevent freezer burn, press plastic wrap directly onto the surface before sealing. Let frozen ice cream sit at room temperature for about 10 minutes before scooping to soften slightly—no reheating needed!