

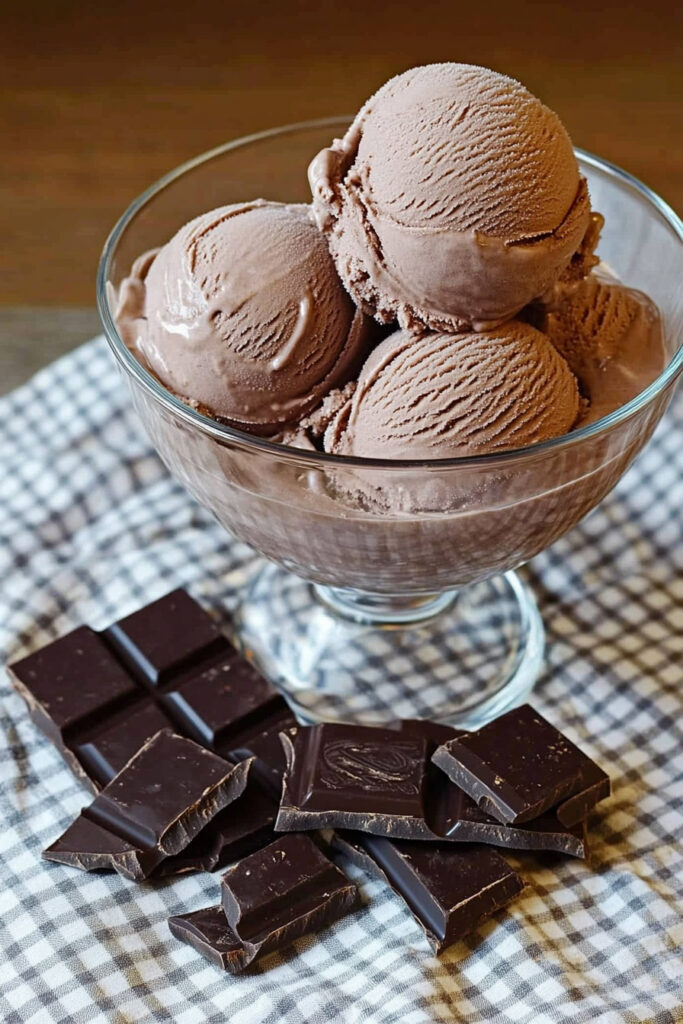
Few things in life compare to the joy of homemade chocolate ice cream. It’s rich, smooth, and packed with real flavor. Store-bought? It can’t compete. This recipe is made for the trusty Cuisinart ice cream maker, blending classic techniques with modern ease. Whether you’re hosting a dinner party or treating yourself on a weeknight, this chocolate indulgence is here to make your day sweeter.
What You Need to Know
Here’s a quick snapshot of the essentials:
- Prep Time: 20 minutes of hands-on work + 2 hours to chill + 15–20 minutes of churning.
- Yields: About 5 cups, or 10 half-cup servings. Want more? Just double it. Too much? Halve it.
- Skill Level: Easy enough for beginners, but a little attention to detail goes a long way.
- Tools You’ll Need:
- Cuisinart ice cream maker
- Medium saucepan
- Blender or food processor
- Whisk and measuring gear
- Pro Tip: You can make the base a day ahead. Just let it chill in the fridge for ultimate flavor.
Ingredients (Simple and Flexible)
Main Ingredients:
- 1 cup whole milk: The foundation of creamy goodness.
- ½ cup granulated sugar: Sweeten it to your taste.
- 2 cups heavy cream: That luscious, velvety texture? This is the magic.
- 1 teaspoon vanilla extract: A small dash, but it makes a big impact.
- ¾ cup milk chocolate (chopped): Go for quality—it really matters here.
Optional Swaps:
- Dark chocolate for a bolder, richer flavor.
- Non-dairy alternatives like almond or oat milk. (Heads up: Texture might vary.)
- Add a pinch of salt to bring out the sweetness, especially with darker chocolate.
Tip: Let your ingredients come to room temperature before you begin. Makes mixing so much smoother.
Let’s Make It (Step-by-Step)
1. Warm Things Up
In a medium saucepan, combine the milk, heavy cream, and vanilla. Heat gently until you see little bubbles forming at the edges. Don’t let it boil! The kitchen already smells amazing, right?
2. Chop, Blend, Sweeten
Pop the sugar and chocolate into a food processor or blender. Pulse until you’ve got a fine mix. This helps the chocolate melt evenly later.
3. Combine and Melt
Pour the warm milk mixture into your chocolate-sugar blend and process until silky smooth. No gritty textures allowed here!
4. Cool Down
Transfer the mix to a bowl and let it cool to room temp. Then, cover it up and refrigerate for at least 2 hours—or overnight if you’ve got the patience. Good things take time.
5. Time to Churn
Grab your pre-frozen Cuisinart bowl, pour in the chilled mixture, and let the machine work its magic. In about 15–20 minutes, you’ll see it turn into creamy perfection.
6. Serve or Store
Love soft-serve? Dish it out immediately. Prefer firmer scoops? Freeze for another 2 hours in an airtight container. Properly stored, it stays good for up to two weeks. (As if it’ll last that long!)
Fun Twists and Personal Touches
Want to mix things up? Try these ideas:
- Diet-Friendly Options: Use coconut milk for a plant-based version.
- Add Some Flair: Stir in broken cookies, brownie chunks, or a swirl of caramel post-churning.
- Seasonal Spins: Sprinkle in peppermint for the holidays or fresh fruit puree in the summer.
Serving Suggestions
- Scoop it into waffle cones, top it with whipped cream, or garnish with fresh berries.
- Pair it with warm brownies or a slice of pie for an unbeatable combo.
- Store leftovers with plastic wrap pressed right onto the surface. This little trick keeps ice crystals away.
This recipe is more than just a dessert—it’s a little moment of joy you can share (or keep all to yourself). Nothing beats the taste of real, homemade chocolate ice cream. Use this recipe as-is, or make it your own with those fun variations. Either way, you’re in for a treat. Enjoy the process, savor the results!
PrintCuisinart Chocolate Ice Cream

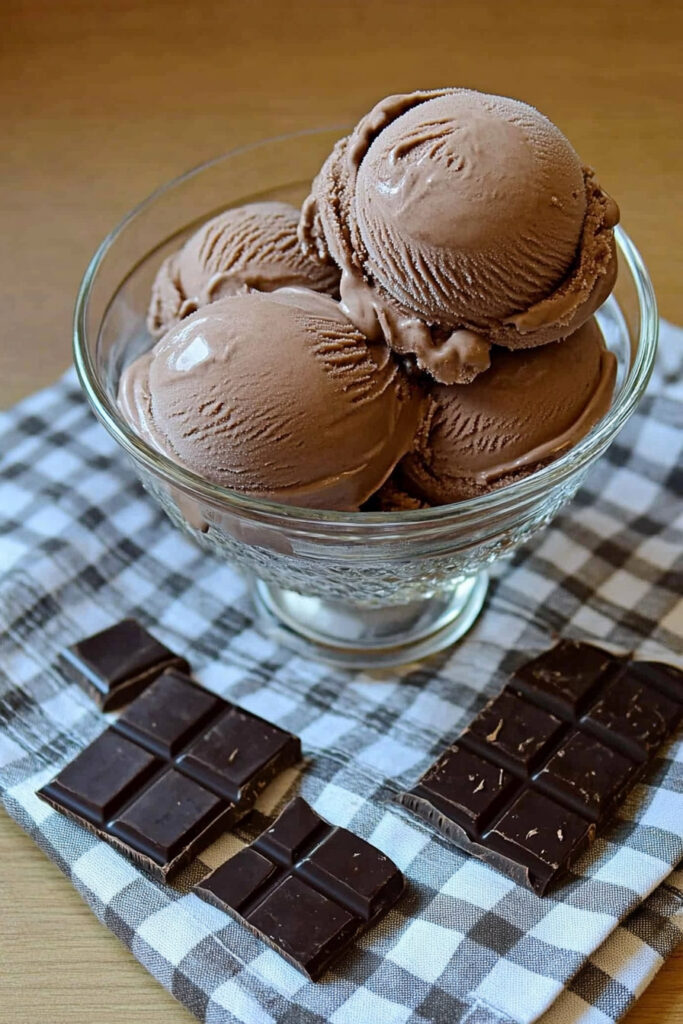
Indulge in this rich, creamy homemade chocolate ice cream made with milk chocolate and a velvety custard base. Perfectly churned in a Cuisinart ice cream maker, this dessert is a crowd-pleaser for any occasion. Whether enjoyed fresh or stored for later, it’s an easy-to-make treat that tastes like pure decadence.
- Prep Time: 15 minutes
- Cook Time: 5 minutes
- Total Time: ~2 hours 20 minutes (minimum) (includes freezing time)
- Yield: 10 (½ cup servings) 1x
- Category: Dessert
- Cuisine: American
Ingredients
- 1 cup whole milk
- ½ cup granulated sugar
- 2 cups heavy cream
- 1 teaspoon vanilla extract
- ¾ cup milk chocolate (broken into small pieces)
Instructions
- Heat the Base: In a medium saucepan, heat the milk, heavy cream, and vanilla extract over medium heat until small bubbles form around the edges. Avoid boiling.
- Blend Chocolate and Sugar: In a food processor, combine the sugar and milk chocolate pieces. Pulse until finely chopped.
- Combine and Melt: Pour the hot milk mixture into the food processor with the chocolate-sugar blend. Process until smooth, ensuring the sugar dissolves and the chocolate melts completely.
- Cool and Chill: Transfer the mixture to a bowl and let it cool to room temperature. Cover with plastic wrap and refrigerate for at least 2 hours or overnight for best results.
- Churn: Pour the chilled mixture into your pre-frozen Cuisinart ice cream maker bowl. Churn according to your machine’s instructions (typically 15–20 minutes) until thick and creamy.
- Serve or Store: Serve immediately for soft-serve consistency or transfer to an airtight container and freeze for 2–4 hours for a firmer texture. Store in the freezer for up to two weeks.
Notes
Serving Suggestions:
Serve in bowls or cones with toppings like whipped cream, fresh berries, or chocolate shavings.
Tips & Tricks:
- Use high-quality milk chocolate for a richer flavor.
- Ensure the base is fully chilled before churning for smoother results.
- Let frozen ice cream sit at room temperature for 10–15 minutes before scooping.
Storage & Reheating:
Store in an airtight container with plastic wrap pressed against the surface to prevent ice crystals. For best texture, consume within two weeks.