

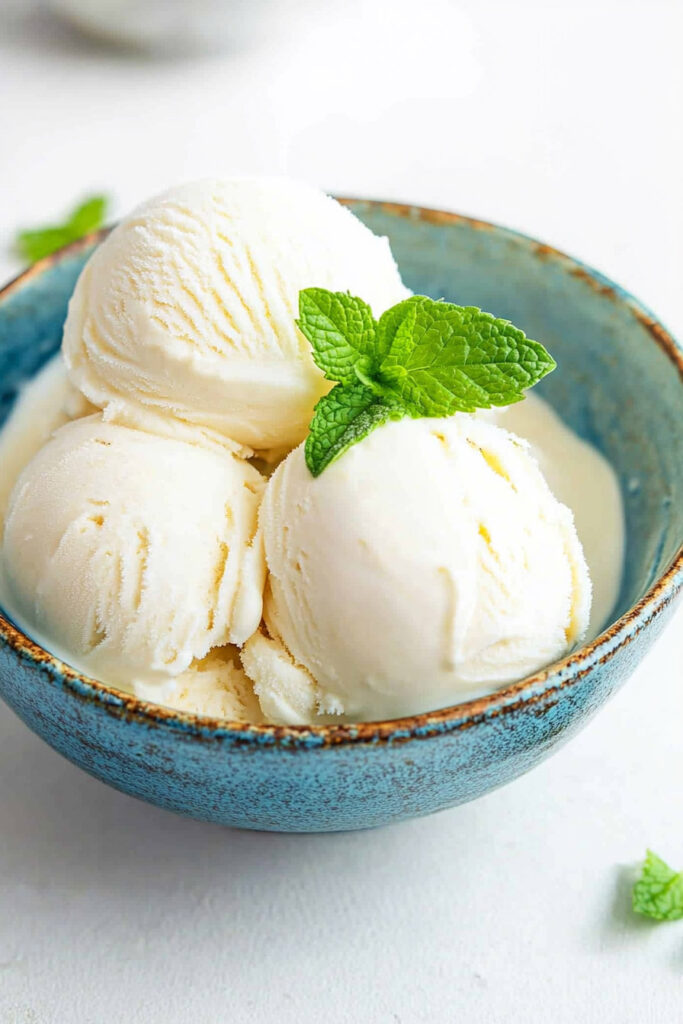
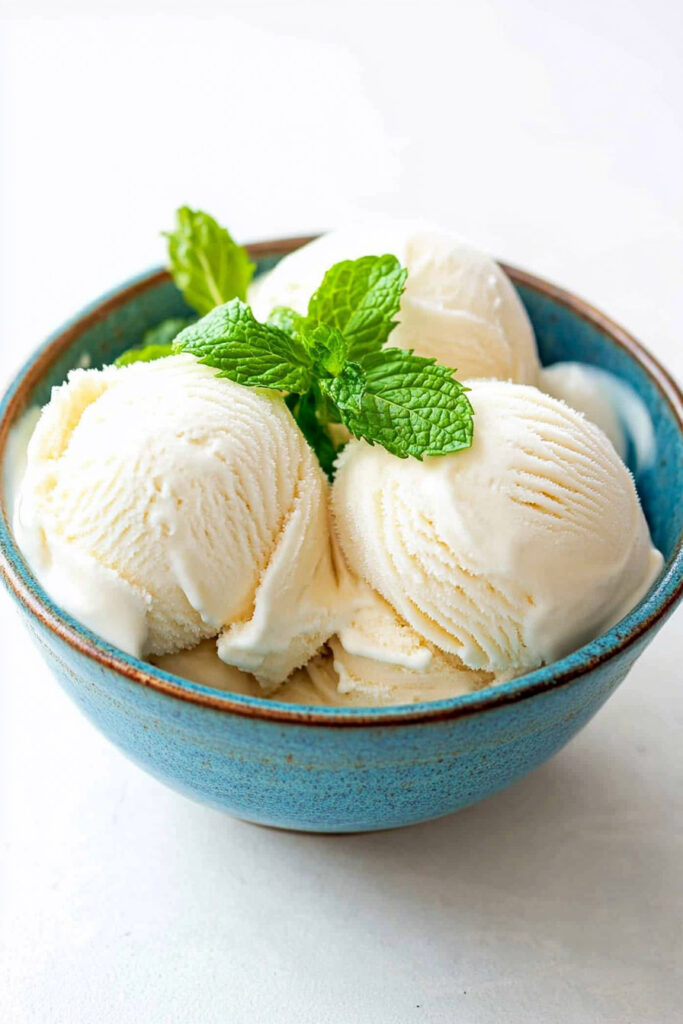
Vanilla ice cream. A simple classic that never goes out of style. It’s smooth, creamy, and just the right amount of sweet. Perfect on its own, with your favorite desserts, or topped with sprinkles and chocolate sauce. And the best part? You can make it at home with just a few fresh ingredients and a Cuisinart Ice Cream Maker. Let me show you how—it’s easier than you think!
Recipe at a Glance
Here’s what you need to know:
- Prep Time:
- Mix the base: 10 minutes
- Chill in the fridge: At least 2 hours (or overnight, if you’re patient)
- Churn time: Around 35 minutes
- Freeze to firm up: 2–6 hours
- Servings: 4 to 6 people. Want more? Double it—but make sure your ice cream maker can handle the extra.
- Difficulty: Super beginner-friendly.
- Equipment:
- Ice cream maker (Cuisinart, preferably—just freeze the bowl beforehand if it’s that type)
- A whisk or hand mixer
- Mixing bowls and measuring stuff
- Make it ahead: Prep the base a day early and churn it when you’re ready to serve.
What You’ll Need
Ingredients
- 1 cup whole milk – For that creamy foundation.
- ¾ cup sugar – Sweetness level: adjustable to taste.
- 2 cups heavy cream – The magic ingredient for richness.
- 1 tsp vanilla extract – For that classic flavor (or try vanilla bean paste for a fancy twist).
Optional Tweaks
- Want a natural sweetener? Swap the sugar for honey or maple syrup—but it might affect the texture.
- Looking for something lighter? Use half-and-half instead of heavy cream (just know it won’t be as creamy).
- Go all out with fresh vanilla beans. Scrape the seeds from one pod into the mix—it’s worth it.
Pro tip: Keep everything cold. The colder your ingredients, the smoother your ice cream.
Let’s Make It
1. Mix the Base
Whisk together the milk and sugar in a bowl. Keep at it until the sugar’s completely dissolved. No grainy bits allowed!
2. Add the Cream and Vanilla
Pour in the heavy cream and stir in the vanilla. That’s it. Your base is done.
3. Chill It
Cover the bowl and stick it in the fridge. At least 2 hours, but overnight is even better. Why? Cold ingredients churn faster and turn out smoother.
4. Churn the Ice Cream
Set up your ice cream maker (follow the manual if you’re unsure). Slowly pour the chilled mixture into the machine while it’s running. Let it churn for about 35 minutes. You’ll know it’s ready when it looks like soft serve.
Want it firmer? Pop it into an airtight container and freeze for a few hours.
5. Serve or Store
Ready to eat? Scoop it up and enjoy! If you’re saving some for later, store it in the freezer (press a layer of plastic wrap directly on the surface to keep it fresh).
Fun Ways to Customize
Dietary Tweaks
- Go dairy-free: Use full-fat coconut milk or almond milk creamer.
- Need a low-sugar version? Try using erythritol or stevia instead of sugar.
Flavor Upgrades
- Mix it up: Toss in chocolate chips, cookie crumbles, or fresh fruit during the last 5 minutes of churning.
- Get creative: Heat the milk with cinnamon or mint leaves for extra flavor. Just strain it before mixing.
Seasonal Ideas
- Summer vibes? Add fresh berries or mango on top.
- Holiday treats? Swirl in caramel or crushed peppermint candy.
How to Serve & Store
- Serving Ideas: Scoop it into cones, chilled bowls, or use it to top warm brownies or pie. It’s also amazing as an affogato (just pour hot espresso over a scoop).
- Storage: Keep it in an airtight container and press plastic wrap onto the surface to avoid freezer burn.
- Got super icy ice cream? Let it sit out for 10–15 minutes to soften before scooping.
The takeaway? Making vanilla ice cream isn’t just about dessert—it’s about the experience. You’re creating something simple, delicious, and totally unforgettable. So grab your ingredients and start churning—you’ve got this!
PrintCuisinart Vanilla Ice Cream Recipe

Creamy, rich, and delightfully simple, this homemade vanilla ice cream is a timeless treat. Made with just four ingredients, it’s perfect for serving on its own or pairing with your favorite desserts. Using a Cuisinart Ice Cream Maker ensures effortless churning and a smooth, velvety texture every time.
- Prep Time: 10 minutes
- Cook Time: 35 minutes (churning)
- Total Time: ~3 hours (including chilling and optional freezing)
- Yield: 4–6 1x
- Category: Dessert
- Cuisine: American
Ingredients
- 1 cup whole milk (chilled)
- ¾ cup granulated sugar
- 2 cups heavy cream (chilled)
- 1 teaspoon pure vanilla extract
Instructions
- Mix the Base: In a medium bowl, whisk together the milk and sugar until the sugar is fully dissolved. Stir in the heavy cream and vanilla extract until smooth.
- Chill the Mixture: Cover the bowl with plastic wrap and refrigerate for at least 2 hours or overnight for best results. This step ensures the mixture is cold enough to churn effectively.
- Churn in Ice Cream Maker: Pour the chilled mixture into your pre-frozen Cuisinart ice cream maker bowl while the machine is running. Churn for about 35 minutes or until the ice cream reaches a soft-serve consistency.
- Freeze for Firmer Texture (Optional): For a harder texture, transfer the ice cream to an airtight container and freeze for an additional 2–6 hours before serving.
- Serve and Enjoy: Scoop into bowls or cones and serve immediately, or store in the freezer for later indulgence!
Notes
Serving Suggestions:
- Serve plain or top with fresh berries, chocolate syrup, or crushed cookies. Pair with warm desserts like brownies or apple pie for a decadent treat.
Tips & Tricks:
- Pre-freeze your ice cream maker bowl for at least 12 hours to ensure proper churning.
- Use high-quality vanilla extract or vanilla bean paste for deeper flavor.
- If frozen solid, let the ice cream sit at room temperature for 10–15 minutes before scooping.
Storage Instructions:
- Store in an airtight container in the freezer for up to 2 weeks. To prevent freezer burn, press plastic wrap directly onto the surface of the ice cream before sealing.