

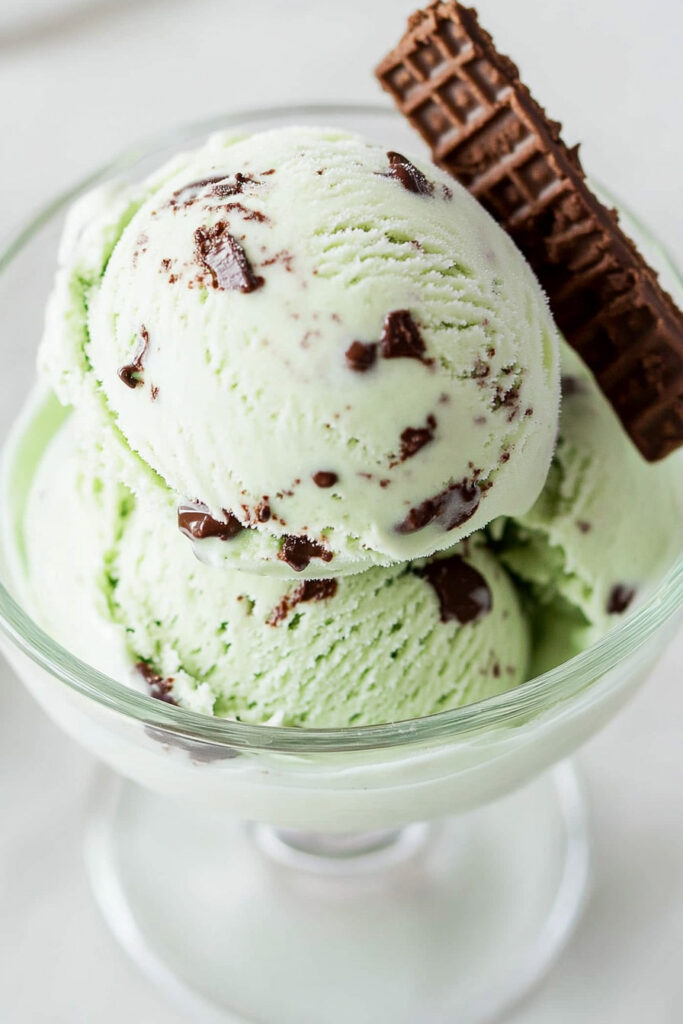
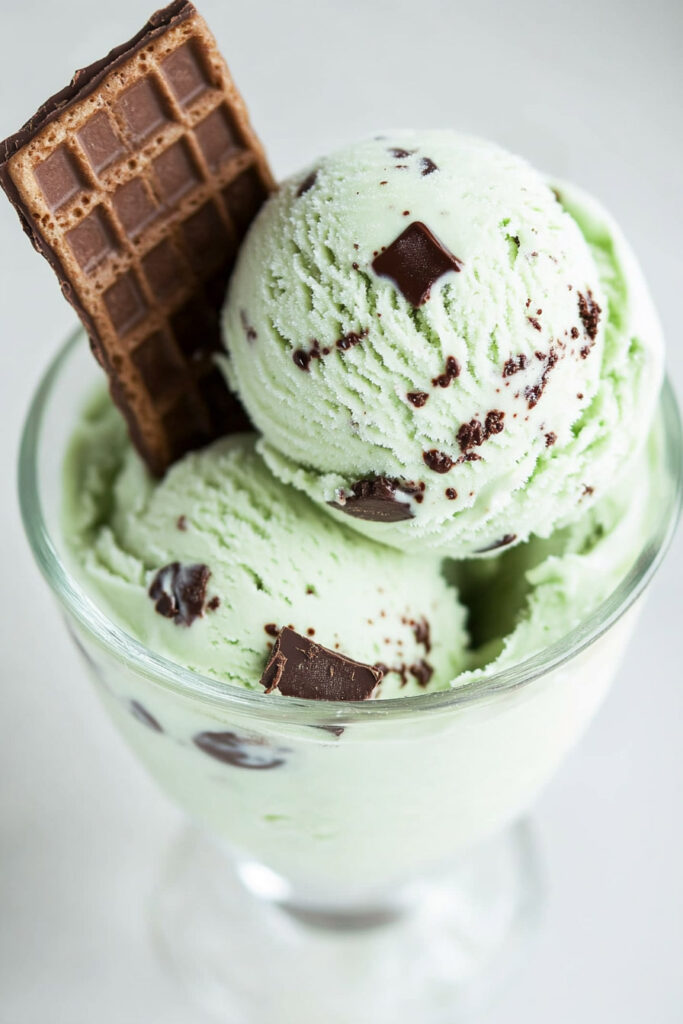
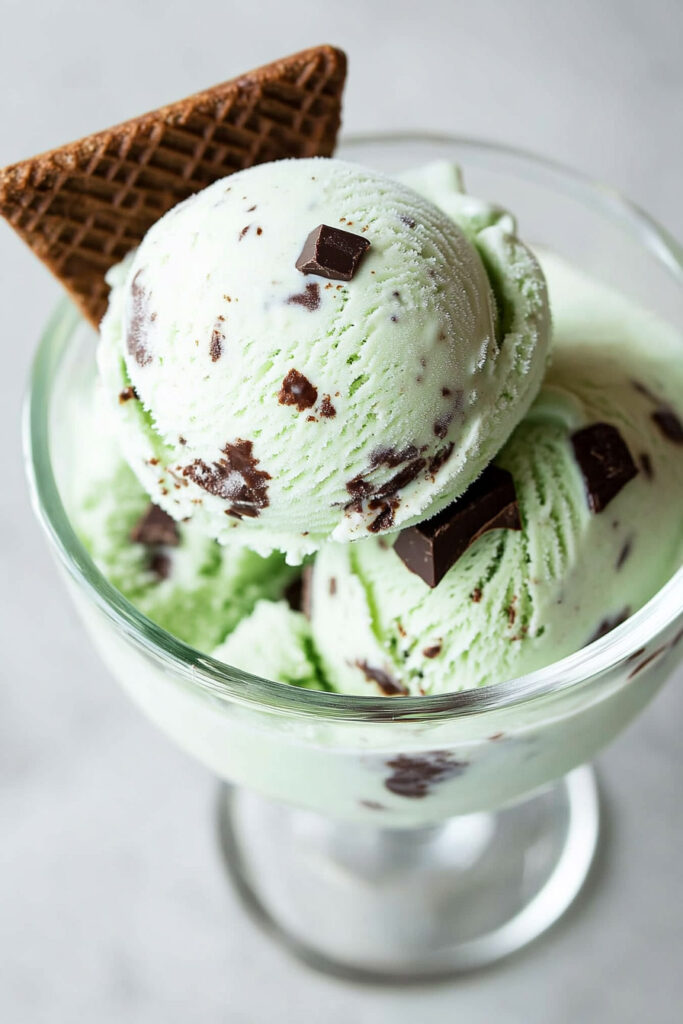
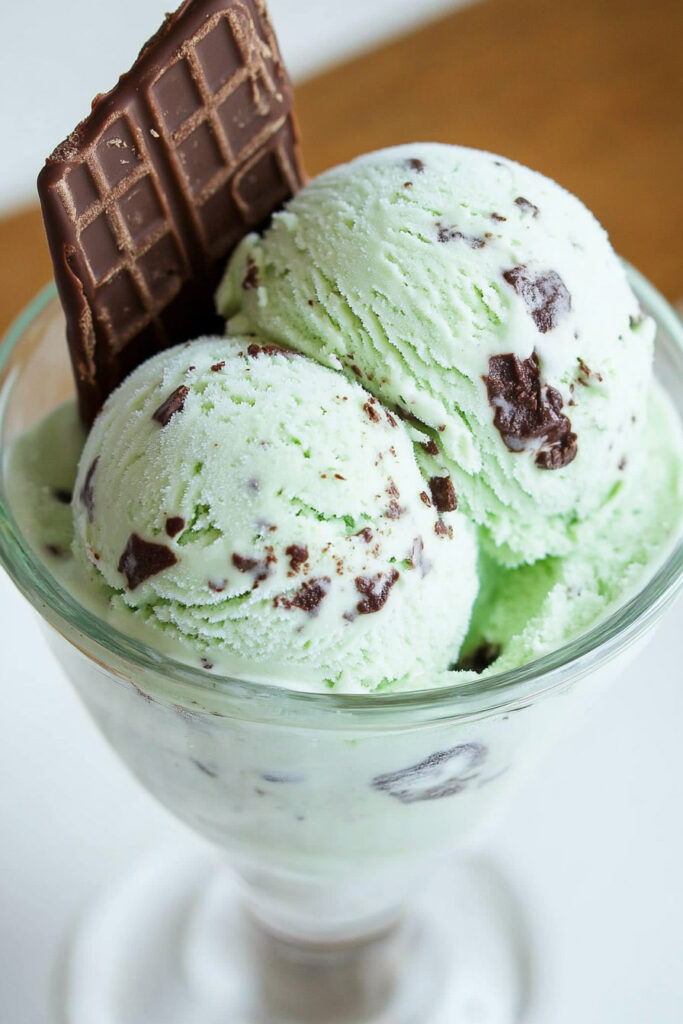
You know what’s better than eating a box of Girl Scouts Thin Mint cookies? Turning them into ice cream. Yep, you heard that right. This recipe combines the cool, minty crunch of Thin Mints with the creamy magic of homemade ice cream. The best part? It’s super easy, especially if you’ve got a Ninja Creami. Whether you’ve made ice cream before or this is your first try, this recipe will blow your mind. Bonus: it looks amazing with its minty green color.
The Basics
Time You’ll Need
- Prep time: 10 minutes
- Freeze time: At least 24 hours
- Mixing time: 5–10 minutes
Servings
One pint. That’s about 4 scoops to share—or not. Want more? Just make a couple of pints ahead of time.
Skill Level
Total beginner-friendly. The Ninja Creami makes it a breeze.
Tools You’ll Need
- Ninja Creami machine (with its pint container)
- A whisk
- A butter knife (for adding cookie chunks later)
No Ninja Creami? No worries. You can use a standard ice cream maker—just tweak as needed.
What You Need
Ingredients
- 1½ cups whole milk (for that creamy feel)
- 4 tbsp instant vanilla pudding mix (for texture)
- 1 tsp peppermint extract
- ½ cup heavy cream
- 4–6 drops green food coloring (optional but fun)
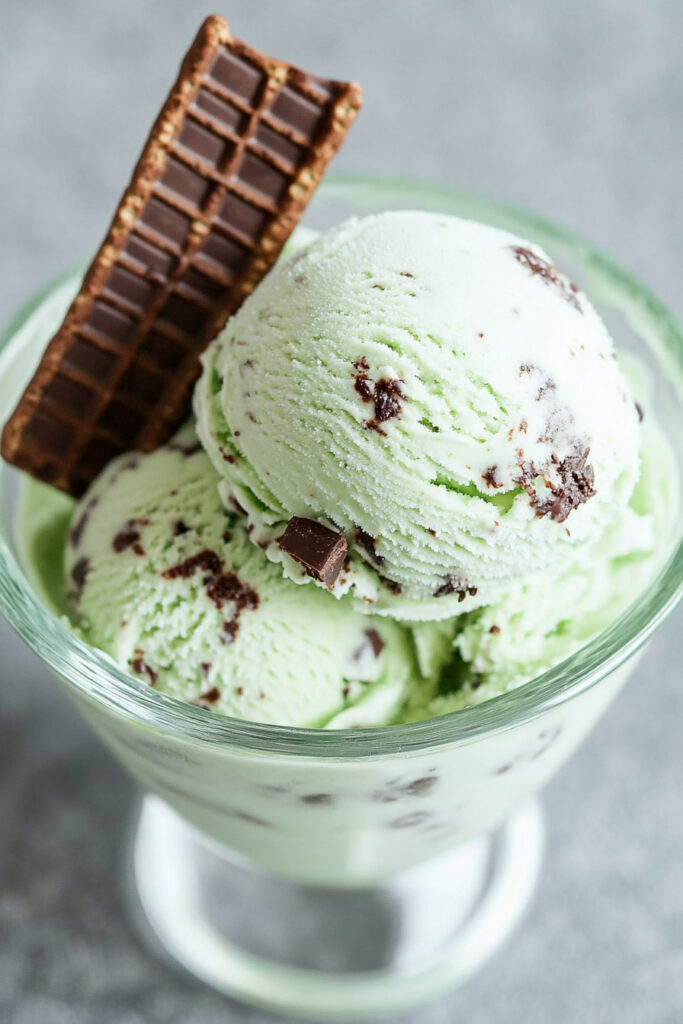
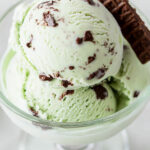
- ¼ cup Thin Mint cookies, chopped (plus extras to sprinkle on top)
Swaps & Substitutions
- Dairy-free? Use almond or oat milk and swap heavy cream for coconut cream.
- No Thin Mints? Mint Oreos or fudge mint cookies work too, but it might taste a bit different.
How to Make It
Step 1: Mix It All Up
In a large measuring cup or mixing bowl, pour the milk and whisk in the instant pudding mix until smooth—no lumps allowed! Add the peppermint extract, heavy cream, and food coloring. Whisk again until everything’s blended. The green color? Totally optional, but it gives the ice cream fun Thin Mint vibes.
Pro Tip: The pudding mix makes the texture creamy without needing eggs. Genius, right?
Step 2: Freeze It
Pour the mixture into your Ninja Creami pint container. Don’t go past the “max fill” line, or you’ll have a mess later. Pop on the lid and freeze it flat for at least 24 hours.
Heads up: If your pint freezes tilted, the machine might not churn it evenly. So keep it level.
Step 3: Turn It Into Ice Cream
Once frozen solid, pull the pint out of your freezer and take off the lid. Load it into your Ninja Creami and hit the “Ice Cream” button. Let the machine do its thing.
If the end result looks kind of crumbly or dry, don’t freak out. Just press the “Re-spin” button. Still not creamy? Add a tablespoon of milk and re-spin again.
Pro Tip: Let the frozen pint sit at room temp for 5 minutes before churning. It’ll make things easier.
Step 4: Add the Cookie Goodness
Make a small hole in the center of your ice cream with a butter knife. This is your “mix-in well.” Stuff in those chopped Thin Mint pieces and press them down a little. Pop the pint back into the machine and select the “Mix-In” function. That’s it!
Note: Don’t overdo the cookies. Too many can make the machine struggle.
Step 5: Serve It Up
Scoop your Thin Mint ice cream into bowls or cones. Feeling fancy? Add extra cookie chunks or drizzle some chocolate syrup on top. Sit back, take a bite, and enjoy.
Make It Your Own
Switch Things Up
- Gluten-free? Use gluten-free mint cookies instead.
- Vegan? Swap in almond or oat milk and coconut cream for creamy, dairy-free deliciousness.
- Milder mint? Use just ½ teaspoon of peppermint extract.
- Feeling adventurous? Add a splash of crème de menthe for a grown-up twist (adults only!).
Holiday Idea
Serve it with crushed candy canes on top. Perfect for Christmas!
Storing Leftovers
Got some leftover ice cream? Simply re-cover the pint and pop it back in the freezer. If it gets rock-solid, let it sit on the counter for 10 minutes and re-spin it in your Ninja Creami.
Final Thoughts
This Thin Mint ice cream is everything you love about the cookies—but creamier, colder, and more indulgent. Whether you’re making it for friends or treating yourself, it’s guaranteed to be a hit. So whip up a pint (or two), grab a spoon, and enjoy every minty, chocolatey bite!
PrintNinja Creami Thin Mint Ice Cream
A creamy, refreshing homemade ice cream inspired by the iconic Thin Mint cookies. Perfectly minty with chocolatey crunch, this dessert is a breeze to make with the Ninja Creami!
- Prep Time: 10 minutes
- Cook Time: 5 minutes (churning)
- Total Time: 24 hours 15 minutes (includes freezing)
- Yield: 4 1x
- Category: Dessert
- Cuisine: American
Ingredients
- 1½ cups milk (whole milk recommended)
- 4 tablespoons instant vanilla pudding mix
- 1 teaspoon peppermint extract
- ½ cup heavy cream
- 4–6 drops green food coloring (optional)
- ¼ cup chopped Thin Mint cookies (about 4–6 cookies), plus extra for garnish
Instructions
- Prepare the Base: In a mixing bowl, whisk together milk and pudding mix until fully dissolved. Stir in peppermint extract, heavy cream, and green food coloring until well combined.
- Freeze the Mixture: Pour the mixture into a Ninja Creami pint container, ensuring it doesn’t exceed the max fill line. Seal with the lid and freeze on a flat surface for at least 24 hours.
- Churn the Ice Cream: Remove the pint from the freezer and place it in the Ninja Creami’s outer bowl. Lock it into the machine and select the “Ice Cream” function. If crumbly, press “Re-spin” or add a tablespoon of milk before re-spinning.
- Add Mix-Ins: Create a well in the center of the ice cream using a butter knife. Add chopped Thin Mint cookies to the well and press down gently. Use the “Mix-In” function to incorporate them.
- Serve and Enjoy: Scoop into bowls or cones, garnish with extra cookie pieces if desired, and enjoy immediately!
Notes
Serving Suggestions:
- Top with additional cookie crumbles or drizzle with chocolate syrup for extra indulgence.
Tips & Tricks:
- For smoother texture after freezing, let the pint sit at room temperature for 5 minutes before churning.
- If you don’t have Thin Mints, use fudge mint cookies or mint Oreos as substitutes.
Storage & Reheating:
- Store leftover ice cream in its original pint container with a smooth surface to minimize air exposure.
- Re-freeze promptly and re-spin in the Ninja Creami before serving again.