

Chocolate and peanut butter. Could there be a better combo? This protein-packed ice cream is like eating a Reese’s cup—but in a creamy, guilt-free way. It’s perfect for a post-workout treat, a late-night snack, or just because you’re craving something sweet and nutritious. Ready to turn a simple protein shake into a dessert masterpiece? Let’s get started!

Quick Recipe Facts
- Active Prep: 10 minutes
- Freezing Time: 24 hours
- Serves: 1 pint (scales easily!)
- Skill Level: Easy
Tools You’ll Need:
- Ninja Creami ice cream maker
- Blender (or handheld frother)
- Measuring spoons and cups
- Ninja Creami pint container
Pro Tip: No blender? Don’t sweat it. A simple whisk works too—just takes a little more effort!
What You Need
For the Ice Cream Base:
- 1 chocolate protein shake (11.5 oz) – Creamy and packed with protein.
- 2 tbsp sugar-free chocolate fudge pudding mix – Keeps the ice cream smooth and scoopable.
- 1 tsp dark cocoa powder – Makes the chocolate flavor extra rich.
- 2 tbsp PB Fit powdered peanut butter – All the flavor, fewer calories.
Mix-Ins:
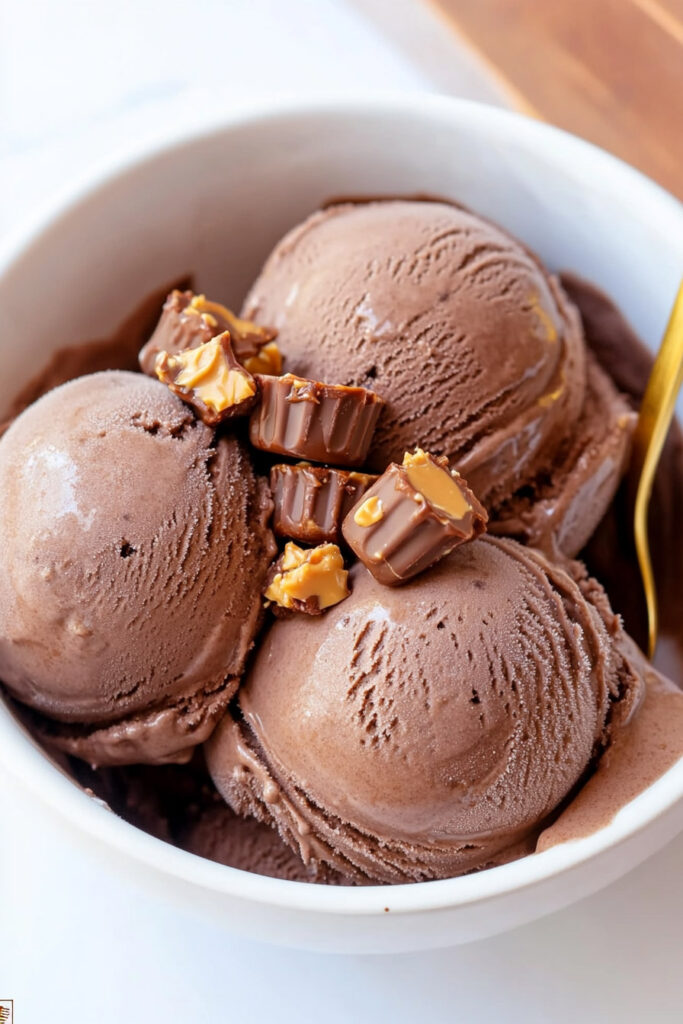
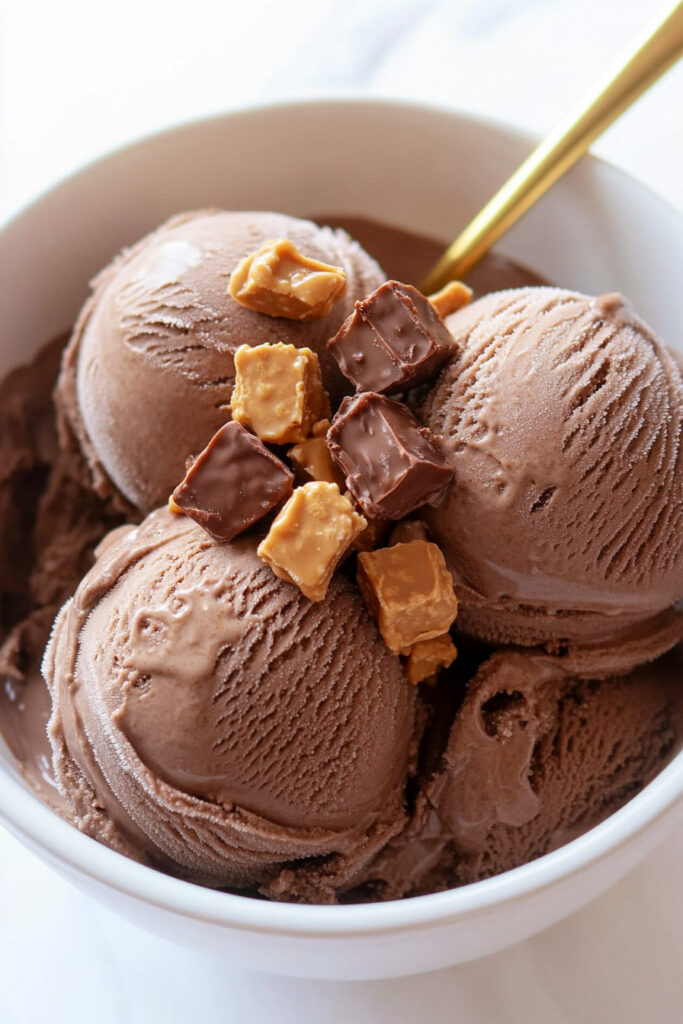
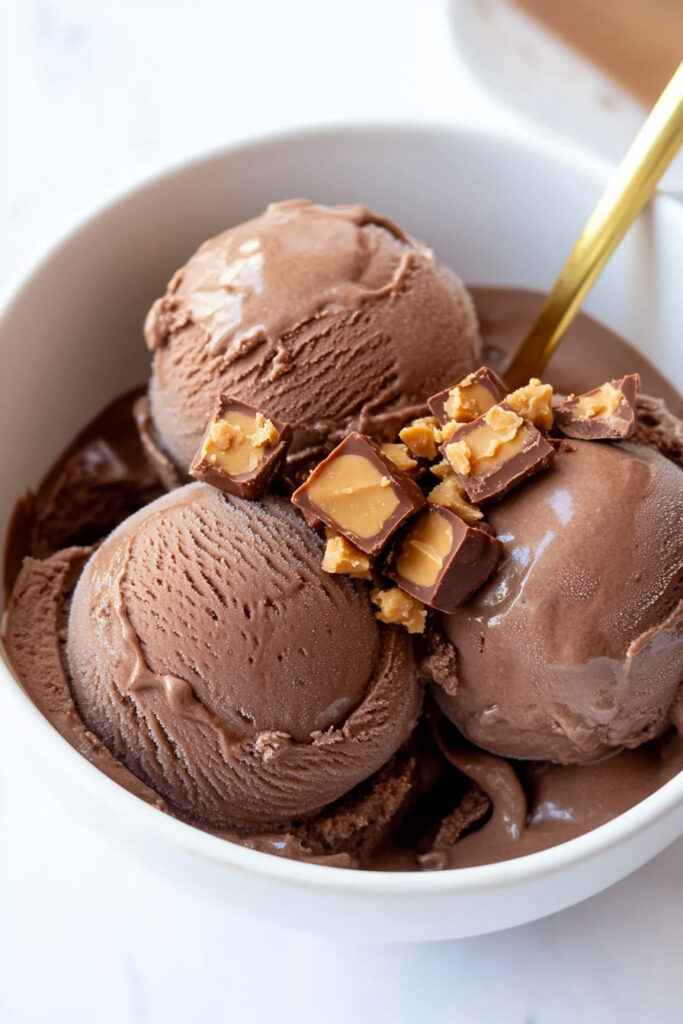
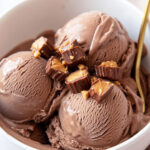
- 3 sugar-free peanut butter cups – Because chocolate and peanut butter chunks are a must.
Optional:
- 1–2 tbsp chocolate almond milk – Helps soften the ice cream if it’s too thick.
Step-By-Step Instructions
1. Blend the Base
Add the protein shake, pudding mix, cocoa powder, and powdered peanut butter to a blender. Blend until everything’s smooth and lump-free. It should look creamy and slightly thick.
Shortcut: Don’t have a blender? A handheld frother or whisk works just fine for small batches.
2. Freeze It
Pour the mixture into your Ninja Creami pint container. Freeze it uncovered for at least 24 hours. Make sure the surface freezes flat—scrape off any lumpy bits.
Pro Tip: For the best consistency, freeze your pint at -7°F to 9°F.
3. Spin It
Once frozen, place the pint in your Ninja Creami machine. Choose the “Lite Ice Cream” setting. When it’s done, check the texture—it might look dry or crumbly.
If that happens? Add a splash of chocolate almond milk and hit “Re-spin.” Keep going until it’s creamy.
4. Add the Good Stuff
Chop up your peanut butter cups into bite-sized chunks. Toss them into the ice cream and select the “Mix-ins” option. This step spreads those delicious pieces evenly throughout.
5. Enjoy!
Scoop your silky, chocolatey, peanut buttery ice cream into a bowl—or eat it straight from the pint. Feeling fancy? Drizzle some melted peanut butter or sprinkle crushed peanuts on top.
Pro Tip: Leftovers harden in the freezer—just “Re-spin” them to bring back that creamy texture.
Make It Yours
Switch Things Up:
- Dairy-Free: Use almond or oat milk instead of a protein shake.
- Vegan: Go for plant-based protein shakes and vegan peanut butter cups.
- Extra Indulgent: Swap PB Fit for regular peanut butter for a richer taste.
Fun Additions:
- Add a pinch of cinnamon or cayenne for a spicy twist.
- Mix in sugar-free chocolate chips or crushed pretzels for extra texture.
Seasonal Ideas:
- Love fall flavors? Add a dash of pumpkin spice or swap the cocoa powder for pumpkin puree.
Serving & Storing Tips
- Serving: Serve in chilled bowls for the ultimate ice cream experience. Want to take it up a notch? Pair it with a warm brownie or top it with caramel sauce.
- Storage: Keep any leftovers in the Ninja Creami pint container. When you’re ready to eat again, let it soften for 10 minutes or run it through the “Re-spin” cycle.

This recipe is proof that healthy doesn’t have to be boring. It’s chocolatey, creamy, and packed with protein—everything you need for a treat that satisfies both your cravings and your health goals. So grab your Ninja Creami and give it a spin (literally). You’ll thank yourself later!
Let me know if you’d like me to tweak anything further!
PrintNinja Creami Chocolate Peanut Butter Cup Protein Ice Cream
This creamy, protein-packed dessert combines rich chocolate and peanut butter flavors with a healthy twist. Perfect as a post-workout treat or an indulgent snack, it’s made effortlessly with the Ninja Creami for a smooth, decadent texture.
- Prep Time: 10 minutes
- Cook Time: None
- Total Time: 24 hours 10 minutes (includes freezing)
- Yield: 1 pint 1x
- Category: Dessert, High-Protein
- Cuisine: American
Ingredients
Ice Cream Base:
- 11.5 oz (326 g) chocolate protein shake
- 2 tbsp sugar-free instant chocolate fudge pudding mix
- 1 tsp dark cocoa powder
- 2 tbsp PB Fit powdered peanut butter
Mix-ins:
- 3 zero-sugar peanut butter cups
Optional:
- 1–2 tbsp chocolate almond milk (for respin consistency)
Instructions
- Blend the Base: Combine the chocolate protein shake, pudding mix, cocoa powder, and PB Fit in a blender. Blend until smooth and fully combined.
- Freeze: Pour the mixture into a Ninja Creami pint container. Freeze uncovered on a flat surface for 24 hours at -7°F to 9°F.
- Process in Ninja Creami: After freezing, place the pint in the machine and process using the “Lite Ice Cream” setting. If crumbly, add 1–2 tbsp of chocolate almond milk and respin until creamy.
- Add Mix-ins: Chop the peanut butter cups and add them to the ice cream. Use the “Mix-ins” setting to evenly distribute them throughout.
- Serve: Scoop into a bowl or enjoy directly from the pint!
Notes
Serving Suggestions:
- Top with crushed peanuts, a drizzle of melted peanut butter, or sugar-free chocolate syrup for extra indulgence.
Tips & Tricks:
- Let the pint sit at room temperature for 5–10 minutes before processing for smoother results.
- Use a hand frother if you don’t have a blender for mixing the base.
Storage & Reheating:
- Store leftovers in the Ninja Creami pint with a lid. Reprocess using “Re-spin” before serving.
- If not reprocessing, let sit at room temperature for about 10 minutes to soften.