

There’s something special about homemade vanilla ice cream. It’s rich, creamy, and packed with that true vanilla flavor you just don’t get from store-bought tubs. And if you’ve got a Ninja Creami, you’re in for a treat. This gadget makes whipping up a pint of this classic dessert ridiculously easy. Whether you eat it plain or dress it up with toppings, this recipe might just become your new favorite.
A quick fun fact: Did you know vanilla has its roots in ancient Mexico? The Aztecs used it to flavor their cacao drinks (fancy hot chocolate). Now, it’s everywhere, but this recipe takes things up a notch by using vanilla bean paste. Why? Because the flavor is unbeatable, and those little black flecks? They’re pure gold.
Ready? Let’s get started.
Why You’ll Love This Recipe
- No cooking, no fuss. Just mix, freeze, churn, and enjoy.
- Perfect for beginners. Trust me, you can’t mess this up.
- Super customizable. Swap ingredients, tweak flavors, go wild with toppings.
- Only 5 minutes of prep—seriously!
What You’ll Need
Ingredients
- ½ Tablespoon Cream Cheese (leave it out to soften or microwave for 10 seconds)
- ⅓ Cup Granulated Sugar
- 1 Teaspoon Vanilla Bean Paste (or pure vanilla extract if needed)
- ½ Cup Heavy Cream
- 1¼ Cups Whole Milk
Quick Substitutes:
- No vanilla bean paste? Use vanilla extract. It’ll still be delicious, just less intense.
- Prefer less dairy? Use almond milk or coconut cream.
- Not a fan of cream cheese? Add ¼ teaspoon guar gum for creaminess instead.
Equipment
- Ninja Creami machine
- Blender, whisk, or even a fork
- A freezer-safe container (the Ninja Creami pint container works best)
No blender? No problem. A whisk or fork works fine—just stir thoroughly!
The Process
Step 1: Mix It Up
Start by mixing the softened cream cheese and sugar in a bowl or blender. Blend until smooth—no lumps allowed! Then, slowly pour in the heavy cream, milk, and vanilla bean paste. Stir or blend until it’s all combined. That’s your ice cream base!
Pro Tip: Stir slowly at first if you’re whisking by hand. Splash zones are real.
Step 2: Freeze
Pour the mixture into your Ninja Creami pint container. Don’t go past the max fill line—it’s there for a reason! Pop the container into your freezer (no lid yet) and let it sit for 24 hours. The result? A rock-solid ice cream base.
Freezer Tip: Make sure your freezer is between -7°F and 9°F (-22°C to -13°C). Too cold or too warm, and you might not get the texture you want.
Step 3: Churn Away
The magic happens here! Take the container out of the freezer, place it in the Ninja Creami, and lock it in. Hit the “Ice Cream” button and let the machine do its thing.
If it looks crumbly after the first spin, don’t panic. Add 1–2 tablespoons of milk and re-spin until it’s perfectly creamy.
Step 4: Scoop and Enjoy
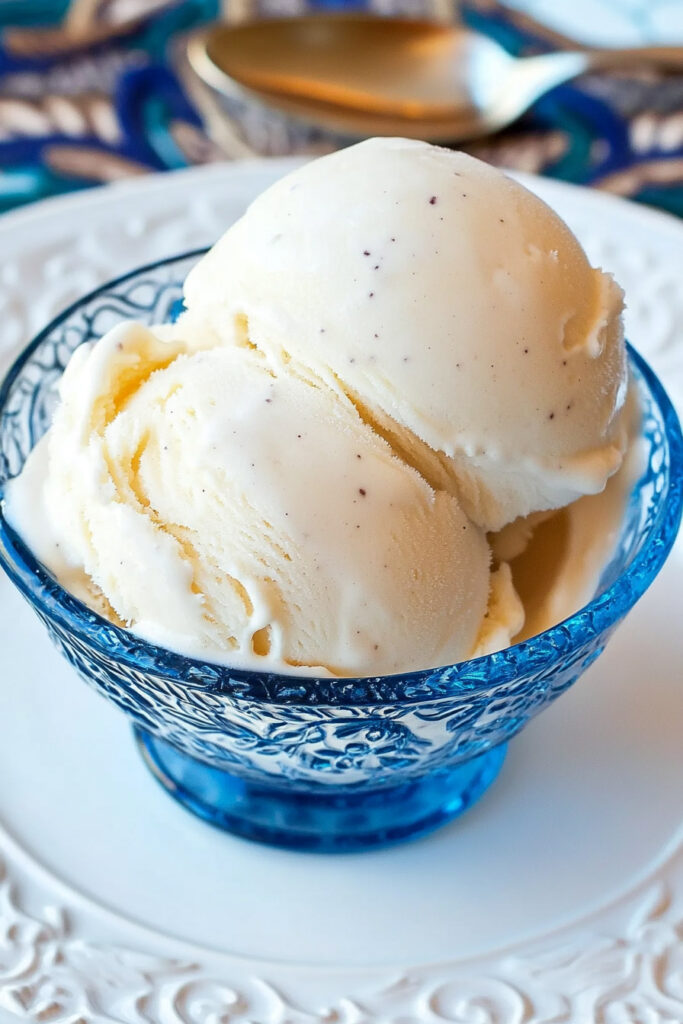
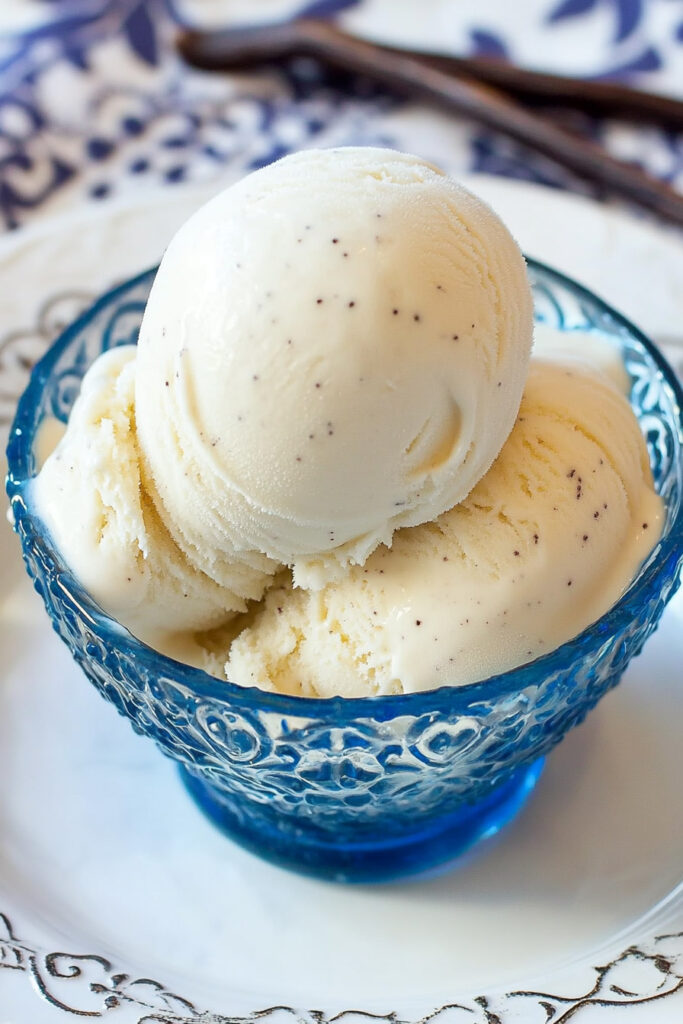
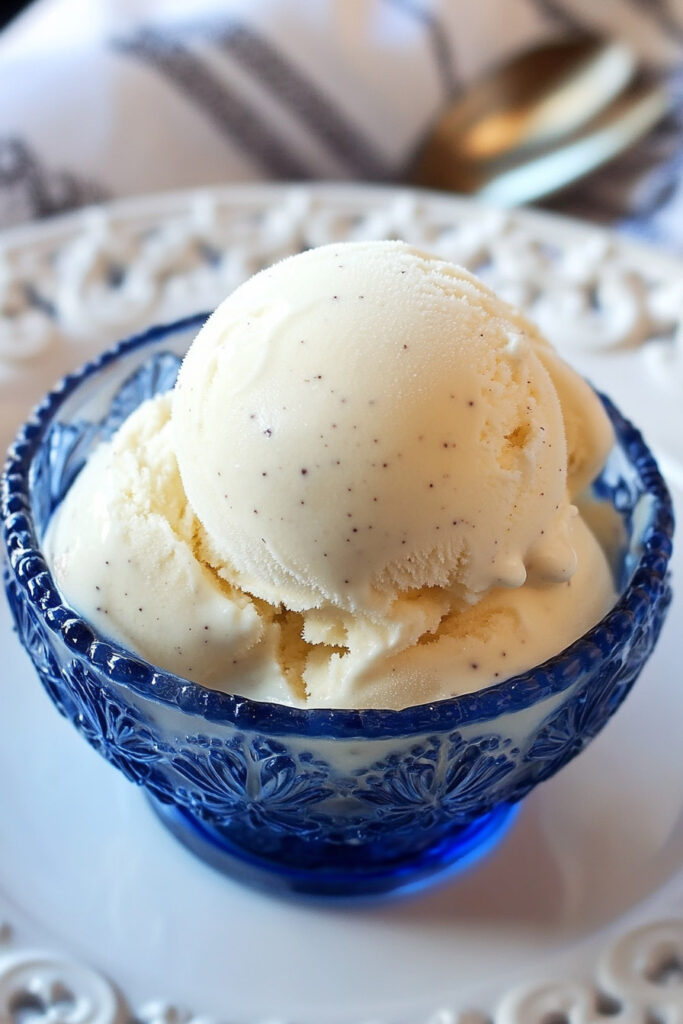
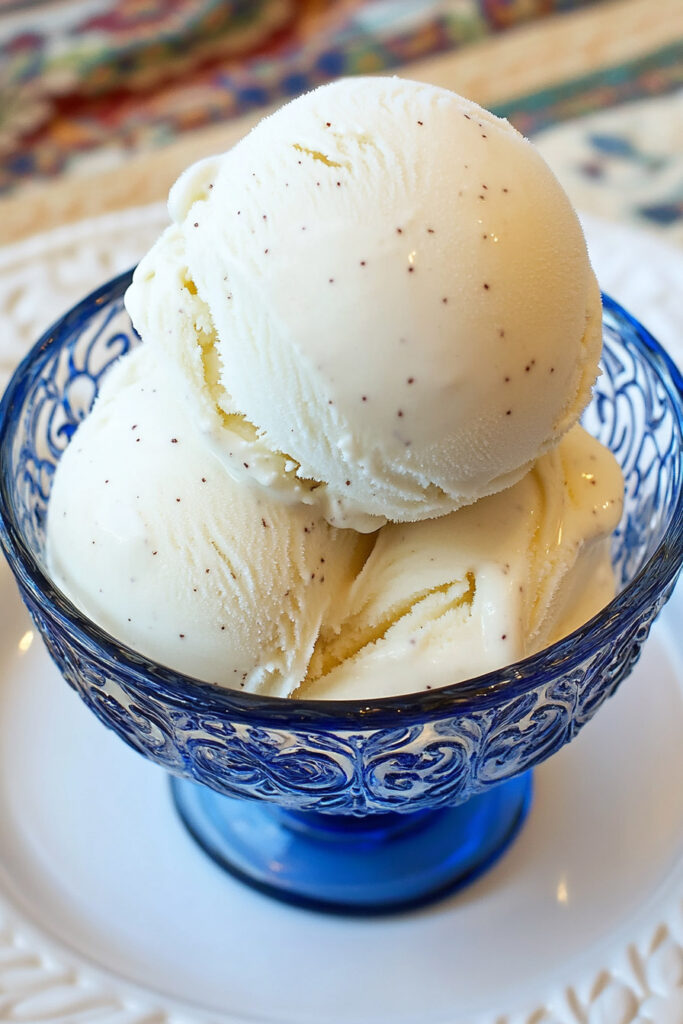
Time to dig in! Serve the ice cream in bowls, cones, or even between cookies for an ice cream sandwich. It’s rich, smooth, and downright irresistible.
Leftovers Tip: Stir in a little food-grade vegetable glycerin during prep to keep it scoopable straight from the freezer.
Need Some Inspiration?
Variations
- Low-Sugar Option: Use monk fruit or erythritol instead of sugar.
- Spiced Up: Add cinnamon or nutmeg for cozy fall vibes.
- Elegant Touch: Top with fresh berries, caramel drizzle, or chocolate shavings.
- Seasonal Fun: In summer, swirl in puréed fruit. For fall, mix in spiced pumpkin puree.
Dietary Modifications
- Gluten-Free? This recipe already is.
- Vegan? Swap out the dairy for almond milk or coconut cream, and use vegan cream cheese.
Serving & Storing
How to Serve
Want to wow your guests? Scoop the ice cream into fancy bowls and garnish with mint leaves, berries, or chocolate curls. Or, keep it simple—nothing wrong with a cone or plain ol’ bowl of vanilla.
Storing Leftovers
Store any extras in the Ninja Creami pint container with the lid on tight. Ice cream tends to harden over time, so let it thaw for 5–10 minutes before scooping. Never microwave it—just let it soften naturally.
Final Thoughts
Making homemade vanilla bean ice cream with the Ninja Creami is more than just dessert—it’s an experience. It’s simple, rich, and totally customizable. Plus, the satisfaction of saying, “I made this!” is unbeatable.
So grab your ingredients, fire up that Ninja Creami, and treat yourself. Because honestly? You deserve it. Happy scooping!
PrintNinja Creami Vanilla Bean Ice Cream

A creamy, rich, and indulgent homemade vanilla bean ice cream made effortlessly with the Ninja Creami. Perfect for dessert lovers looking to elevate their sweet treats with a burst of real vanilla flavor and a smooth, luscious texture.
- Prep Time: 5 minutes
- Cook Time: None
- Total Time: ~24 hours 5 minutes (Freezing Time: 24 hours)
- Yield: 1 pint 1x
- Category: Dessert
- Cuisine: American
Ingredients
- ½ tablespoon cream cheese (room temperature)
- ⅓ cup granulated sugar
- 1 teaspoon vanilla bean paste
- ½ cup heavy whipping cream
- 1¼ cups whole milk
Instructions
- Blend the Base: In a blender or mixing bowl, combine softened cream cheese, sugar, vanilla bean paste, heavy whipping cream, and whole milk. Blend until smooth and fully combined.
- Freeze the Mixture: Pour the mixture into a Ninja Creami pint container, ensuring it is level and does not exceed the max fill line. Freeze on a flat surface for 24 hours without the lid to prevent bumps on top.
- Process in the Ninja Creami: After freezing, place the pint container into the outer bowl of the Ninja Creami machine. Lock it in place and select the “Ice Cream” setting.
- Adjust Texture (if needed): If the ice cream looks crumbly after processing, add 1–2 tablespoons of milk and re-spin until creamy. Repeat as necessary for desired texture.
- Serve and Enjoy: Scoop into bowls or cones and savor your homemade vanilla bean ice cream!
Notes
Serving Suggestions:
- Pair with warm brownies, apple pie, or fresh berries for a decadent dessert.
- Add toppings like chocolate chips or caramel drizzle for extra indulgence.
Tips & Tricks:
- For smoother texture, ensure all ingredients are well-blended before freezing.
- Use high-quality vanilla bean paste for intense flavor and beautiful speckles in your ice cream.
Storage & Reheating:
- Store leftovers in an airtight container in the freezer for up to one week. Let sit at room temperature for 5–10 minutes before scooping to soften naturally—avoid microwaving.