

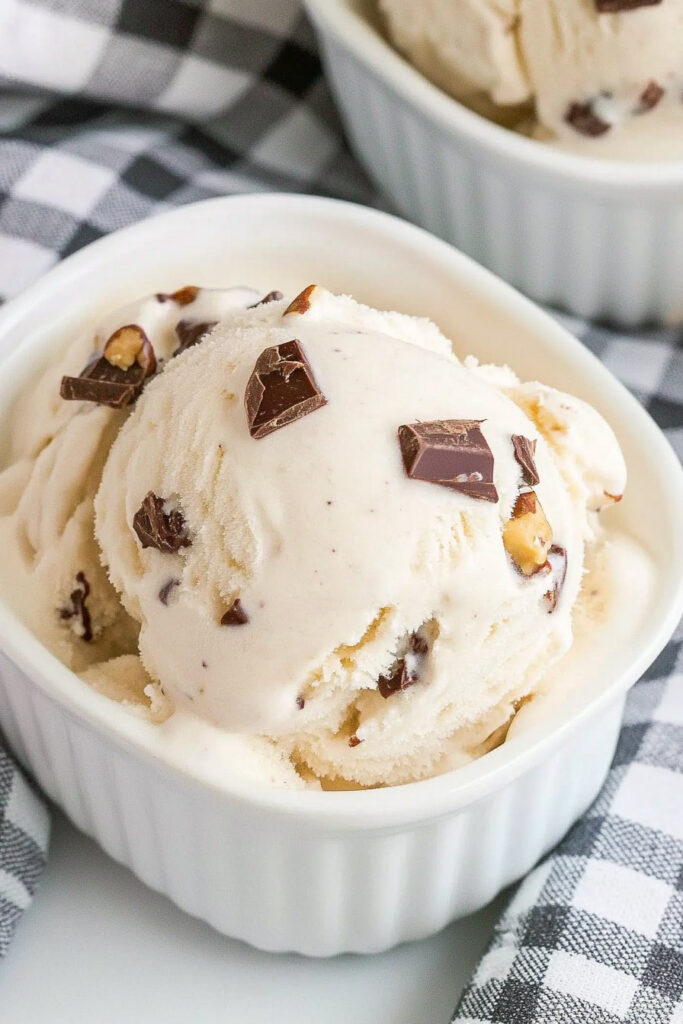
Love Ben & Jerry’s Chunky Monkey? You’re in for something amazing! This homemade version is packed with creamy banana bliss, crunchy walnuts, and rich chocolate chunks—everything you adore, made fresh in your own kitchen. The best part? It’s super simple, so whether you’re a pro or just starting out, this recipe’s a win.
Let’s jump in and whip up some deliciousness!
What You Need to Know
Time Breakdown
- Prep time: Around 10 minutes
- Freezing time: 24 hours (yep, it’s worth the wait)
- Total time: Just over 24 hours
How Much It Makes
This recipe gives you about 1 pint, which is great for two small servings—or one big indulgent bowl if you’re not sharing! Want more? Go ahead and double or triple the recipe, but freeze each batch in separate pint containers.
Is It Easy?
Absolutely. This one’s beginner-friendly. The Ninja Creami really does all the hard work for you.
What You’ll Need
- A Ninja Creami machine
- A freezer-safe container (like the Ninja Creami pint container)
- An immersion blender (or a regular blender)
- Basic measuring tools
Don’t Have a Blender? A fork or potato masher works fine for mashing bananas—it just might not be as silky smooth.
Ingredients
Here’s what you’ll need:
- 2 small ripe bananas (mash them up)
- ½ cup whole milk
- ½ cup heavy cream
- 1 tsp vanilla extract
- 1 tbsp maple syrup (optional, depending on your sweetness preference)
- ¼ cup chocolate chunks (chop them up)
- 2 tbsp walnuts (also chopped)
Want to Switch Things Up?
- Need it dairy-free? Use oat milk and coconut cream instead.
- No maple syrup? Honey, agave, or even a sugar-free sweetener like stevia works great.
- Prefer pecans over walnuts? Go for it. Or skip the nuts entirely if allergies are a concern.
Pro Tip: Make sure your bananas have plenty of brown spots—they’re sweeter and more flavorful that way. And for a richer chocolate taste, use chunks with at least 60% cocoa.
How to Make It
Step 1: Mix the Base
Mash your bananas in a bowl until smooth. Then add the milk, cream, vanilla, and (if needed) maple syrup. Mix it all up in your pint container. For a creamy texture, blend it with an immersion blender—but if you like it chunkier, leave a few banana bits in there.
Bonus Tip: Taste the mix at this stage. If you want it sweeter, now’s the time to adjust.
Step 2: Freeze It
Pop the lid on your container and set it flat in the freezer. Let it freeze solid—at least 24 hours.
Heads-Up: Don’t cut corners on the freezing time. Less than 24 hours might mess with the texture later on.
Step 3: Process in Your Ninja Creami
Take the container out of the freezer and remove the lid. Lock it into your Ninja Creami and hit the “Ice Cream” button. Wait for the magic to happen!
Quick Fix: If your ice cream looks crumbly after the first run, don’t stress—just use the “Re-spin” function to make it creamy.
Step 4: Add Your Mix-Ins
Make a small well in the center of the processed ice cream. Toss in your chocolate chunks and walnuts. Run the “Mix-In” function to blend everything together.
Pro Tip: Press the mix-ins gently into the ice cream before starting the machine. It helps everything blend better.
Ways to Customize
For Special Diets
- Vegan? Use plant-based milk and dairy-free chocolate chips.
- Nut-Free? Skip the walnuts or swap them for sunflower seeds.
Put Your Spin On It
- Add a dash of cinnamon or nutmeg to boost the banana flavor.
- Toss in fresh berries for a summery twist.
- Drizzle some melted dark chocolate on top for a fancier finish.
Serve It Up

How to Dish It Out
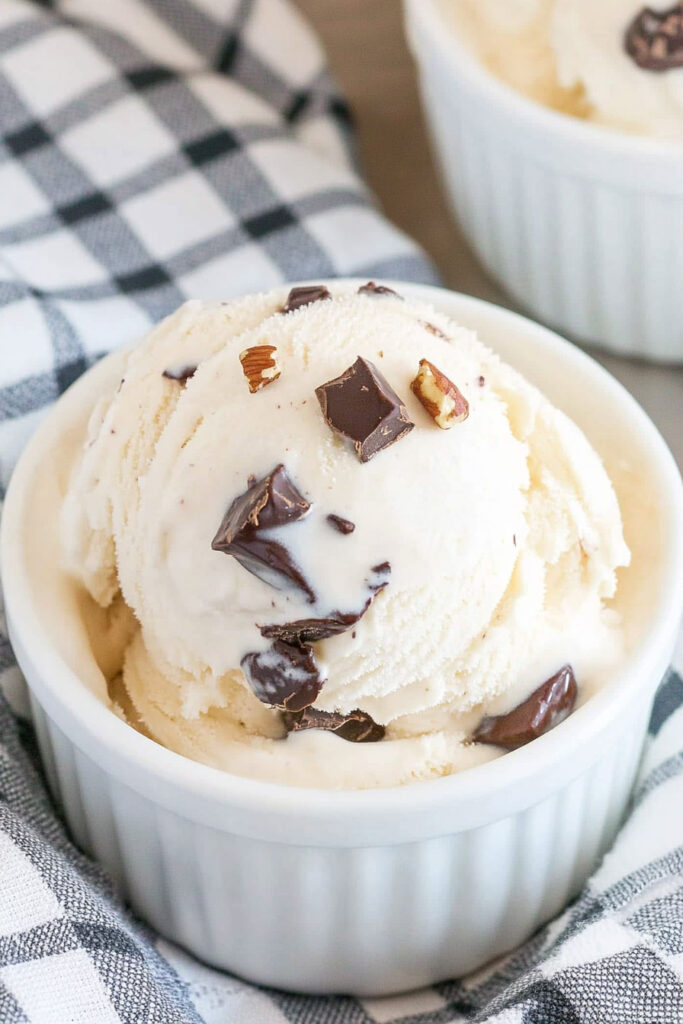
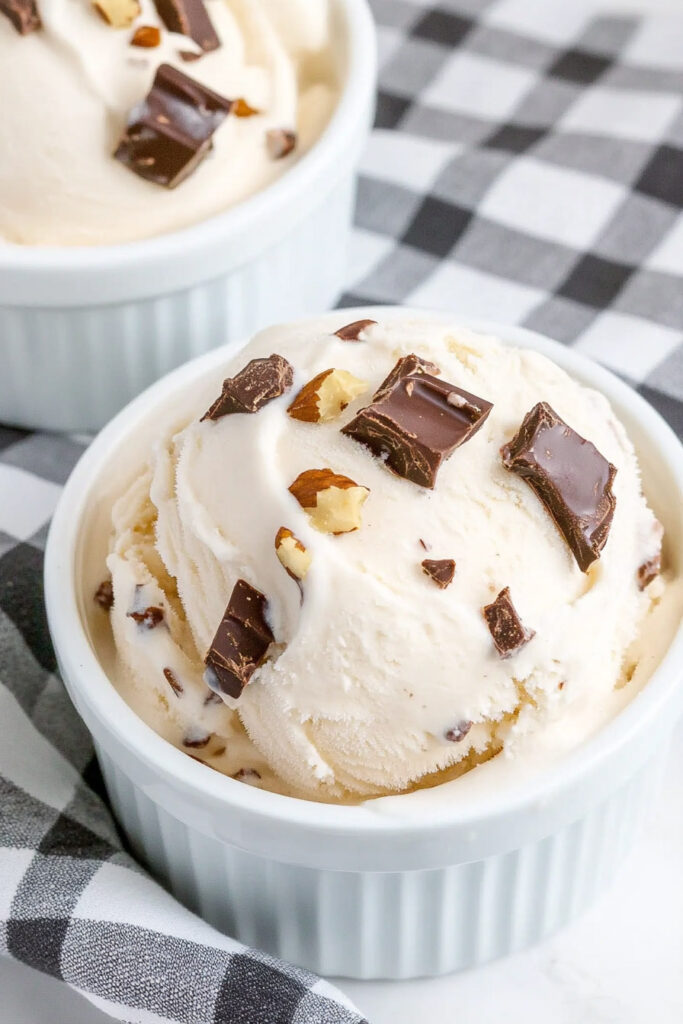
Scoop your ice cream into a bowl or a waffle cone. Sprinkle extra chocolate chunks or walnuts on top if you’re feeling fancy.
Make It Even Better
Pair your ice cream with warm brownies or banana bread. It’s heavenly.
Leftovers? No Problem
Store any extras in the same container and keep it in the freezer. It stays good for about a week. Just let it soften at room temperature for 5 minutes before scooping.
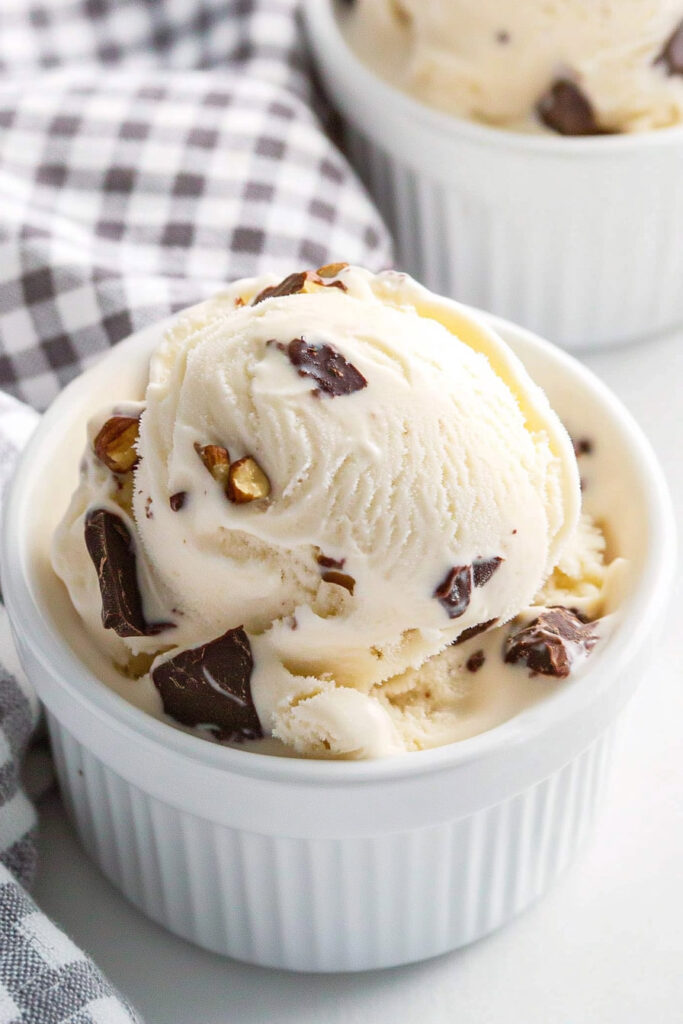
So there you have it—your own homemade Chunky Monkey ice cream! It’s creamy, loaded with goodies, and totally customizable. Whether you’re recreating a classic or trying something new, this recipe is sure to hit the spot every time. Enjoy!
PrintNinja Creami Copycat Chunky Monkey Ice Cream

This creamy, dreamy homemade Chunky Monkey ice cream is a perfect copycat of the beloved Ben & Jerry’s classic. Packed with ripe bananas, crunchy walnuts, and rich chocolate chunks, this recipe is easy to make with the Ninja Creami and customizable for any dietary preference. A treat that’s as indulgent as it is simple!
- Prep Time: 10 minutes
- Cook Time: None
- Total Time: Total Time: 24 hours 10 minutes (Freeze Time: 24 hours)
- Yield: 1 pint (2 small servings or 1 generous serving) 1x
- Category: Dessert
- Cuisine: American
Ingredients
- 2 small ripe bananas, mashed
- ½ cup whole milk
- ½ cup heavy whipping cream
- 1 tsp vanilla extract
- 1 tbsp maple syrup (optional)
- ¼ cup chopped chocolate chunks
- 2 tbsp chopped walnuts
Instructions
- Prepare the Base: Mash bananas in a bowl until smooth. Combine with whole milk, heavy cream, and vanilla extract in a Ninja Creami pint container. Blend with an immersion blender or stir until smooth. Taste and add maple syrup if needed for extra sweetness.
- Freeze: Secure the lid and place the pint on a flat surface in your freezer for at least 24 hours until solid.
- Process Ice Cream: Remove the frozen pint from the freezer and insert it into the Ninja Creami machine. Lock it in place and select the “Ice Cream” function. If the texture is crumbly after processing, use the “Re-spin” function to achieve creaminess.
- Add Mix-Ins: Create a small well in the center of the ice cream and add chocolate chunks and walnuts. Use the “Mix-In” function to evenly incorporate them into the ice cream.
- Serve & Enjoy: Scoop into bowls or cones, garnish with extra chocolate chunks or walnuts, and enjoy immediately!
Notes
Serving Suggestions
- Serve with warm brownies or banana bread for an indulgent pairing.
- Add a drizzle of melted dark chocolate or caramel for extra flair.
Tips & Tricks
- Use ripe bananas for natural sweetness and optimal flavor.
- If ice cream feels too crumbly after processing, add 1 tablespoon of milk and re-spin before adding mix-ins.
Storage & Reheating
- Store leftovers in the same pint container with a tight lid for up to one week in the freezer.
- Let sit at room temperature for 5 minutes before serving to soften slightly if stored longer than a few days.