
Have you ever looked at a perfectly ripe avocado on your counter and thought, this belongs in a dessert?
If not, you are about to discover a major kitchen secret.
People in Southeast Asia and South America have used avocados in sweet treats for generations. Long before it became a trendy health food. It turns out the natural fat and buttery texture make it the perfect match for rich, dark cocoa.
I recently asked ChatGPT to write me a recipe for this, but the instructions felt way too robotic. I fell in love with this dessert because it changes how we look at treats. It combines healthy plant fats with deep chocolate flavor. The result? Pure magic.
The best part is that everyone can eat it. It works if you are low-carb, dairy-free, or just love chocolate.
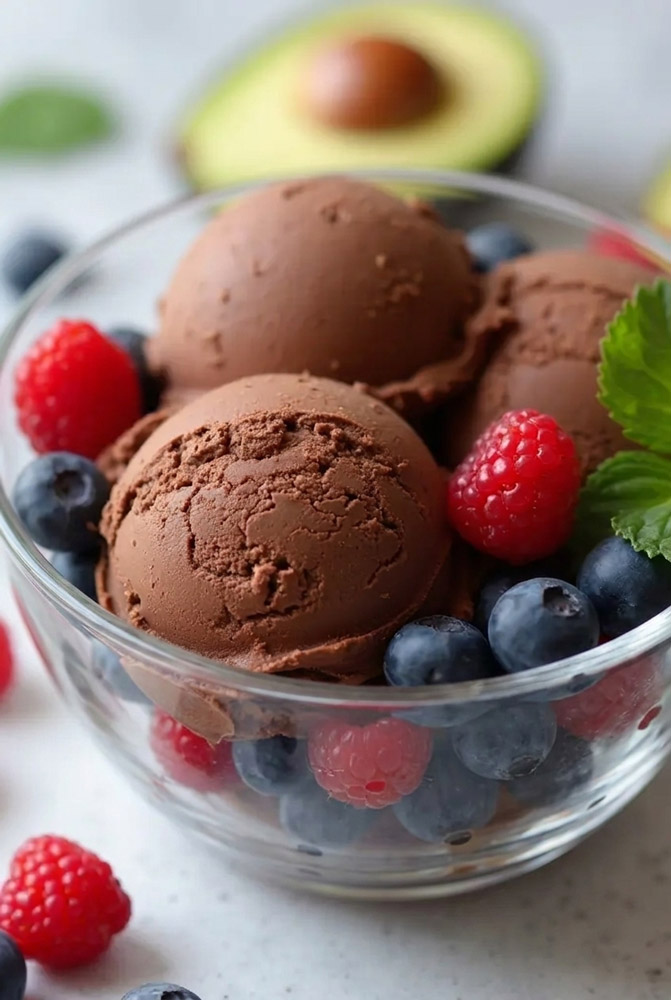
What to Expect Before We Start
This is a super fast recipe. You only need five minutes of active prep time with your blender. If you use an ice cream maker, the churning takes about 32 minutes. That means you go from start to finish in just 37 minutes.
This recipe makes four good servings. Want more? You can easily double the ingredients. Just make sure your blender is big enough.
Making this is incredibly easy. There are no complicated eggs to cook and no risk of ruining the milk. You just need a good blender or food processor and a standard ice cream maker.
Don’t have an ice cream machine? No worries. You can still make this by hand, and I will show you how.
You can also make the base ahead of time. Just blend it up to two days before your party, keep it in the fridge, and churn it right before guests arrive.
The Simple Ingredients
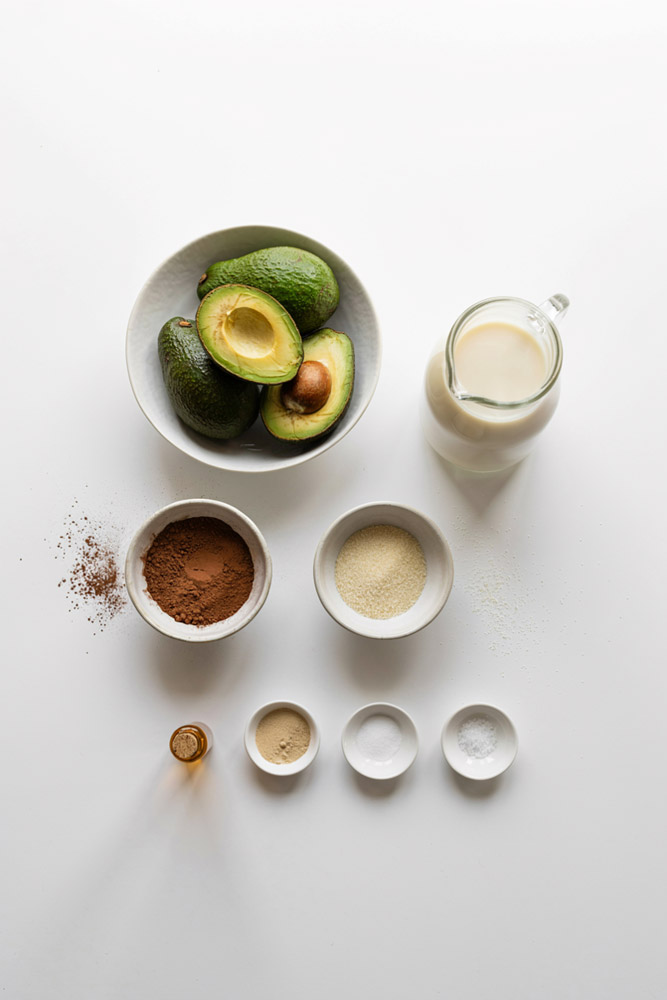
The beauty of this recipe is that it uses simple, whole foods.
- 3 Medium Hass Avocados: They must be perfectly ripe. They should feel soft when you squeeze them gently. Avoid overripe ones with brown streaks inside. Those taste too savory, and you can’t hide that flavor.
- 1 1/2 Cups Coconut Milk: Use full-fat canned milk to keep it vegan. The fat mimics heavy cream to keep things velvety. If you hate coconut, use heavy whipping cream or oat milk instead.
- 3/4 Cup Cocoa Powder: Go for a high-quality Dutch-process cocoa. It has less acid, which gives you a darker color and a smoother taste.
- 6 Tablespoons Sweetener: I use a low-carb sweetener like erythritol to keep it light. If you don’t care about carbs, use regular sugar or maple syrup.
- 3/16 Teaspoon Stevia: This is about six tiny scoops. It adds an extra layer of sweetness to cut the bitter cocoa.
- 1 Teaspoon Vanilla & 1/2 Teaspoon Salt: Never skip these. Vanilla adds depth. Salt makes the chocolate taste way richer.
- 1 Teaspoon Gelatin or Arrowroot: This is our secret weapon. It stops ice crystals from forming. Use arrowroot to keep it vegan.
Step-by-Step Guide
Step 1: Blend the Base
Slice your avocados, drop the pits, and scoop the green flesh into your blender. Pour in the coconut milk, cocoa powder, sweeteners, vanilla, salt, and thickener.
Start blending on low to break up the fruit. Then, crank it up to high. Blend for two to three minutes. Stop halfway through to scrape down the sides with a spatula. You don’t want any dry cocoa or green chunks left behind.
You are looking for a total change. The mixture should go from a chunky mess into a thick, glossy chocolate pudding. It should look shiny and smell amazing.
Quick tip: If your low-carb sweetener is grainy, blend it by itself first until it turns into a powder. This keeps your ice cream from feeling gritty.
Step 2: Chill the Mix
You can pour the mix straight into your machine now. But for the best results, cover it and put it in the fridge for two hours first.
Why? A cold base freezes much faster. The faster it freezes, the smaller the ice crystals. That means your dessert will taste incredibly smooth.
Step 3: Churn It
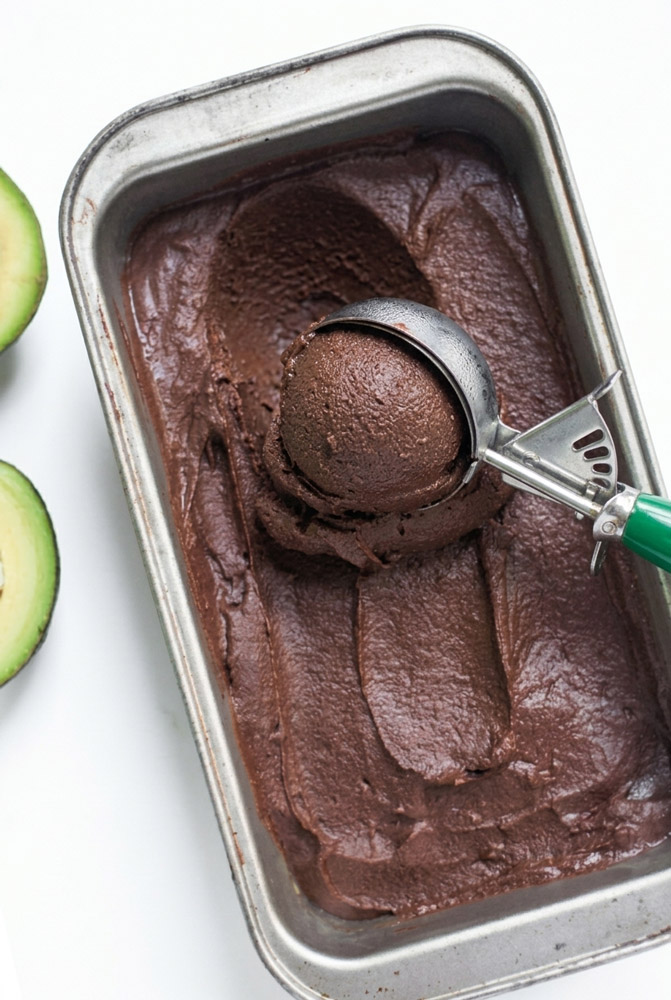
Pour the cold mix into your frozen ice cream bowl. Turn the machine on and let it run for about 32 minutes.
Don’t overfill the bowl. The mix expands as air gets trapped inside. Your ice cream is done when it looks like soft-serve. It should hold its shape on a spoon.
Step 4: The Final Freeze
You can eat it right away as soft-serve. But if you want hard ice cream, scoop it into a shallow container. Smooth the top, seal it tight, and put it in the freezer for a few hours.
Fun Ways to Change It Up
This recipe is very easy to change based on your mood.
Want to impress your friends at a dinner party? Add a tablespoon of cold, strong espresso. The coffee notes make the chocolate taste even deeper.
You can also change it for the seasons. In the fall, add a dash of cinnamon and cayenne pepper for a Mexican hot chocolate vibe. In the summer, mix in fresh raspberries or mint leaves during the last two minutes of churning.
If you like a good crunch, treat the base like a blank canvas. Fold in toasted almonds, coconut flakes, or dark chocolate chunks right before freezing.
How to Serve and Store
Plant fats get very hard in the freezer. Because of this, your ice cream might turn rock-solid.
The fix is simple. Let the container sit on your counter for 5 to 10 minutes before you scoop.
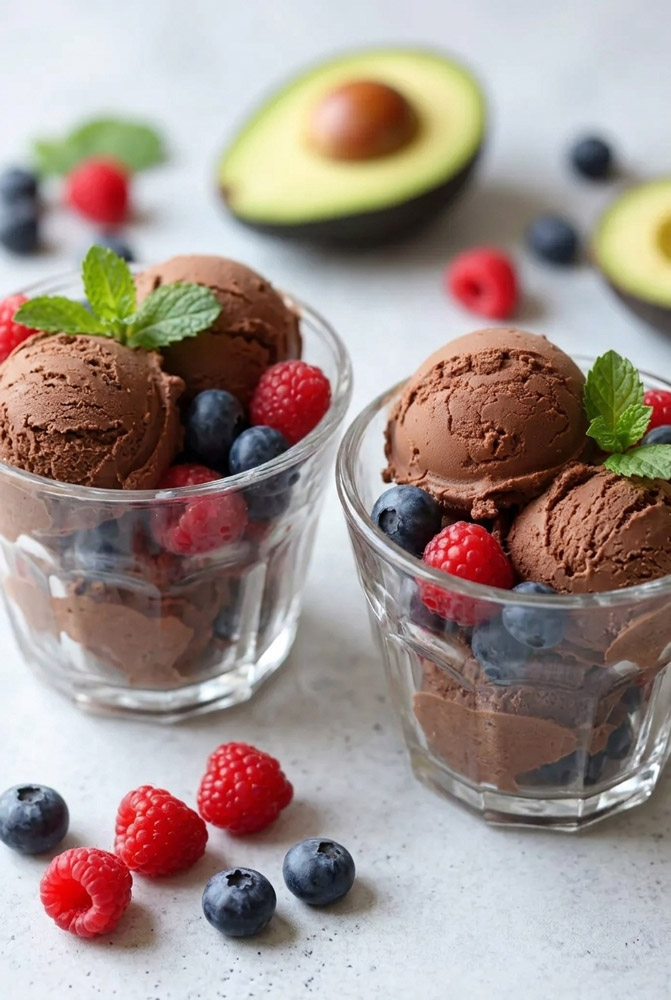
To get perfect restaurant-style scoops, dip your metal scooper into hot water for a few seconds first. The heat will cut right through the creaminess.
I love serving this in cold glass bowls with a dust of cocoa powder and a pinch of sea salt. It also tastes great next to a warm brownie.
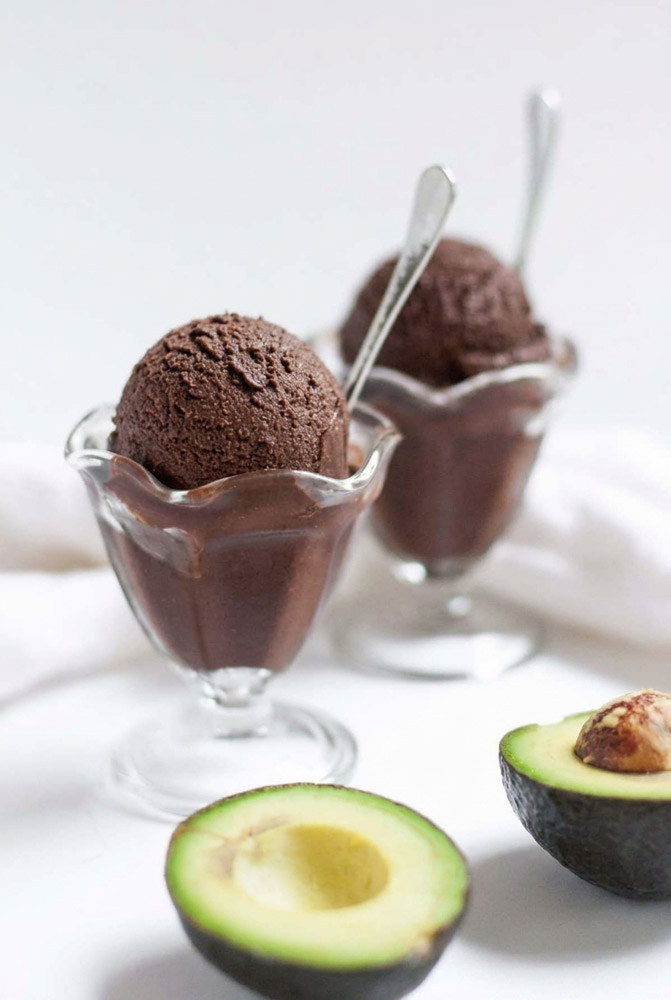
Store your leftovers in an airtight container. To prevent freezer burn, press a piece of plastic wrap directly onto the surface of the ice cream before closing the lid. This keeps it tasting fresh for up to two weeks.
Whatever you do, do not microwave it to soften it up. Just be patient and let the room temperature do the work!
PrintChocolate Avocado Ice Cream

Think avocado only belongs in guacamole? Think again. This recipe uses the natural buttery fat of avocados mixed with rich cocoa to create a shockingly smooth, velvety dessert. It is deep, intensely chocolatey, and naturally free from dairy and eggs. It is the perfect sweet treat that everyone at your table can actually enjoy.
- Prep Time: 5 minutes
- Cook Time: 0 minutes
- Total Time: 37 minutes (Churn Time: 32 minutes)
- Yield: 4 servings 1x
- Category: Dessert
- Cuisine: American / Fusion
Ingredients
- 3 medium Hass avocados (must be perfectly ripe and soft, with no brown streaks inside)
- 1 ½ cups full-fat canned coconut milk (mimics the richness of heavy cream)
- ¾ cup Dutch-process cocoa powder (or raw cacao powder for a deep flavor)
- 6 tbsp low-carb sweetener (like erythritol or allulose)
- ³⁄₁₆ tsp stevia powder (about 6 tiny concentrated scoops)
- 1 tsp pure vanilla extract
- ½ tsp fine sea salt
- 1 tsp gelatin (or arrowroot powder to keep it 100% vegan)
Instructions
1. Blend the Base Until Glossy
Slice your ripe avocados, remove the pits, and scoop the green flesh straight into a high-speed blender or food processor. Add the coconut milk, cocoa powder, low-carb sweetener, stevia, vanilla, salt, and your thickener (gelatin or arrowroot). Blend on high for 2 to 3 minutes, stopping halfway to scrape down the sides. It is done when it transforms from a chunky green mess into a thick, glossy chocolate pudding.
2. Chill It Down (Highly Recommended)
Pour your smooth chocolate mixture into a bowl, cover it, and pop it in the fridge for about 2 hours. Getting the mix cold before churning stops large ice crystals from forming, making your final ice cream way smoother.
3. Churn to Perfection
Pour the chilled chocolate base into your frozen ice cream machine bowl. Turn it on and let it churn for about 32 minutes according to the maker’s directions. Watch the clock—your ice cream is ready when it looks like thick, matte soft-serve and holds its shape on a spoon.
4. The Final Freeze
You can eat it right out of the machine as soft-serve! If you want traditional, hard scoops, scrape the mix into a shallow, freezer-safe container. Smooth out the top, seal the lid tightly, and freeze for a few hours until firm.
Notes
Serving Suggestions
- Serve in chilled glass bowls with a light dust of cocoa powder, a tiny pinch of flaky sea salt, or a drizzle of warm vegan hot fudge.
- It pairs beautifully next to a warm almond-flour brownie or a gluten-free fruit crisp.
Tips & Tricks
- Say No to Grainy Ice Cream: Low-carb granulated sweeteners can sometimes leave a gritty texture. To fix this, blitz your sweetener by itself in a dry blender until it turns into a fine powder before adding the other ingredients.
- No Ice Cream Maker? No problem. Pour the blended pudding mix into a freezer-safe dish. Freeze it for three hours, but make sure to take it out and whisk it vigorously every 30 minutes to break up the ice chunks.
Storage & Reheating Instructions
- Prevent Freezer Burn: Press a piece of plastic wrap or wax paper directly onto the surface of the ice cream before closing the container’s lid. This blocks out air and keeps it fresh for up to two weeks.
- The Easy Scoop Hack: Plant-based fats freeze incredibly solid. Always let the container thaw on your kitchen counter for 5 to 10 minutes before eating. Dip your metal ice cream scoop in a mug of hot water for a few seconds first to glide right through it.
- Never Microwave: Do not try to speed things up by microwaving or heating the ice cream to soften it, or you will ruin the emulsion. Just let the room temperature do its magic.