
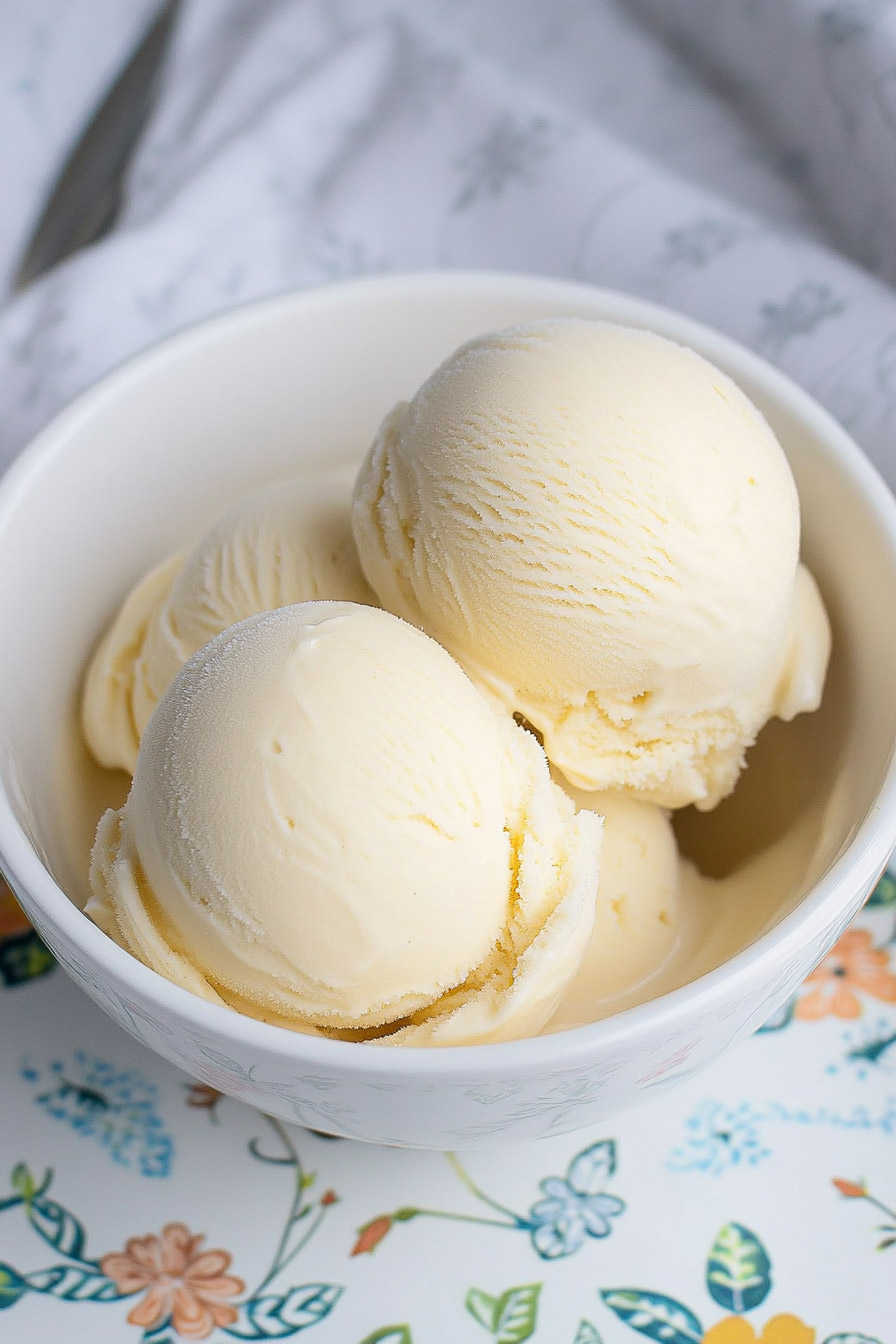
Who doesn’t love ice cream? Now imagine enjoying a rich, velvety vanilla bean treat that’s packed with protein and low in sugar. Sounds like a dream, right? Well, with the Ninja Creami, that dream becomes a reality.
This recipe is super simple and perfect for anyone who wants to indulge in something sweet while staying on track with their health goals. Whether you’re treating yourself after a workout or just looking for a guilt-free dessert, this protein-packed ice cream is the way to go.
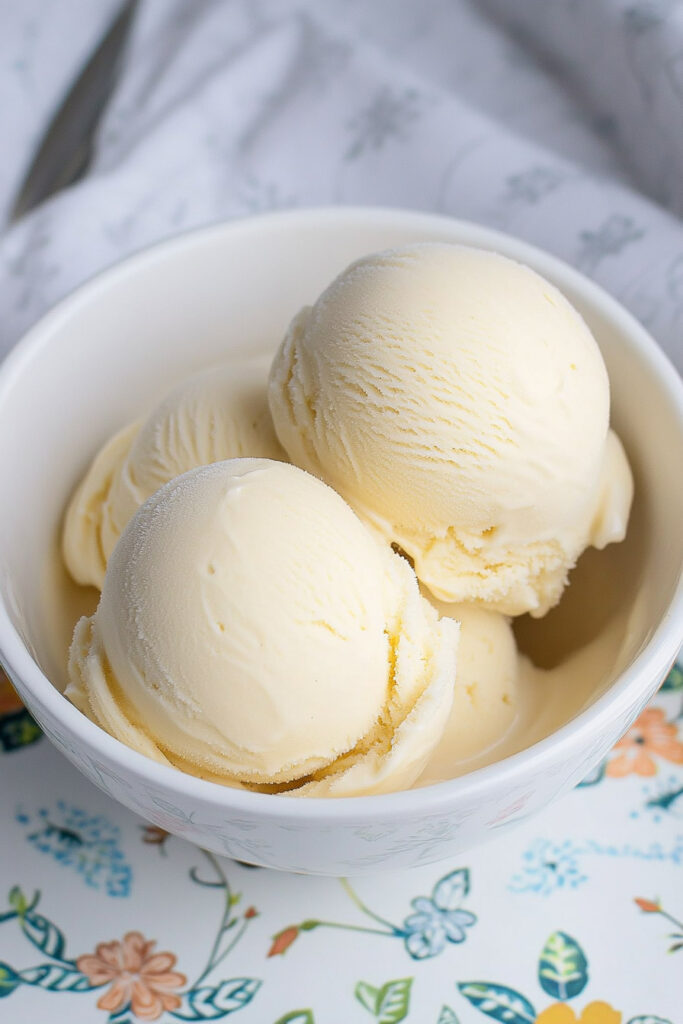
Recipe Overview
What to Expect
- Prep Time: 5 minutes
- Freezing Time: 24 hours
- Total Time: About a day (worth it, trust me!)
Servings
- Makes 1 pint—great for one or two servings.
- Want more? Make a few extra pint containers following the same steps.
How Easy Is It?
- Super easy. The Ninja Creami handles most of the heavy lifting.
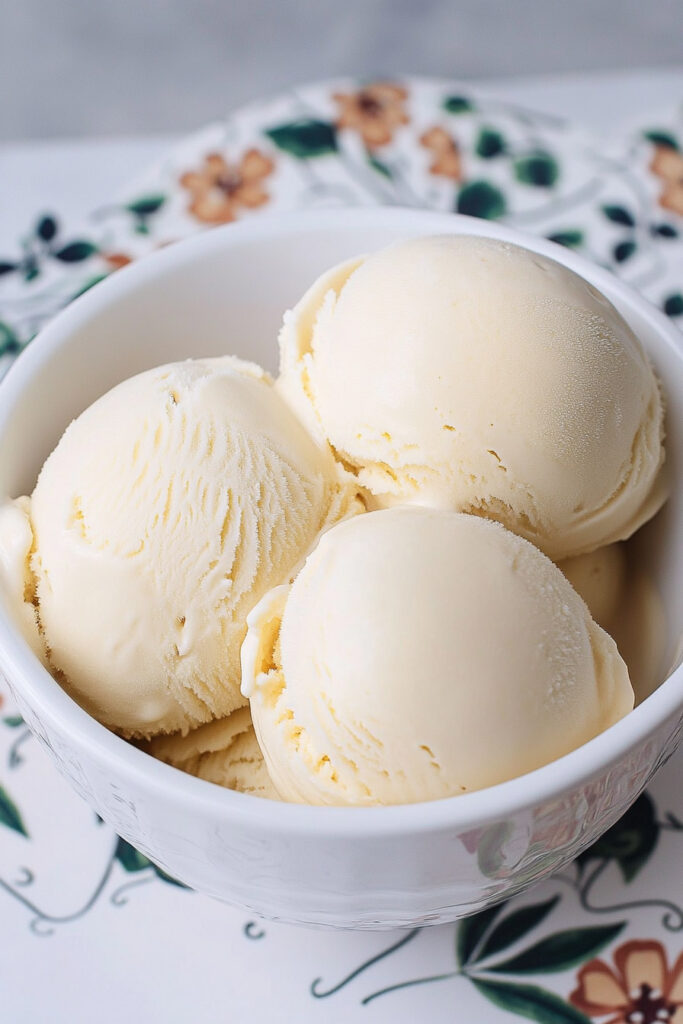
Tools You’ll Need
- Ninja Creami Ice Cream Maker
- Blender (any small one will do)
- Measuring Cups and Spoons
Pro Tip: You can prep multiple pint containers in advance, freeze them, and enjoy fresh ice cream all week long.
Ingredients
What You’ll Need
- Vanilla Protein Shake (11.5 fl oz): The creamy, protein-packed base.
- Vanilla Almond Milk (4 fl oz): Adds a smooth nutty flavor.
- Sugar-Free Vanilla Instant Pudding Mix (2 tbsp): For that perfect creamy texture.
- Vanilla Bean Paste (1 tsp): The secret to that rich, aromatic flavor.
Substitutions
- No almond milk? Try oat, cashew, or regular milk.
- Watching sugar? Stick with sugar-free pudding mix.
- No vanilla bean paste? Use vanilla extract instead (just a bit milder).
Quick Tip: Use a protein shake you actually enjoy drinking—the flavor will really stand out in the ice cream.
Let’s Make It
First, you’ll need to prepare the ice cream mixture. Combine the vanilla protein shake, almond milk, sugar-free pudding mix, and vanilla bean paste in a blender. Blend everything until it’s completely smooth. Make sure there are no lumps from the pudding mix—this step is key to achieving that velvety texture later. The mixture should be thick but still pourable, with no visible granules.
Once blended, pour the mixture into your Ninja Creami pint container. To ensure even freezing, avoid overfilling the container, and leave the lid off—this prevents the top from freezing unevenly. Place the container flat in your freezer. For the best results, make sure your freezer is set between 9°F (-7°C) and -7°F (-22°C). Now comes the hardest part: waiting. Let the mixture freeze for at least 24 hours so it sets up properly.
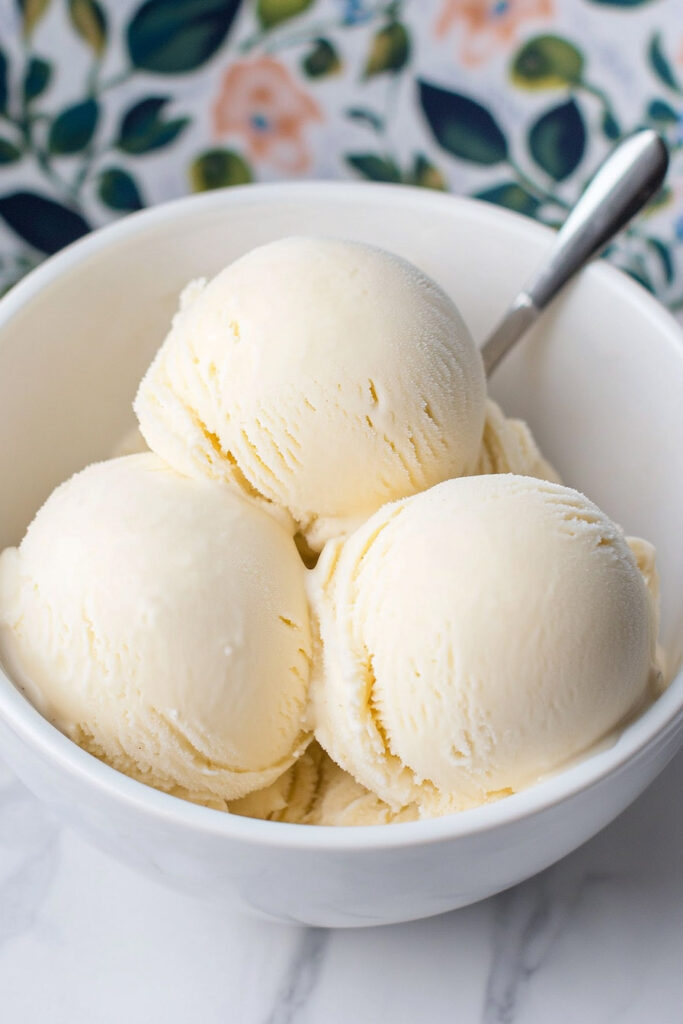
When the waiting is finally over, it’s time to process your ice cream. Take the pint container out of the freezer and insert it into the Ninja Creami. Lock it in place and select the “Lite Ice Cream” setting to start spinning. Once the process is complete, check the texture. If the ice cream looks smooth and creamy, you’re all set! If it seems a bit crumbly or dry, don’t worry—just add one to two tablespoons of unsweetened almond milk to the mix and respin. Be careful not to add too much liquid at once; you want ice cream, not a milkshake!
Make It Your Own
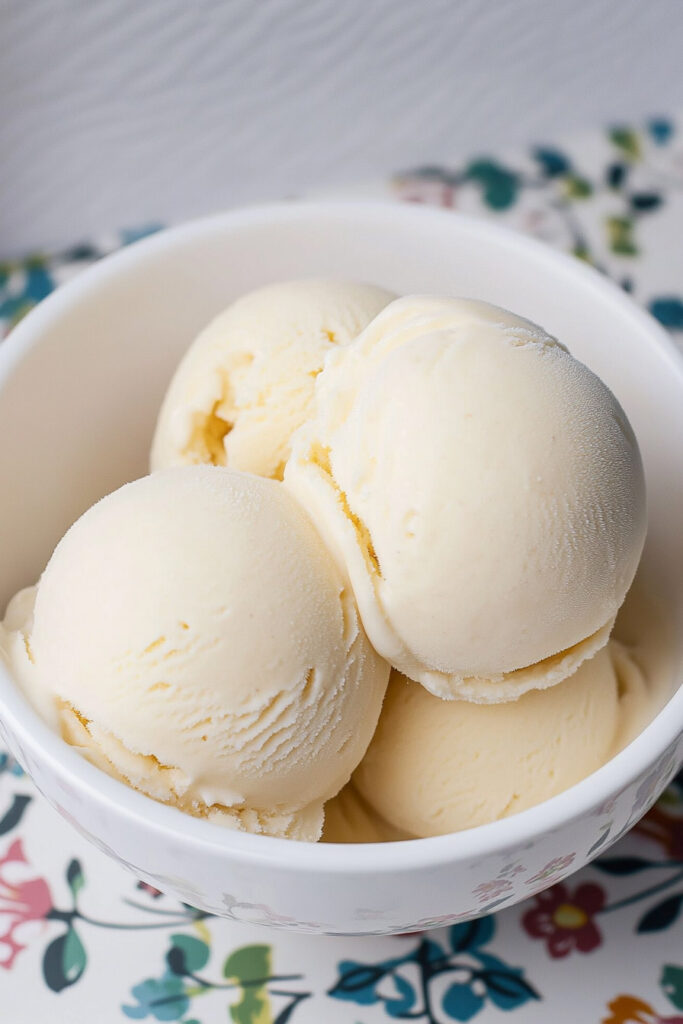
Customize the Flavor
- Add a pinch of cinnamon or nutmeg.
- Want chocolate? Mix in some cocoa powder.
- Feeling fancy? Add crushed cookies, berries, or chocolate chips after processing using the “Mix-In” setting.
Dietary Modifications
- Vegan? Use plant-based protein shakes, pudding mix, and milk.
- Gluten-free? Check that every ingredient is certified GF.
Seasonal Ideas
- Summer: Blend in fresh strawberry or mango puree.
- Winter: Add peppermint extract or crushed candy canes.
Serving It Up
How to Serve
Scoop your creamy creation into a chilled bowl or cone. Top it with whipped cream, sprinkles, or a drizzle of caramel.
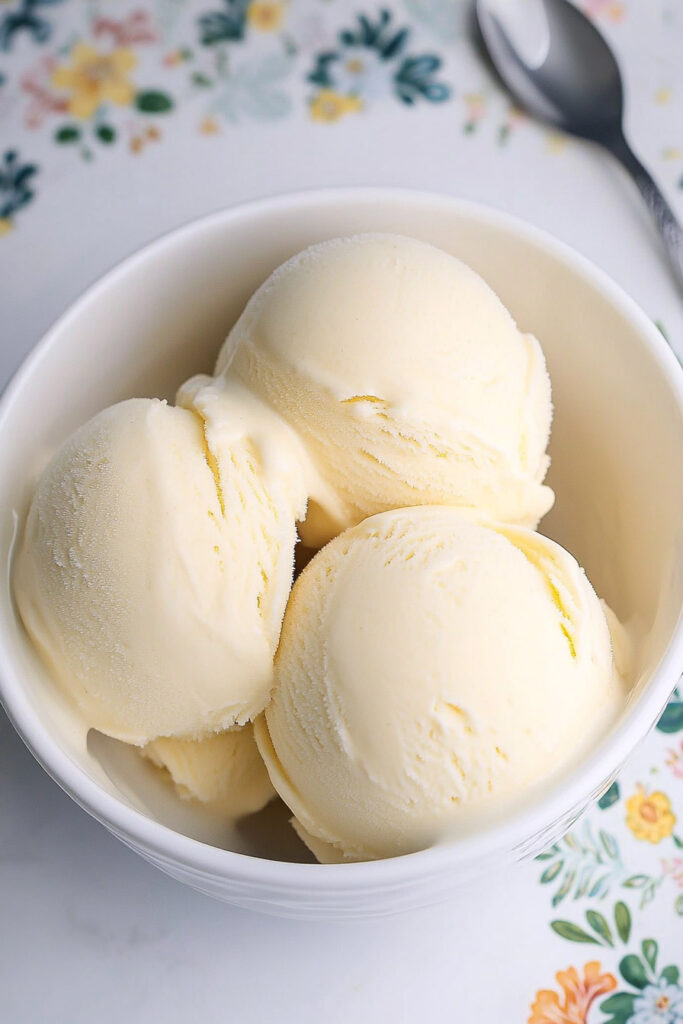
Pairing Ideas
Pair with something warm for contrast—like brownies, cookies, or a fruit crisp.
Storing Leftovers
Keep the ice cream in its pint container with a lid. It’ll stay fresh in the freezer for up to a week.
Quick Tip: If it gets too solid, let it sit out for 10 minutes and use the “Re-spin” function before serving.
And there you have it! A protein-packed, guilt-free dessert that’s as delicious as it is healthy. Whether you’re indulging alone or sharing with friends, this Ninja Creami recipe is a total crowd-pleaser.
Happy spinning—and enjoy every creamy bite!
PrintNinja Creami Vanilla Bean Protein Ice Cream

Creamy, protein-packed, and bursting with rich vanilla bean flavor, this Ninja Creami Vanilla Bean Protein Ice Cream is a healthier, guilt-free dessert. Perfect for satisfying sweet cravings while keeping your nutrition goals in check!
- Prep Time: 5 minutes
- Cook Time: None
- Total Time: 24 hours (includes freezing)
- Yield: 1 pint (1–2 servings) 1x
- Category: Dessert
- Cuisine: American
Ingredients
- 11.5 fl oz (326 g) Vanilla Protein Shake
- 4 fl oz (118 ml) Vanilla Almond Milk
- 2 tbsp Sugar-Free Vanilla Instant Pudding Mix
- 1 tsp Vanilla Bean Paste
- Optional: 1–2 tbsp Unsweetened Almond Milk (for re-spinning if needed)
Instructions
1. Prepare the Ice Cream Mixture
- Combine the protein shake, almond milk, pudding mix, and vanilla bean paste in a small blender. Blend until smooth and no lumps remain.
- Pour the mixture into a Ninja Creami pint container, leaving some space at the top.
2. Freeze the Mixture
- Place the container on a flat surface in your freezer without the lid to prevent uneven freezing.
- Freeze for at least 24 hours at a temperature between 9°F (-7°C) and -7°F (-22°C).
3. Process the Ice Cream
- Remove the frozen pint from the freezer and place it in the Ninja Creami outer bowl. Process using the “Lite Ice Cream” setting.
- If the ice cream appears crumbly or dry, add 1–2 tablespoons of unsweetened almond milk and respin until creamy.
Notes
Serving Suggestions
- Enjoy straight from the pint or serve in a chilled bowl or cone. Top with whipped cream, fresh fruit, or sugar-free syrup for extra flair.
Tips & Tricks
- Use high-quality vanilla bean paste for richer flavor.
- Avoid overfilling the pint container to prevent overflow during processing.
Storage & Reheating Instructions
- Store leftovers in the pint container with a lid for up to one week in the freezer.
- If frozen solid, let it sit at room temperature for 10 minutes before respinning on “Re-spin” mode.