
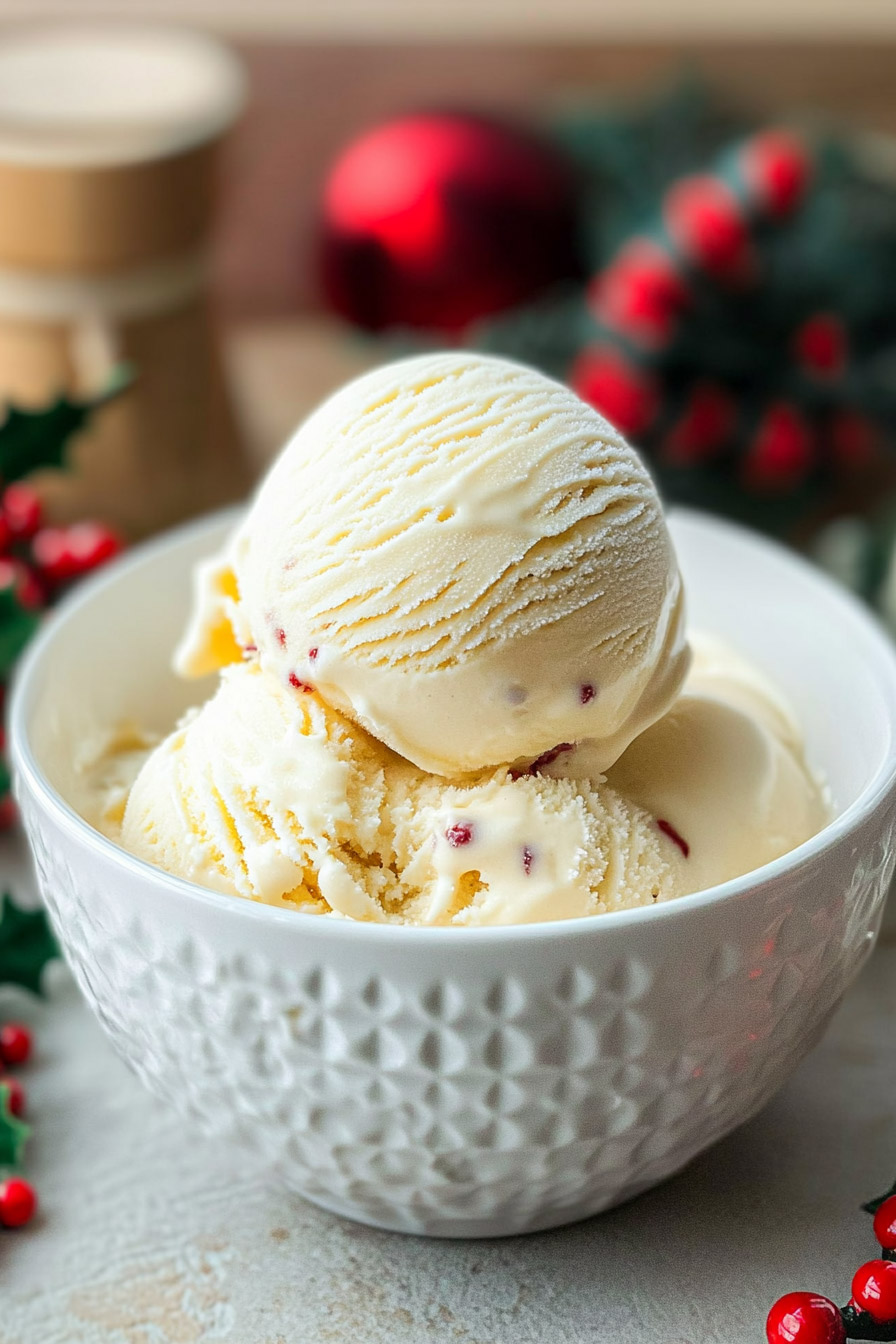
Who doesn’t love eggnog during the holidays? Now imagine that creamy, spiced flavor in the form of ice cream. Yeah, it’s as good as it sounds. This recipe pairs the cozy taste of eggnog with a velvety texture that’s sure to impress your friends and family—or just yourself (no judgment). Made with the Ninja Creami, this one’s a breeze to whip up. Perfect for holiday parties or a quiet night by the fire.

The Basics
Here’s a quick rundown of what you need to know before getting started:
- Prep Time: About 10 minutes of actual work.
- Freezing Time: 24 hours. (Yep, you’ll need to plan ahead.)
- Serving Size: Makes one pint—ideal for 2–4 people. Have a bigger group? Just double or triple the ingredients and freeze them in separate Ninja Creami containers.
- Difficulty Level: Easy-ish. The steps are straightforward, but tempering egg yolks takes a little patience.
What You’ll Need:
- A Ninja Creami Ice Cream Maker (or another machine if you’re feeling adventurous).
- A small pot for heating your mixture.
- A Ninja Creami pint container (or any freezer-safe alternative).
- A whisk and a bowl for mixing.
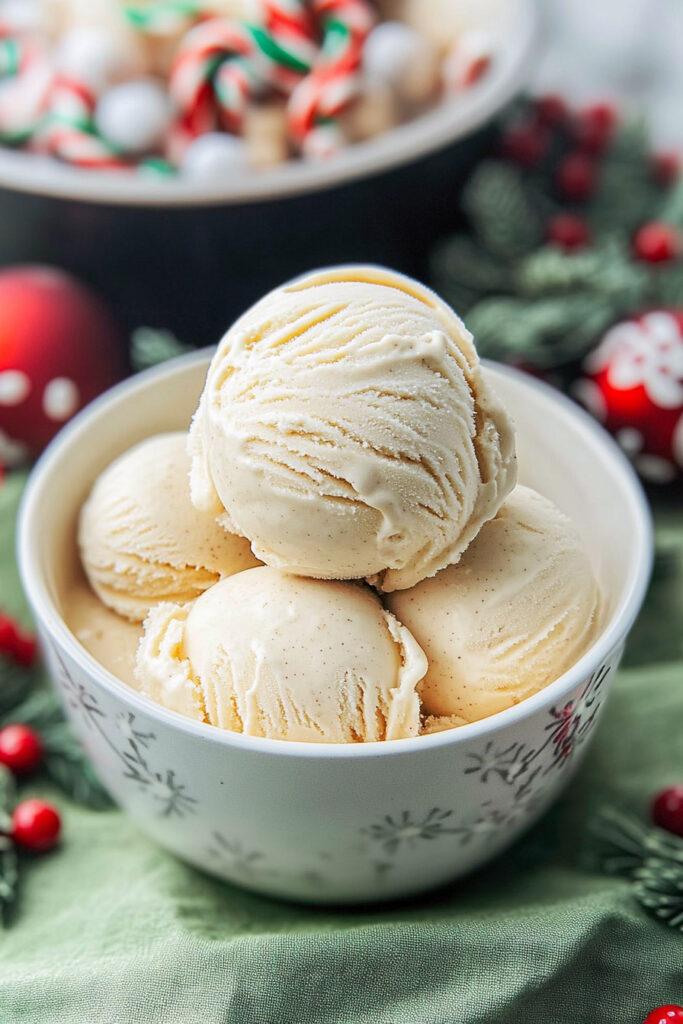
Your Ingredients
Here’s what goes into this festive ice cream:
- 2 cups half-and-half: For that creamy base. You can swap it with whole milk for a lighter version or coconut milk if you’re going dairy-free.
- 2 egg yolks: They add richness and make the ice cream extra smooth. (Use pasteurized eggs for safety if you’re worried.)
- ½ cup condensed milk: Sweet and creamy—key to that luscious texture. Coconut condensed milk works great for a non-dairy version.
- ½ teaspoon nutmeg: Freshly grated is best. Seriously, it makes a difference.
- ½ teaspoon cinnamon powder: Adds warmth and a cozy vibe.
- 2 teaspoons bourbon vanilla bean paste: Fancy, right? If you don’t have it, vanilla extract works fine.
- A pinch of salt: Trust me, it brings out all the flavors.
Optional: Feeling extra festive? Add a splash of bourbon or rum after the base cools down.
Step-by-Step Guide
1. Make the Base:
Start by warming up the foundational ingredients. In a small pot, combine the half-and-half, condensed milk, nutmeg, cinnamon, vanilla bean paste, and a pinch of salt. Place it over medium heat and stir gently to ensure everything blends smoothly. Be careful not to let the mixture boil—you’re aiming for it to be warm and steamy, not scalding. This step allows the flavors to meld together, creating a rich and aromatic base for your ice cream.
2. Temper the Egg Yolks:
Tempering might sound fancy, but it’s surprisingly simple if you take your time. In a separate bowl, whisk the egg yolks until they’re nice and smooth. Now, here’s the trick: slowly drizzle about ½ cup of the warm liquid from the pot into the yolks while whisking continuously. This step gradually raises the temperature of the yolks without scrambling them. Once tempered, pour the yolk mixture back into the pot, stirring constantly to blend everything together.
3. Cook to Thicken:
Return the pot to medium heat and keep stirring as the mixture thickens. You’ll know it’s ready when it lightly coats the back of a spoon—about 170–175°F if you’re using a thermometer. Don’t rush this step; the thickening process is what gives the ice cream its velvety texture. Once it’s just right, remove the pot from heat and set the mixture aside to cool to room temperature.
4. Freeze It:
Once the base has cooled completely, transfer it into your Ninja Creami pint container (or any freezer-safe container if you’re improvising). Make sure the container is sealed tightly, then place it on a flat surface in the freezer. Leave it undisturbed to freeze for at least 24 hours—this waiting period is essential to achieving that perfect consistency for spinning.
5. Spin It in the Ninja Creami:
When the freezing is done, it’s time to bring the ice cream to life! Remove the container from the freezer and place it into the Ninja Creami machine. Select the “Ice Cream” mode and let the machine work its magic. If the texture comes out crumbly after the first spin, no worries—just re-spin it or add a splash of milk or eggnog to smooth it out.
6. Serve and Enjoy:
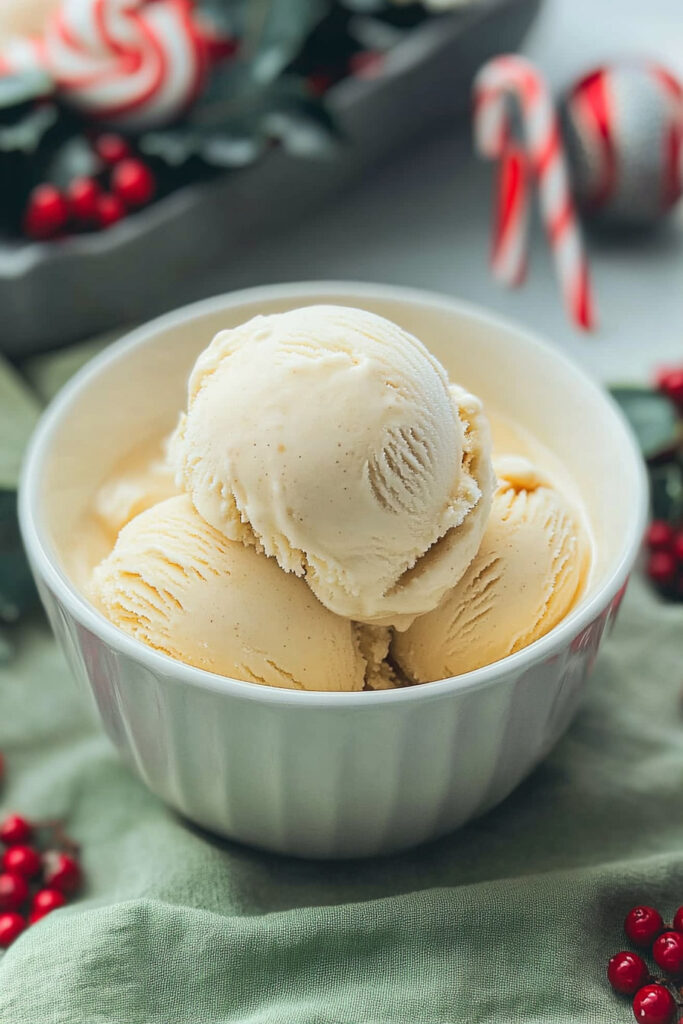
Now for the best part: serving your creation. Scoop the freshly spun ice cream into bowls, cones, or even straight from the container. Want to elevate your presentation? Add a dollop of whipped cream, a sprinkle of nutmeg, or some crushed gingerbread cookies for a festive flair. Then, dig in and savor every spoonful of this holiday-inspired treat.
Customization Ideas
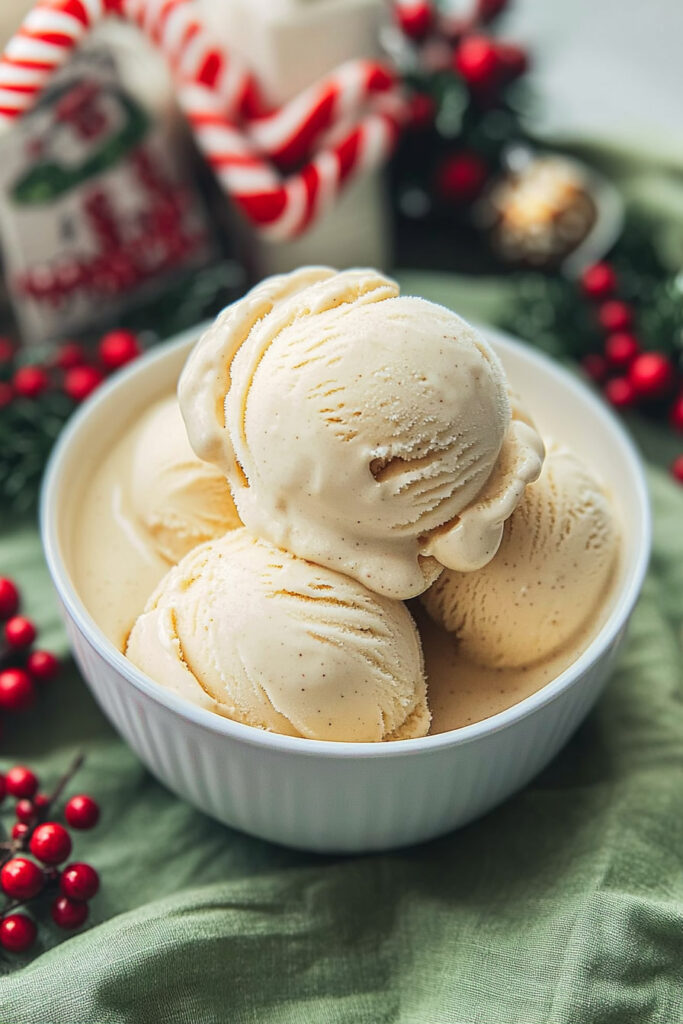
Want to mix it up? Here are some twists to try:
- Dairy-Free: Use coconut milk and coconut condensed milk.
- Low-Sugar: Swap out the condensed milk for a sugar-free option or your favorite low-calorie sweetener.
- Spice It Up: Love bold flavors? Add more cinnamon or nutmeg. You can even toss in a pinch of cloves for an extra layer of holiday warmth.
- Seasonal Swaps: Add pumpkin puree for a fall vibe or crushed peppermint candies for a winter wonderland feel.
Serving Tips
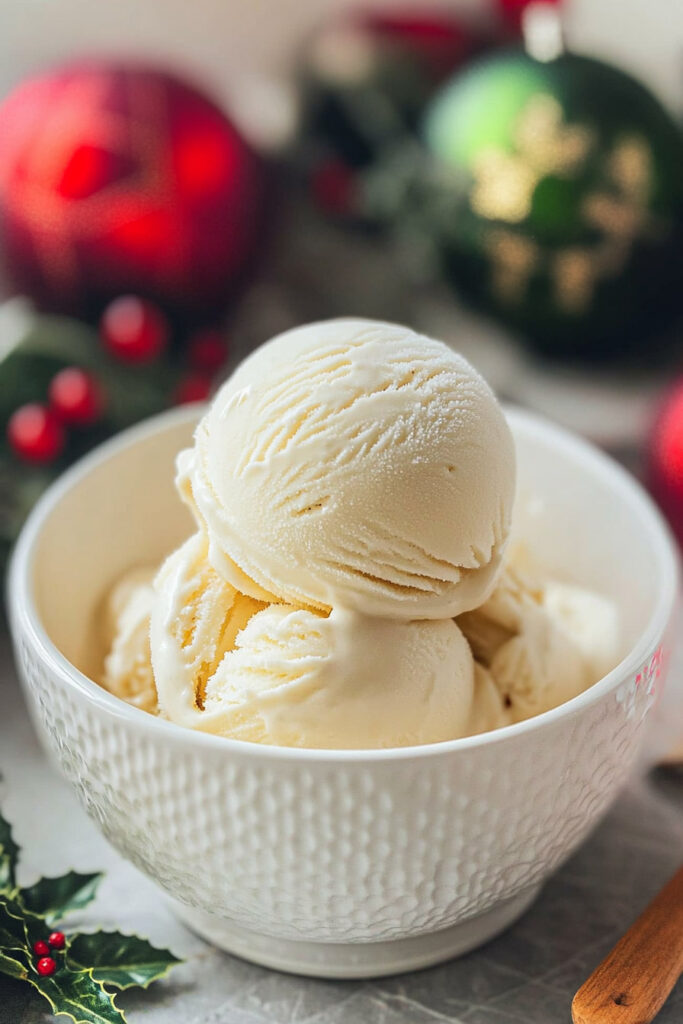
- How to Plate It: Serve it in festive bowls and top with goodies like candied nuts, mini marshmallows, or whipped cream. So Instagram-worthy.
- What to Serve It With: Pair it with warm gingerbread cookies or a steaming cup of cocoa for the ultimate holiday combo.
- Storing Leftovers: Keep any extras in an airtight container in the freezer for up to a week. Tip: Add a tiny bit of vegetable glycerin (1–2 teaspoons per pint) so it stays scoopable.
Eggnog ice cream isn’t just dessert—it’s a whole holiday experience. Cozy up, grab a spoon, and enjoy a taste of the season. You deserve it!
PrintNinja Creami Eggnog Ice Cream

A creamy, spiced holiday treat that transforms the classic eggnog drink into a luxurious frozen dessert. Perfect for festive gatherings or a cozy night in, this ice cream blends warm spices, rich vanilla, and a velvety texture that’s sure to impress.
- Prep Time: 10 minutes
- Cook Time: 10 minutes
- Total Time: 24 hours (includes freezing)
- Yield: 1 pint (2–4 servings) 1x
- Category: Dessert
- Cuisine: American
Ingredients
- 2 cups half-and-half
- 2 egg yolks
- ½ cup condensed milk
- ½ tsp nutmeg (freshly grated recommended)
- ½ tsp cinnamon powder
- 2 tsp bourbon vanilla bean paste (or vanilla extract)
- Pinch of salt
Instructions
- Prepare the Base:
In a small pot, combine half-and-half, condensed milk, nutmeg, cinnamon, vanilla bean paste, and salt. Heat gently over medium heat until warm but not boiling. - Temper the Egg Yolks:
In a bowl, whisk egg yolks. Slowly add about ½ cup of the warm mixture while whisking constantly. Gradually pour the tempered yolks back into the pot, stirring continuously. - Cook and Cool:
Heat the mixture until it slightly thickens and coats the back of a spoon (170–175°F). Remove from heat and let it cool to room temperature. - Freeze:
Pour the cooled mixture into a Ninja Creami pint container. Seal tightly and freeze for at least 24 hours on a flat surface. - Spin and Serve:
Process the frozen mixture in the Ninja Creami using the “Ice Cream” mode. If crumbly, re-spin or add a tablespoon of milk for a smoother texture. Serve immediately with your favorite toppings!
Notes
- Serving Suggestions: Top with whipped cream, crushed gingerbread cookies, or a sprinkle of nutmeg for extra flair.
- Tips & Tricks: Ensure your base is well-blended before freezing for the smoothest results. If the ice cream is too hard after freezing, use the re-spin function or microwave it for 10 seconds.
- Storage & Reheating: Store leftovers in an airtight container in the freezer for up to one week. Add 1–2 teaspoons of food-grade vegetable glycerin to keep it scoopable without re-spinning.