
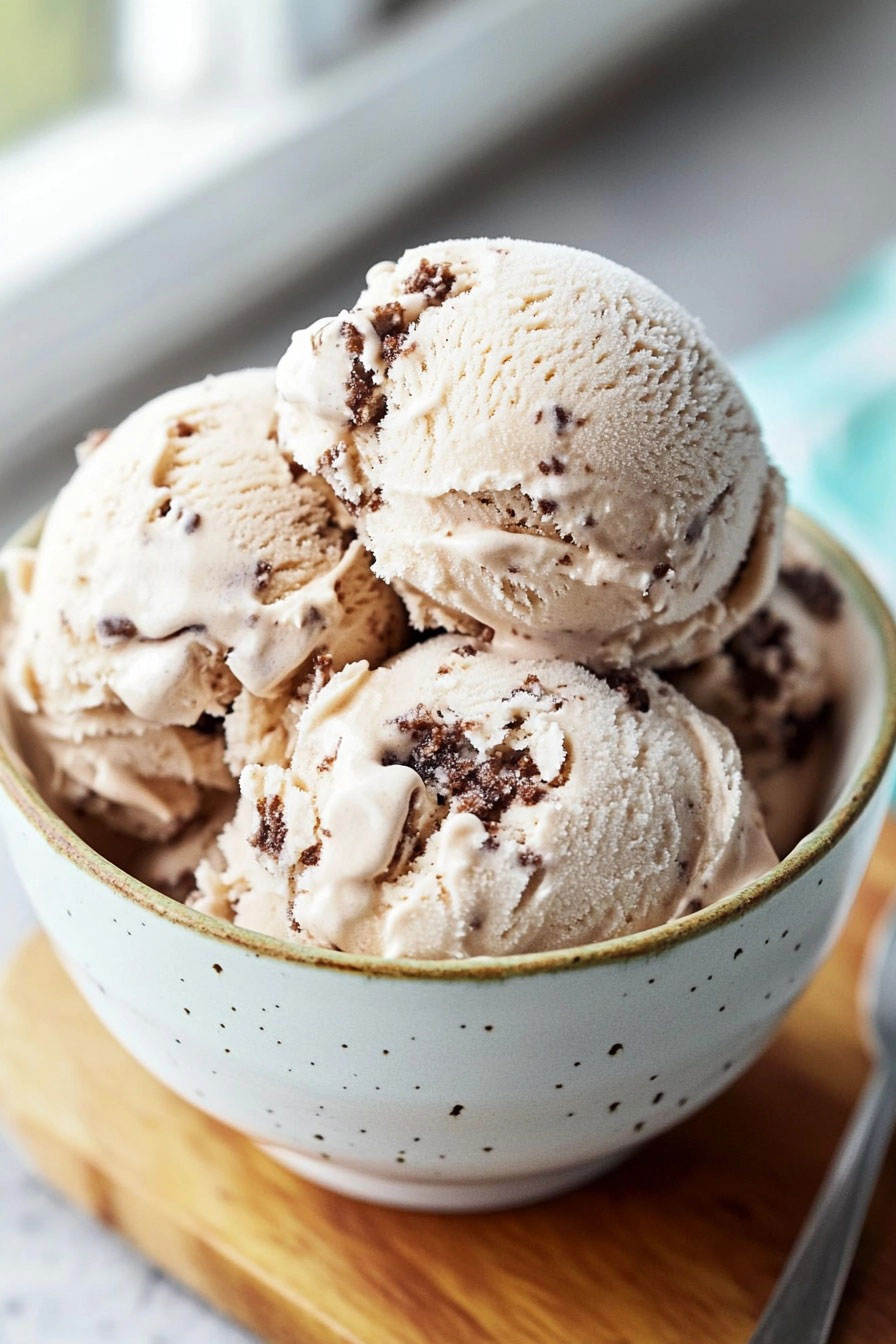
Love making your own desserts? You’re going to have so much fun with this one. Today, I’m walking you through the steps to create homemade Chunky Monkey Ice Cream—a flavor inspired by Ben & Jerry’s legend. Think creamy bananas, crunchy walnuts, and sweet chocolate chunks all in one perfect scoop. It’s everything you’d expect from the original but with a homemade twist that makes it even better.
A quick fun fact: Chunky Monkey first hit the shelves in 1988 and became an instant favorite for its funky name and killer flavor combo. Ready to bring it to life in your kitchen? Let’s get started!
Recipe at a Glance
Here’s what you’re looking at:
- Prep time: 15 minutes
- Cook time: 25 minutes
- Freeze time: 5 hours
- Total time: About 5 hours 40 minutes
Makes: 6 servings (double it if you’re feeling generous).
Skill level: Moderate. Great for adventurous beginners or seasoned dessert pros.
What You’ll Need:
- An ice cream maker (or follow my no-churn tweak below).
- A mixing bowl, frying pan, and blender.
- A freezer-safe container.
Plan ahead: The ice cream base can chill overnight, and the finished treat lasts up to a month in the freezer (if it doesn’t get devoured first).
Ingredients
Let’s break it down:
For the Base:
- 4 ripe bananas (about 500g): The riper, the better. Those brown-speckled ones? Perfect.
- ⅔ cup brown sugar (145g): Adds a caramel flavor. White sugar works if you’re out of brown.
- 1 cup thickened cream (250ml): Or heavy cream—this is the secret to velvety smooth ice cream.
- 1 cup whole milk (250ml): Substitute almond or oat milk for a lighter version.
- 10g glucose syrup: Reduces ice crystals (corn syrup works too).
- ¼ teaspoon vanilla extract: Go for the good stuff—pure vanilla, not imitation.
- Pinch of salt: A tiny bit brings out the sweetness.
Mix-ins:
- ½ cup semi-sweet chocolate (100g): Dark chocolate or vegan chips are great swaps.
- 2½ teaspoons coconut oil (10g): Ensures smooth chocolate chunks.
- 1 cup toasted walnuts (100g): Roast them—it’s worth it for the flavor boost.
How to Make It
Step 1: Get the Chocolate and Walnuts Ready
- Melt the chocolate in the microwave or over a double boiler.
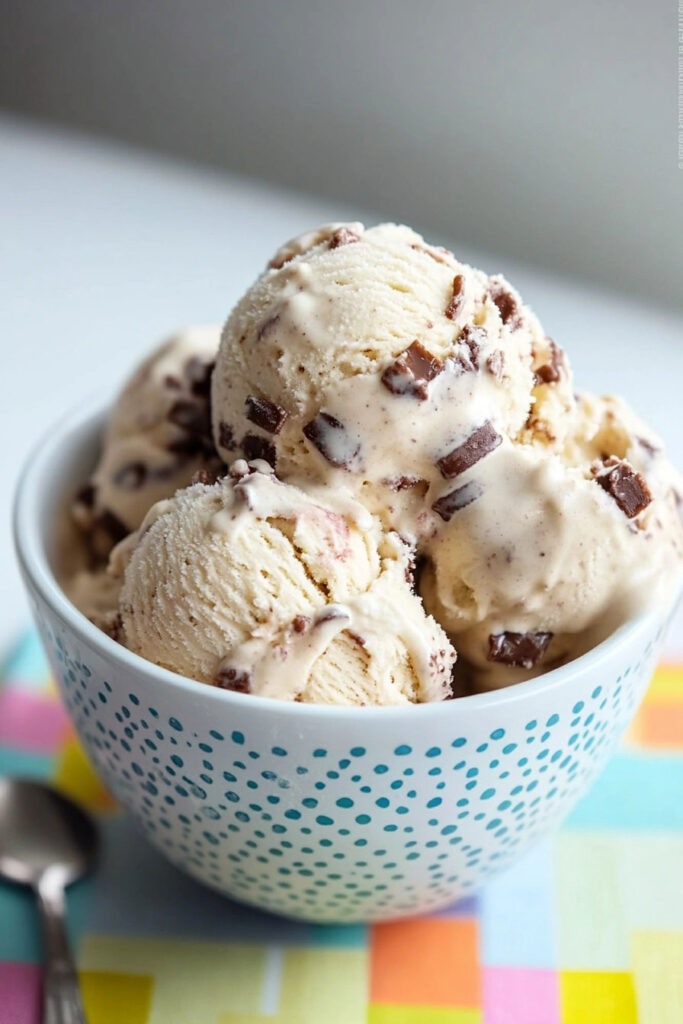
- Stir in the coconut oil for a glossy finish. Pour it onto a parchment-lined tray and pop it in the fridge until set. Chop into chunks.
- Toast the walnuts in a dry pan over medium heat. When they start to smell amazing, they’re done.
Step 2: Caramelize the Bananas
- Slice the bananas lengthwise and brown them in butter over medium heat. Sprinkle with brown sugar and let them caramelize until they’re golden and a little gooey.
- Cool them completely before moving on. Trust me—this step makes all the difference.
Step 3: Make the Base
- Heat the milk, cream, and glucose syrup in a pot until just simmering (don’t boil!). Cool slightly.
- Blend the caramelized bananas with the milk mixture until smooth and dreamy. Stir in vanilla and salt.
- Chill the base in the fridge for at least 4 hours (overnight is even better).
Step 4: Churn the Ice Cream
- Follow your ice cream machine’s instructions. Usually, this means churning the cold base for 20–25 minutes until it reaches a soft-serve texture.
Step 5: Add the Good Stuff
- Fold in the chocolate chunks and roasted walnuts just before the churning finishes. You want them evenly spread but not overmixed.
Step 6: Freeze and Wait (the Hardest Part)
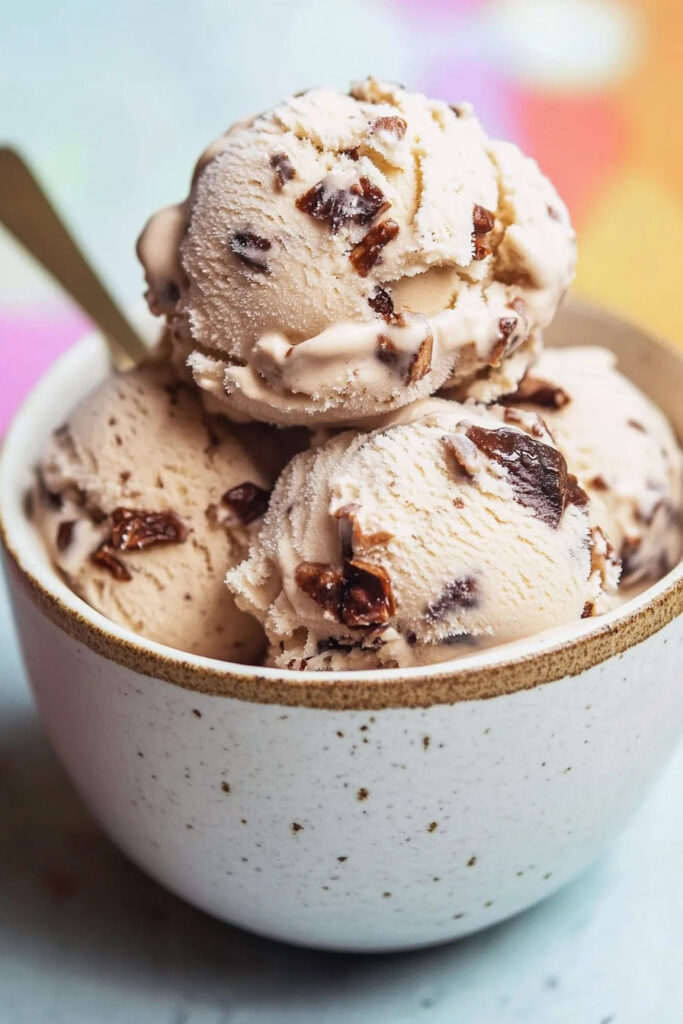
- Transfer the ice cream to a freezer-safe container. Smooth out the top, cover it tightly, and freeze for 5 hours (or until scoopable).
Tips and Variations
Diet-Friendly Tweaks:
- Going vegan? Use coconut cream, plant-based milk, and vegan chocolate.
- No nuts? Sunflower seeds or no mix-ins keep it nut-free.
Creative Add-Ons:
- A swirl of peanut butter or salted caramel? Yes, please.
- Want some texture? Add shredded coconut or mini marshmallows.
Seasonal Changes:
- Swap bananas for summer berries for a lighter, fruity version.
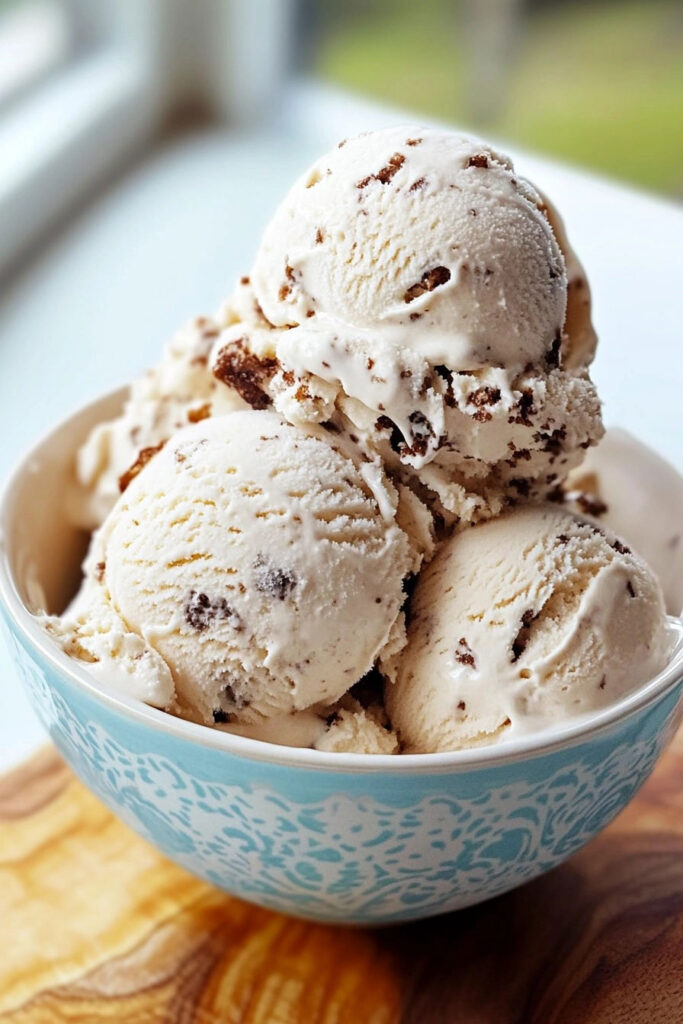
Serving Ideas
How to Serve:
- Scoop it into waffle cones or bowls. Garnish with extra walnuts or a splash of melted chocolate. Want to fancy it up? Pair with warm banana bread or brownies.
Storage Tips:
- Keep it in an airtight container for up to a month. For the best texture, press a sheet of parchment directly onto the surface before sealing.
- When you’re ready to eat, let it sit at room temp for 10–15 minutes. The perfect scoop awaits.
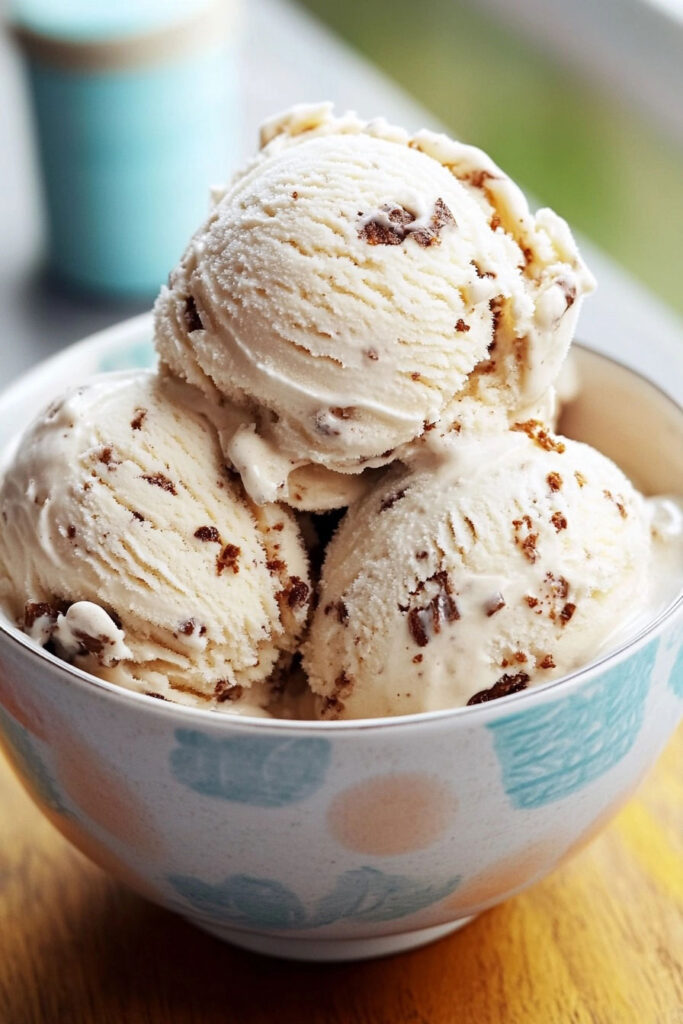
This Chunky Monkey Ice Cream Recipe is more than dessert—it’s an experience. From the creamy banana base to the satisfying crunch of chocolate and walnuts, it’s pure bliss in every bite. Whether you’re recreating childhood scoops or trying it for the first time, this homemade version will win you over. Give it a go, and let me know how it turns out!
PrintChunky Monkey Ice Cream
A homemade take on the classic Chunky Monkey Ice Cream, this recipe combines caramelized bananas, toasted walnuts, and rich chocolate chunks for a creamy, indulgent treat. Perfect for dessert lovers, this recipe brings the iconic Ben & Jerry’s flavor into your kitchen with a few extra homemade touches.
- Prep Time: 15 minutes
- Cook Time: 25 minutes
- Total Time: 5 hours 40 minutes (includes freezing time)
- Yield: 6 1x
- Category: Dessert
- Cuisine: American
Ingredients
For the Base:
- 4 small ripe bananas (500g): Choose overripe bananas for maximum sweetness.
- ⅔ cup (145g) brown sugar: Adds a caramel-like depth. Substitute with white sugar if needed.
- 1 cup (250ml) thickened cream: Heavy cream works as an alternative.
- 1 cup (250ml) milk: Whole milk is best, but plant-based options like almond milk can work.
- 10g glucose syrup: Helps prevent ice crystals; corn syrup is a good substitute.
- ¼ teaspoon vanilla extract: Use pure vanilla for better flavor.
- 1 pinch salt: Balances the sweetness.
For the Mix-ins:
- ½ cup (100g) semi-sweet chocolate: Use high-quality chocolate for rich flavor. Vegan chocolate works too.
- 2½ teaspoons (10g) refined coconut oil: Ensures smooth chocolate chunks; vegetable oil can be used instead.
- 1 cup (100g) walnut pieces: Toasted walnuts add extra crunch and nuttiness.
Instructions
Melt chocolate in a heatproof bowl using a microwave or double boiler. Stir in coconut oil until smooth, then pour into a lined container to set in the fridge. Once firm, chop into bite-sized chunks. Toast walnuts in a dry frying pan over medium heat until fragrant, then transfer to a heat-proof container to cool.
Slice bananas lengthwise and sauté in melted butter until golden brown on both sides. Sprinkle with brown sugar and cook until caramelized and soft. Remove from heat and let cool completely.
In a small pot, heat milk, cream, and glucose syrup until just simmering—don’t boil! Let cool slightly before blending with the caramelized bananas using an immersion blender or regular blender until smooth. Add vanilla extract and salt, then chill in the fridge for at least 4 hours or overnight.
Prepare your ice cream machine according to its instructions (e.g., pre-freeze the bowl if required). Pour in the chilled banana mixture and churn until thickened to soft-serve consistency—about 20–25 minutes.
Fold in chocolate chunks and toasted walnuts during the final minutes of churning. Transfer to a freezer-safe container, smooth out the top, and freeze for at least 5 hours or until firm.
Notes
Serving Suggestions: Serve scoops in waffle cones or bowls with extra chocolate shavings or a drizzle of caramel sauce for added indulgence.
Tips & Tricks:
- Use very ripe bananas for the best flavor.
- Stirring during freezing ensures even distribution of mix-ins.
- Toasting walnuts enhances their nutty flavor—don’t skip this step!
Storage & Reheating Instructions: Store in an airtight container in the freezer for up to one month. Let sit at room temperature for 10–15 minutes before scooping for easier serving.